How to Authenticate Your Domain for Emails
This document explains how to authenticate your custom email domain in the Setup module so that emails are sent from your own domain instead of the default ChildFriendly address.
Last updated 3 months ago
Step 1: Open the Setup Module and Access Center Setup
Ensure you are in the Setup module. Locate the Center Setup tabs and scroll down until you find the Custom section.
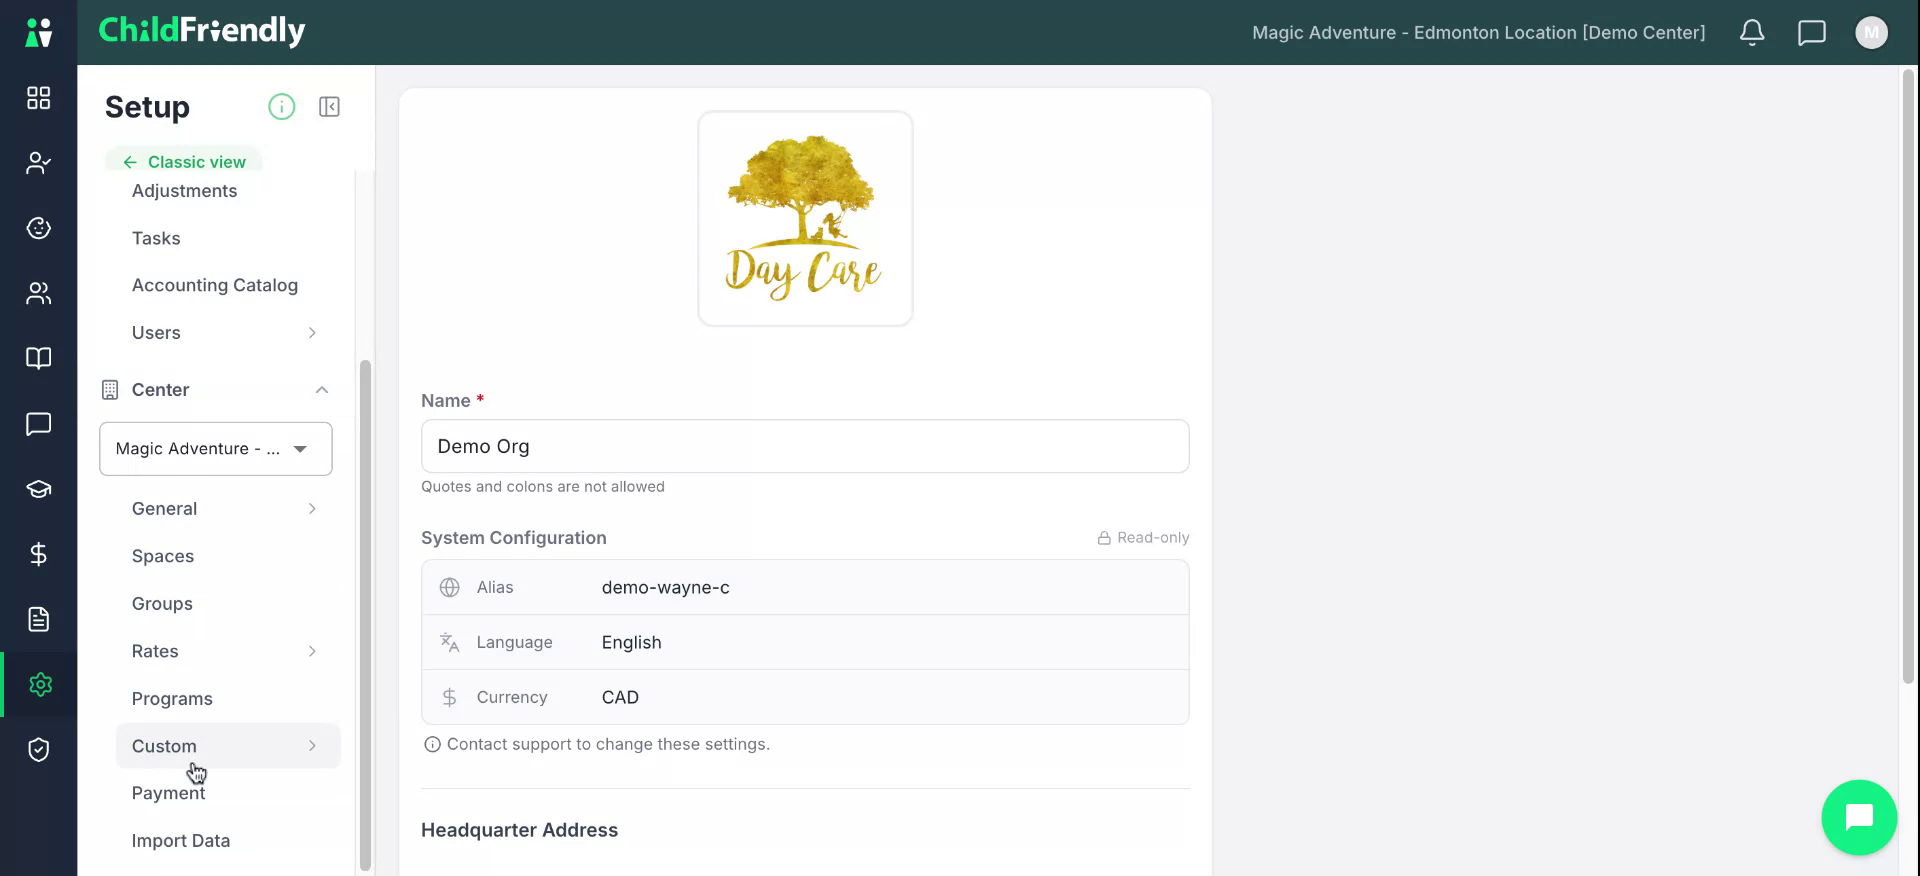
Step 2: Understand Domain Authentication Requirements
In the Custom section, locate the Domain Authentication area. This feature allows you to send emails from your own domain (for example, mydaycarecenter.ca) instead of your center's default ChildFriendly email address.
It is important to set up your email to come from your center's domain inorder to prevent your emails going to SPAM.
Step 3: Set the Center Email
Enter your desired email address under Center Email, then click Set Up.

Domain authentication ensures that emails are sent directly from your custom domain. If you skip authentication, emails will continue to be sent from your center’s ChildFriendly address instead.
Step 4: Add Your Domain for Authentication
Enter your domain (for example, mydaycarecenter.ca) in the domain field and click Add.

You will now see the domain listed with a Pending status.
Go to your domain provider add the new CNAME records. Once added into your domain provider, the domain will automatically get authenticated.
Step 5: Confirm Domain Authentication Status
Once the domain has been successfully authenticated, the status indicators will update in ChildFriendly.

The interface will change to show that your domain is authenticated. After this, your emails will be sent from your authenticated custom domain.
Was this helpful?
Still need help? Ask the team