How to Transfer Your Data to ChildFriendly
This article explains how to perform a one-time bulk import of all your family, student, and staff data into ChildFriendly using CSV templates. You will download the appropriate templates, populate them with your data, and then upload them into the system, ensuring families and students are correctly linked via a shared family email.
Last updated About 2 months ago
Step 1: Access the Import Data Area and Download a Template
To begin importing your own data, first navigate to the correct area in ChildFriendly:
Go to the Setup module.
Open the Import Data section.
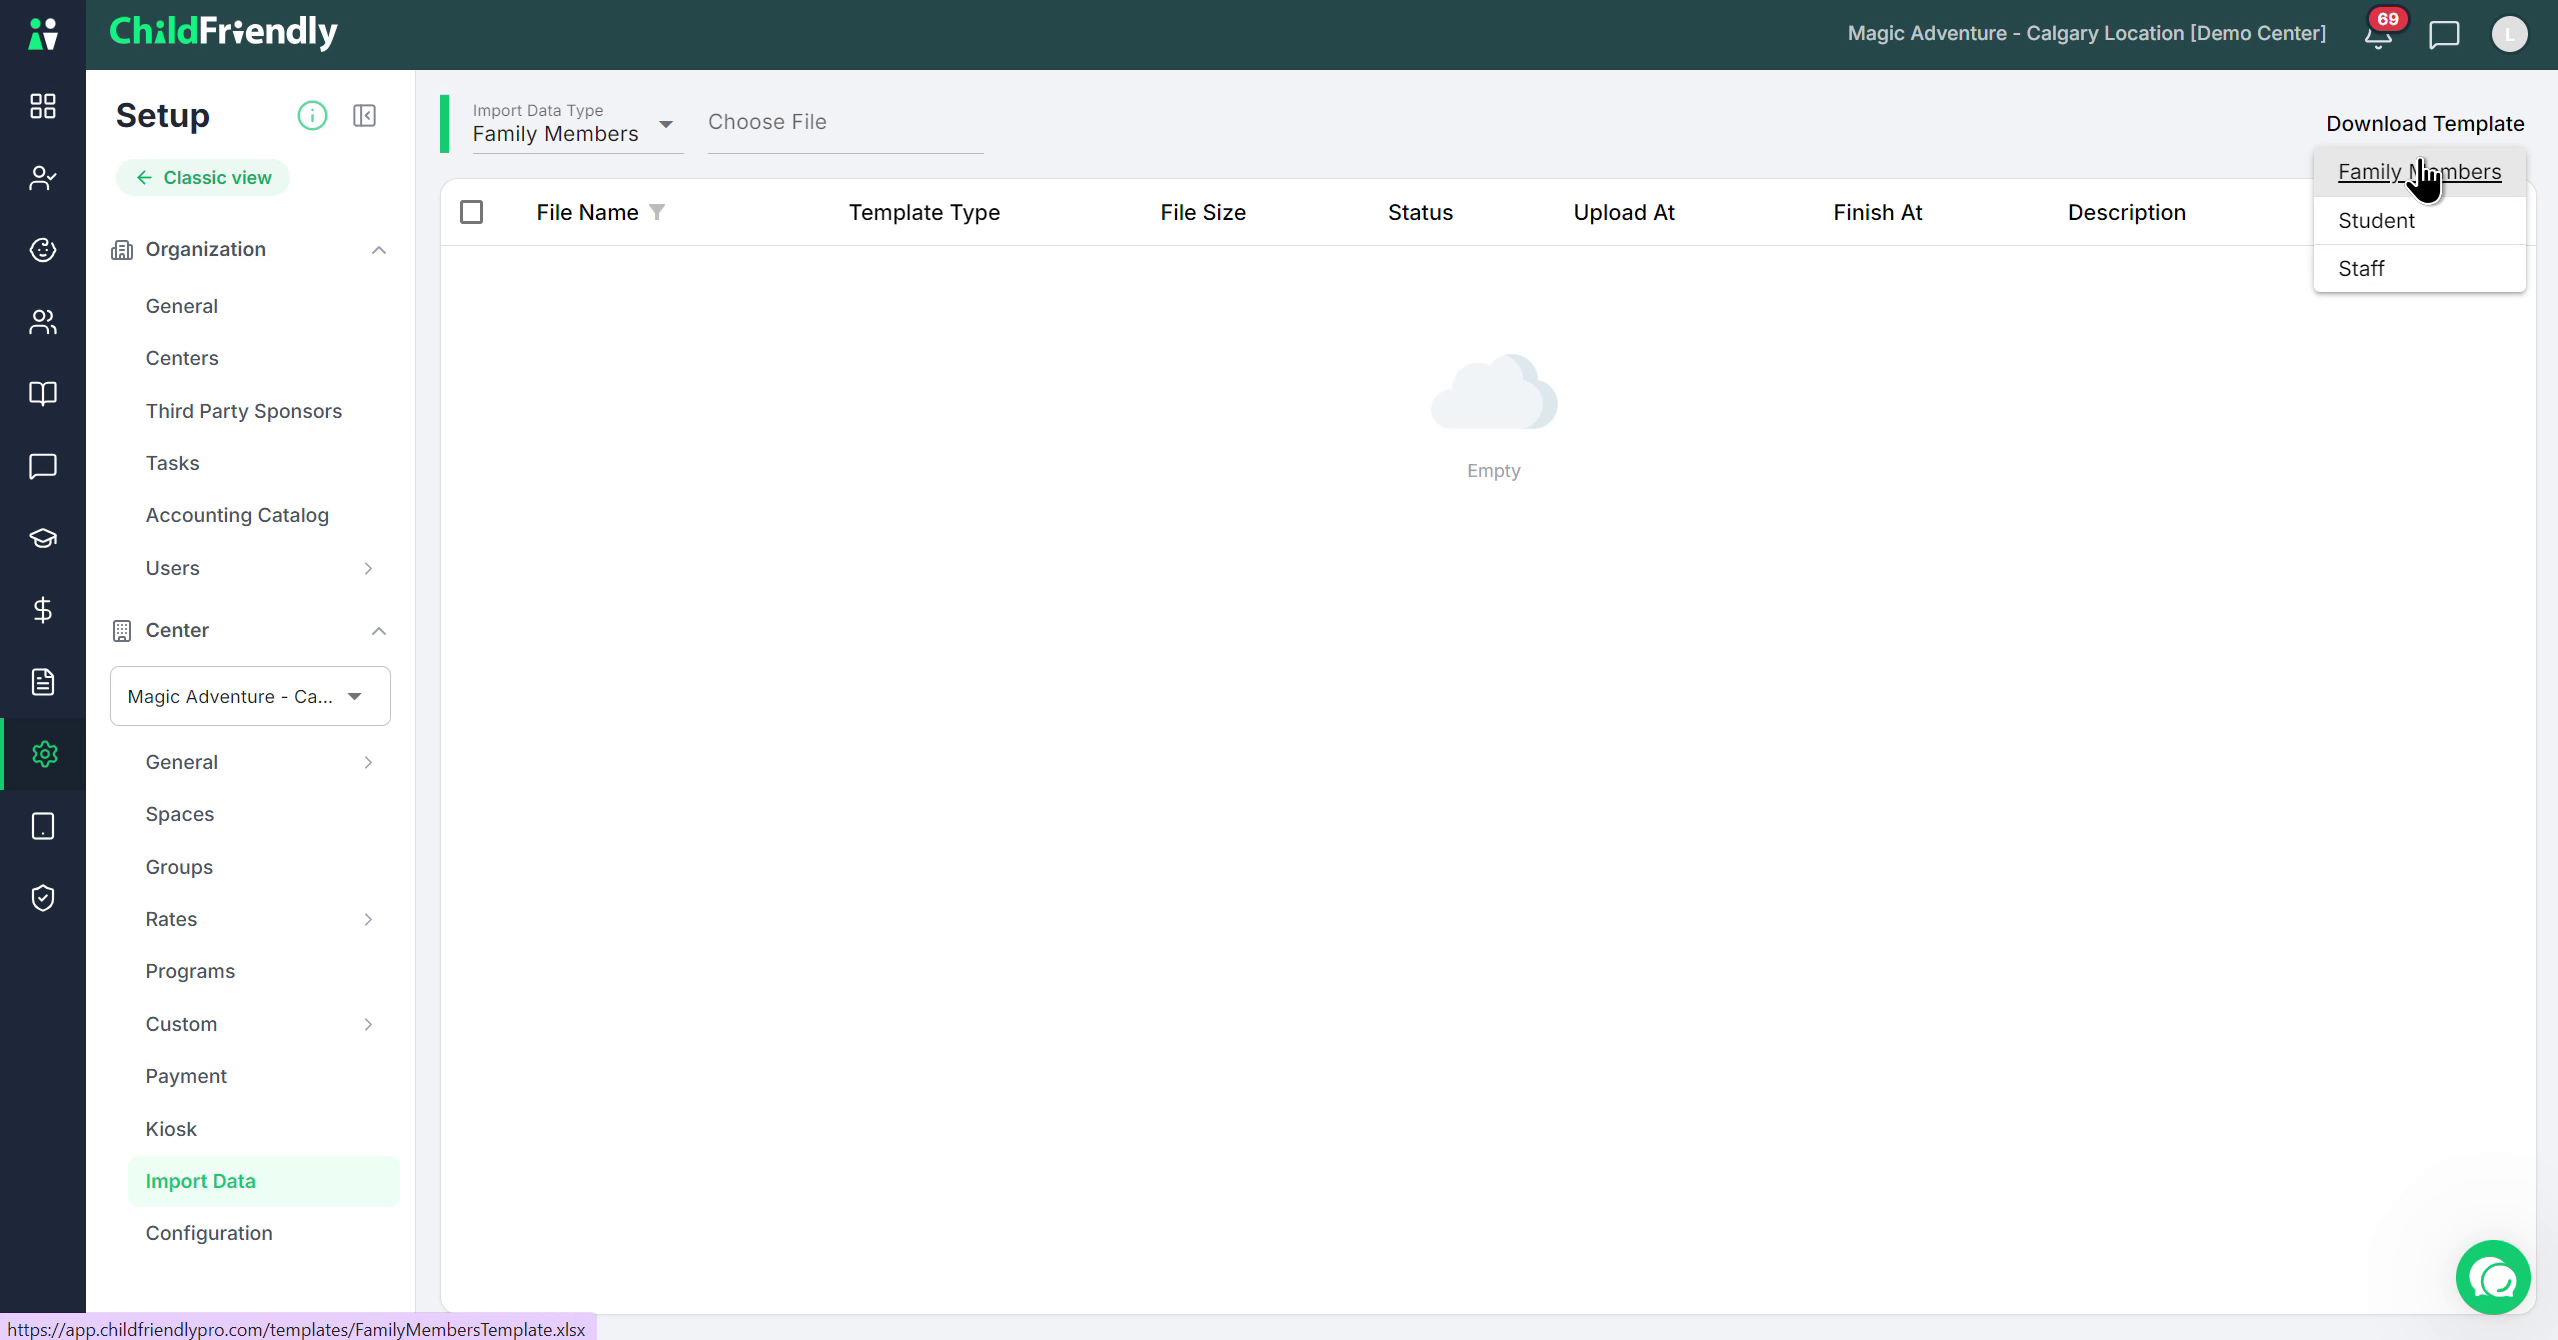
On the top-right corner of the screen, click Download Template to access the available import templates.
You will see three different templates available for download.
Step 2: Download and Complete the Family Members Template
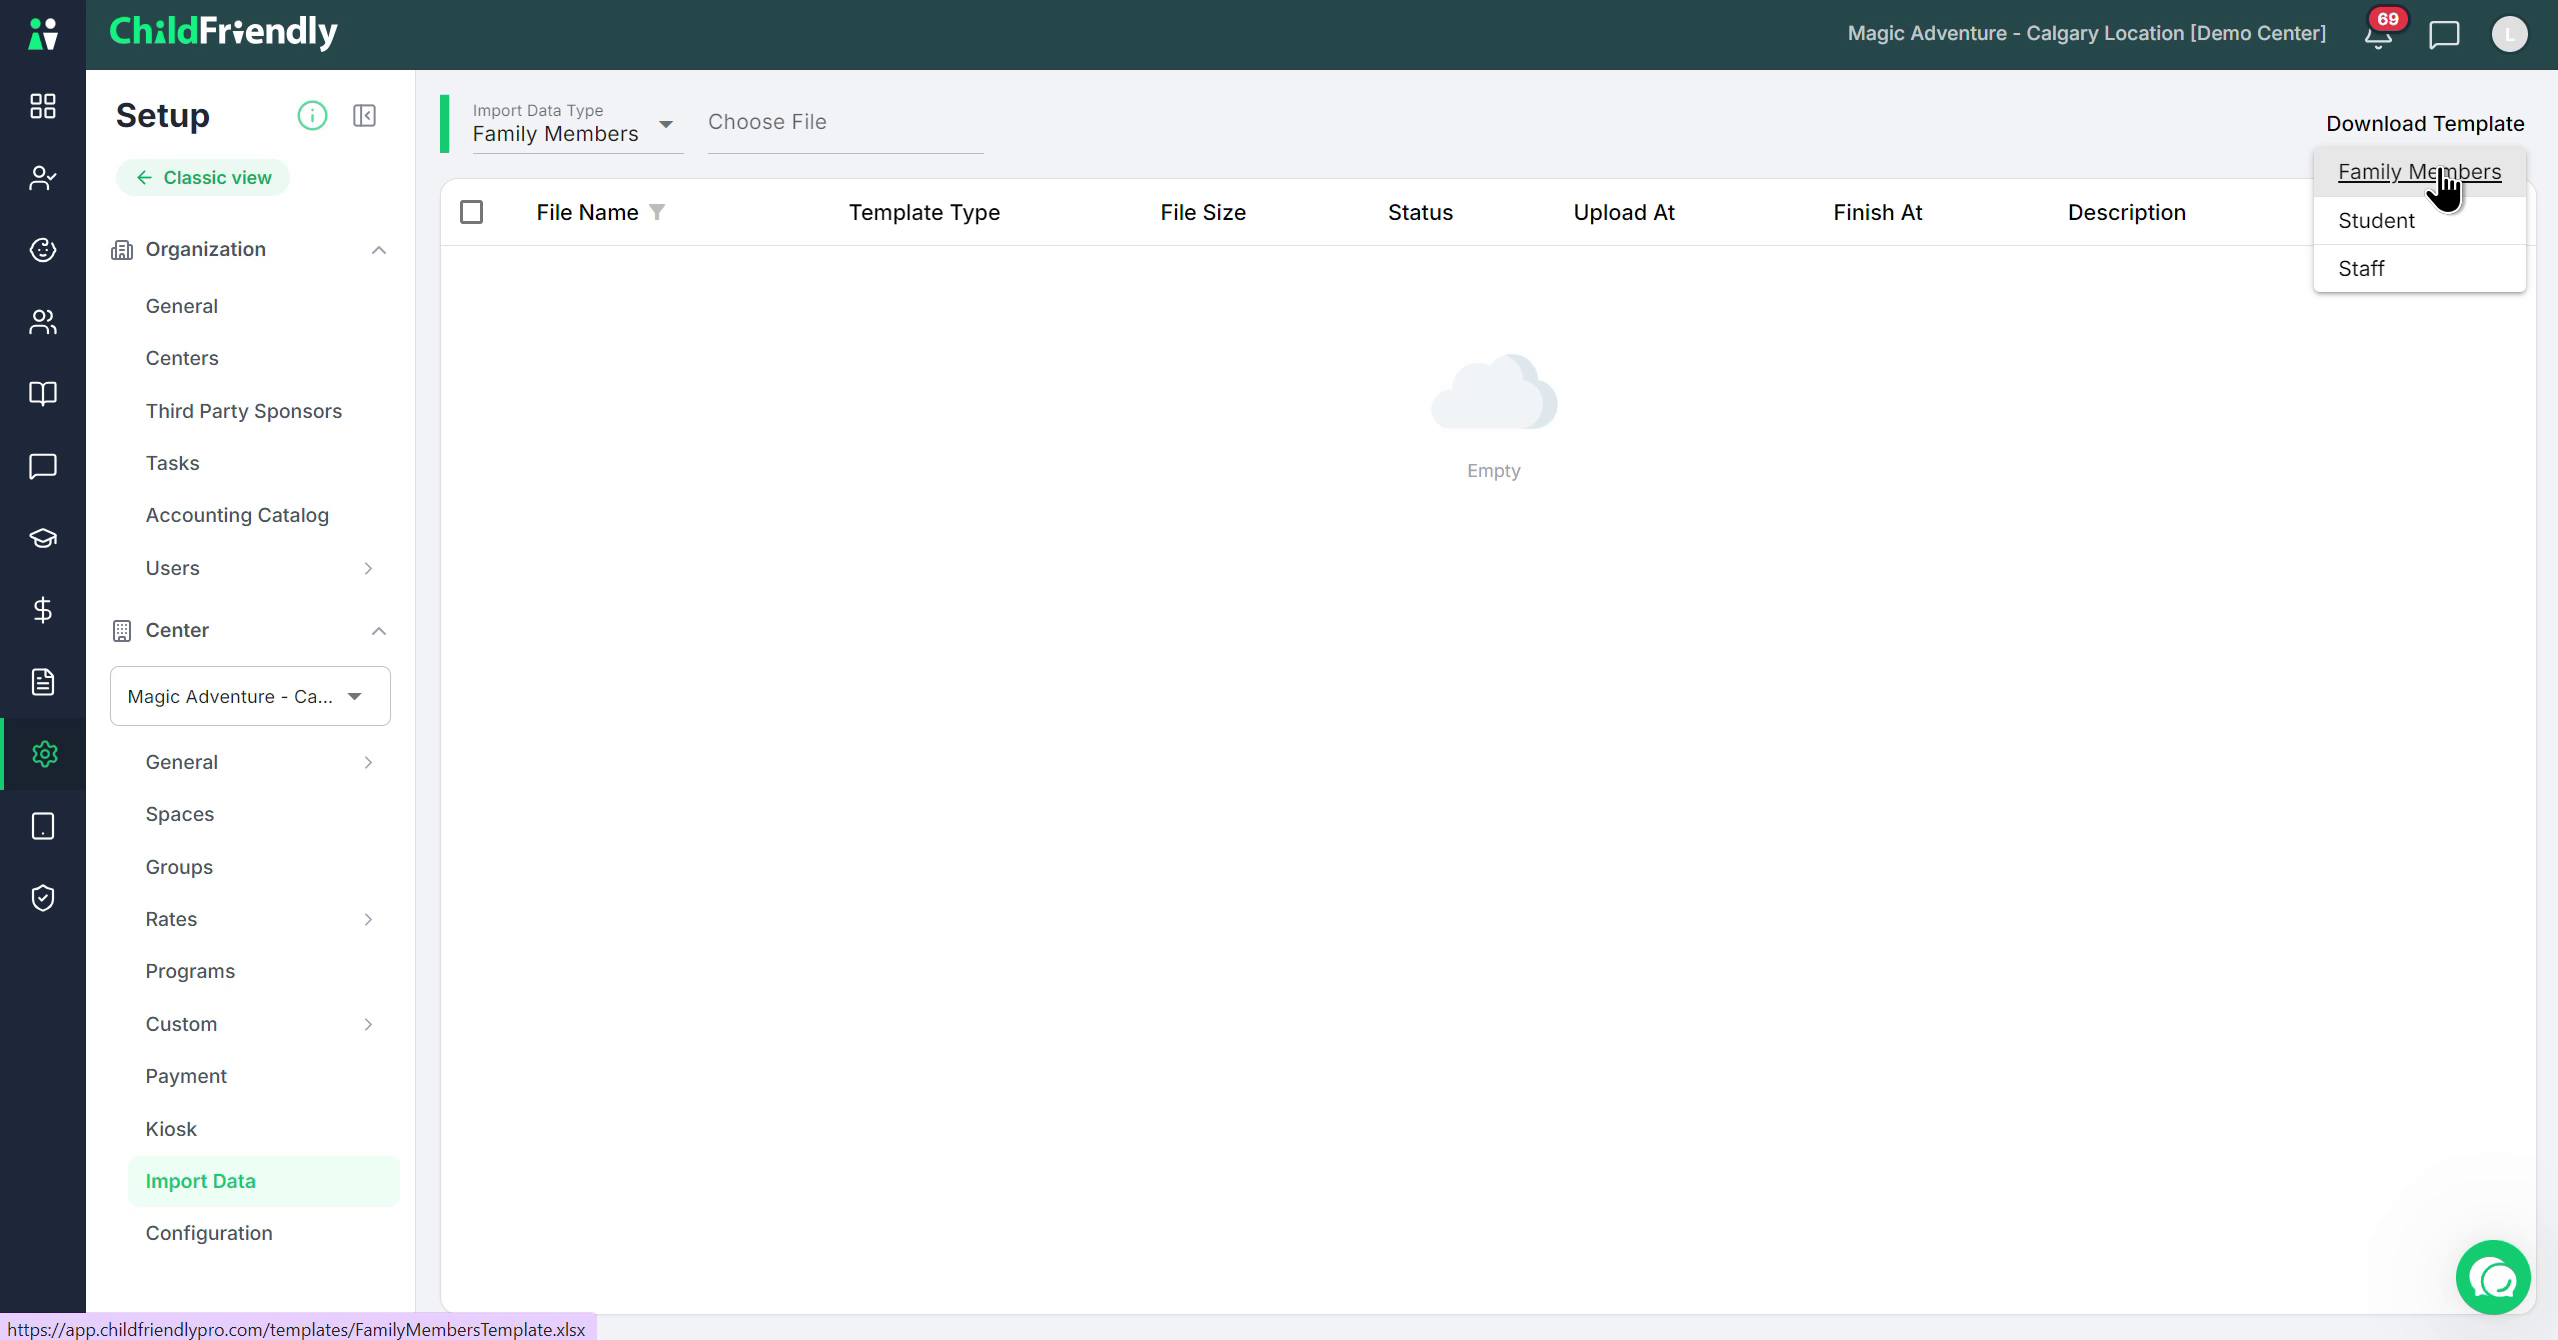
Download the Family Members template:
This template is a
.csvfile that includes column headers for all required family member fields (parents, guardians, emergency contacts, and any other individuals linked to a family profile in ChildFriendly).In ChildFriendly, any person attached to a family profile is referred to as a family member, even if they are not a biological relative.
Enter all relevant information for each family member directly into this CSV file.
Step 3: Download and Complete the Student and Staff Templates
Next, download and complete the other two templates:
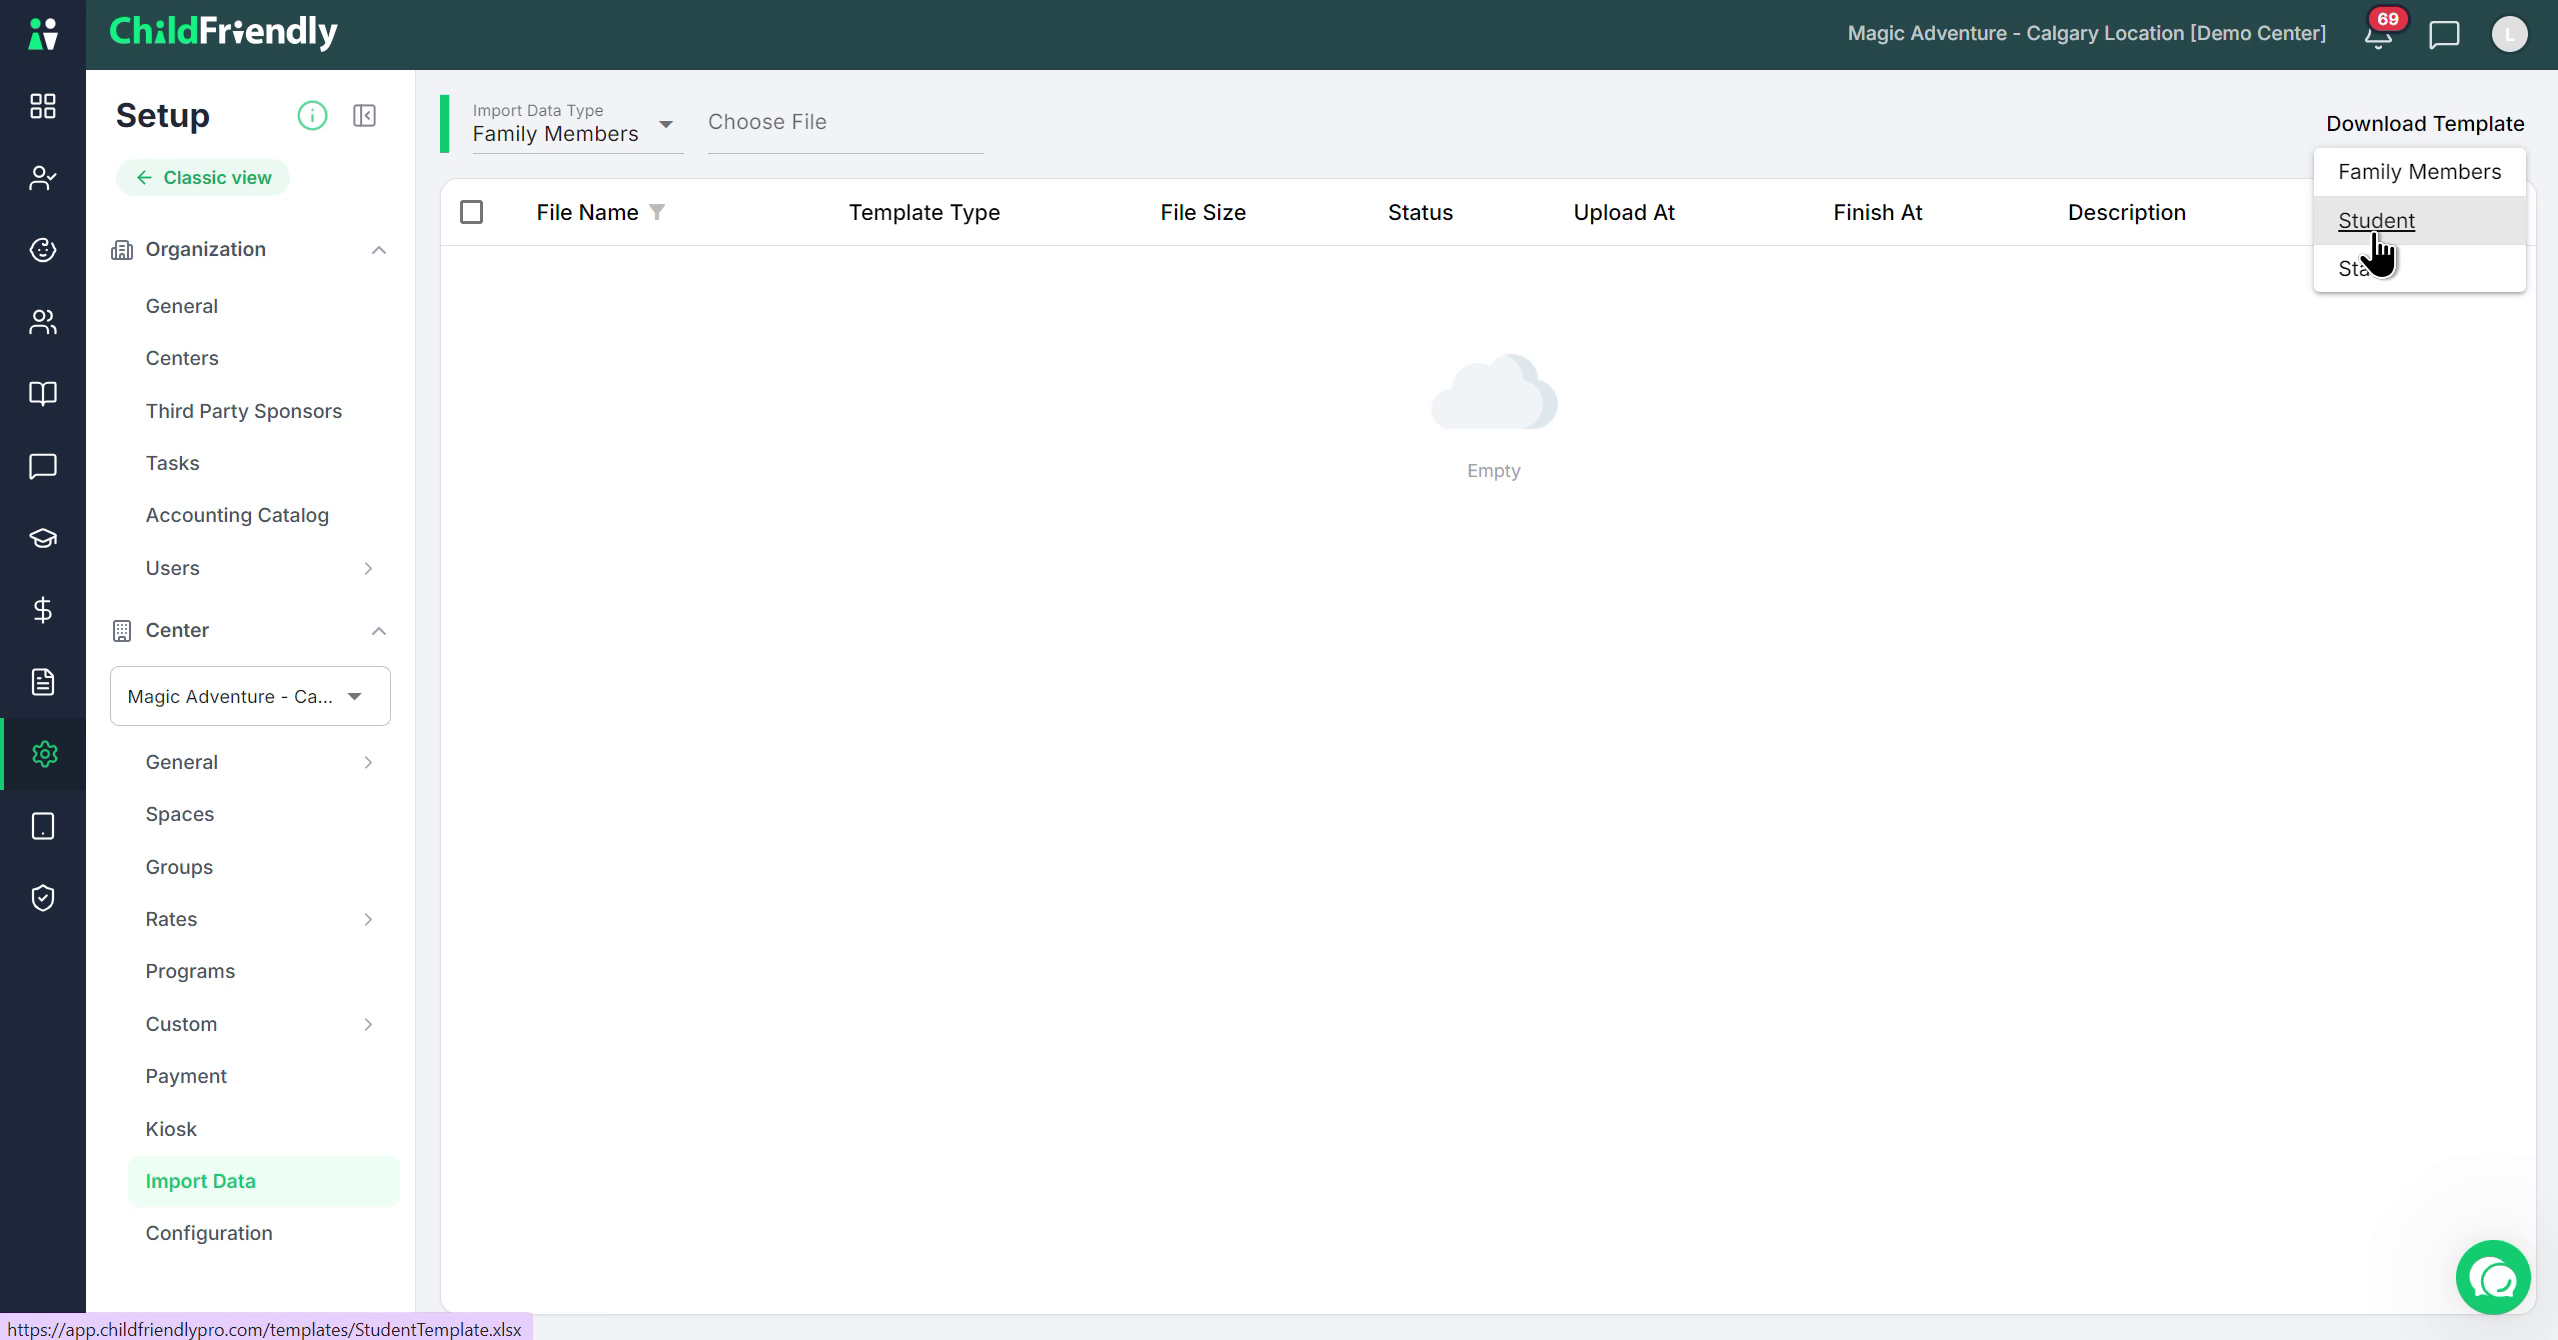
Student template:
Use this template to enter all information about the children (students) in your program.
Staff template:
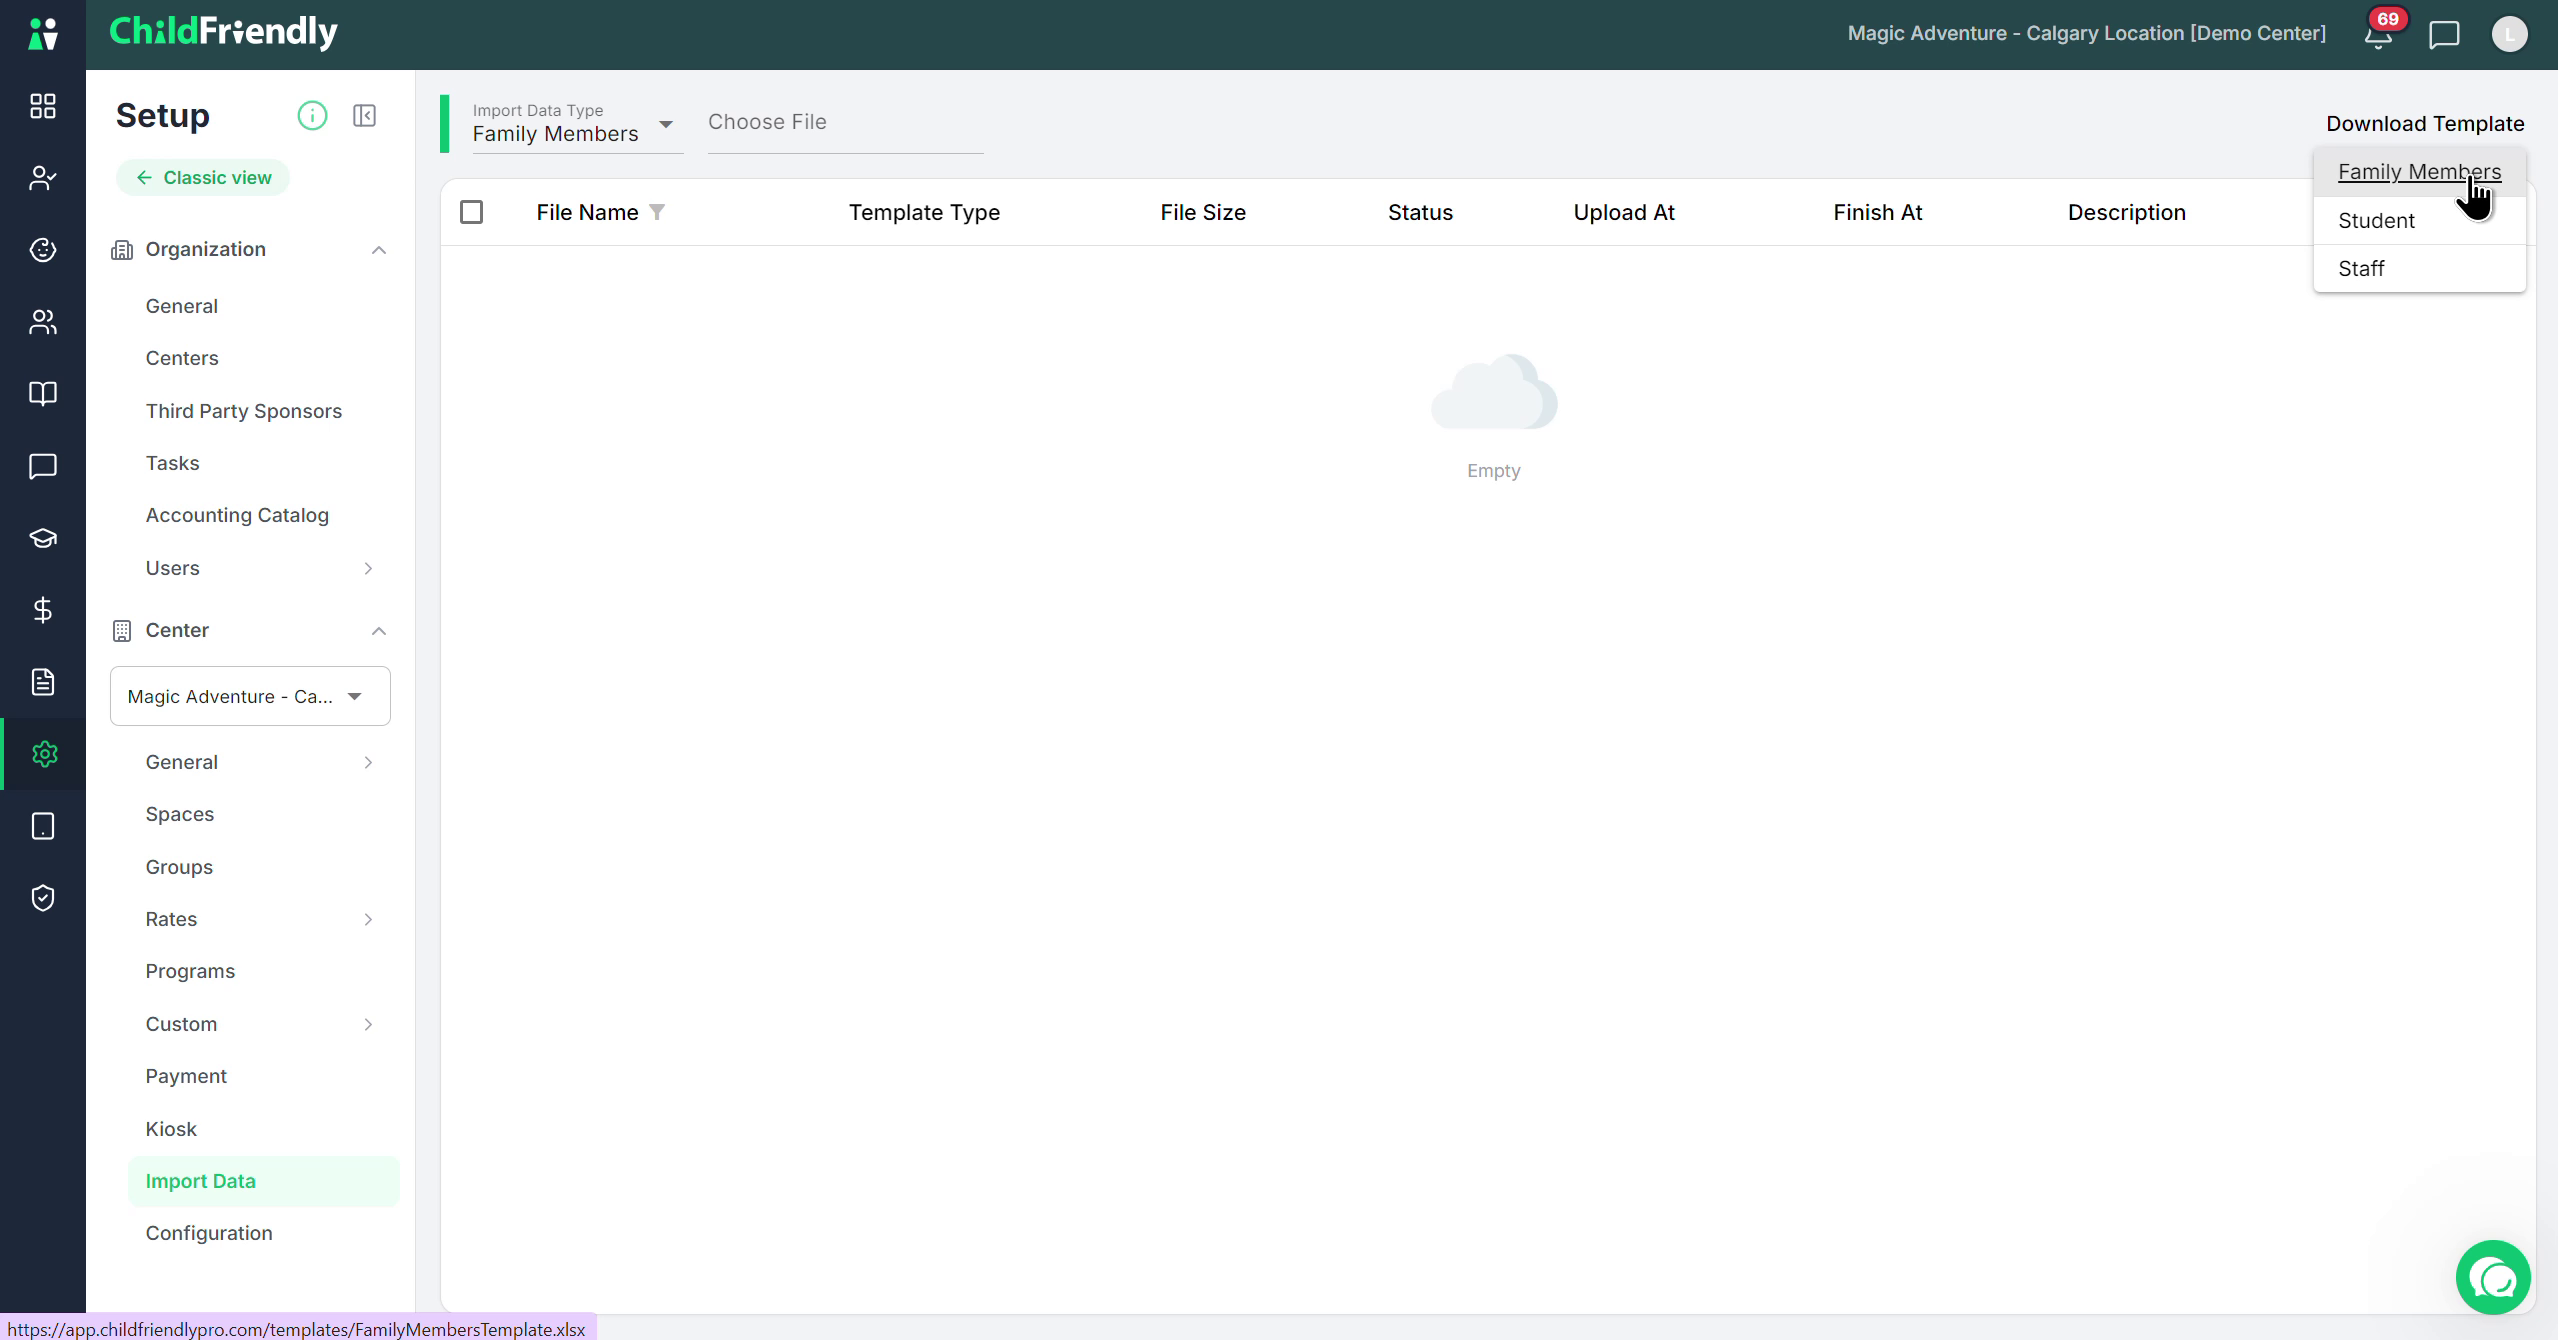
Use this template to enter information for all staff members you wish to add to ChildFriendly.
Fill out each template with the appropriate data before proceeding.
Step 4: Use the Family Email to Link Students and Family Members
When completing the Family and Student templates, it is critical to use the family email correctly:
The family email appears as the first column in these CSV templates and acts as a unique identifier (similar to a family ID).
Use the same family email for:
Every family member listed who belongs to that family.
Every student who belongs to that family.
Additional notes:
The family email is typically the email of the primary guardian you have on file.
This is different from a member’s personal or work email; those have their own separate fields.
Any student or family member record that shares the same family email in the uploaded CSV will be grouped under the same family profile in ChildFriendly.
Step 5: Start the Import and Choose the Correct Template Type
Once you have fully completed and saved your CSV templates, you are ready to import them:
In the Import Data section, choose to import your template file.
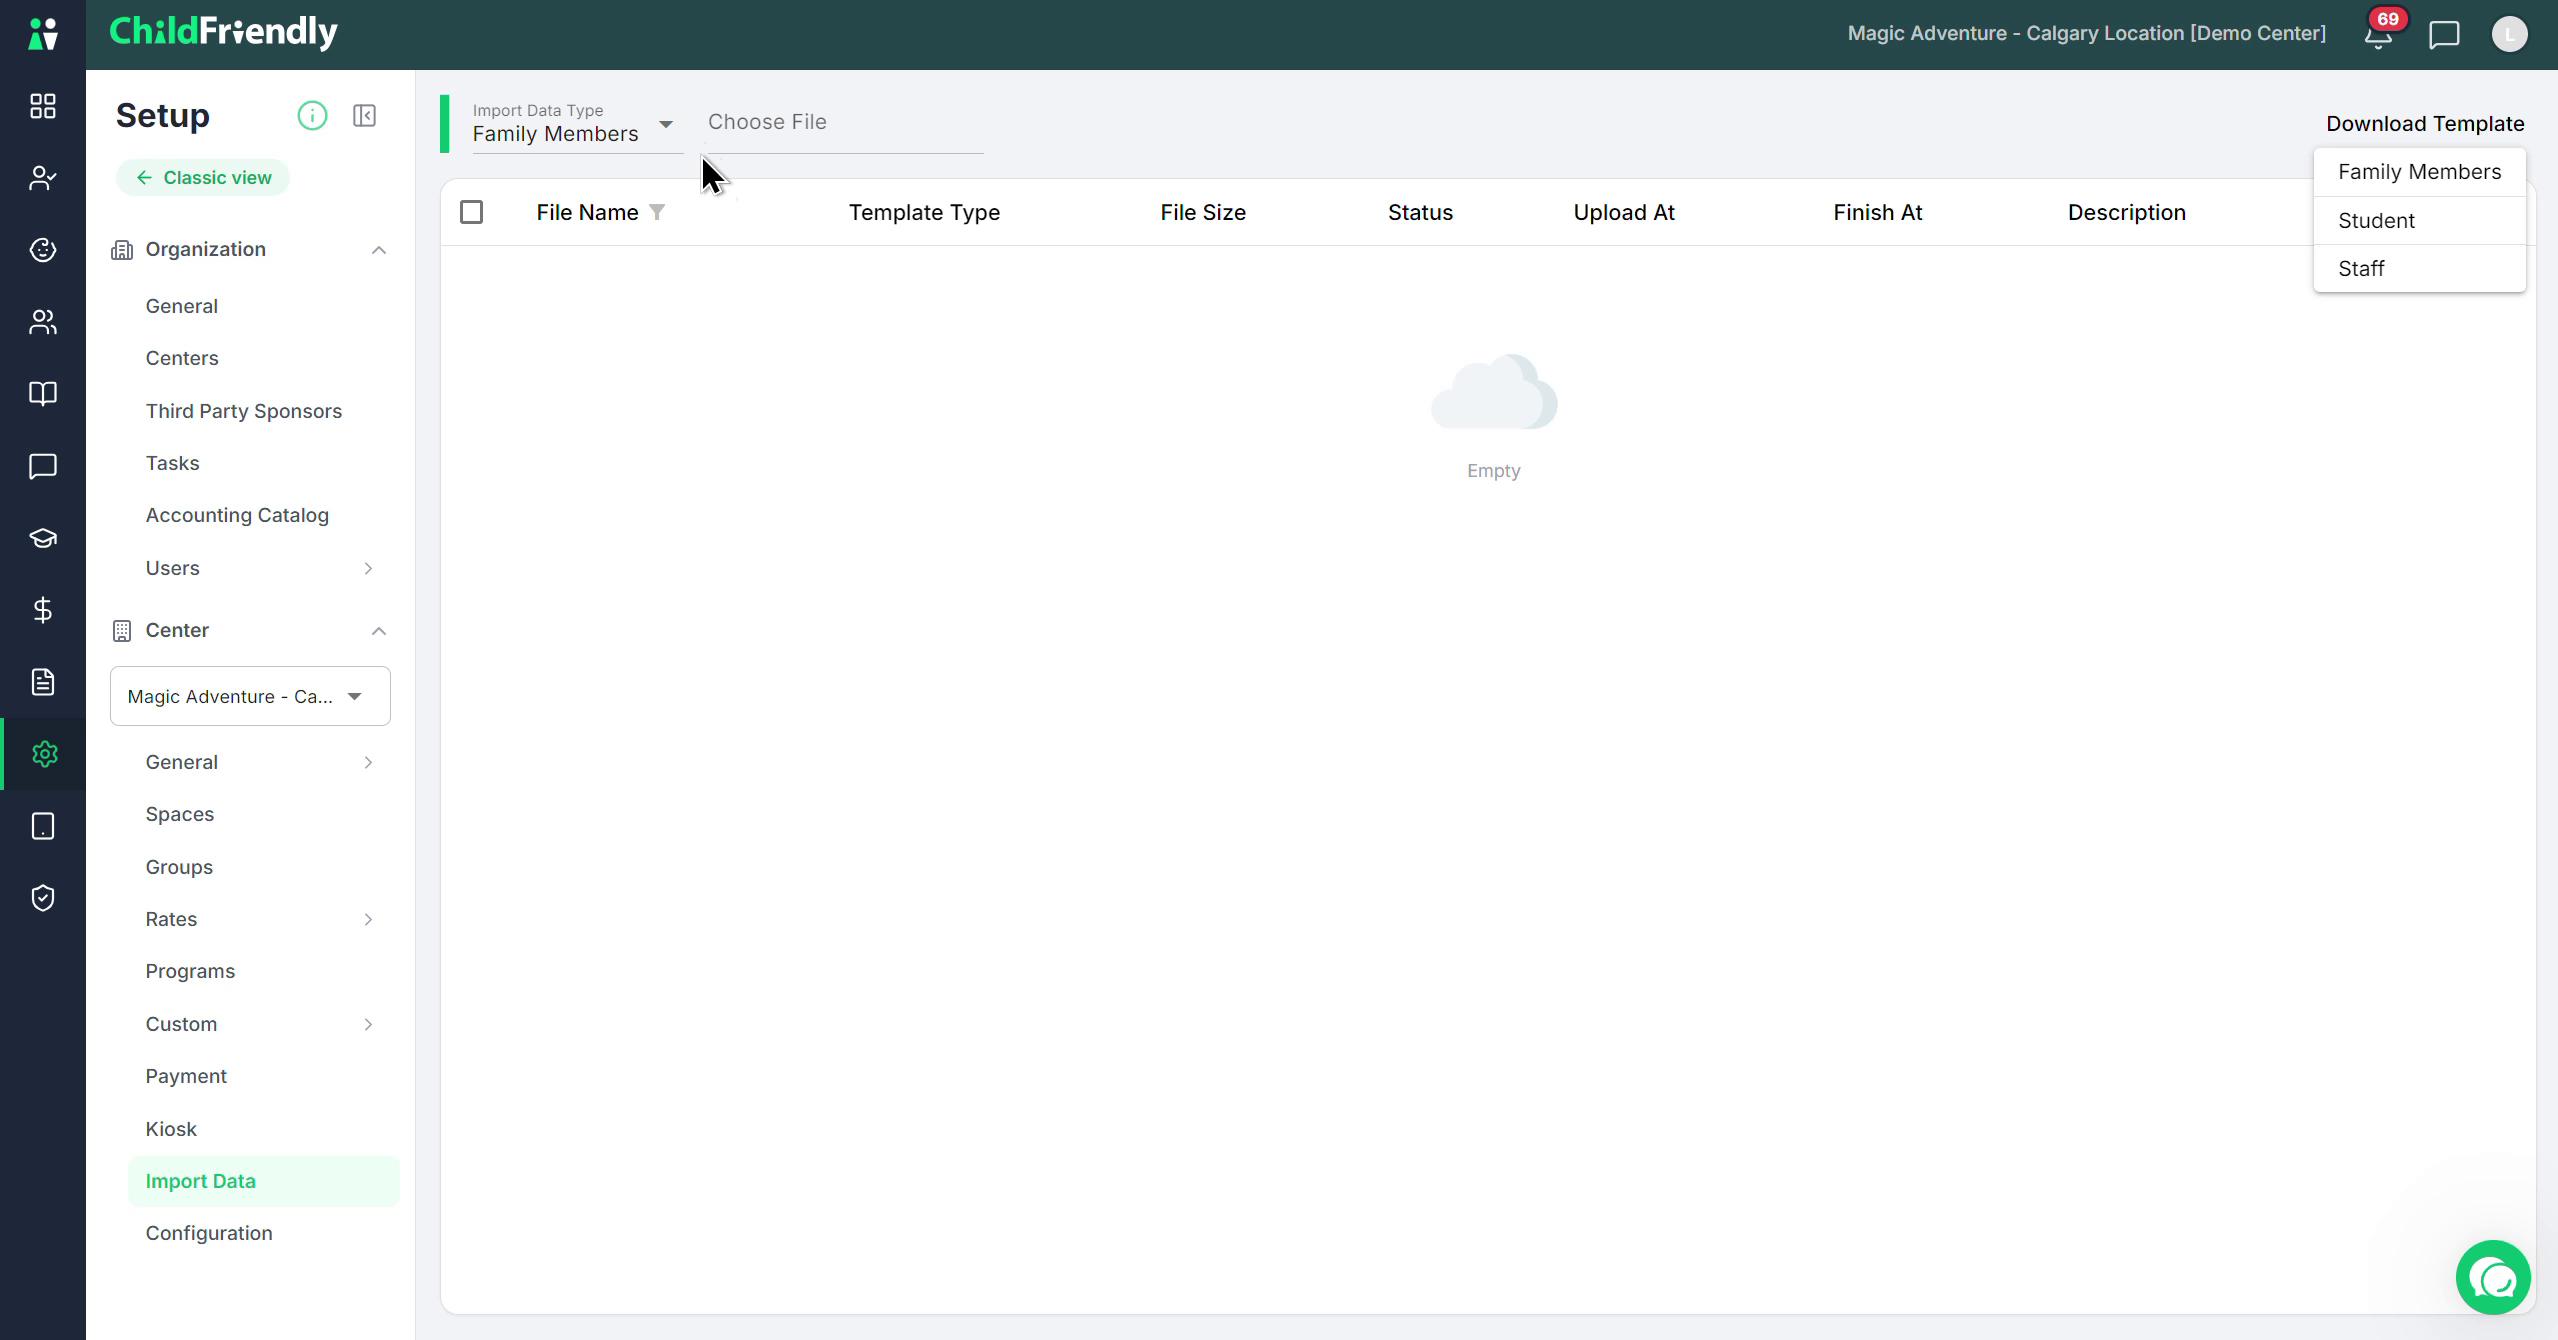
Then specify which type of template you are uploading:
Select Family Member if you are uploading the family members CSV.
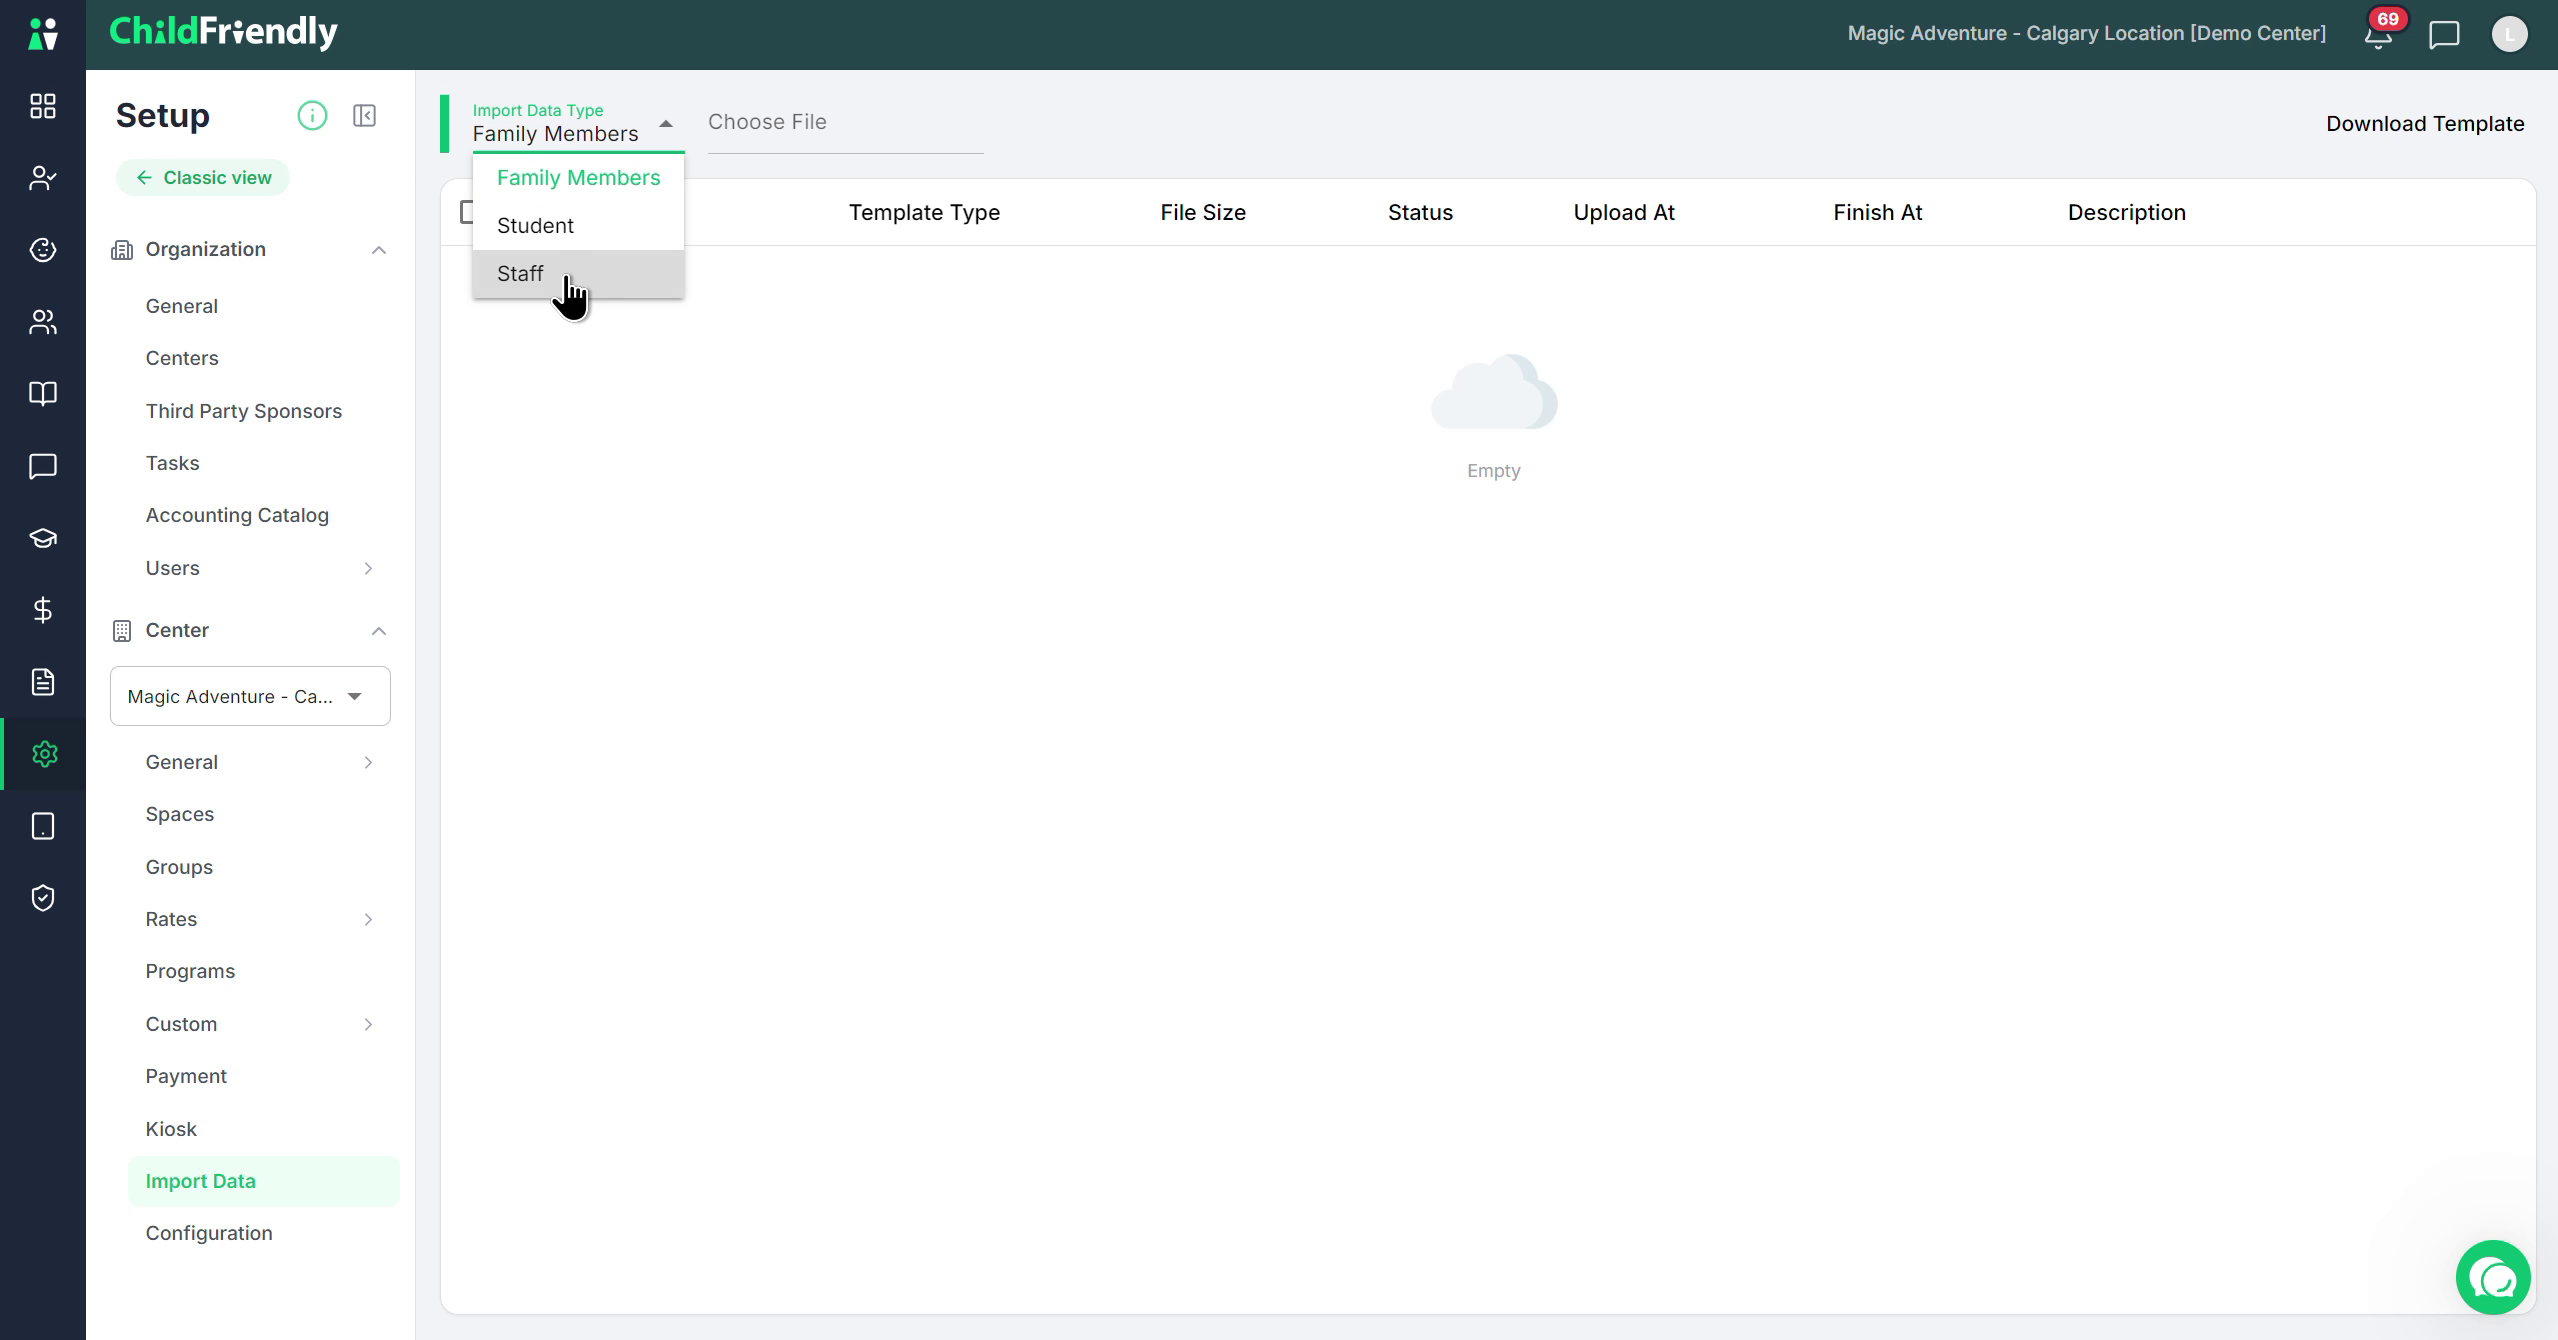
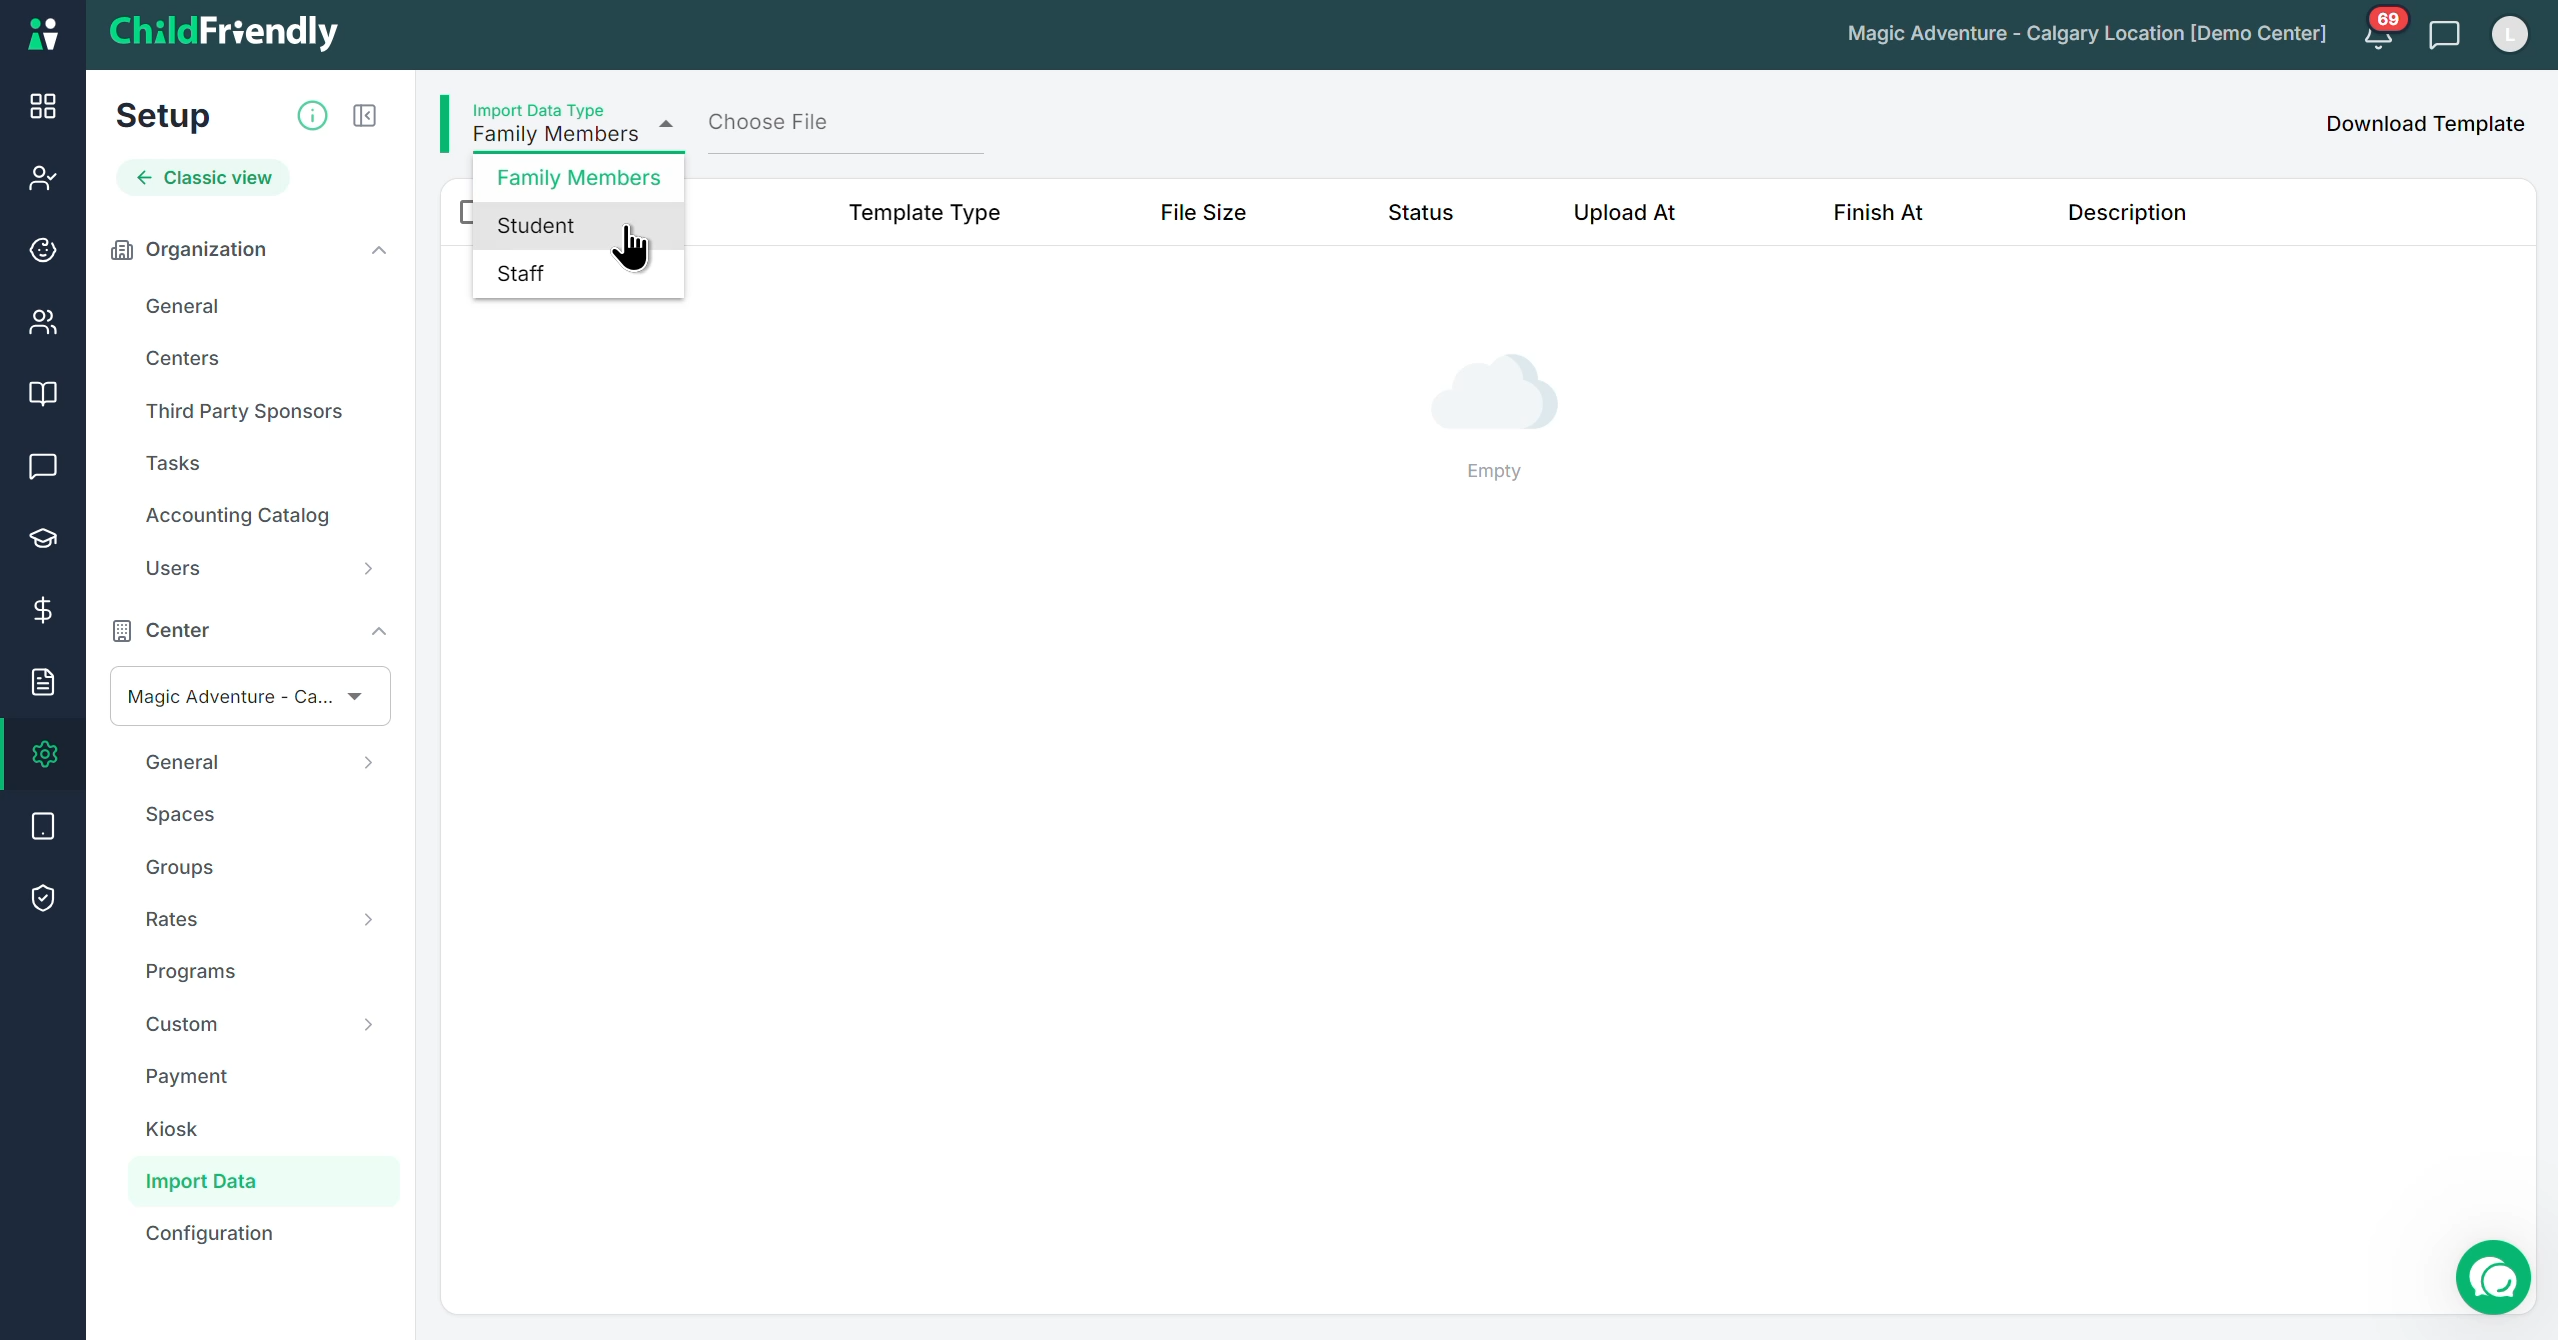
Select Student if you are uploading the student CSV.
Select Staff if you are uploading the staff CSV.
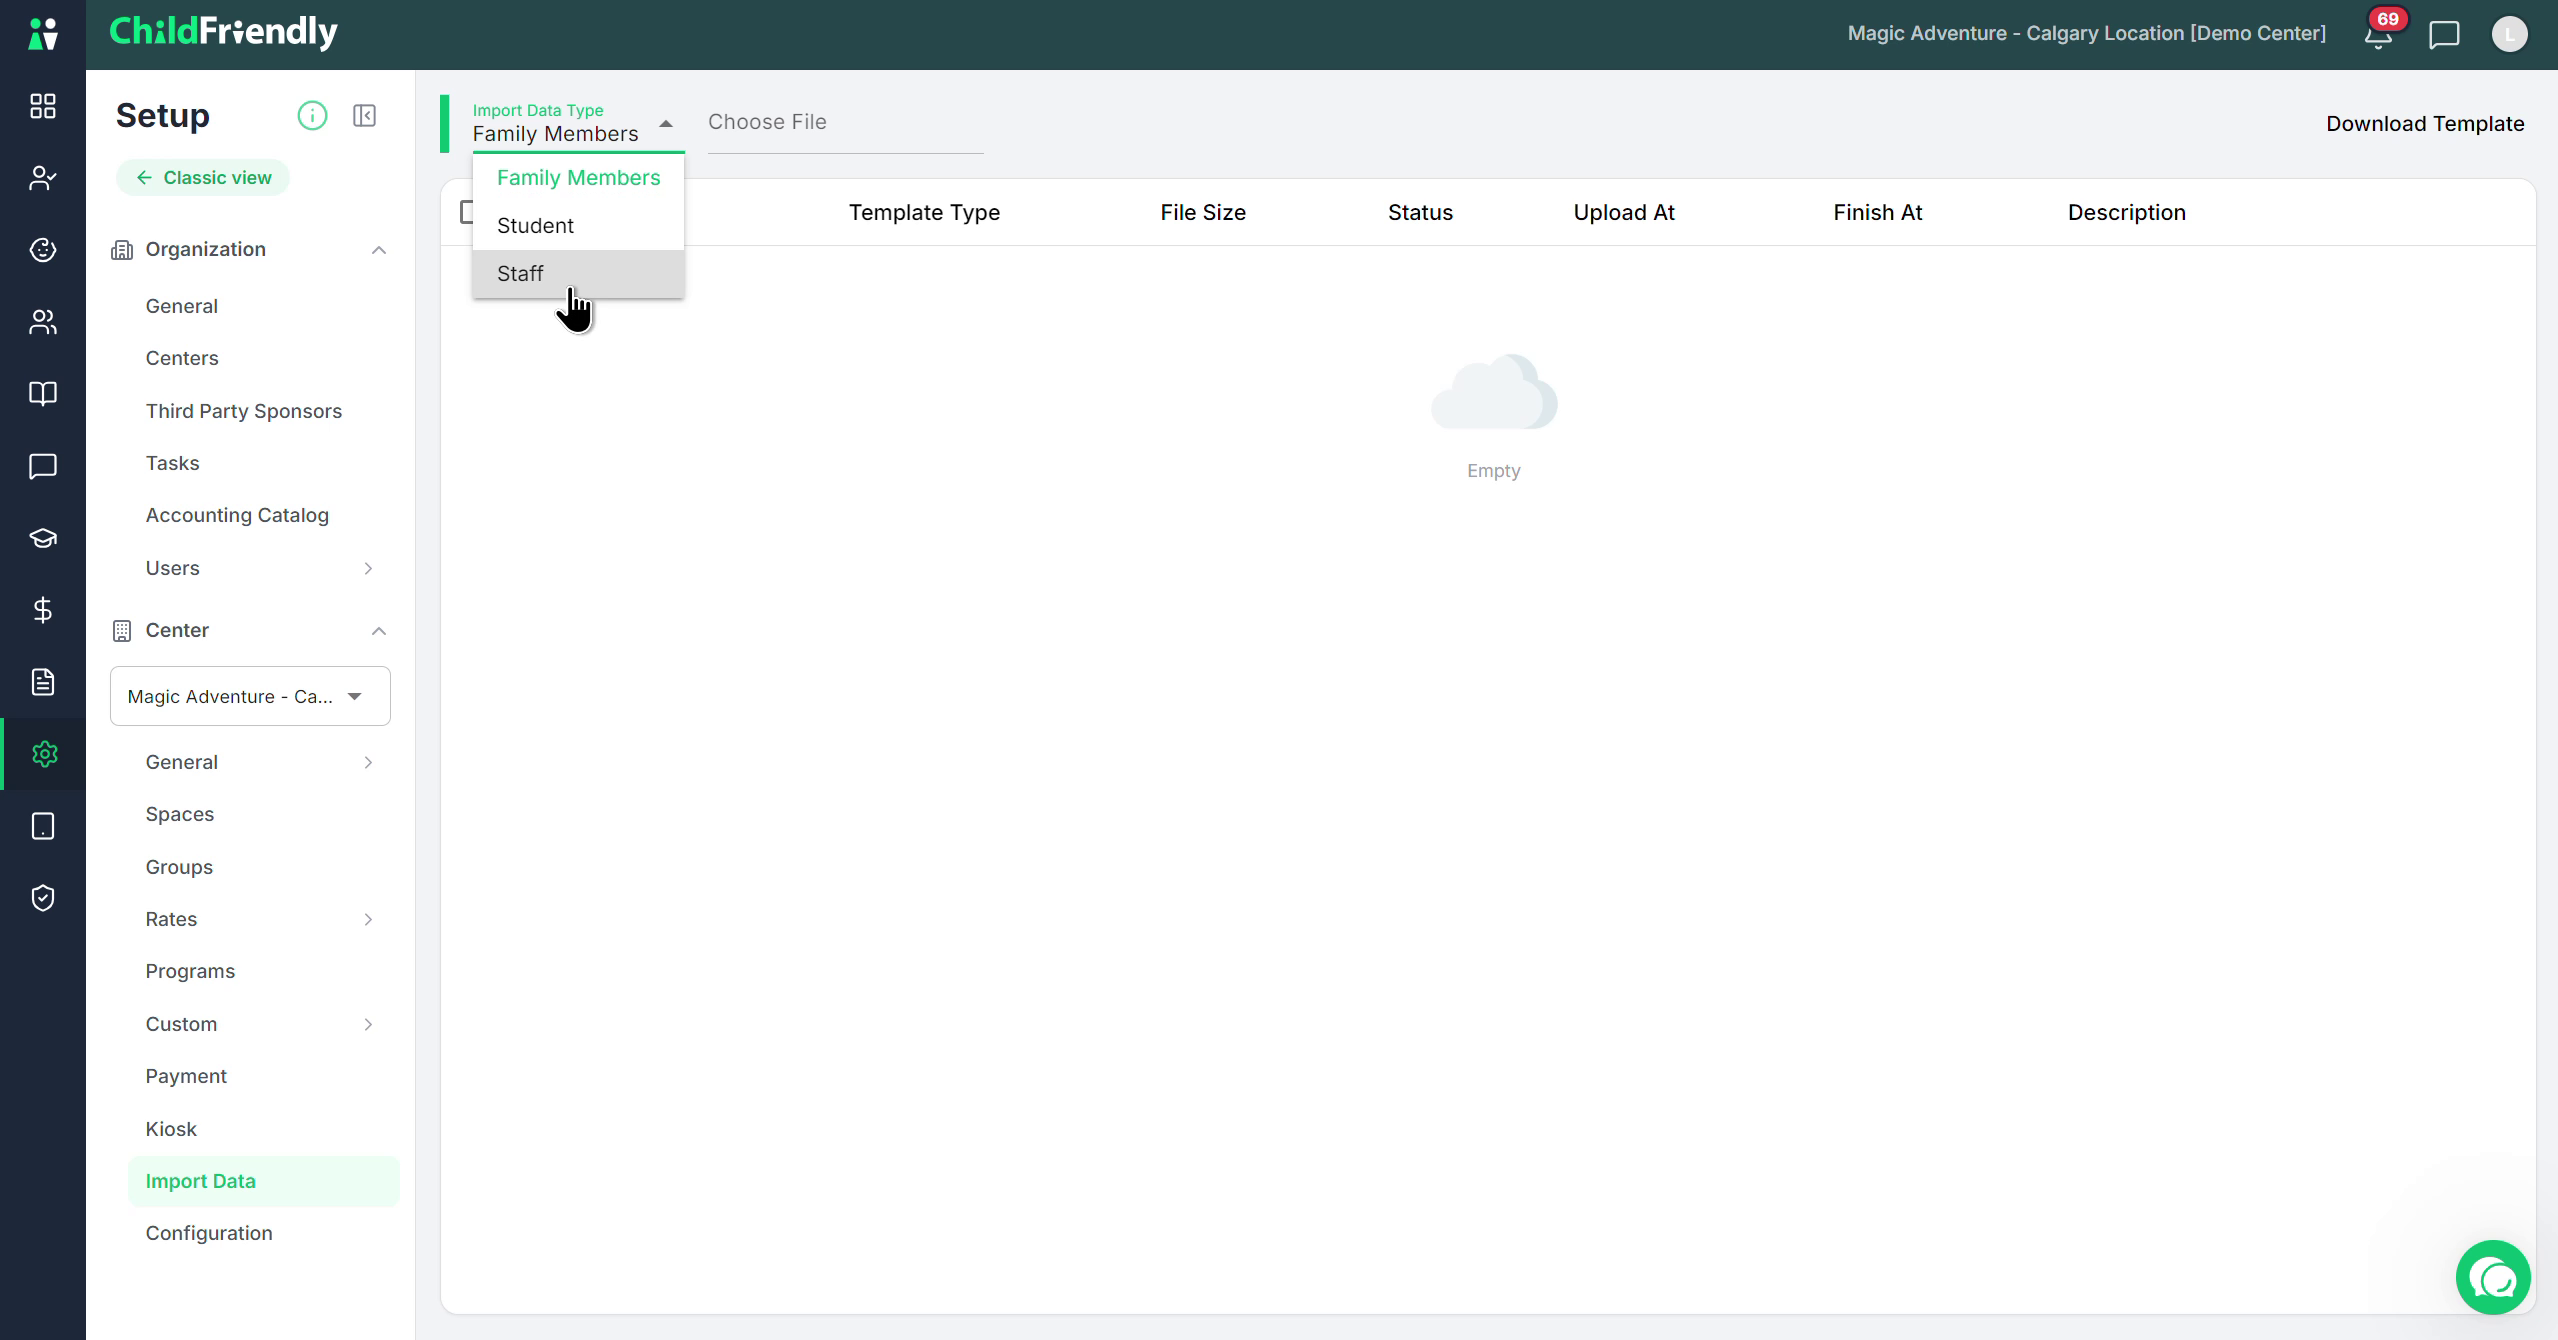
Remember: You can import all family members, all students, and all staff at once by uploading the three completed templates.
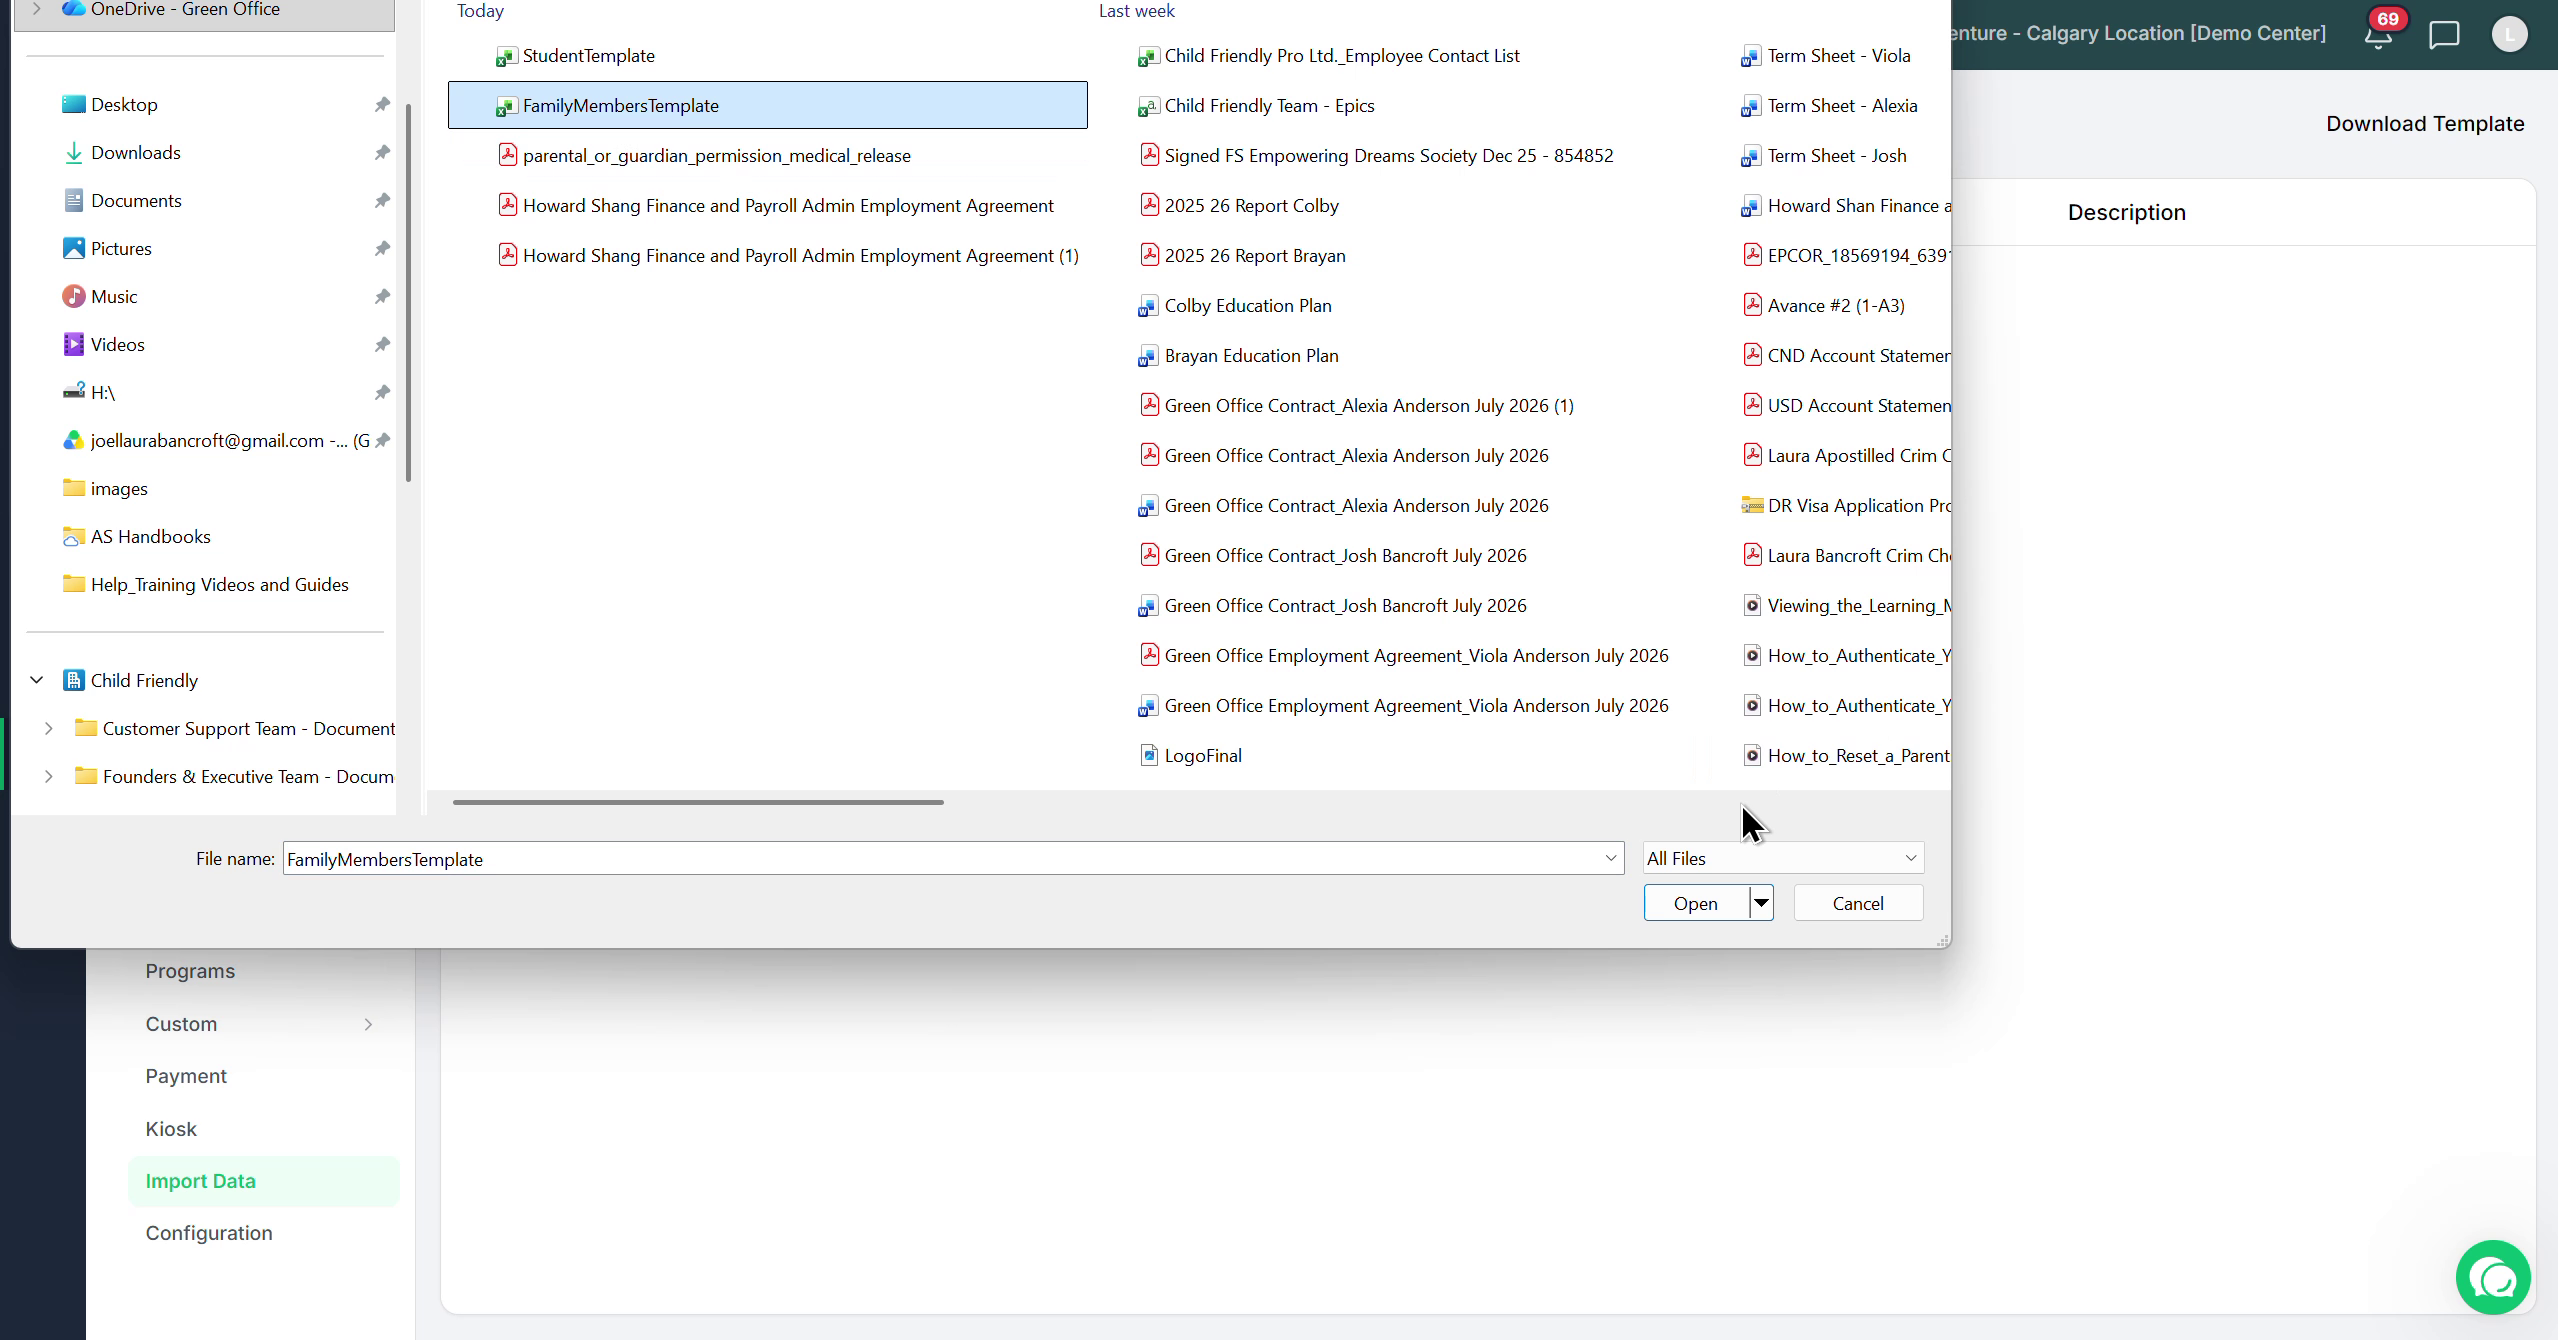
Step 6: Select Your File and Upload It
After selecting the file, click Upload to begin the import process.
Step 7: Review Import Status and Resolve Any Errors
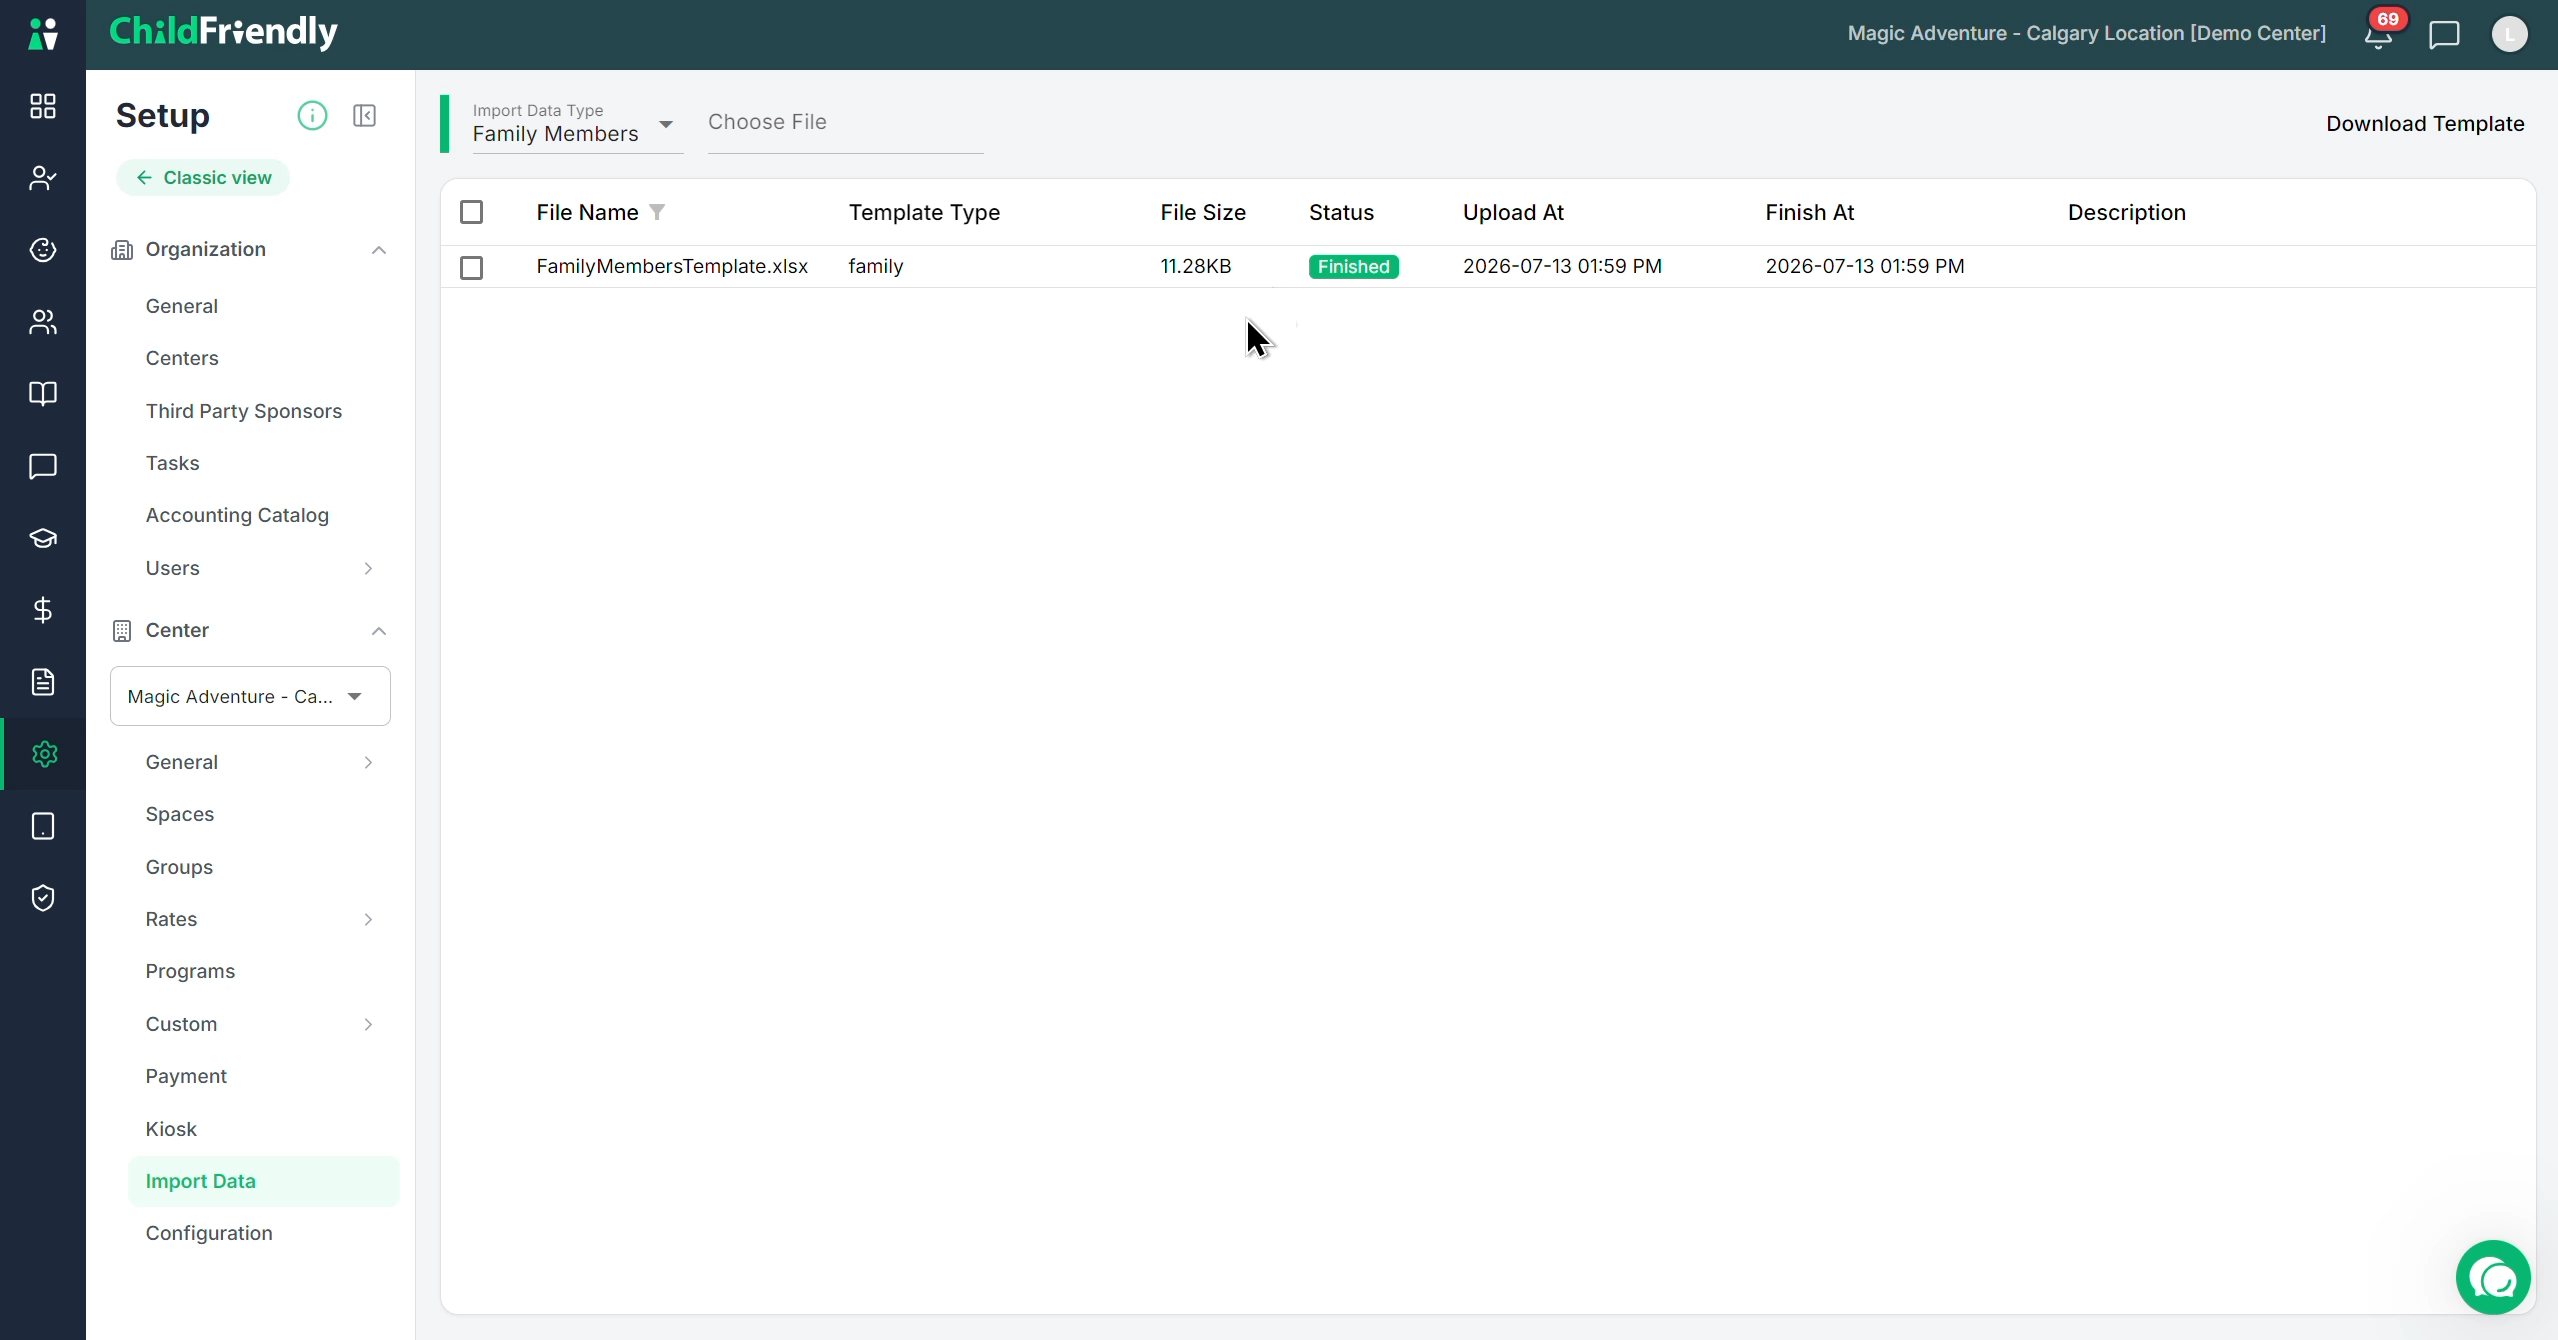
After the upload completes, check the import status:
If the import is successful, the status will show Finished.
If there is a problem, the status will show Failed with a red indicator.
To diagnose and fix errors:
Click the download file icon on the far right of the import entry.
Open the displayed template (Excel/CSV) and scroll to the far right to view any error details.
Correct the indicated issues (for example, incorrect data formats in specific columns).
Make sure to delete the last column that displays the errors before saving for re-upload.
Save the file again as a
.csv.Re-upload the corrected CSV file.
Repeat until the status shows Finished with no errors.
Once all templates have been successfully imported, your family, student, and staff data will be fully loaded into ChildFriendly.