How to Set Up Third Party Sponsors
Use this article to view, add, edit, and remove third-party sponsors in ChildFriendly, and to configure key fields such as invoice email, center visibility, and invoice visibility on the family portal. This is a one time set up, completed via your organizations settings, in the Set Up Module.
Last updated About 2 months ago
Definition of a Third Party Sponsor: Ensure you understand the defnition of a third-party sponsor. A third-party sponsor is any payer other than a family member who covers a portion of a child’s fees. This is typically a government subsidy organization, foster care agency, or other service provider.
Step 1: Open Third-Party Sponsors
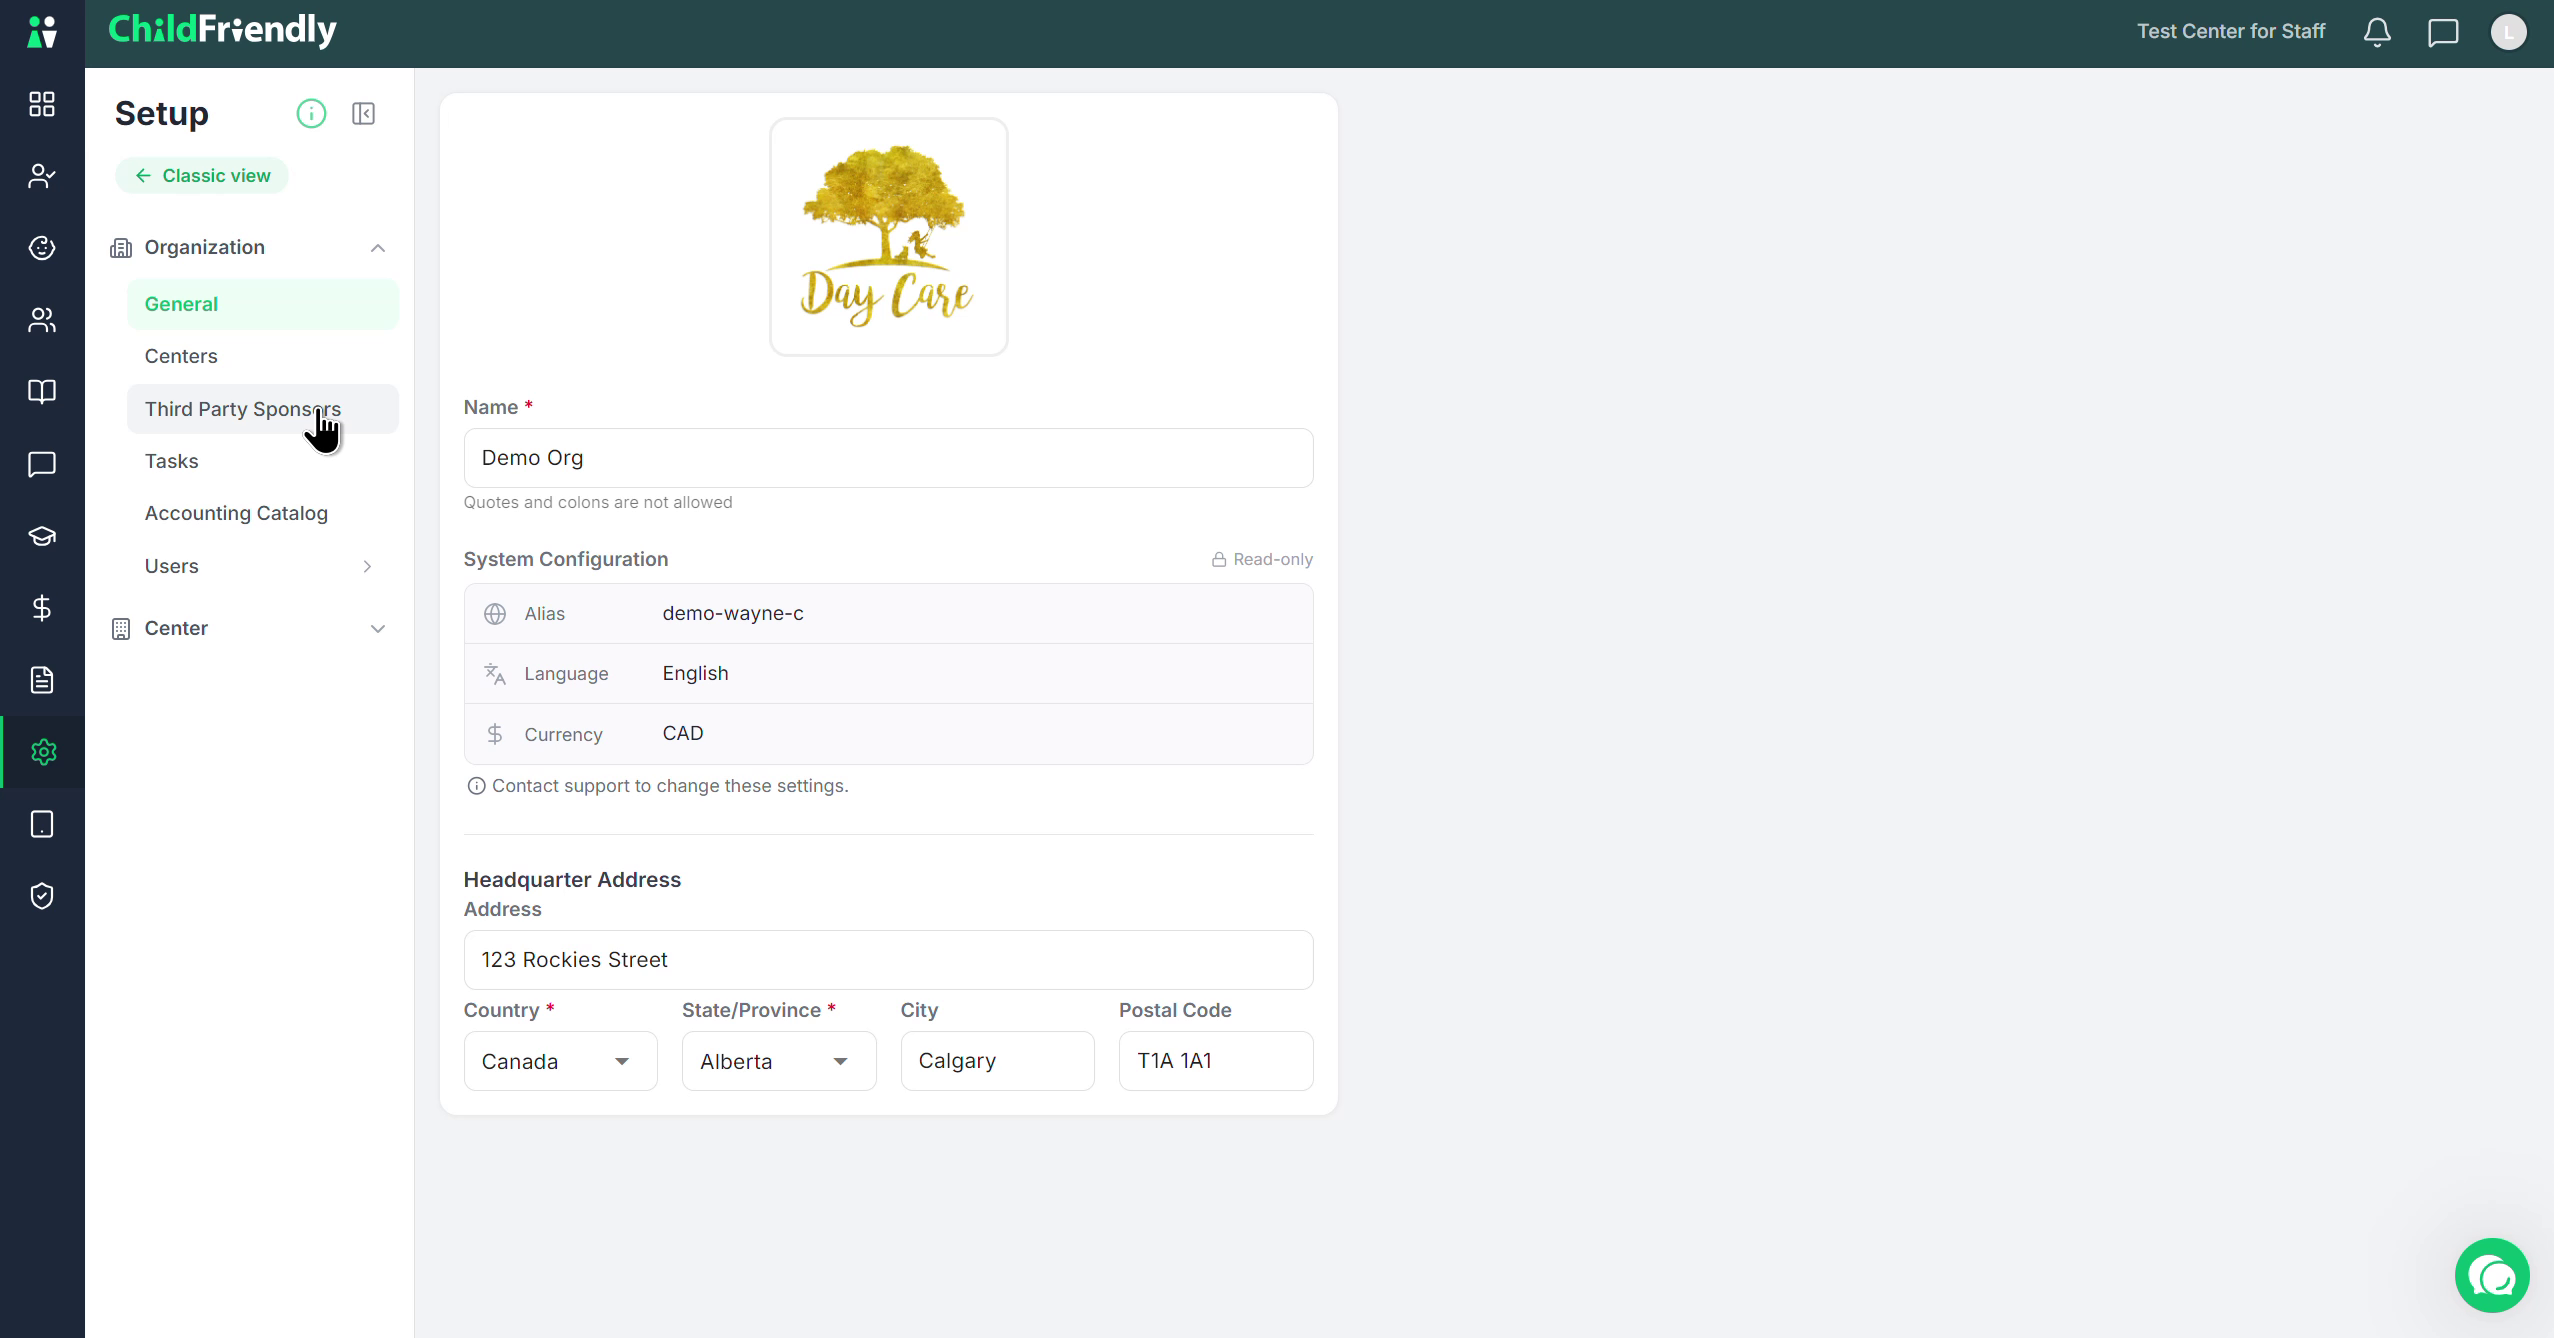
From the Setup module, go to the Organization section and select Third-Party Sponsors.
Step 2: Review Existing Third-Party Sponsors
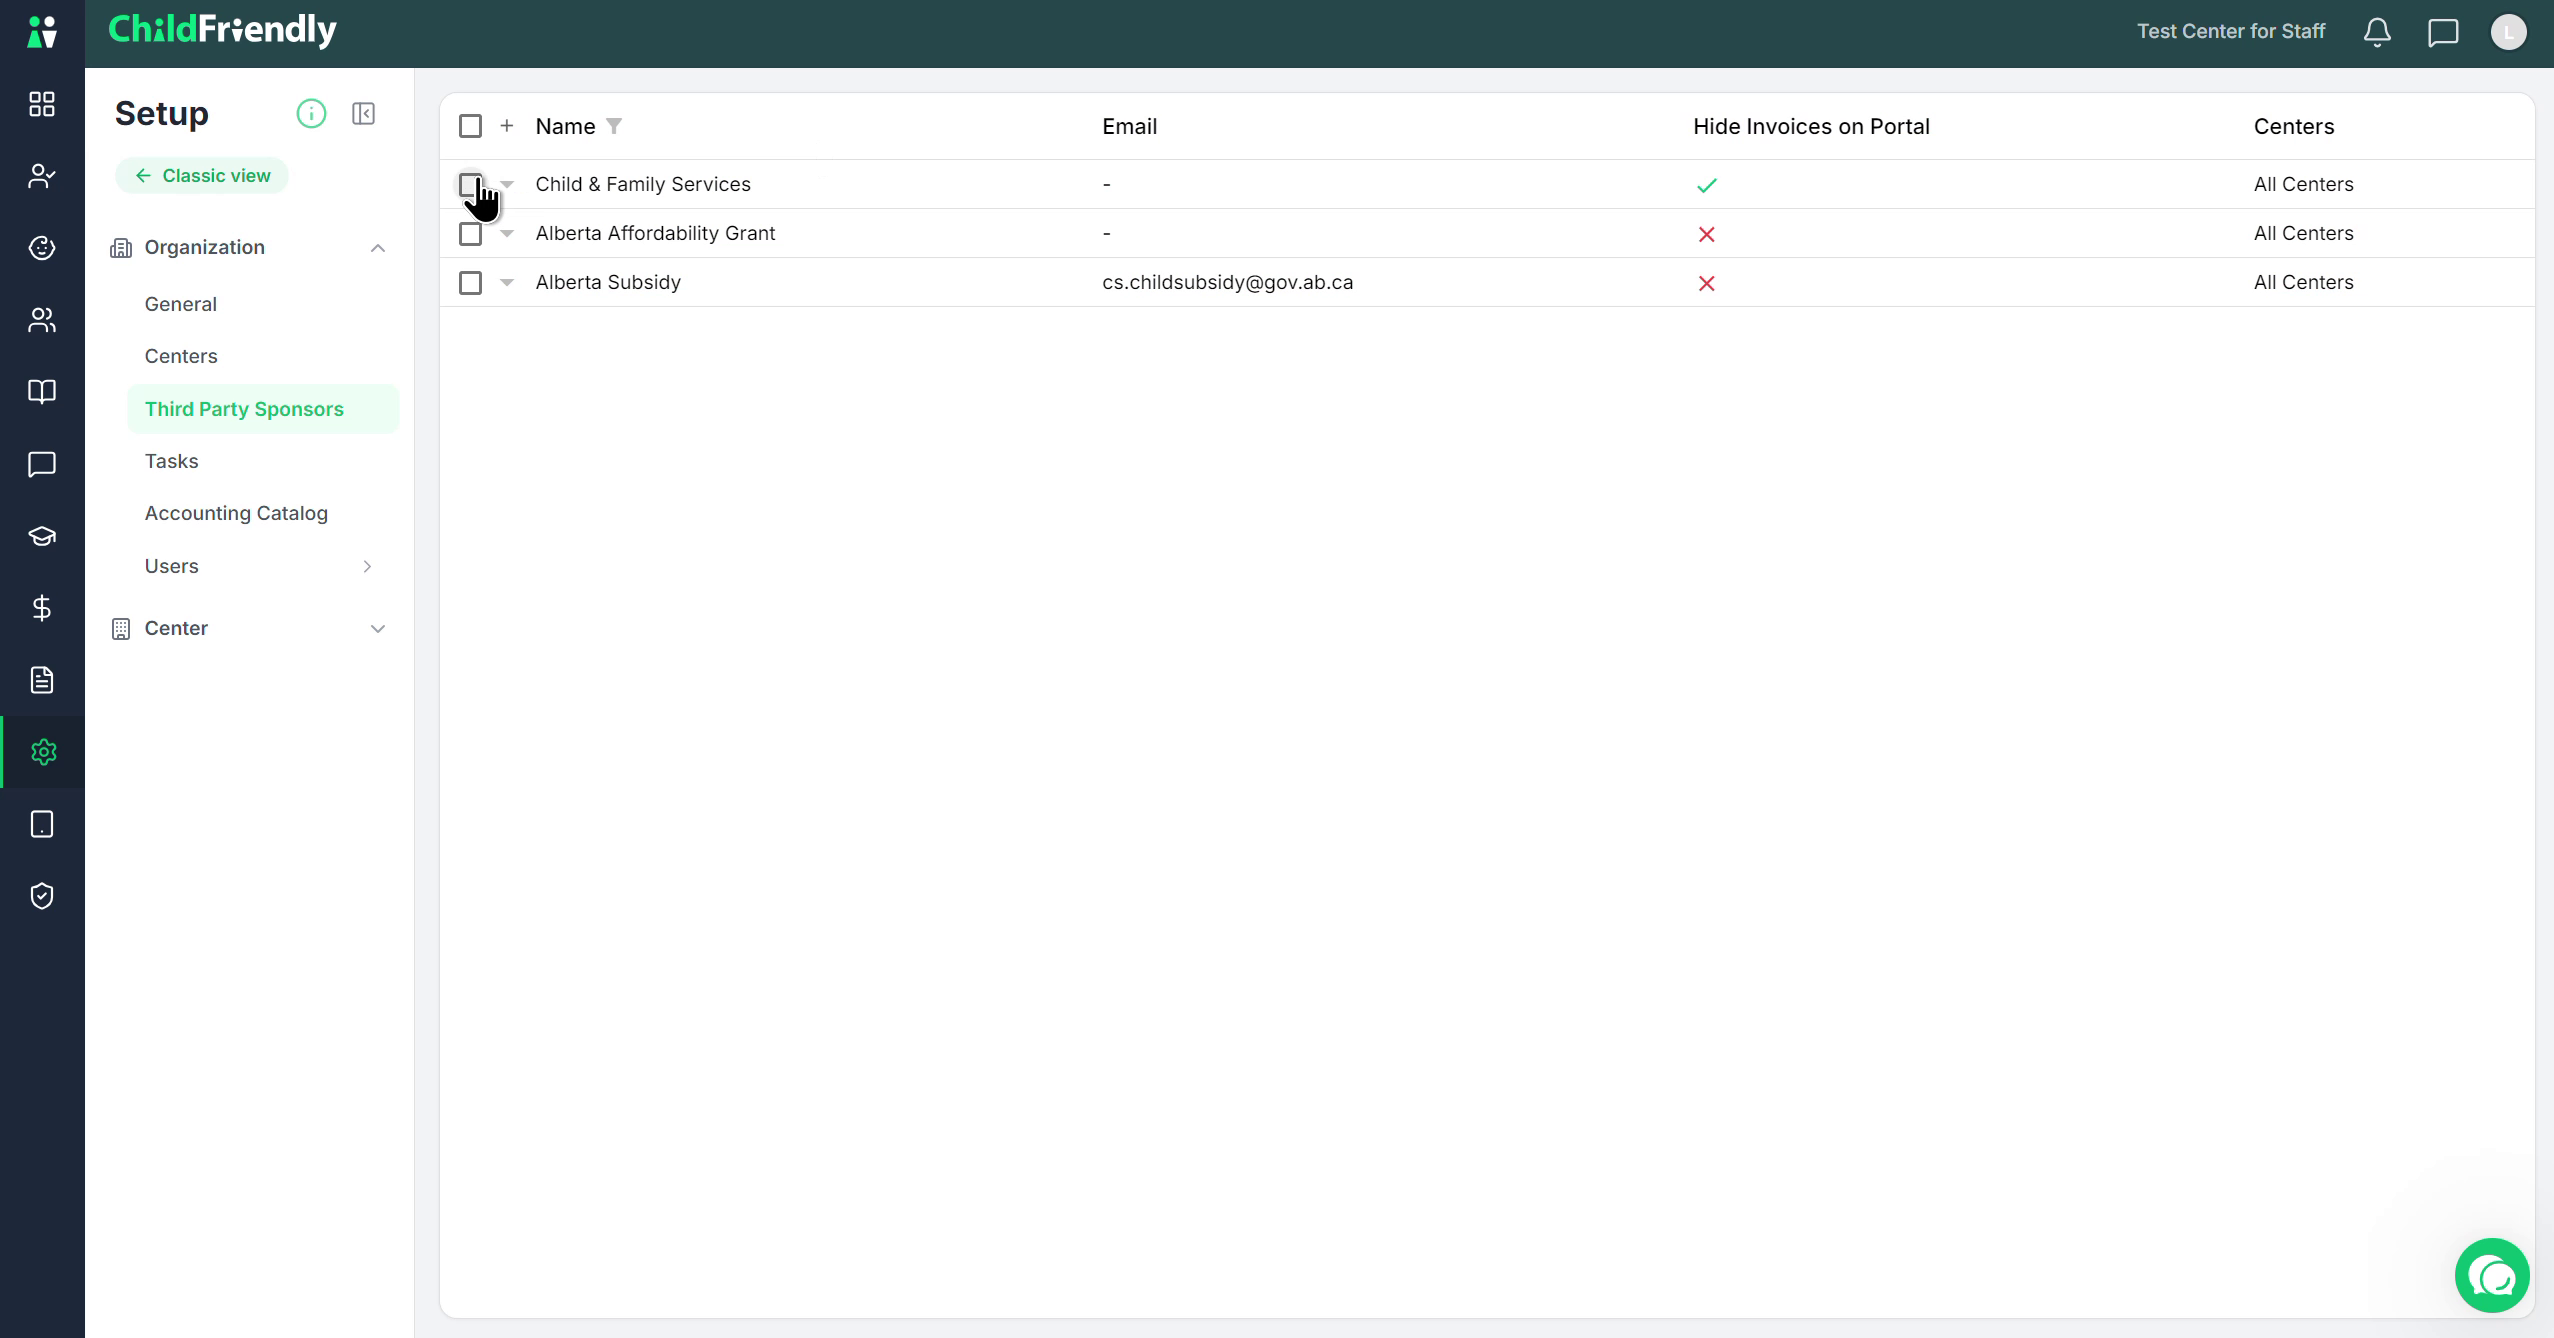
On the Third-Party Sponsors page, you’ll see a list of all third-party sponsors that have already been set up.
Step 3: Remove an Existing Third-Party Sponsor
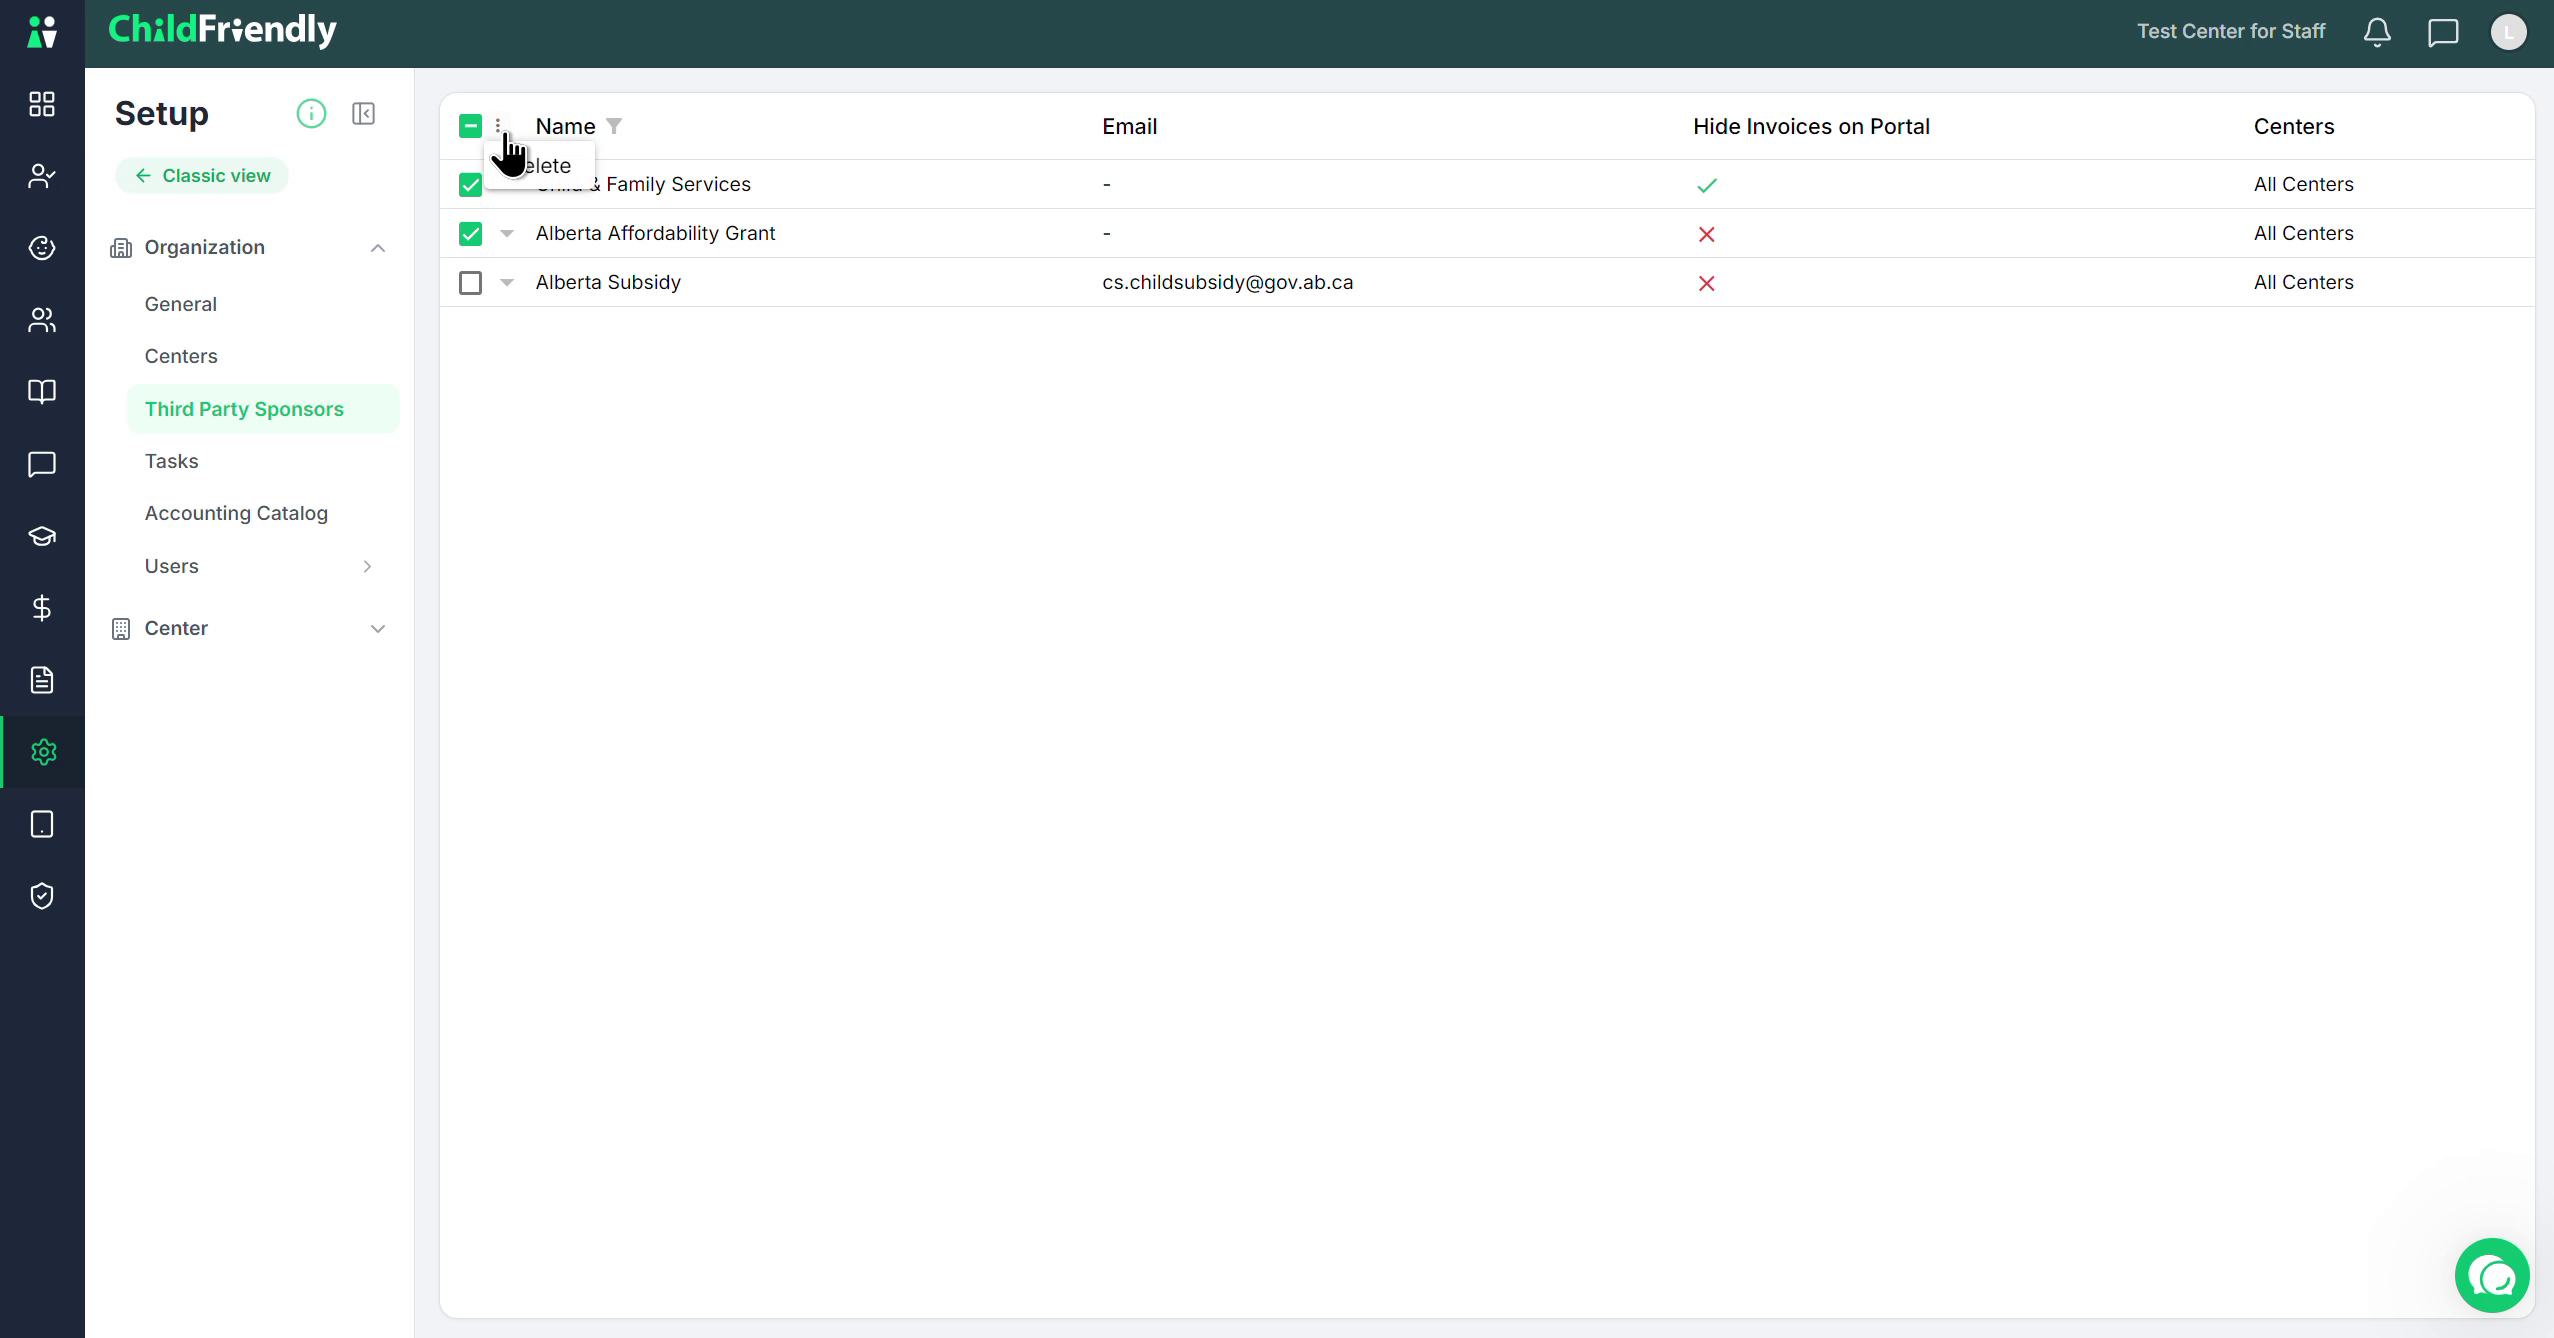
To remove a sponsor, select it from the list, open the triple-dot menu, and click Delete.
Step 4: View or Edit a Third-Party Sponsor
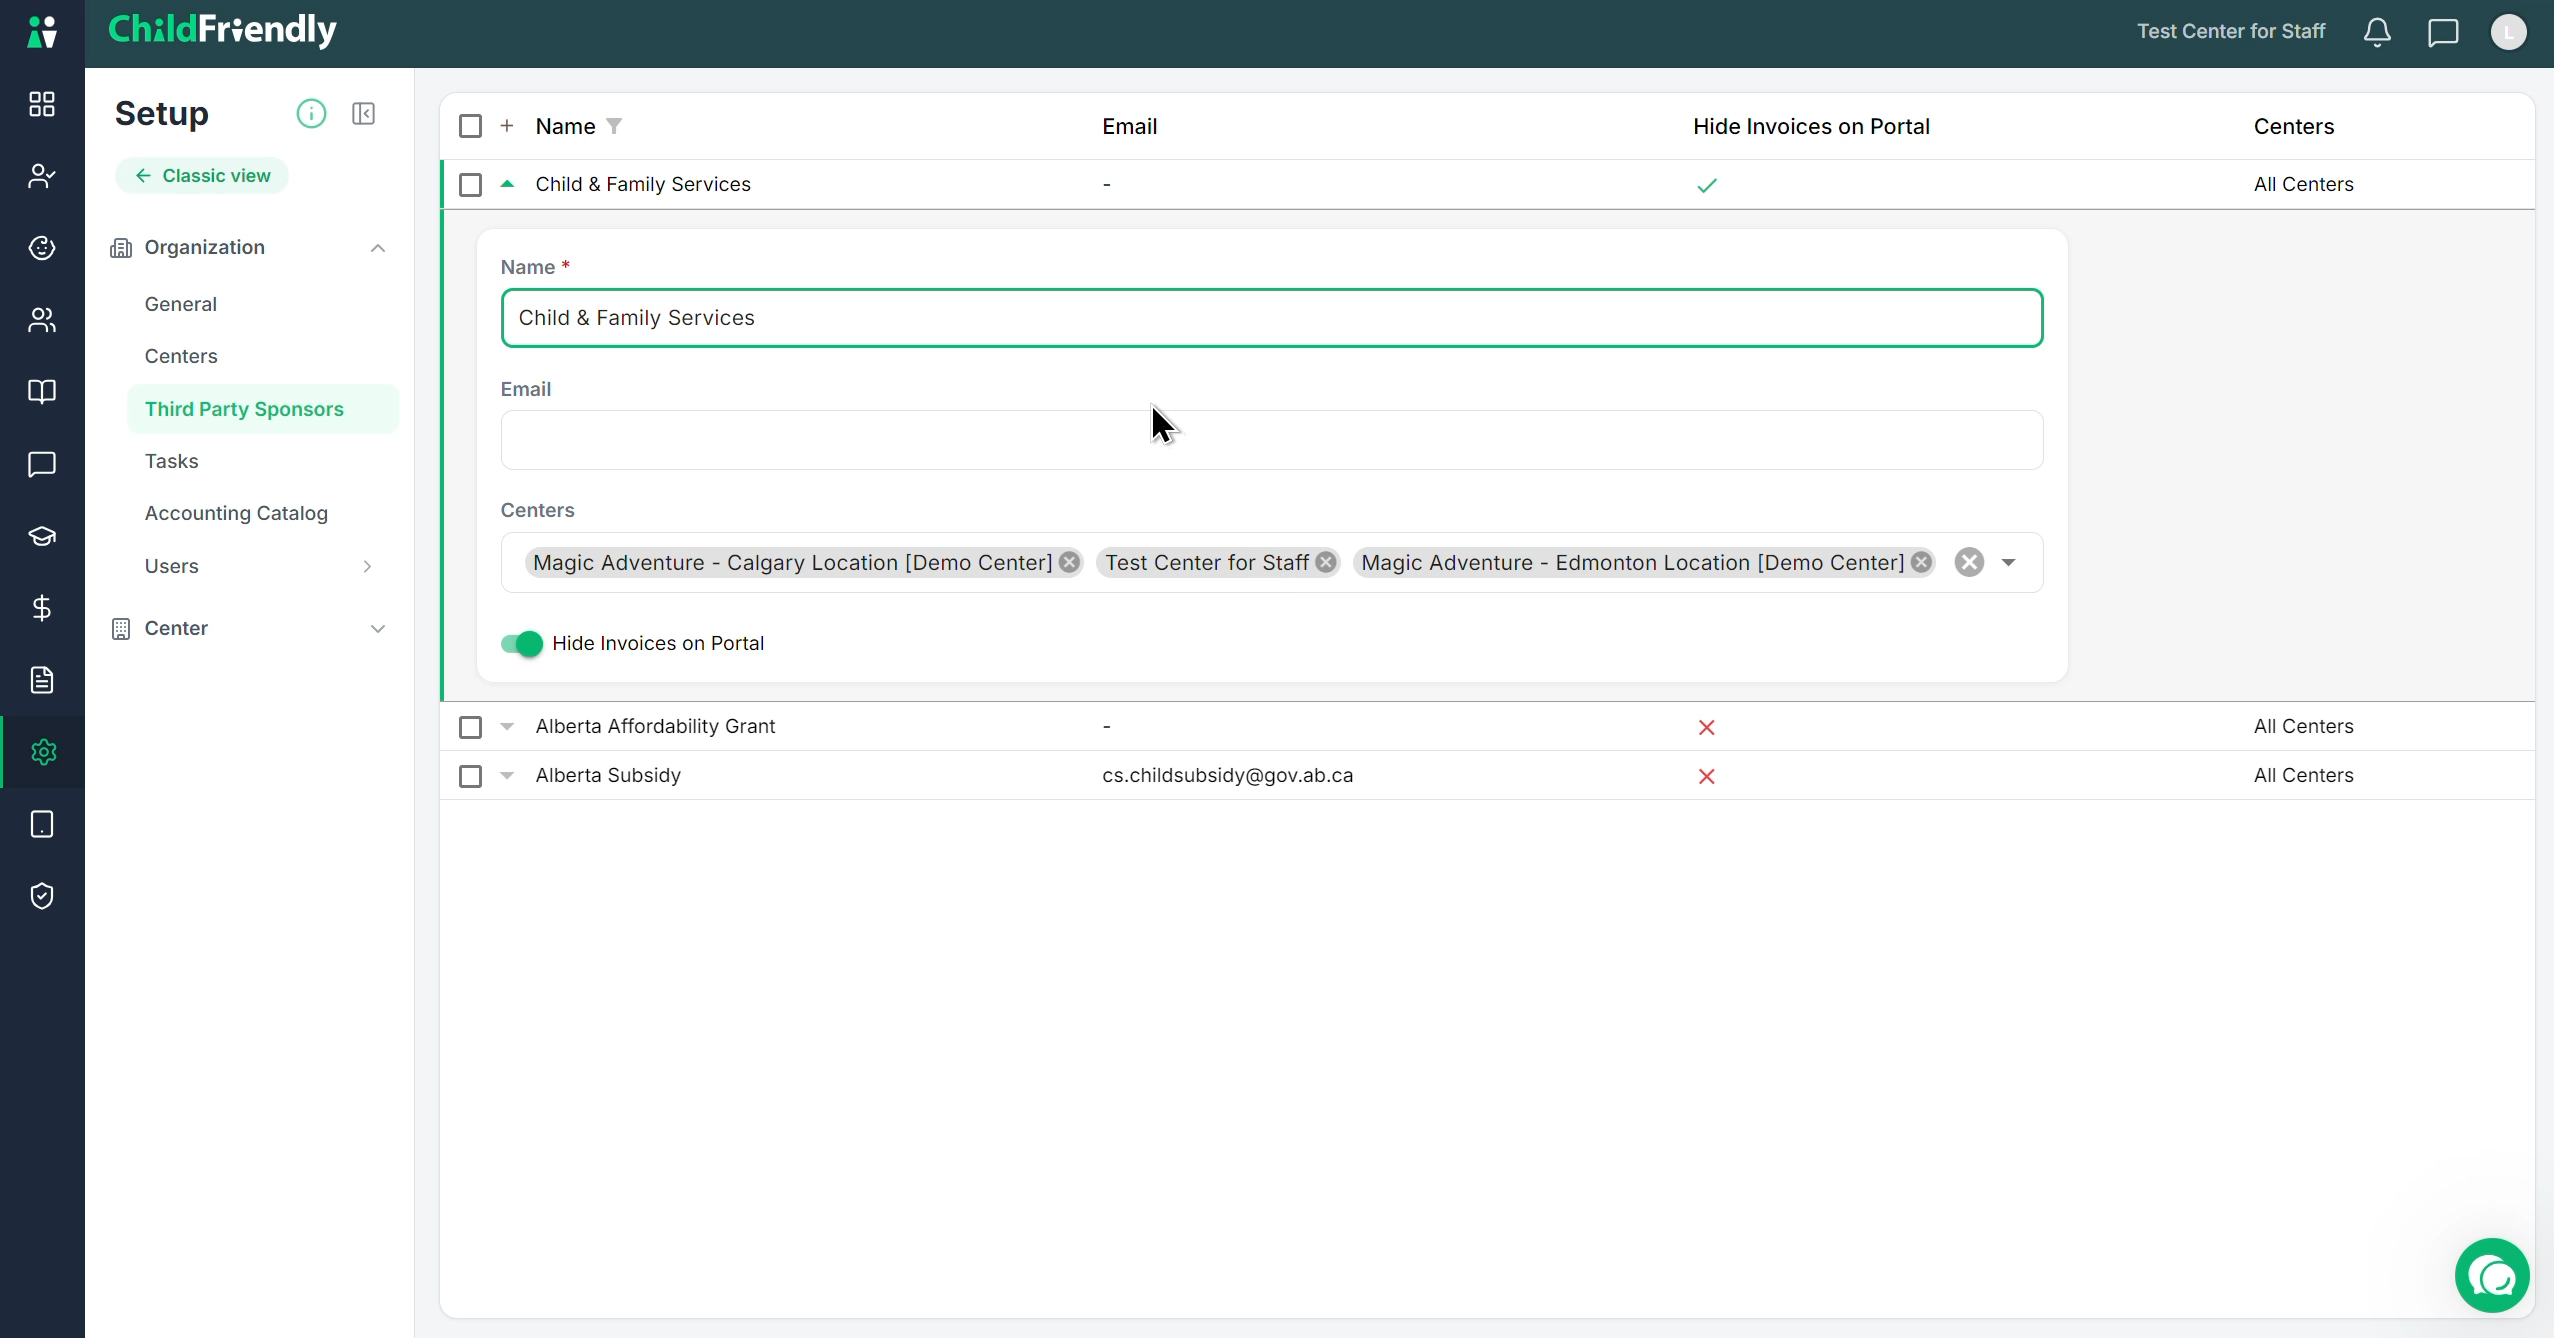
Click a third-party sponsor to expand it, review its details, and update any fields as needed.
Step 5: Configure the Invoice Email
If the sponsor has a standard email address for invoices, enter it in the Invoice Email field.
When you send invoices, this email will populate automatically.
If you do not invoice the sponsor by email, leave this field blank.
You can always change or override the email when you send the invoice.
Step 6: Choose Applicable Centers
In the Centers field, select which centers this third-party sponsor should be available for.
If the sponsor only applies to certain centers, select those specific centers.
This setting controls where the sponsor appears as an option when assigning payers.
Step 7: Control Invoice Visibility on the Family Portal
Use the Hide invoices on the portal toggle to decide whether families can see invoices sent to this third-party sponsor.
Turn this on if you do not want families to view invoices sent on their behalf, such as when a child is supported by a grant or other confidential funding.
For example, if you receive a monthly grant from a third-party sponsor for a child and do not want parents to see the grant amount, enable this option.
Step 8: Add and Save a Third-Party Sponsor
To create a new third-party sponsor, click the plus (+) icon, complete the required fields (and any optional fields you need), then save your changes.
Once saved, the third-party sponsor is ready to use in ChildFriendly.
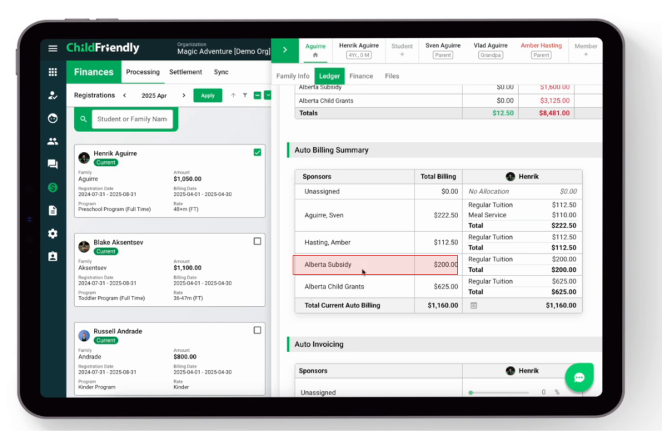
Step 9: Use Sponsors in Billing and Invoicing
Once sponsors are added, they can be selected for auto-invoicing under the family ledger or assigned to specific billings when they are created. This completes the sponsor setup process.