How to Create Weekly Learning Plans
This document explains how to navigate the Plans tab in the Learning Module, filter and manage weekly learning plans, and create or edit plans with routines, activities, images, materials, and associated lessons. It also covers how plans are submitted for approval and shared with families.
Last updated 3 months ago
Step 1: Access and Filter Weekly Learning Plans
In the Plans tab, use the left-hand menu to view all available weekly learning plans for your center. To locate a specific plan, use the filter icon.

Filter options include:
Search bar: Search by plan name.
Week or group: Narrow results to a specific week and/or child group.
Discovery topic or theme: Filter by themes such as “Community Helpers” or “Animals in Winter.”
Status:
Shared: Shows plans already shared to the parent portal and visible to families.
Approval: Shows plans that are pending approval, approved, or rejected by admin.
Owner: Filter to see only your own plans or view plans created by other groups (note: you can only edit your own plans).
Template status: Filter for plans marked as templates. Templates are reusable starting points for weekly plans and are tagged as such.
Step 2: Open, Duplicate, Edit, or Create a Plan
After applying filters and finding the plan you need, click on the plan to open its details.
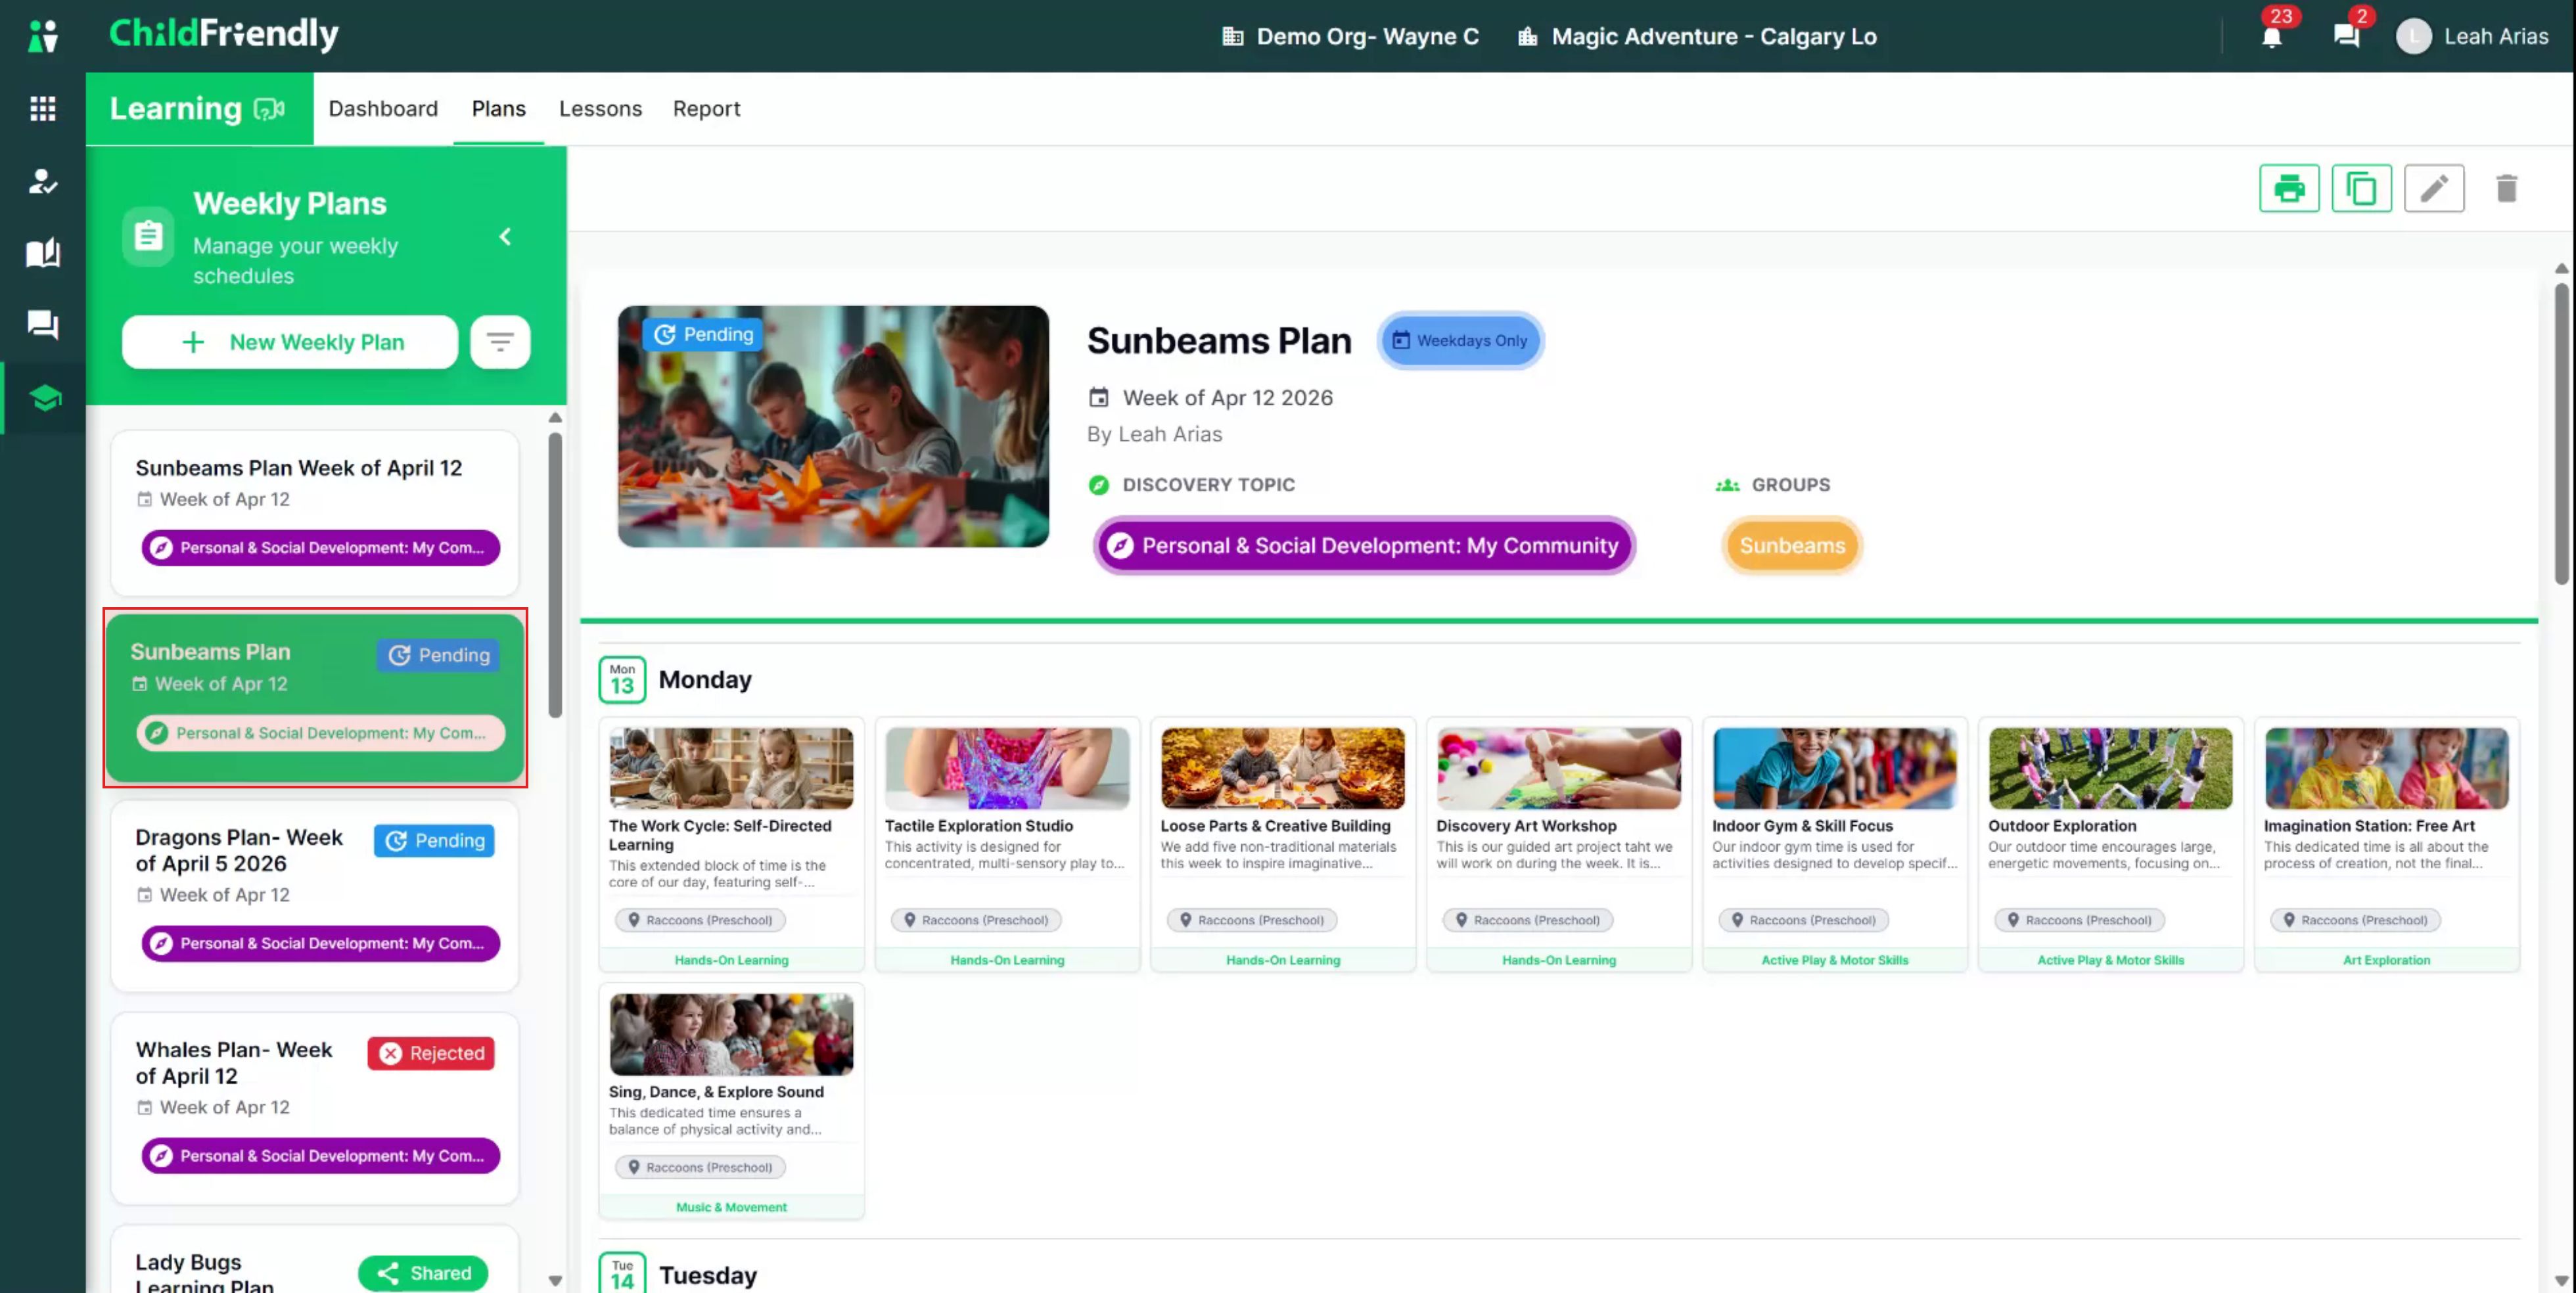
From the plan detail view, you can:
Duplicate a plan to create a copy that you can rename and edit.
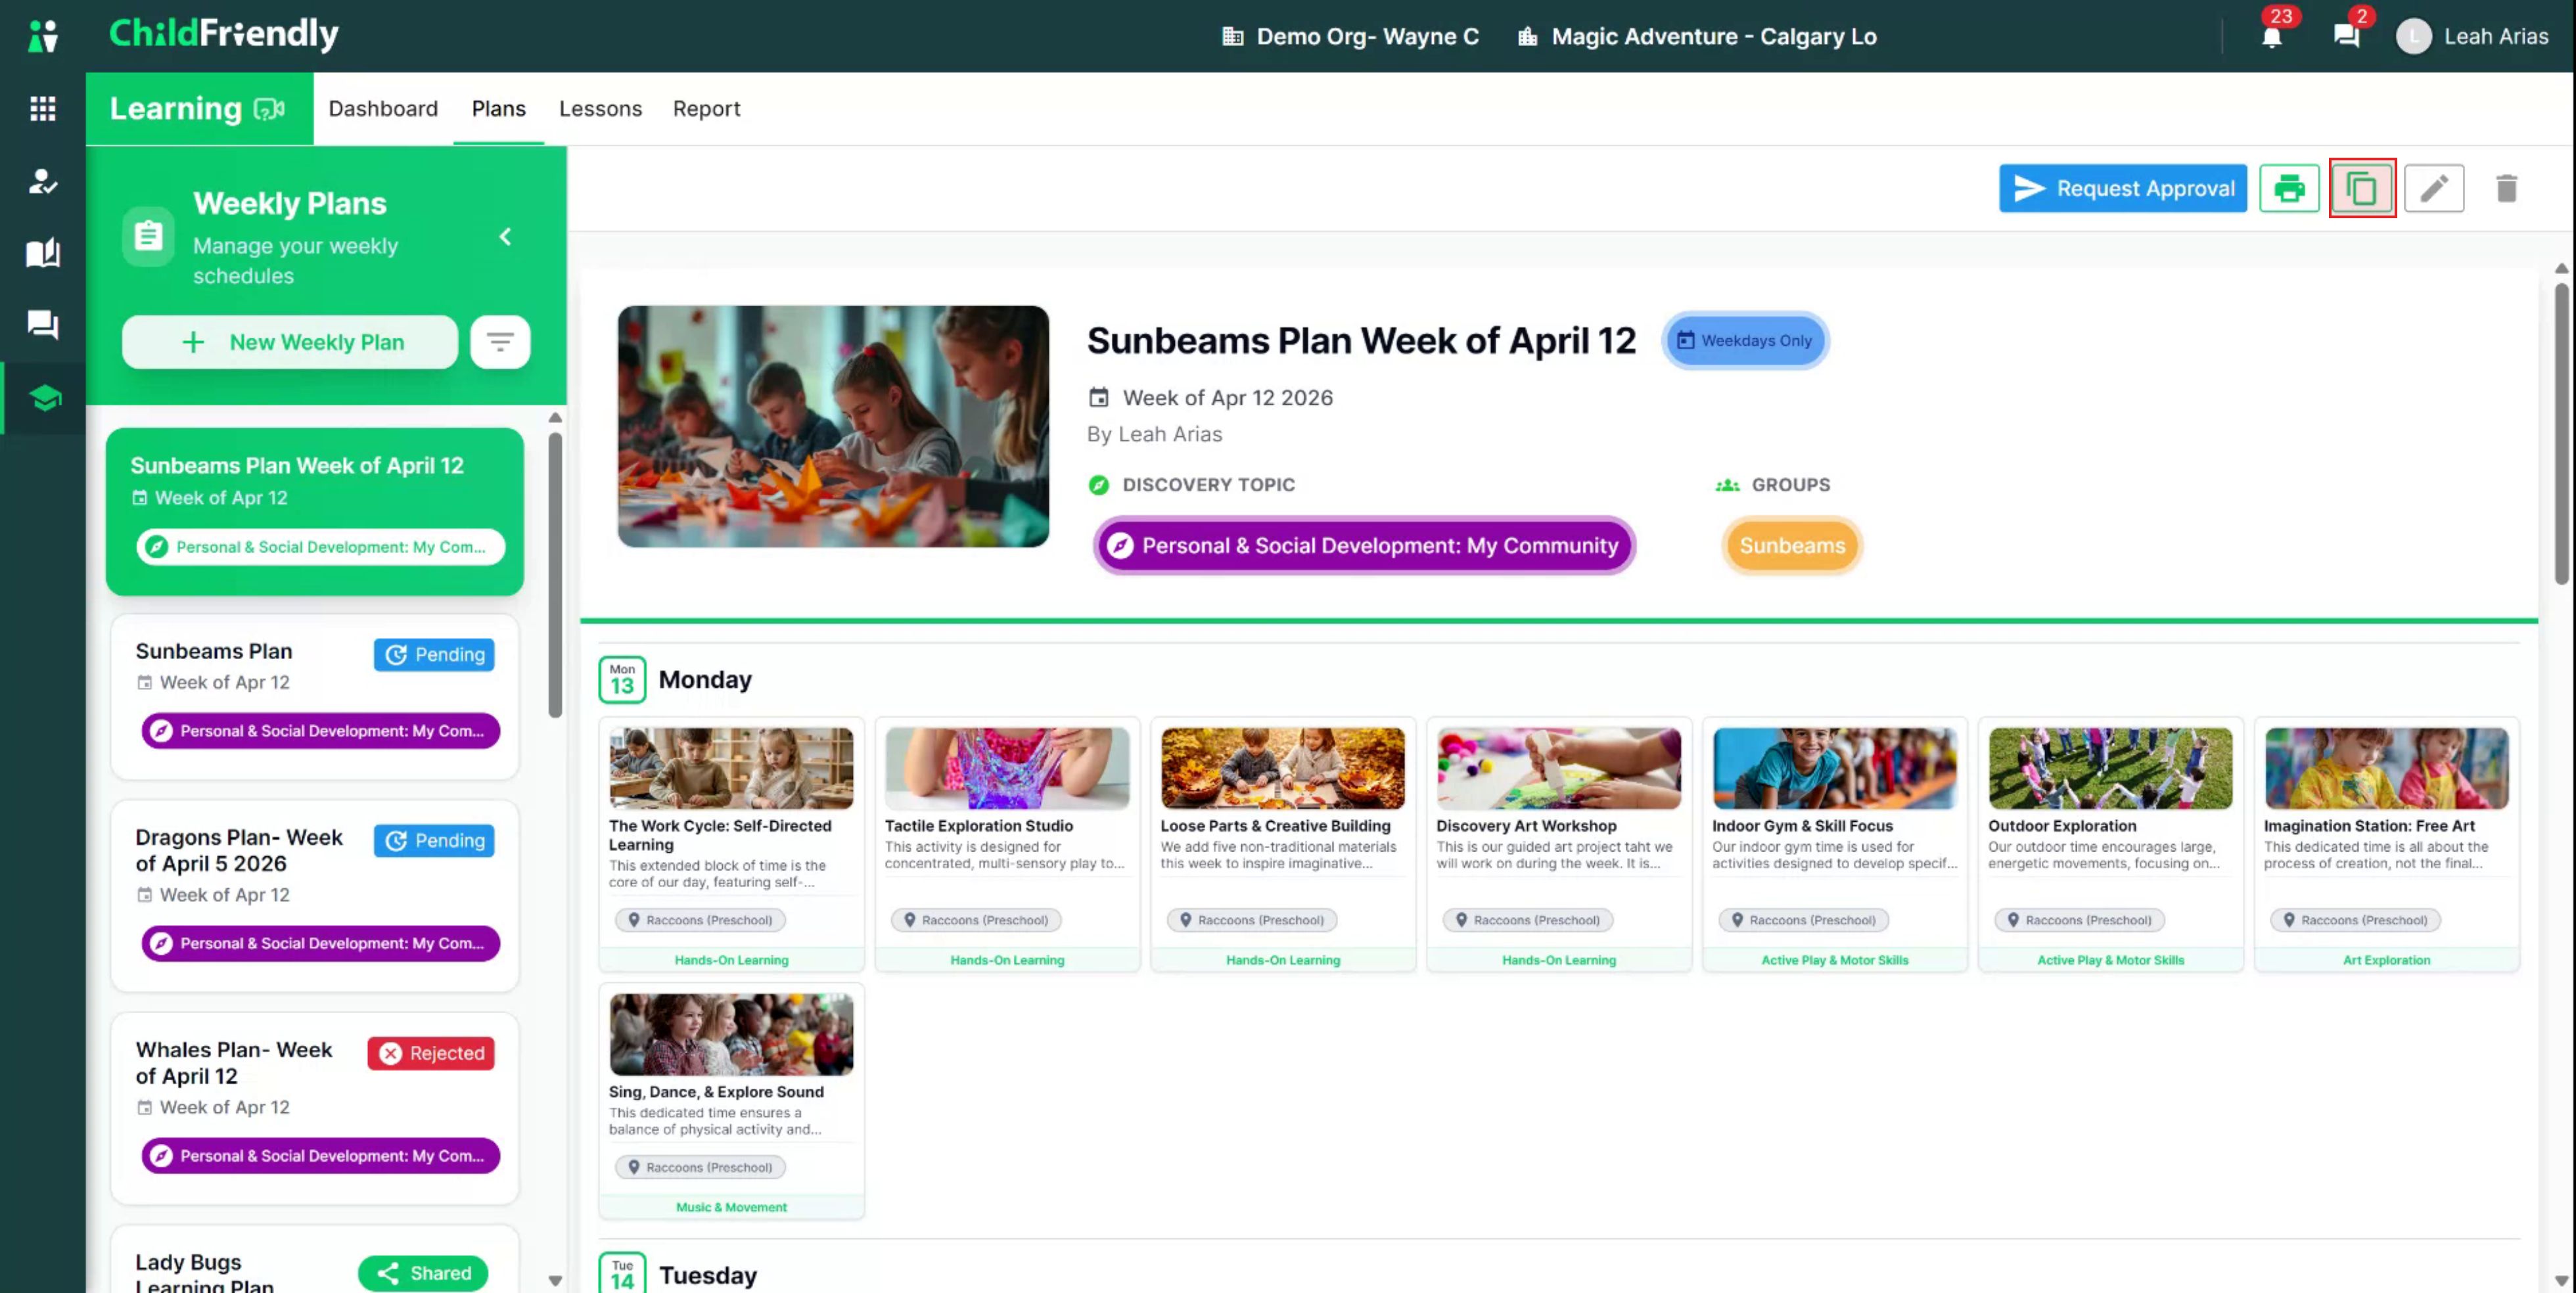
Delete a plan using the trash icon (for plans you own).
Edit a plan using the edit icon.
Print a Plan using the print icon.
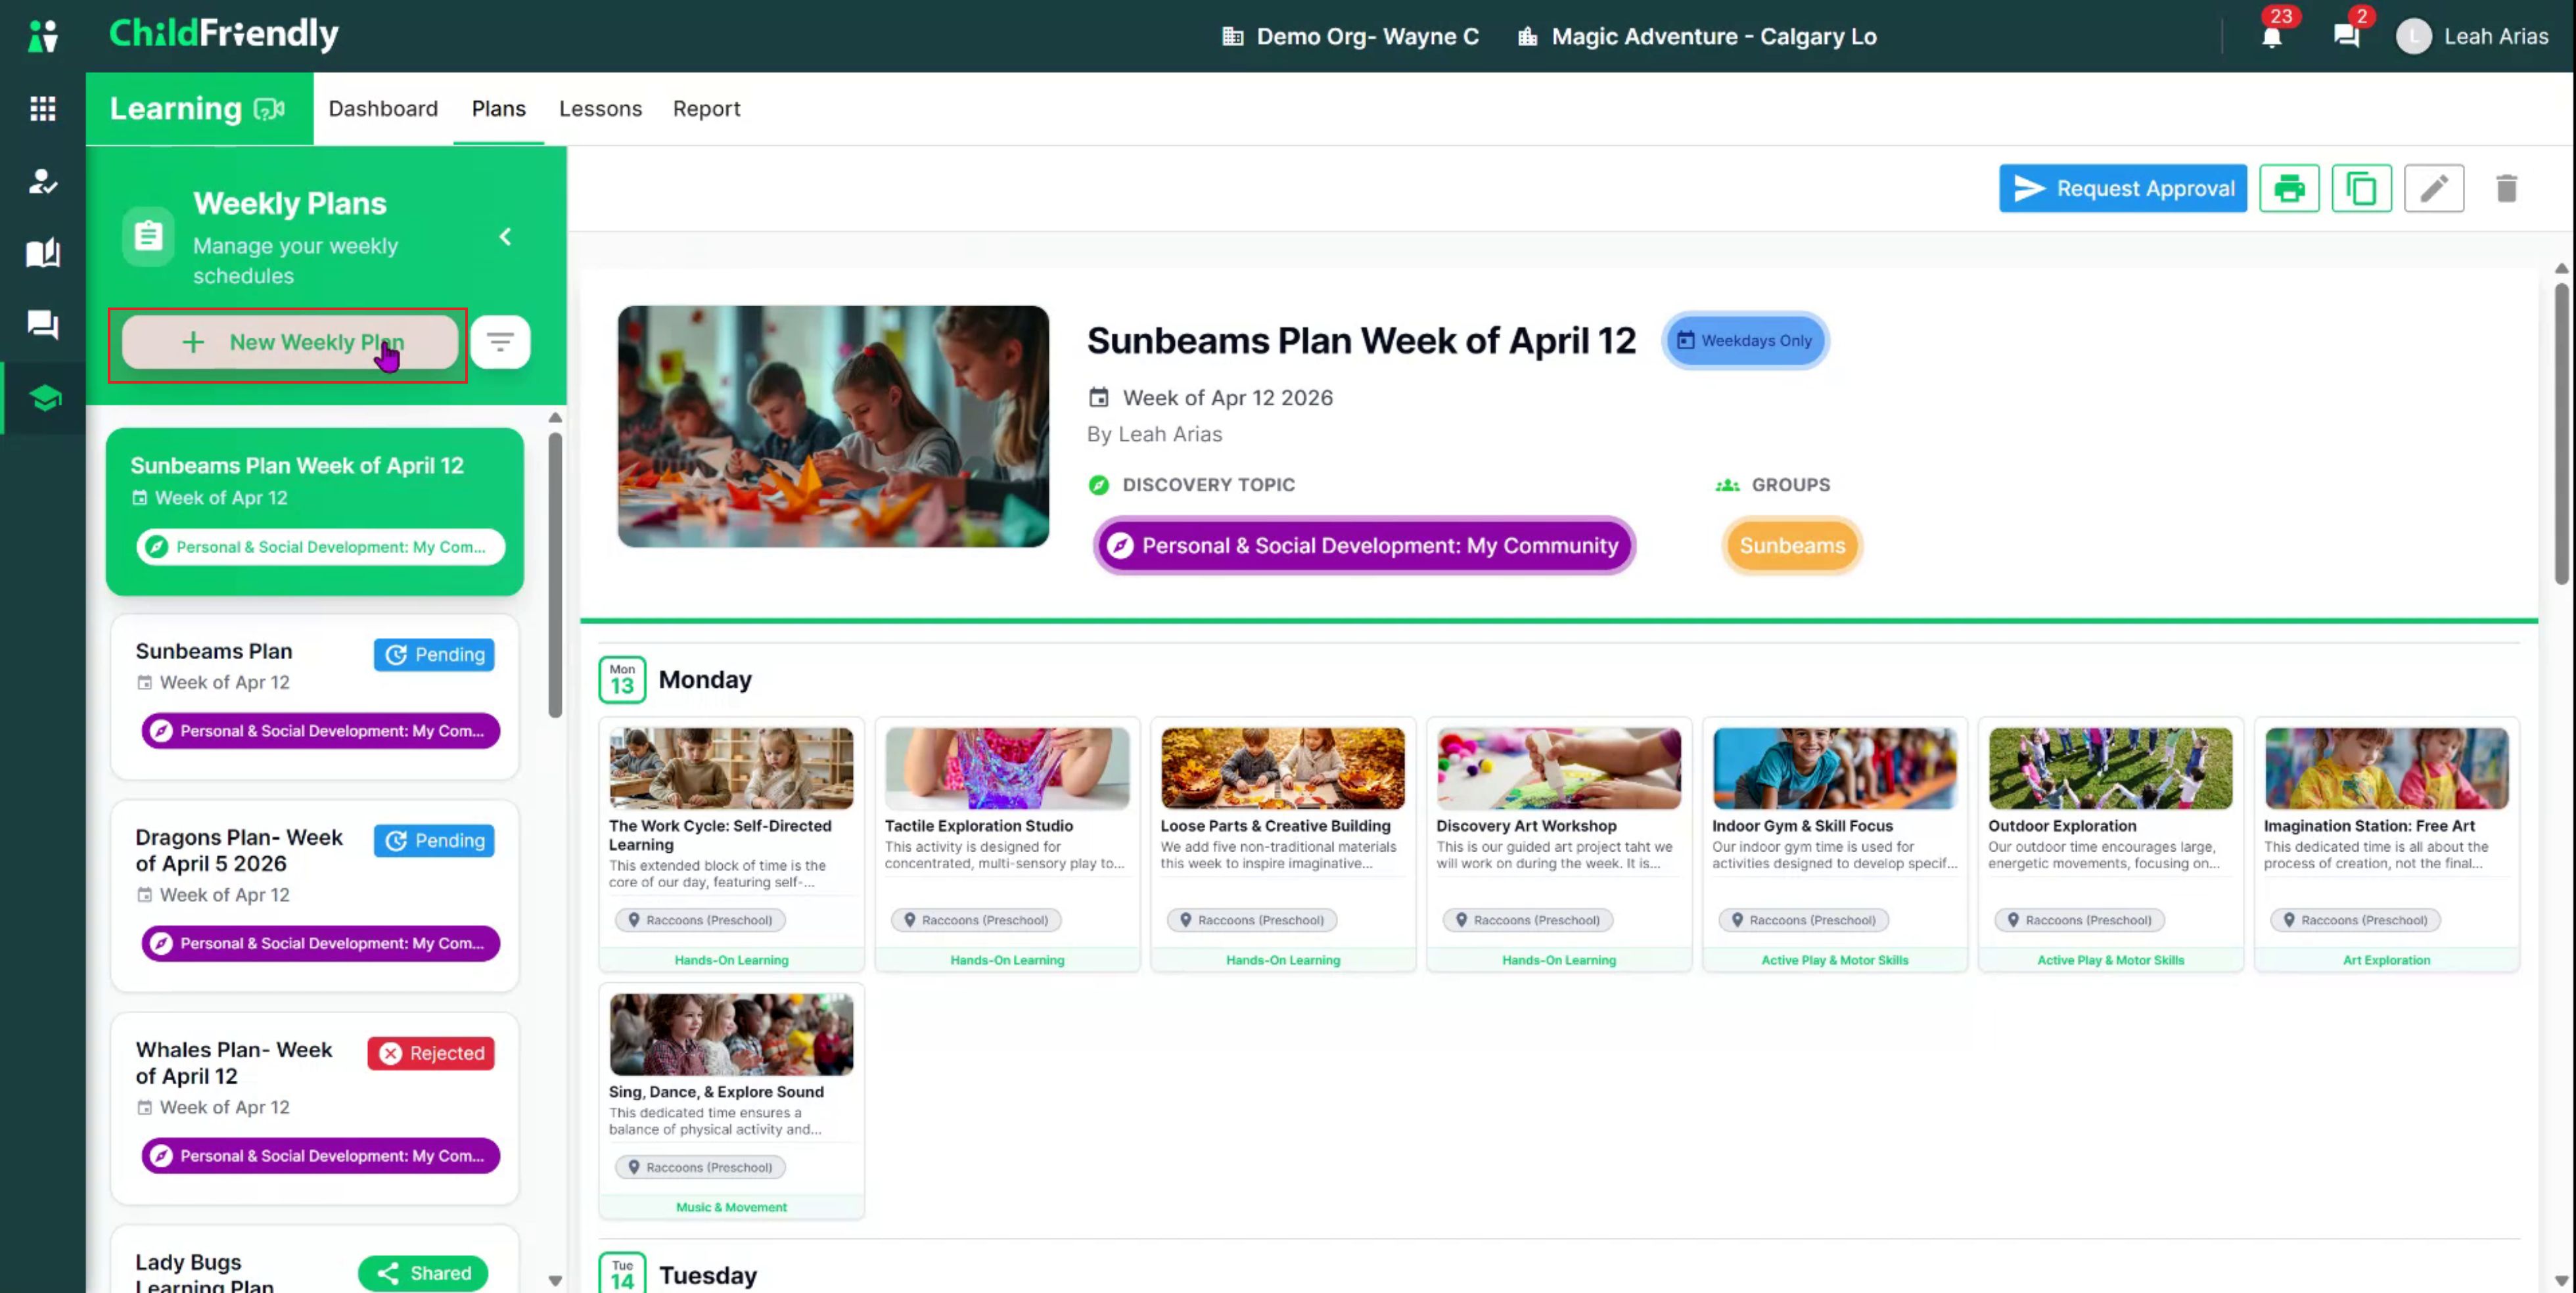
Create a new plan from scratch by clicking Add New Weekly Plan.
Step 3: Set the Plan Cover Image
When creating or editing a plan, start by setting the cover image, which is the preview thumbnail families see in the parent portal.

Choose a professional, appealing image that relates to a highlight activity or a theme (e.g., “Fall” for a monthly theme).
When you click to add an image:
You can choose from the global library, which already contains hundreds of ready-to-use photos.
Or you can upload your own images by adding them to My Library.
You can also select from your organization’s libraries, or upload directly from your device for one time use.
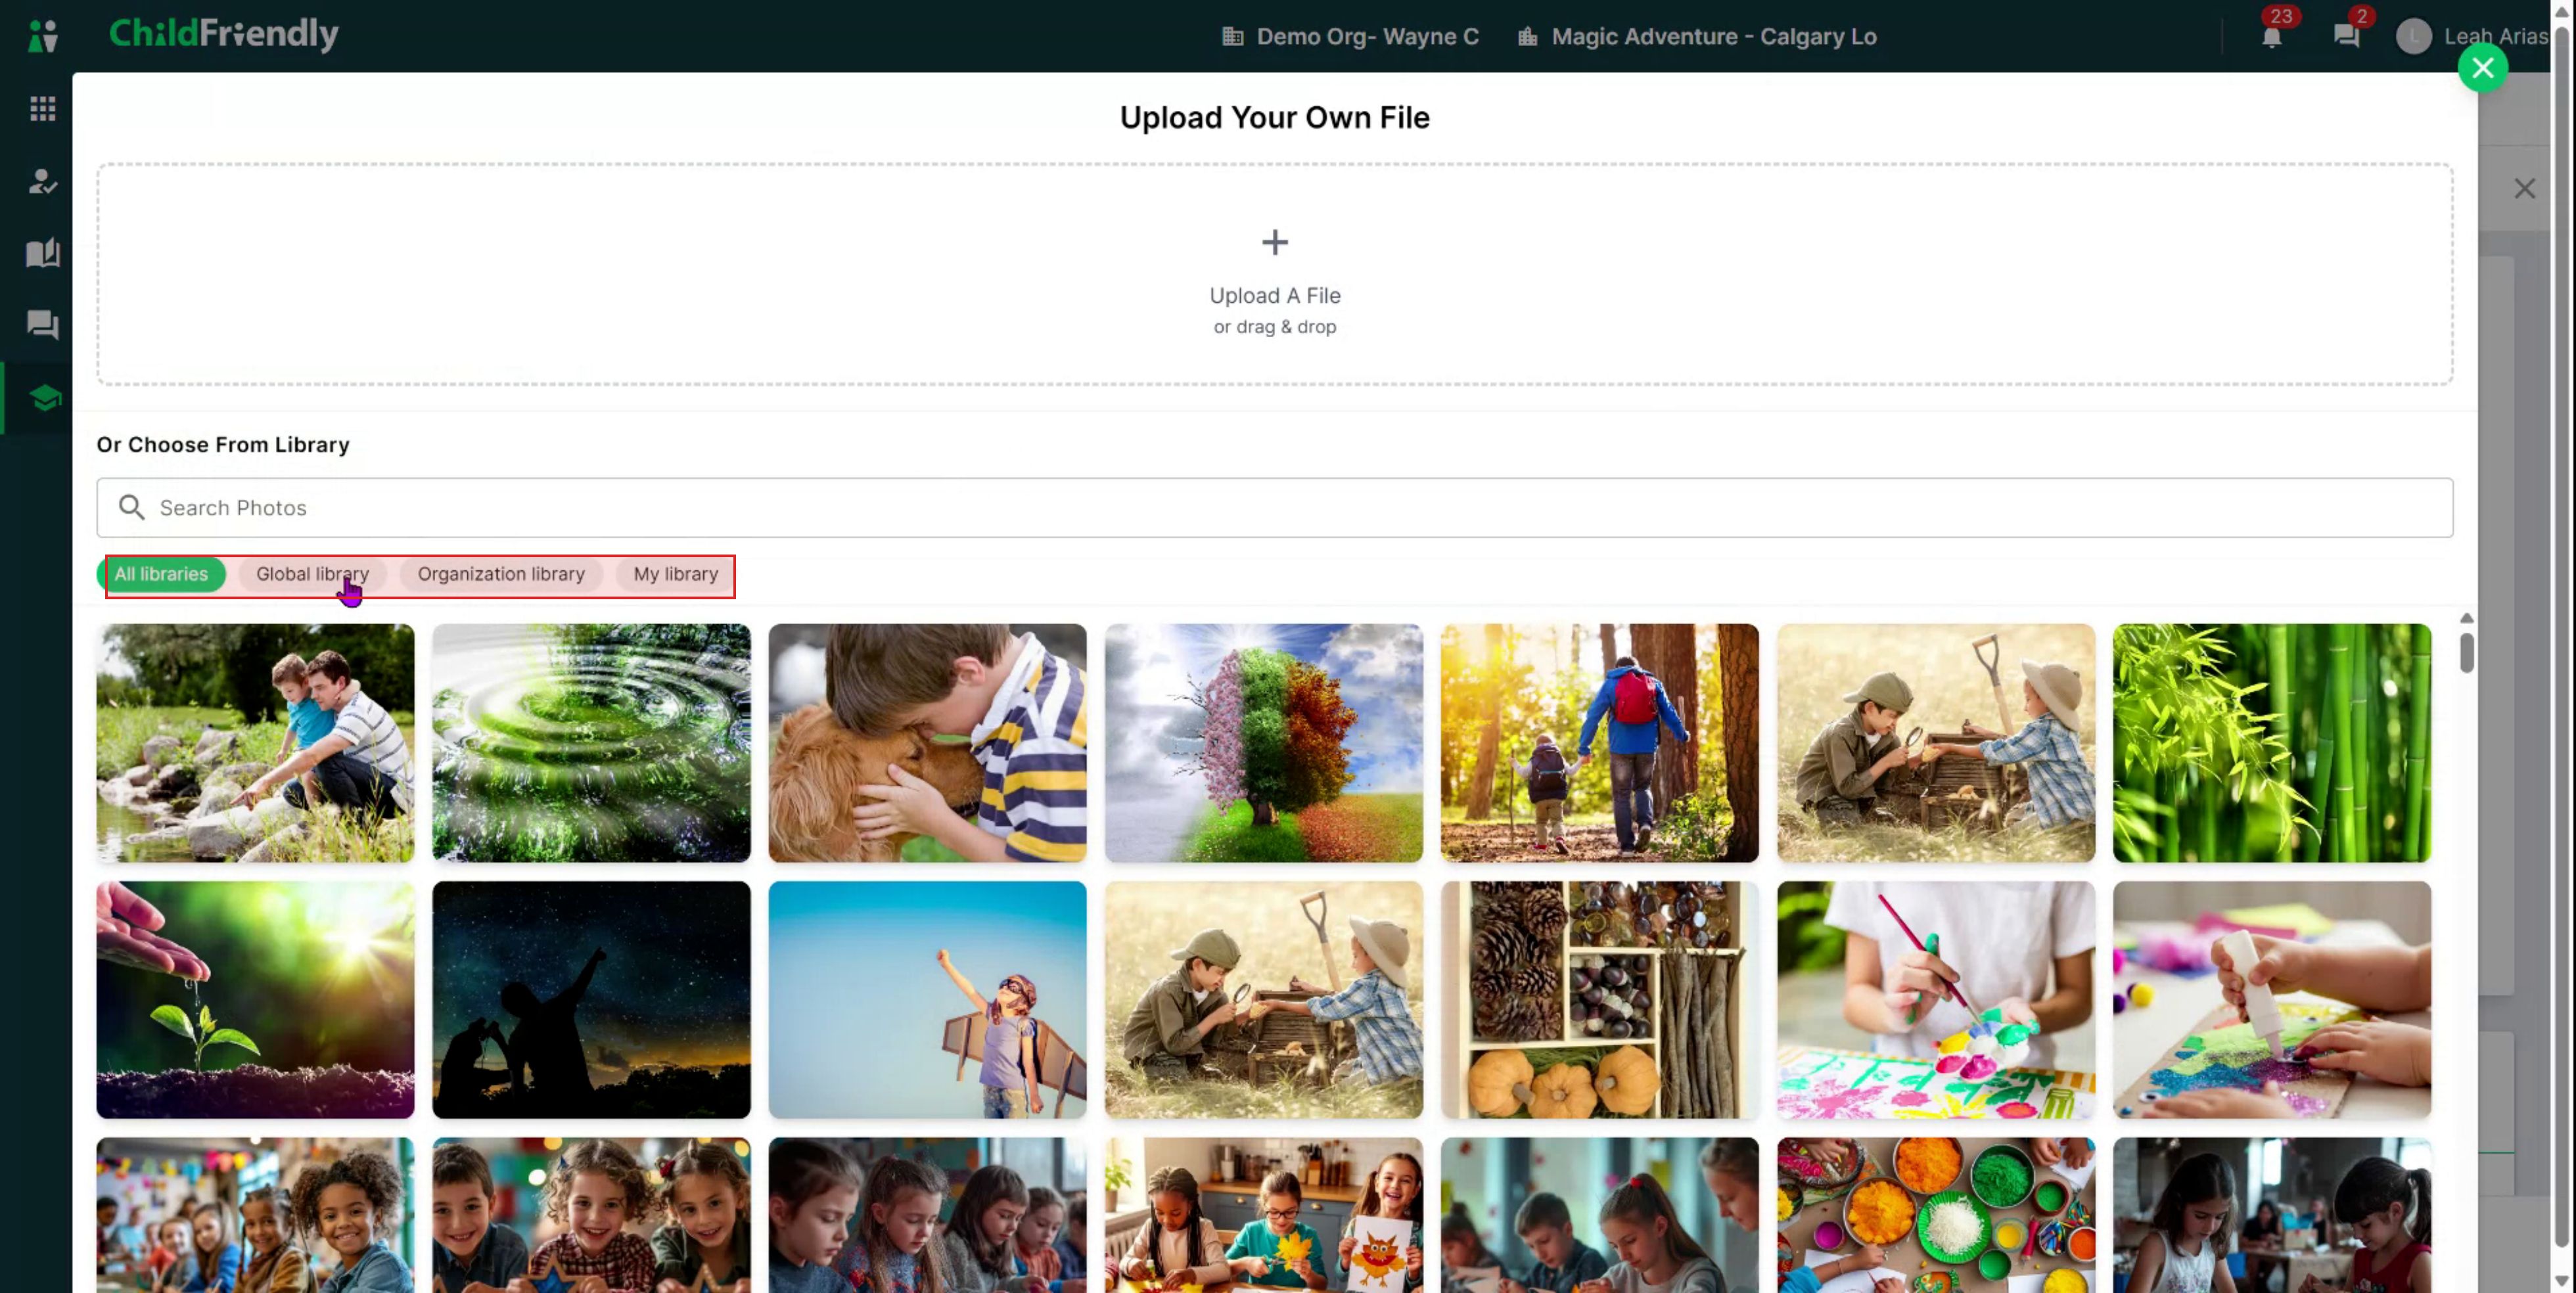
You can remove any library image using the trash icon in the top-right corner of the image. After choosing the appropriate photo, confirm your selection.
Step 4: Configure Plan Details and Sharing Options

Next, configure the core details of the plan:
Plan name
Week the plan applies to
Weekdays Only toggle: Turn this on to hide Saturdays and Sundays if your center is closed on weekends.
Share with Families toggle: Can only be enabled only once the plan has been certified/approved by admin. Your center can optionally allow educators to bypass certification via permission settings in the Learning Module Setup.
Use as a Template toggle: Turn this on if the plan will be used as a reusable template. Template plans do not require week or group assignments. Templates cannot be shared with families.
Then:
Select the applicable group(s) for the plan (you may select multiple groups).
Add the discovery topic for the week (options are configurable by admin in the Setup tab).
Step 5: Organize Routines (Categories) in the Weekly Grid
Scroll down to the weekly grid view of your plan. The dates of your plan appear along the top; use the left and right arrows to scroll if needed, depending on your screen size.
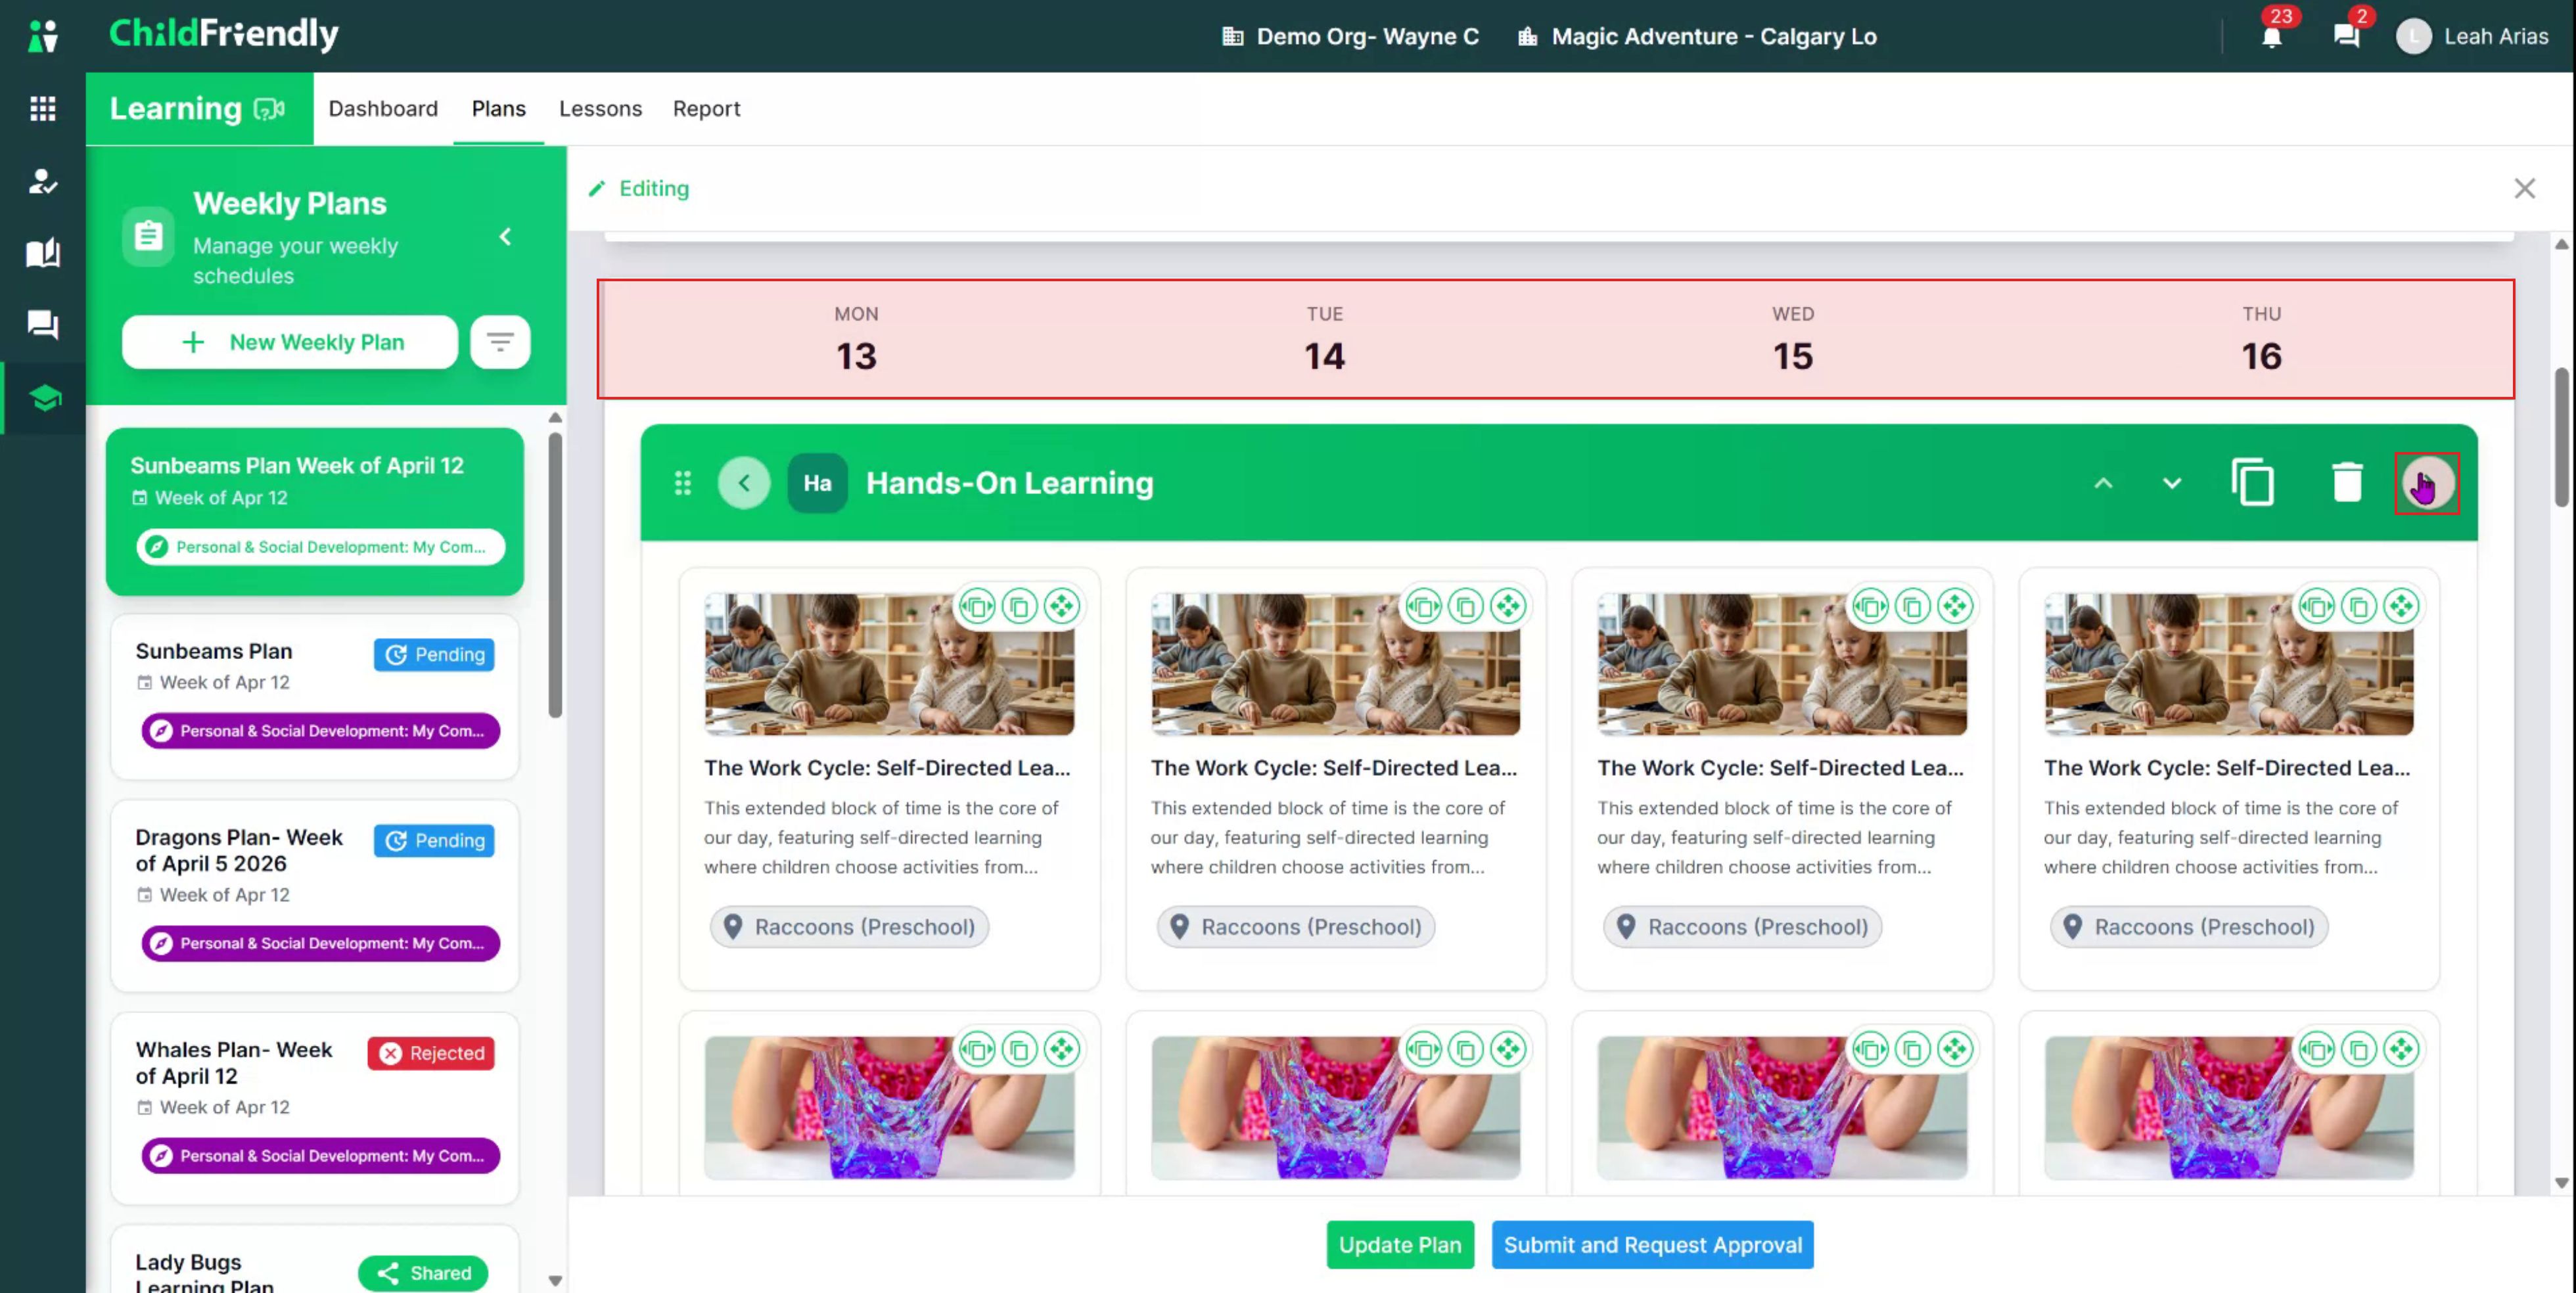
You will see green banners, called routines or categories, which organize activities within each day (e.g., Music and Movement, Sensory, Gross Motor, Morning Circle). The routine names available are customizable in the Learning Module Setup tab.For routines:
Delete a routine banner using the garbage can icon.
Reorder routines using the arrow icons or by dragging and dropping.
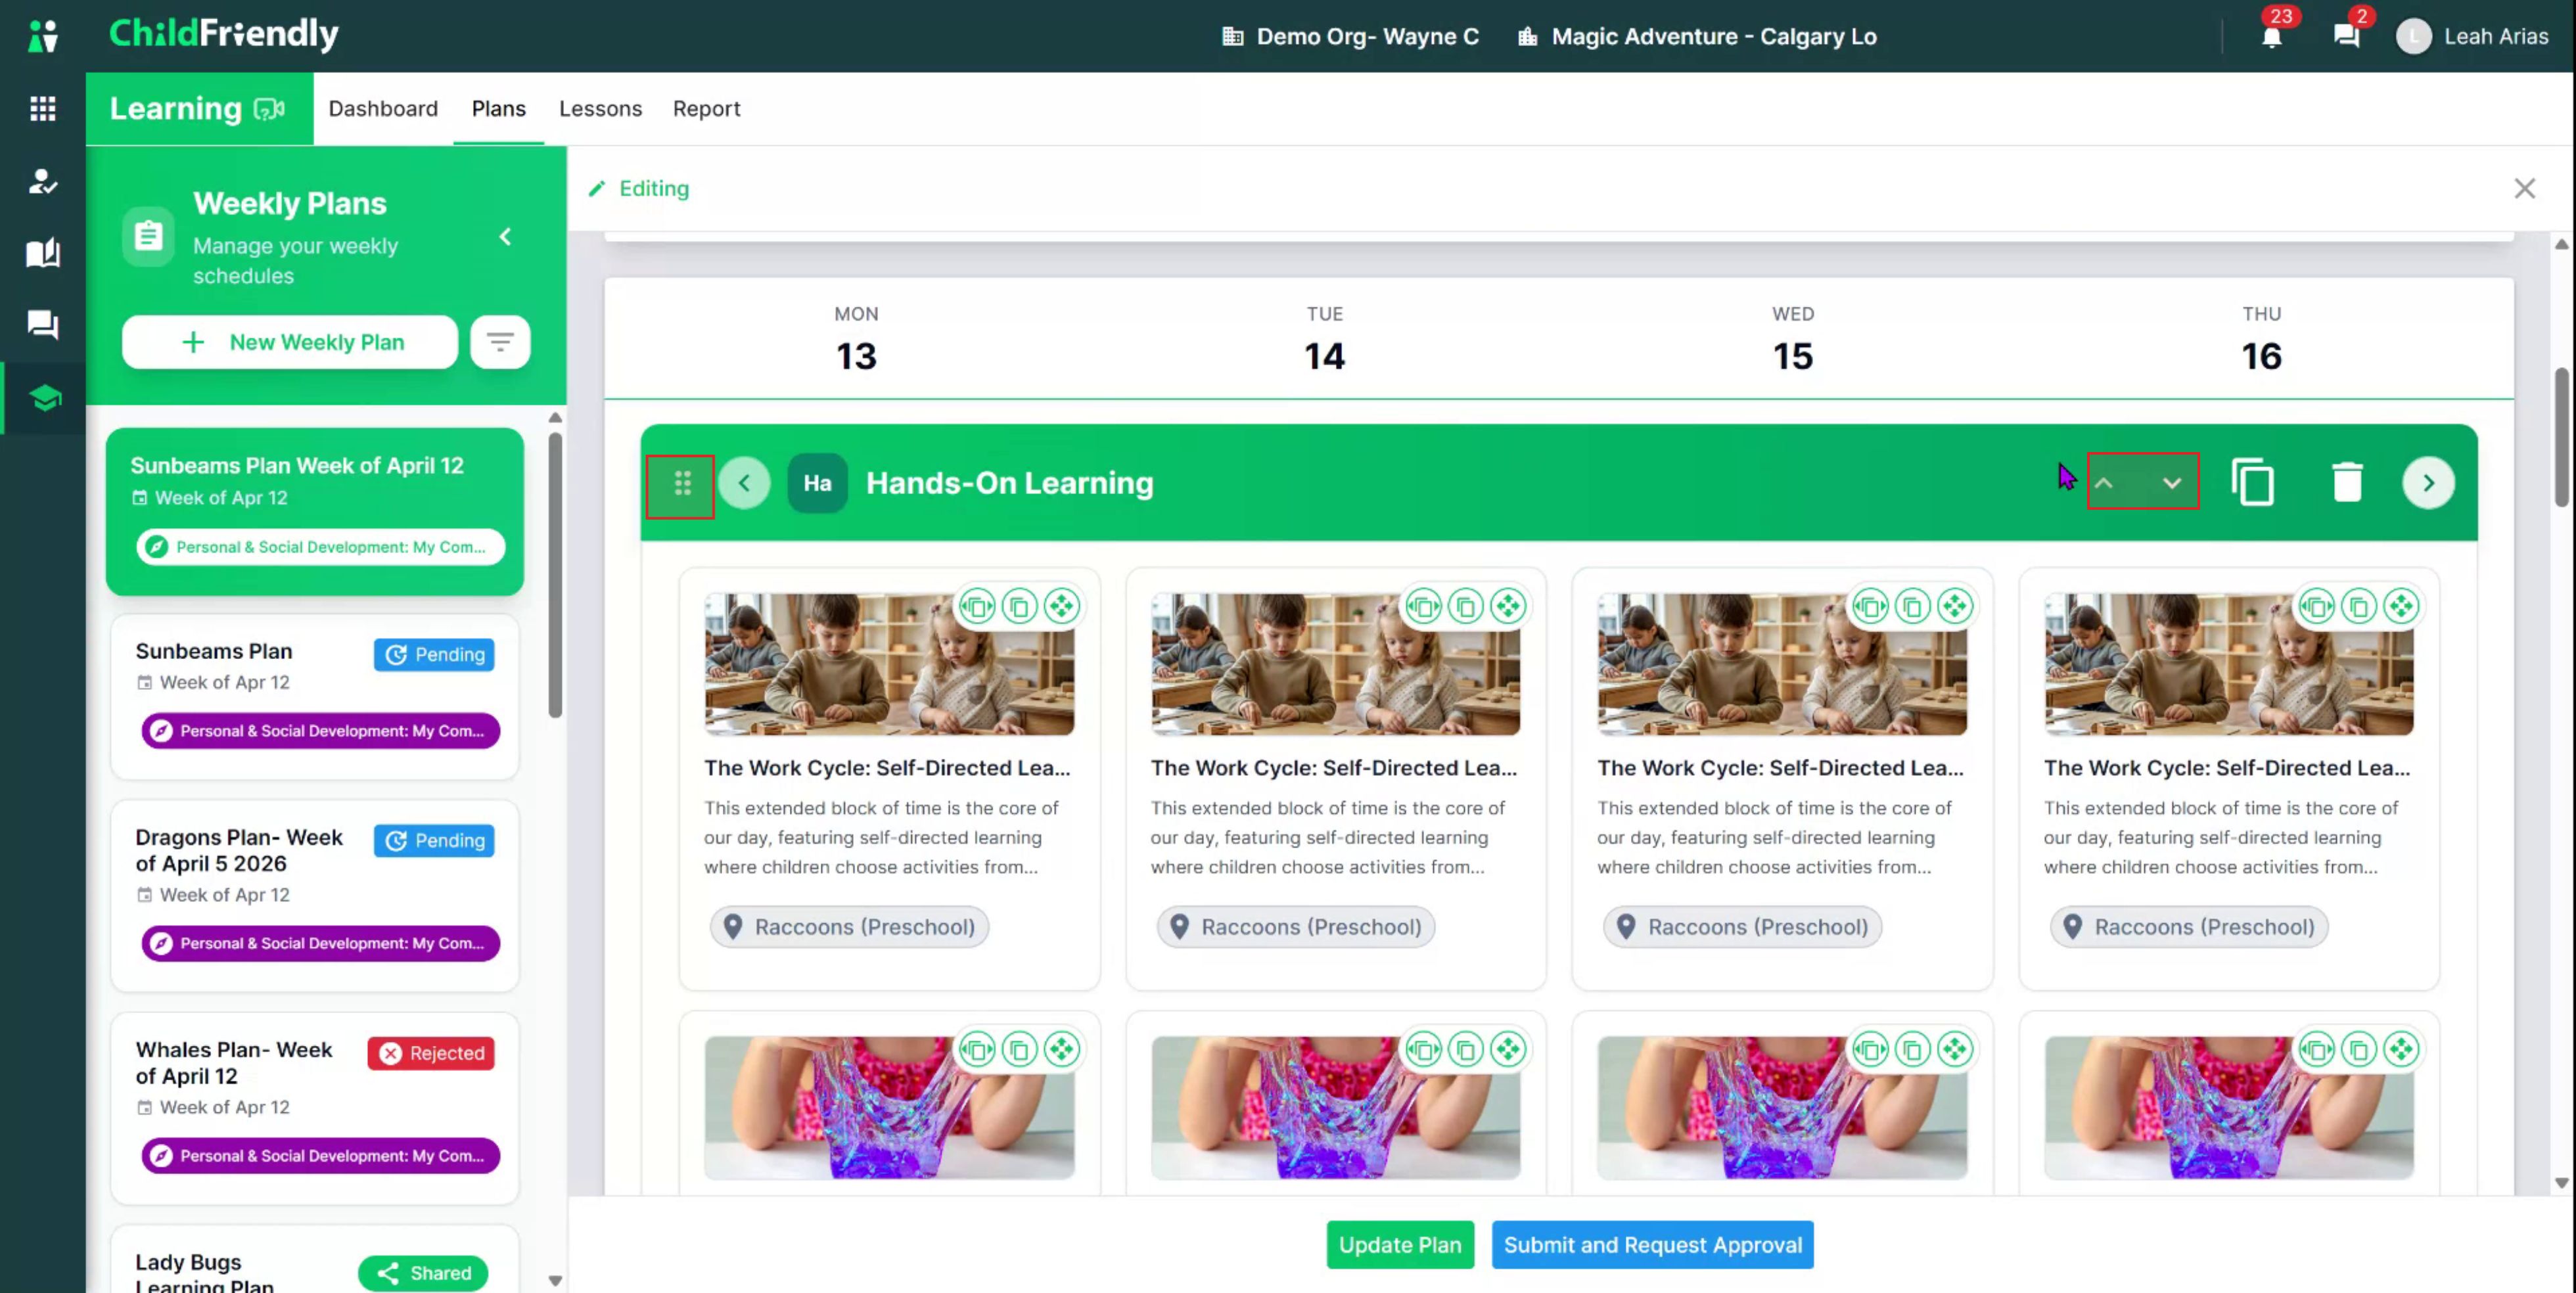
Add a new routine by scrolling to the bottom and clicking Add Routine to Plan, then selecting a routine from the list configured by admin.
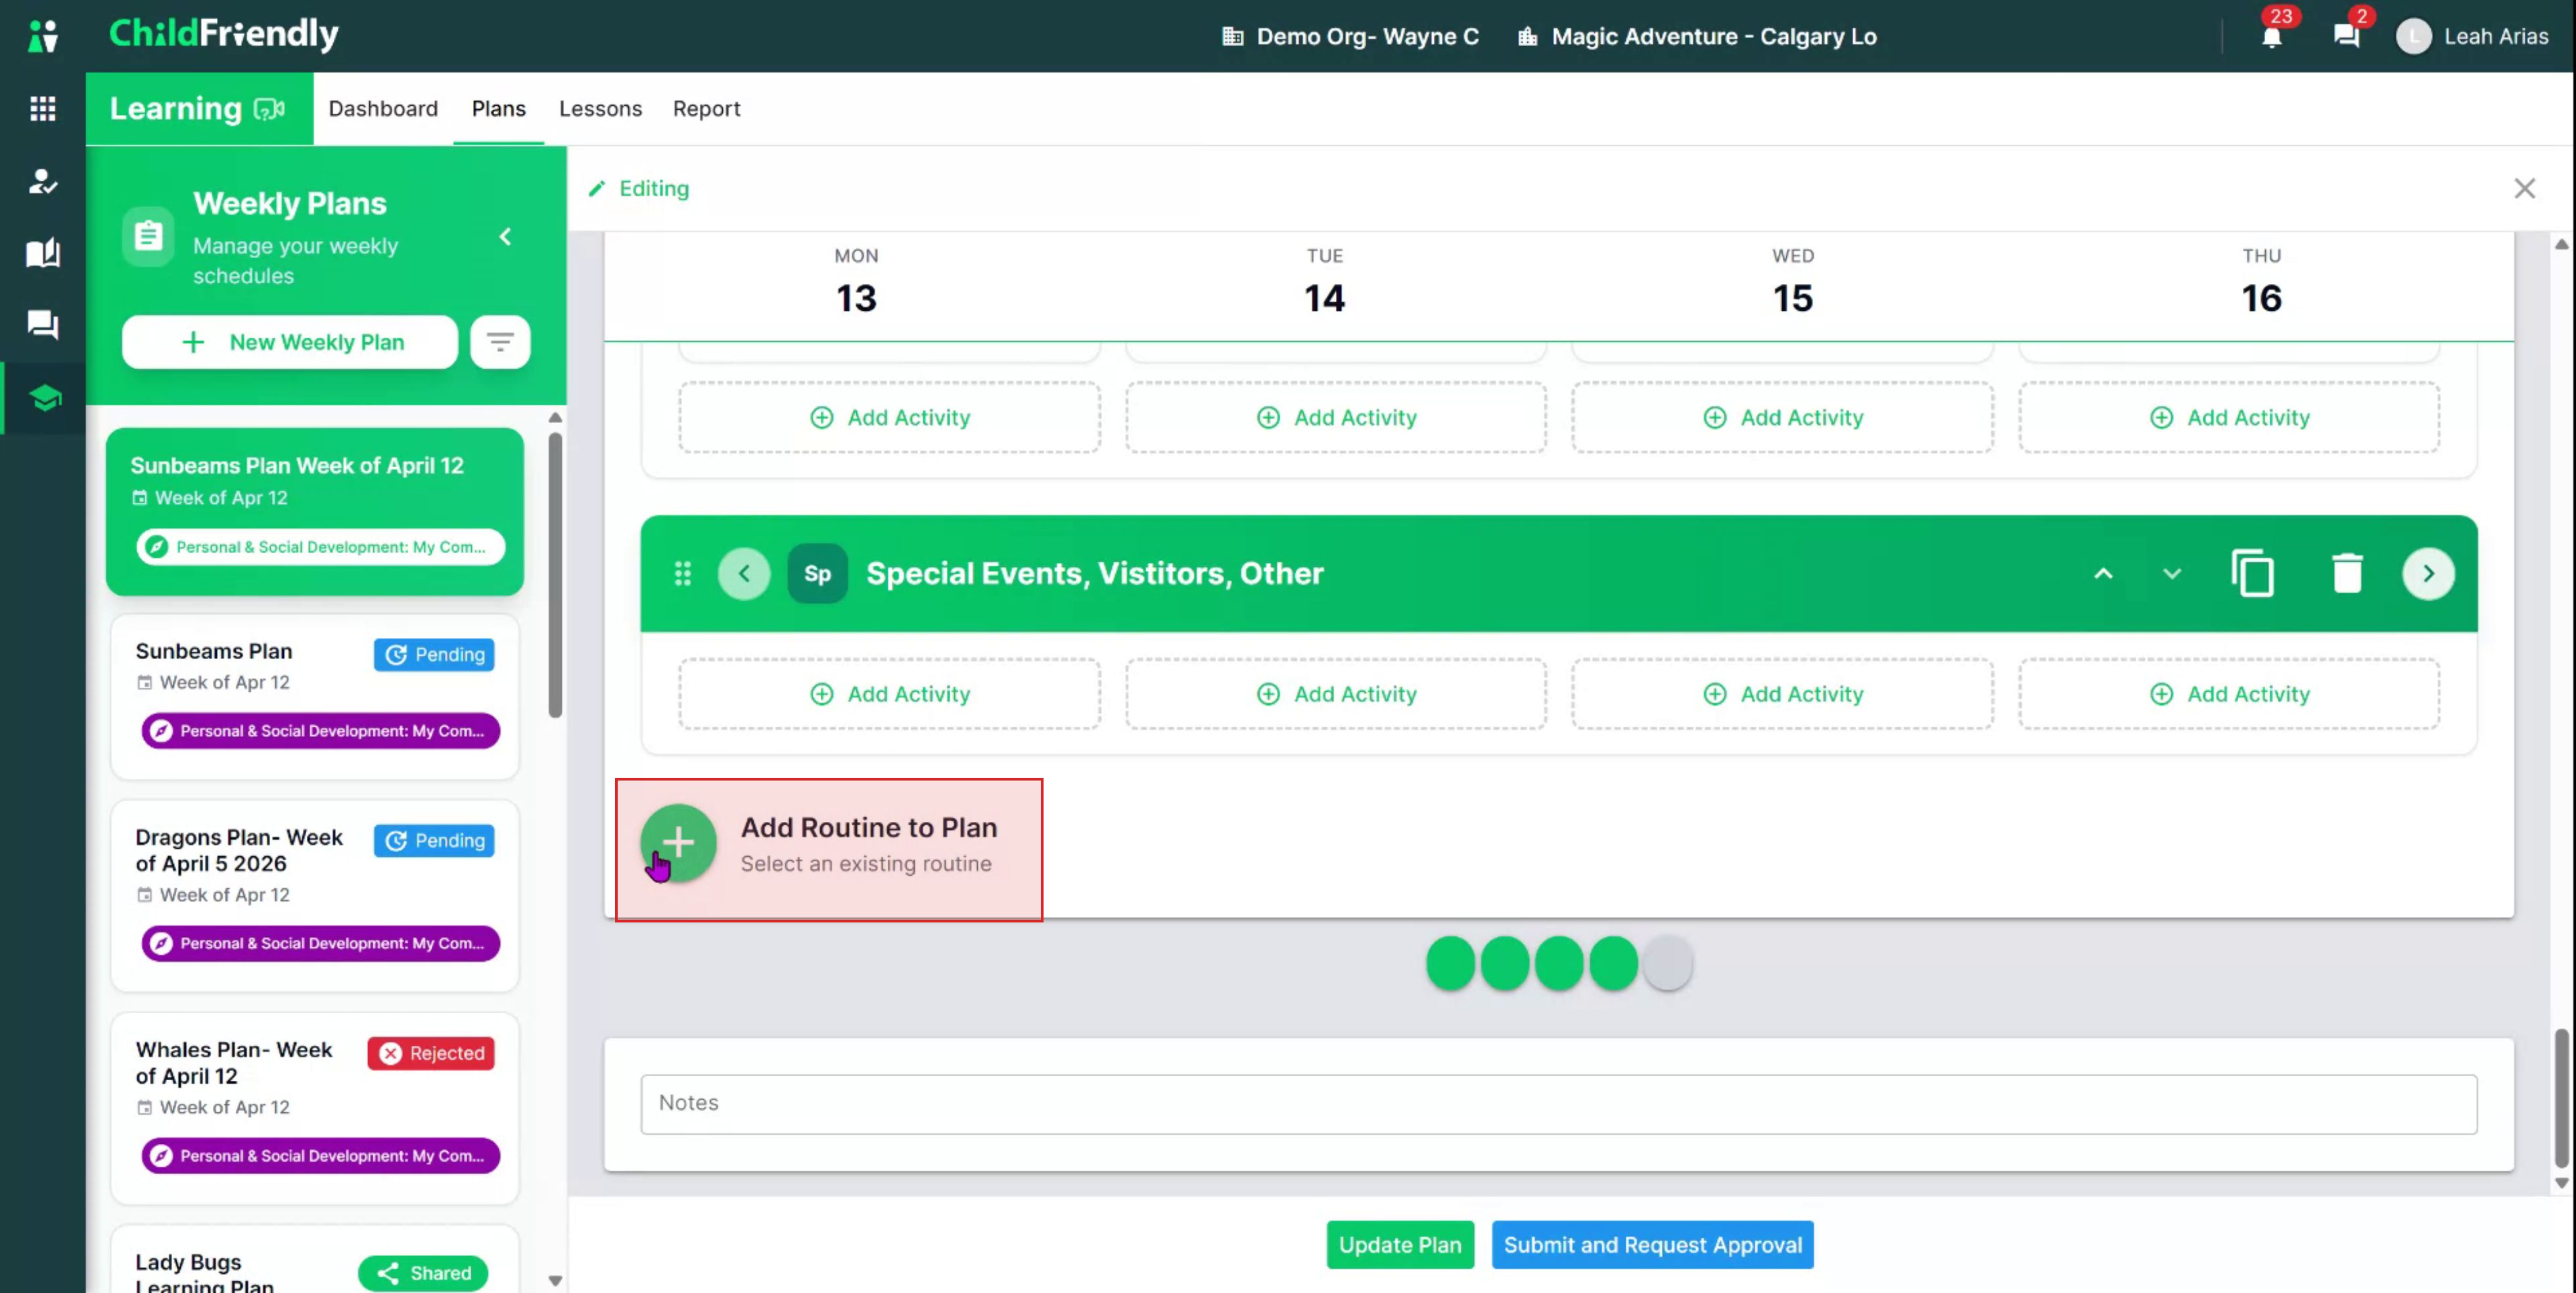
The new routine will appear at the bottom, where you can reorder it and begin adding activities.
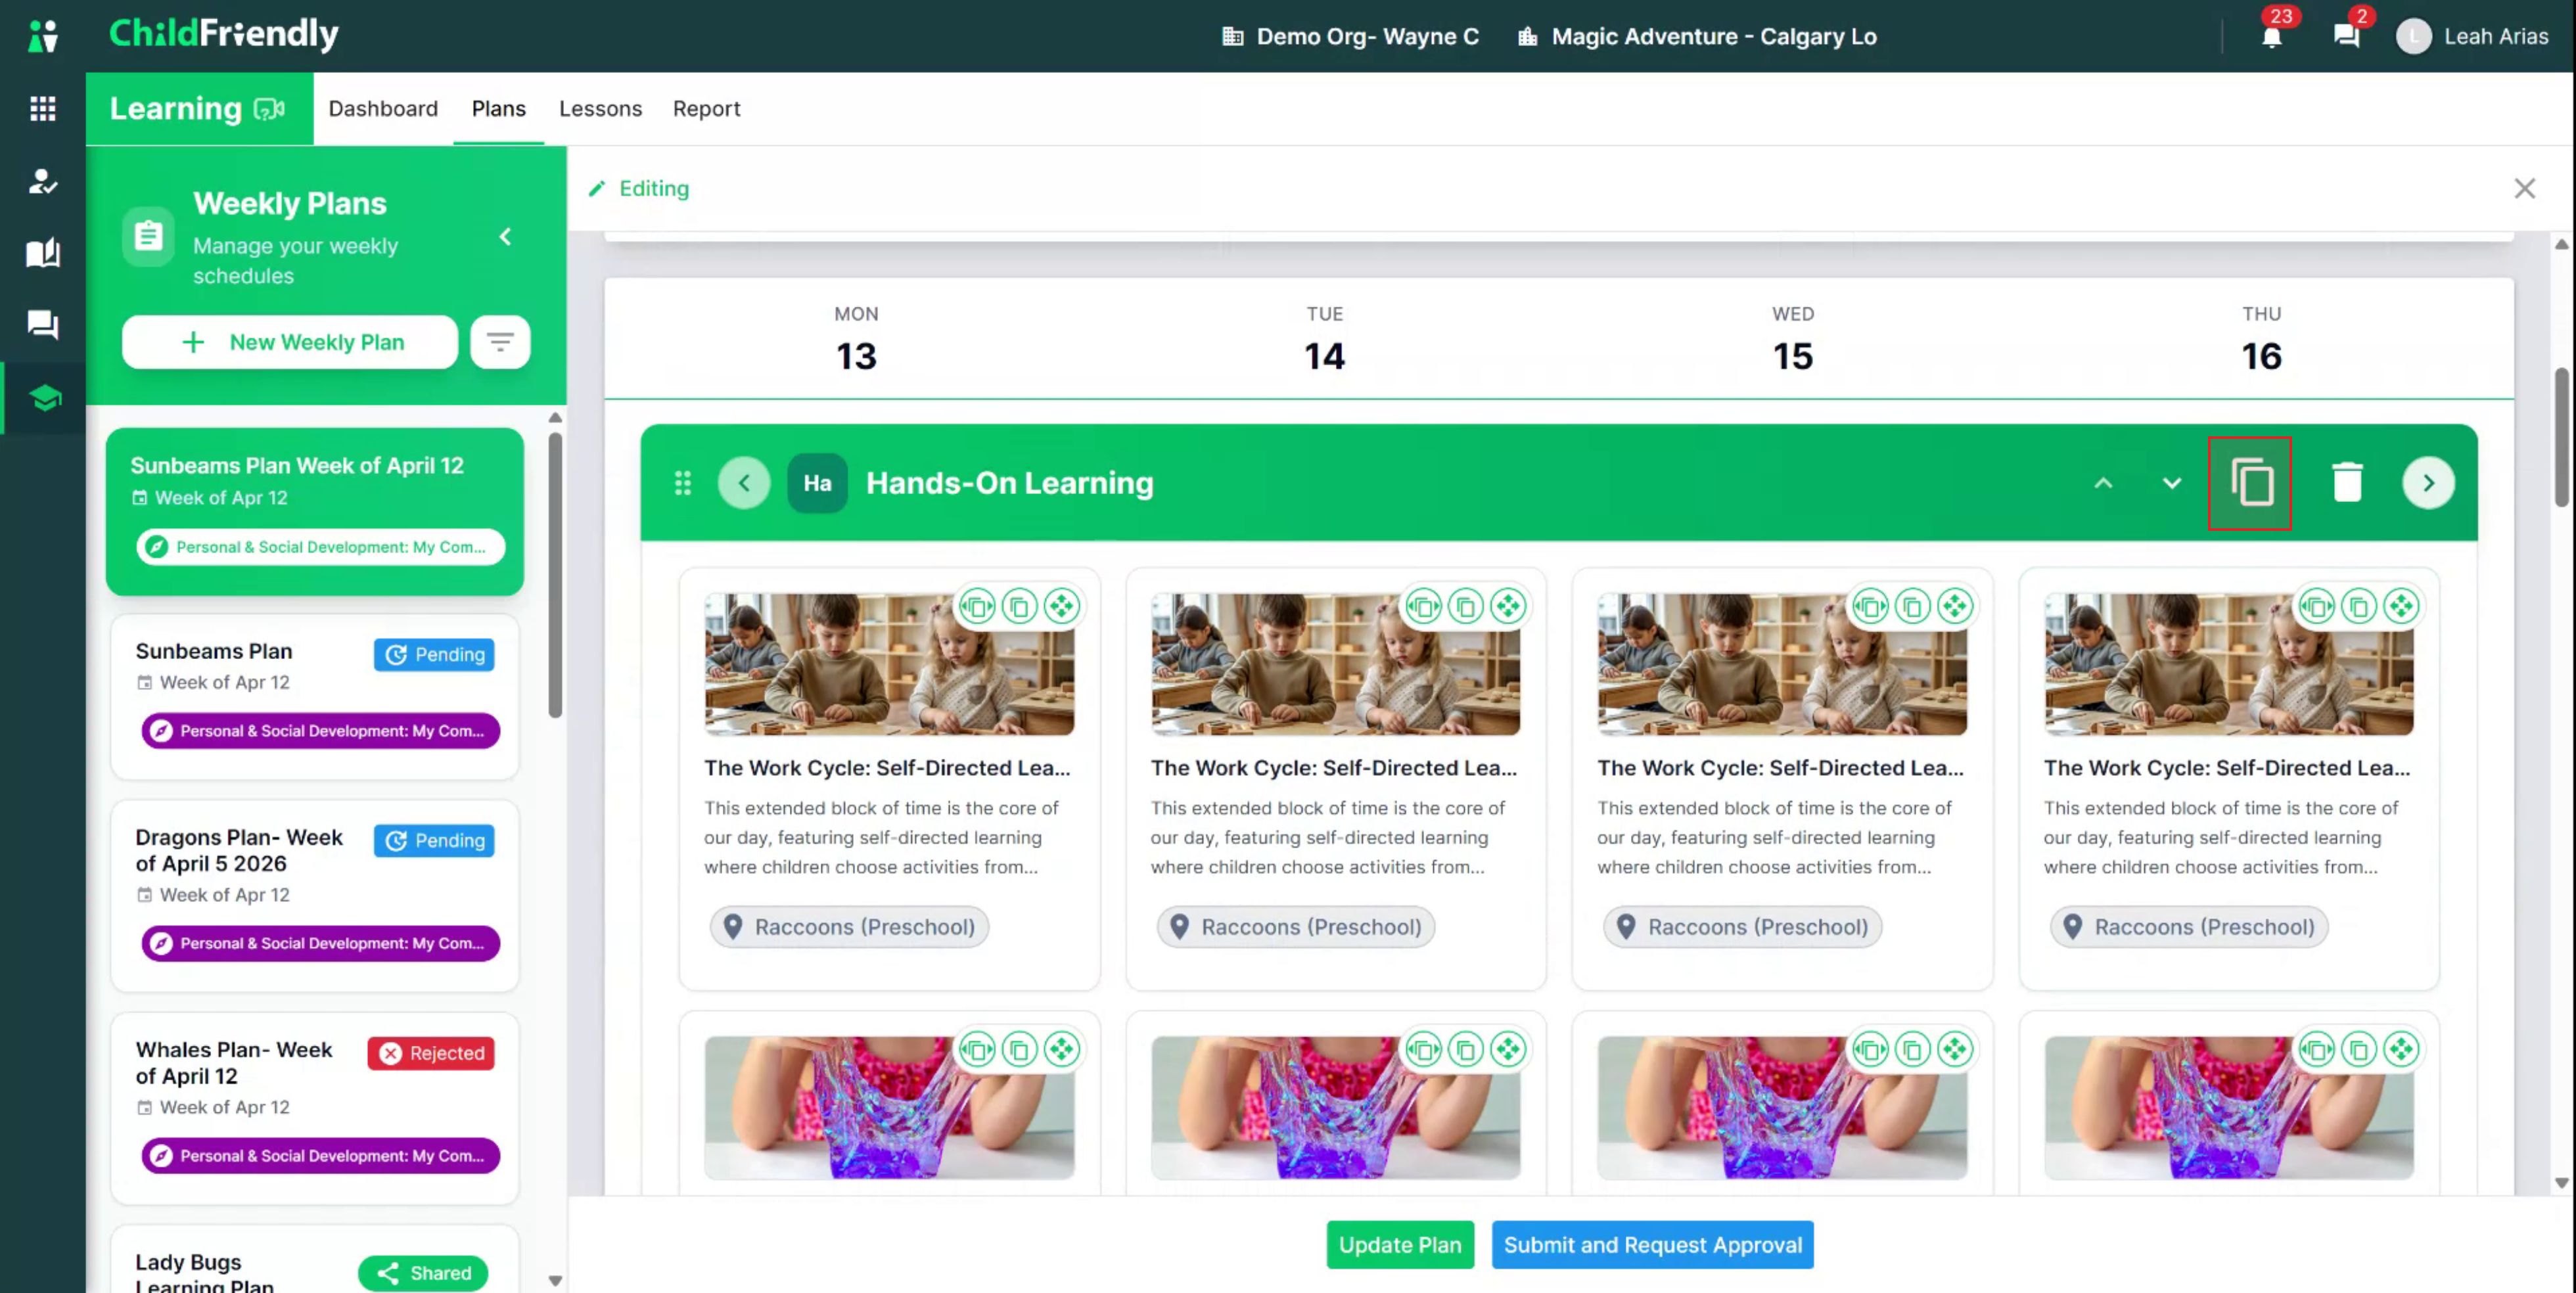
Duplicate a routine (including all of its activities) using the duplicate icon.
Step 6: Manage Activities Within Routines
Under each routine banner, you will see the activities planned for each day.
You can:
Duplicate an activity so it appears just below the original, then move it as needed.
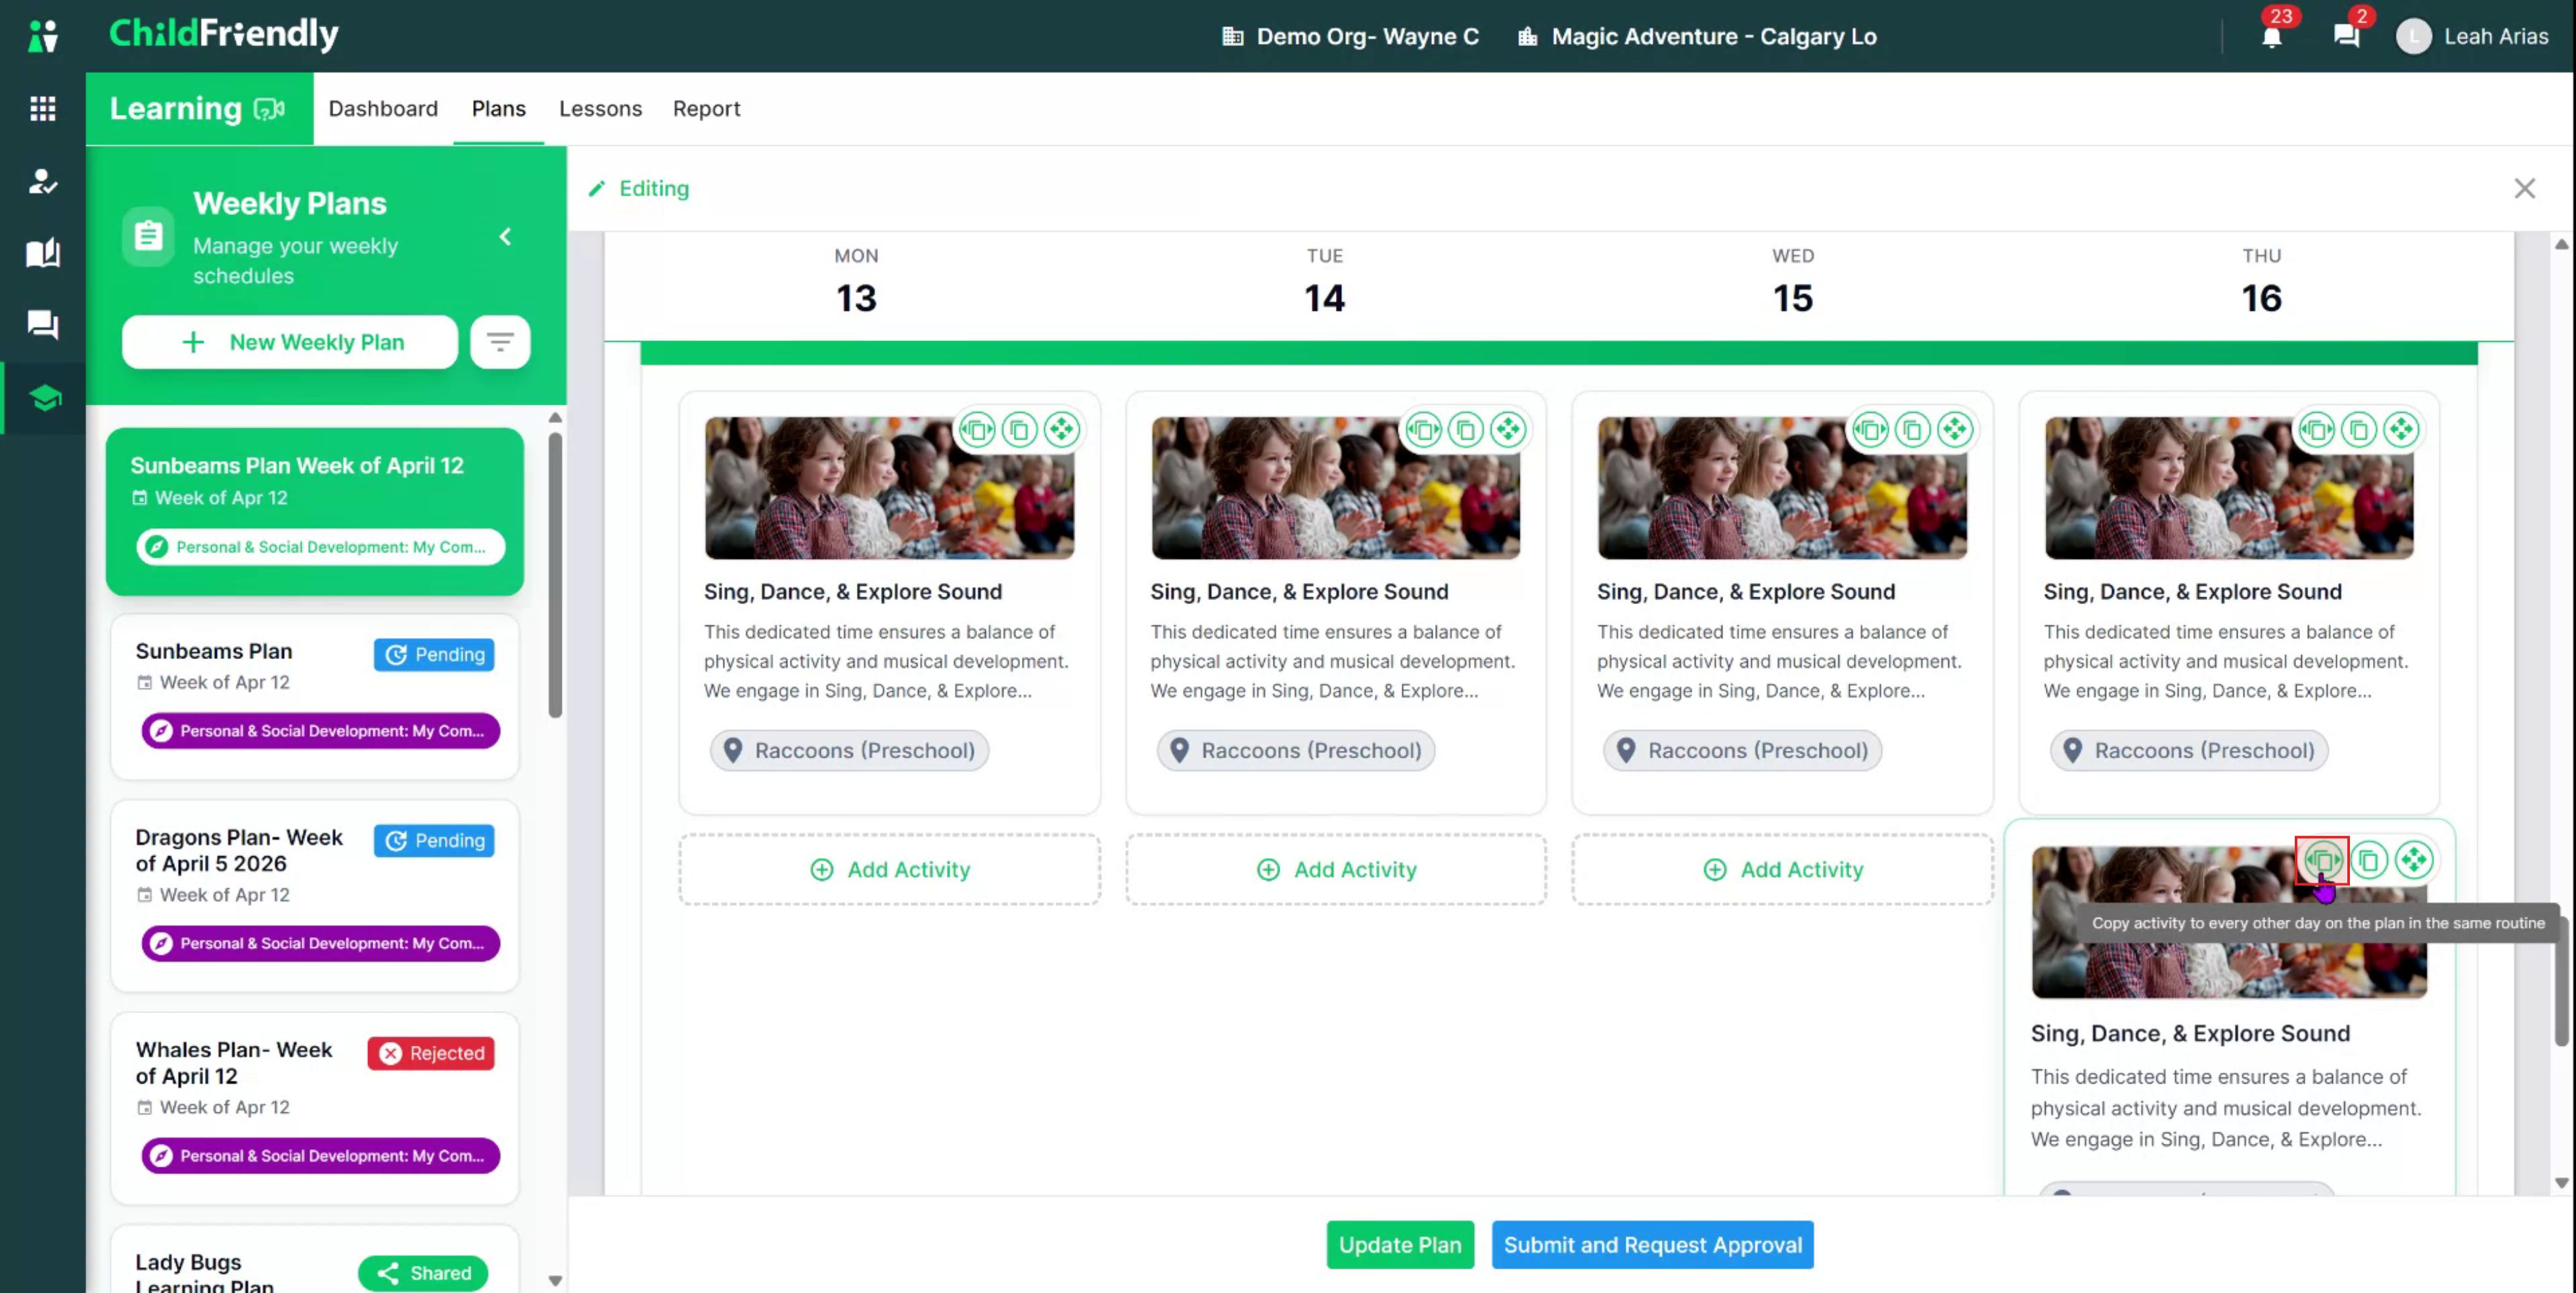
Duplicate an activity across all days of the week using the dedicated duplicate-across icon.
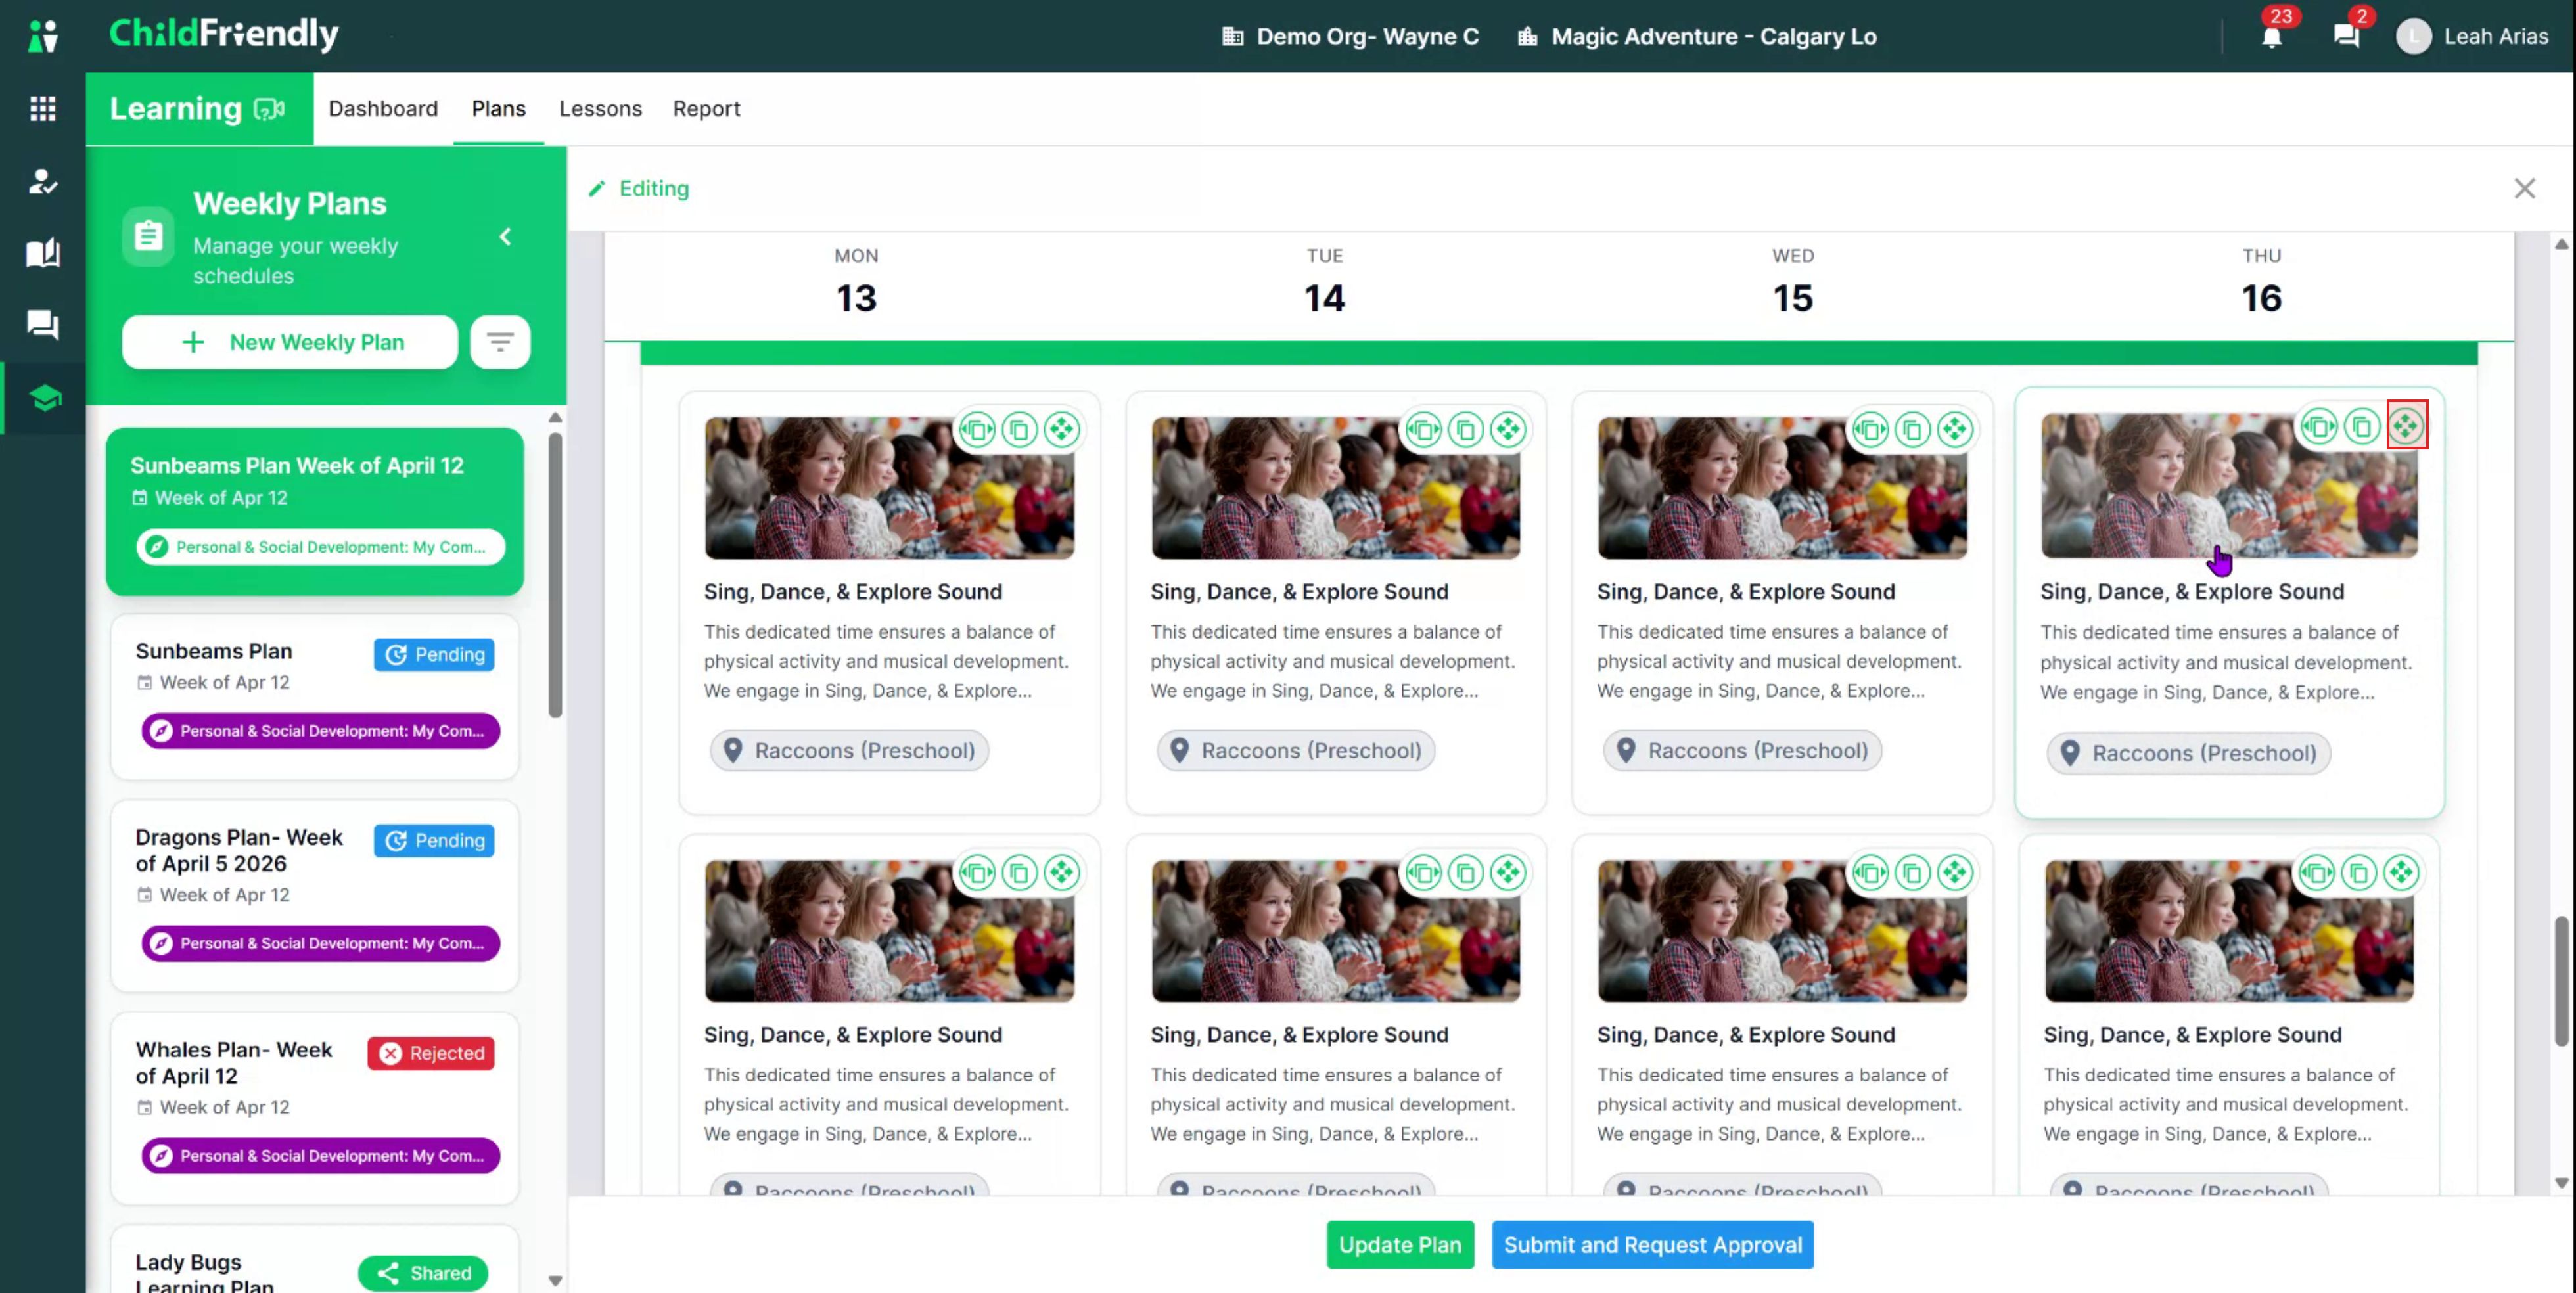
Move an activity by clicking the move icon and dragging it to its new location in the grid.
Edit an activity by clicking into it, updating the fields in the editing view, and then clicking Update Activity.

This same editing view is where you can delete the activity using the Delete button.
Step 7: Add a New Activity
To add a completely new activity under a specific routine:
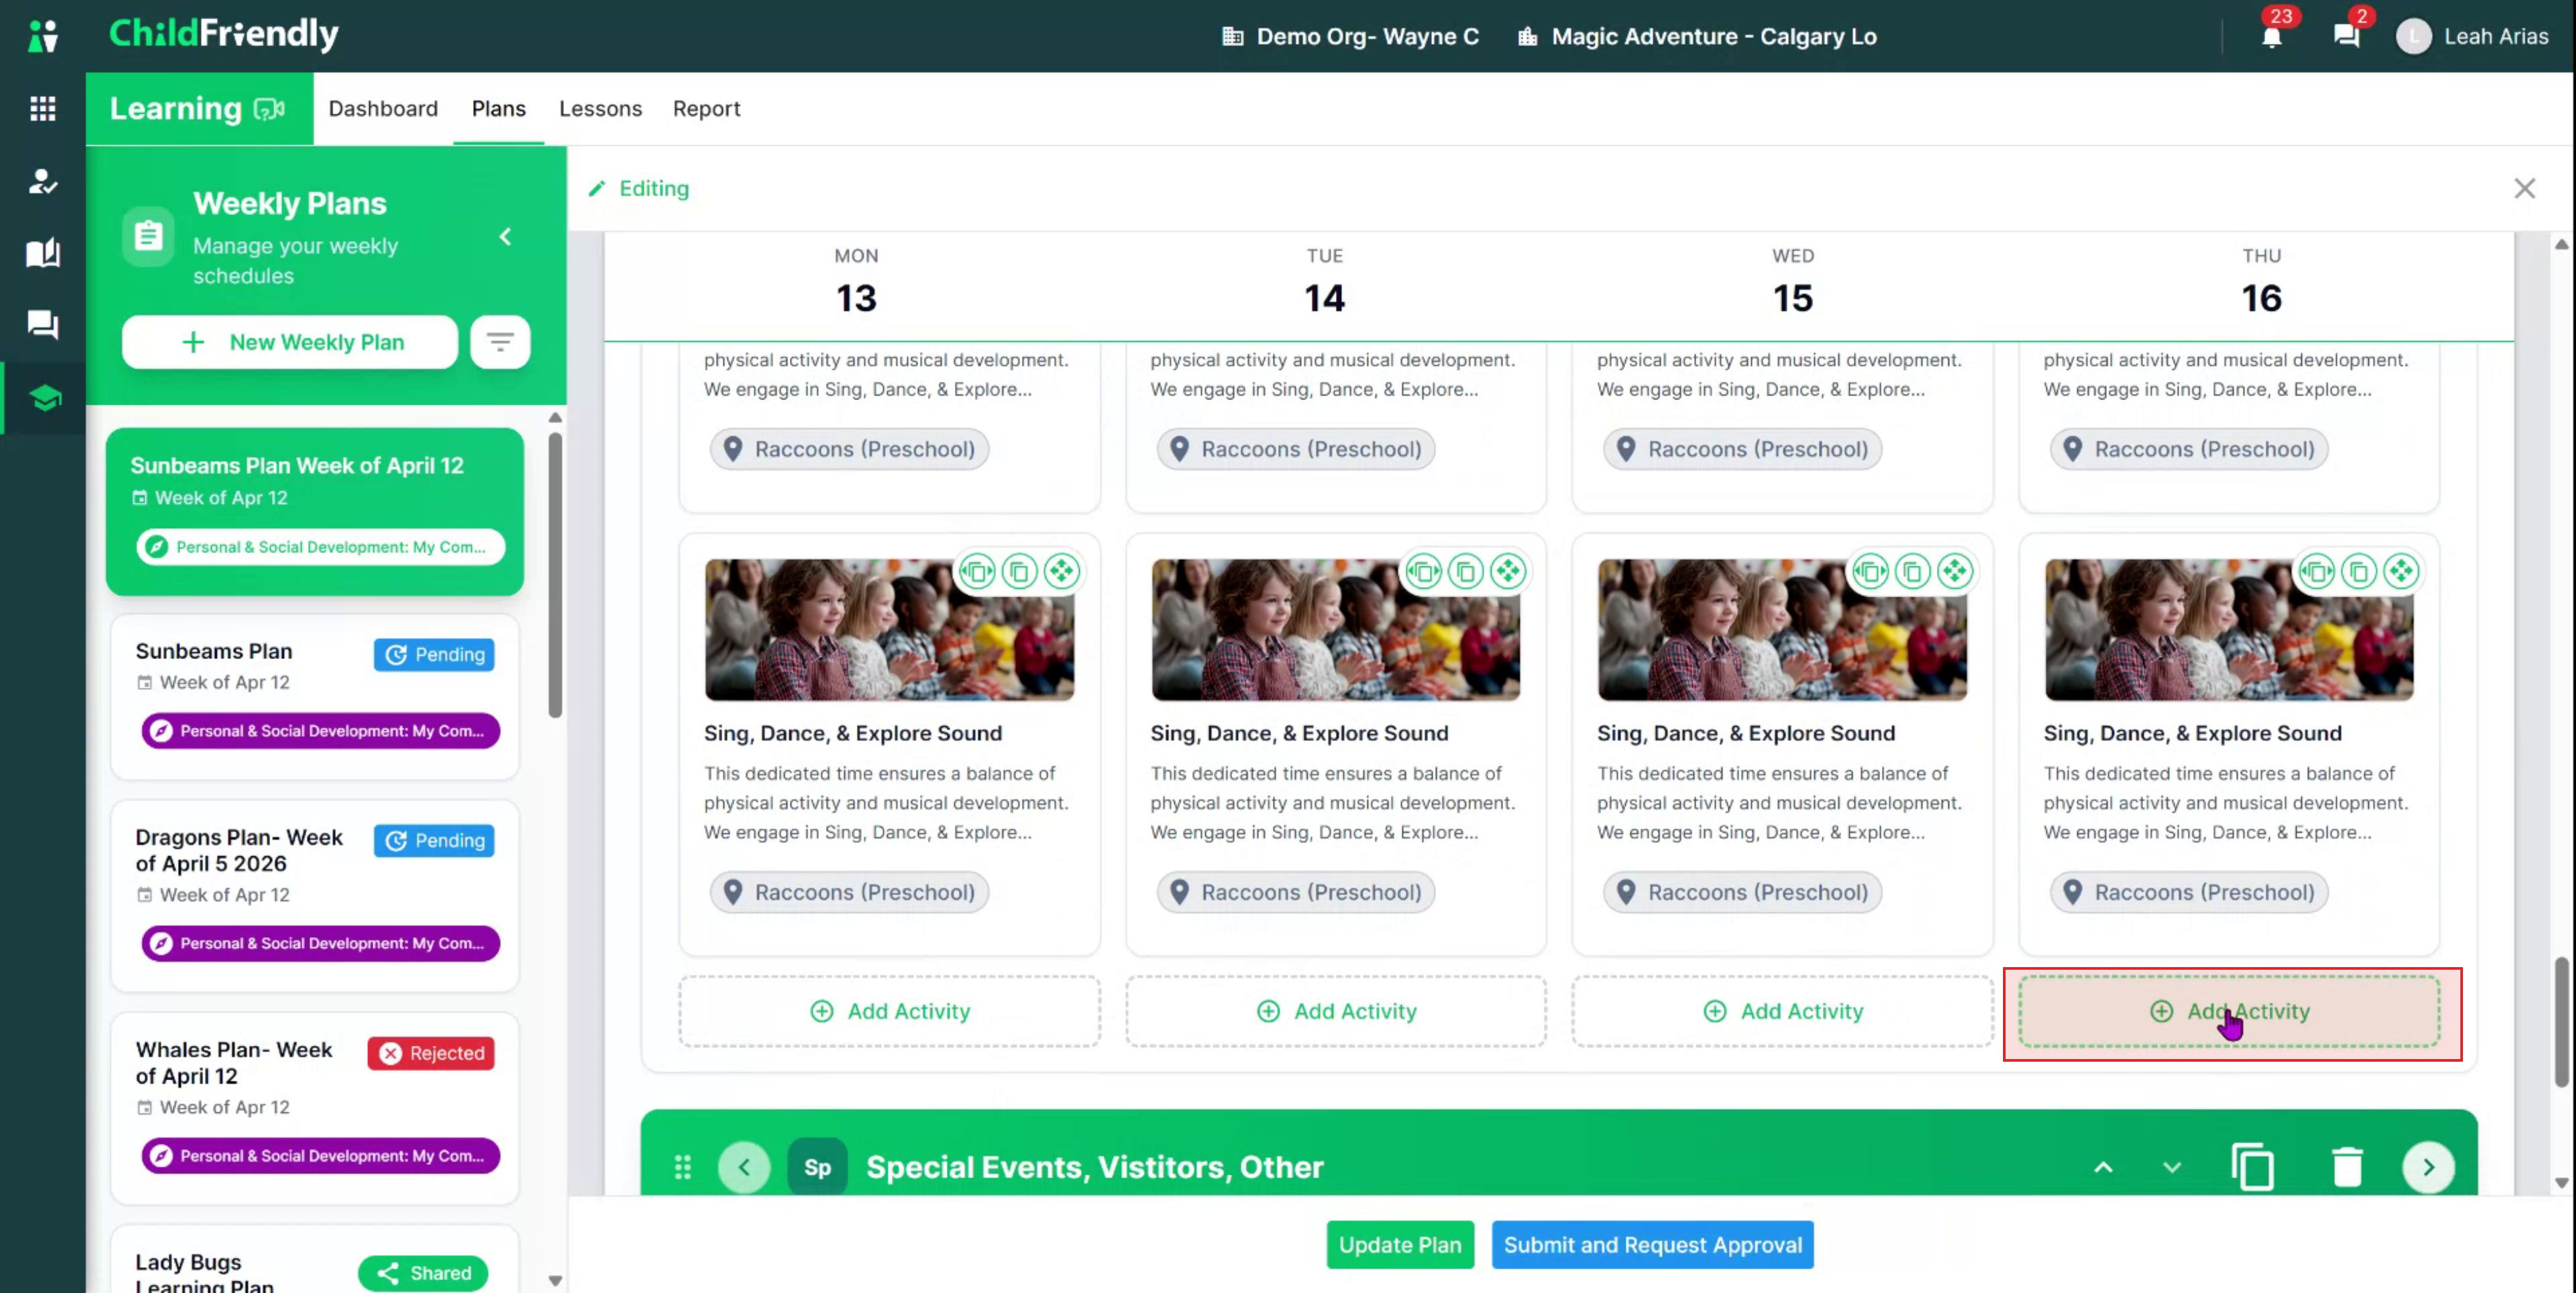
Click the Add Activity icon under the appropriate routine banner.
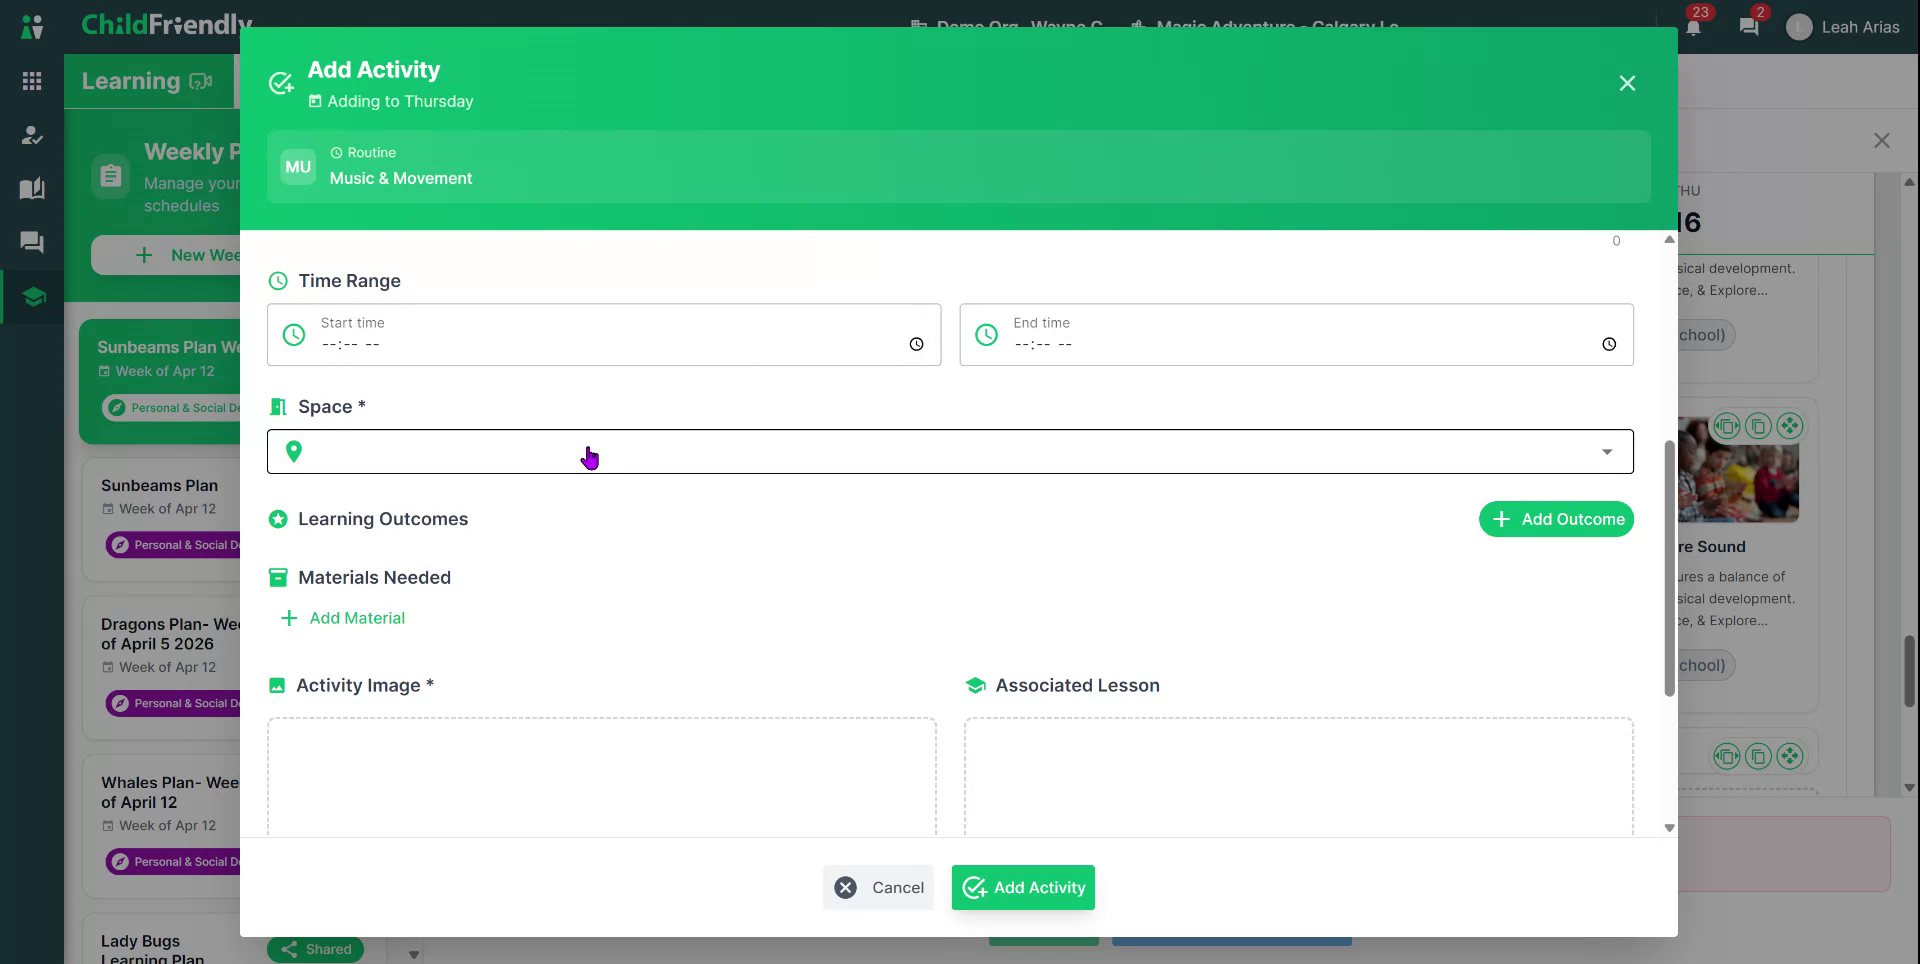
In the activity form:
Enter the activity name and description.
Add any internal notes or admin guidance (these are visible only to educators and admin; parents do not see internal notes).
Optionally, specify the time range for when the activity will occur.
Select the space where the activity will take place.
Optionally, associate the activity with learning outcomes from your center’s curriculum:
Click to open learning outcomes.
Choose outcomes directly from the list, or expand the filter menu at the top.
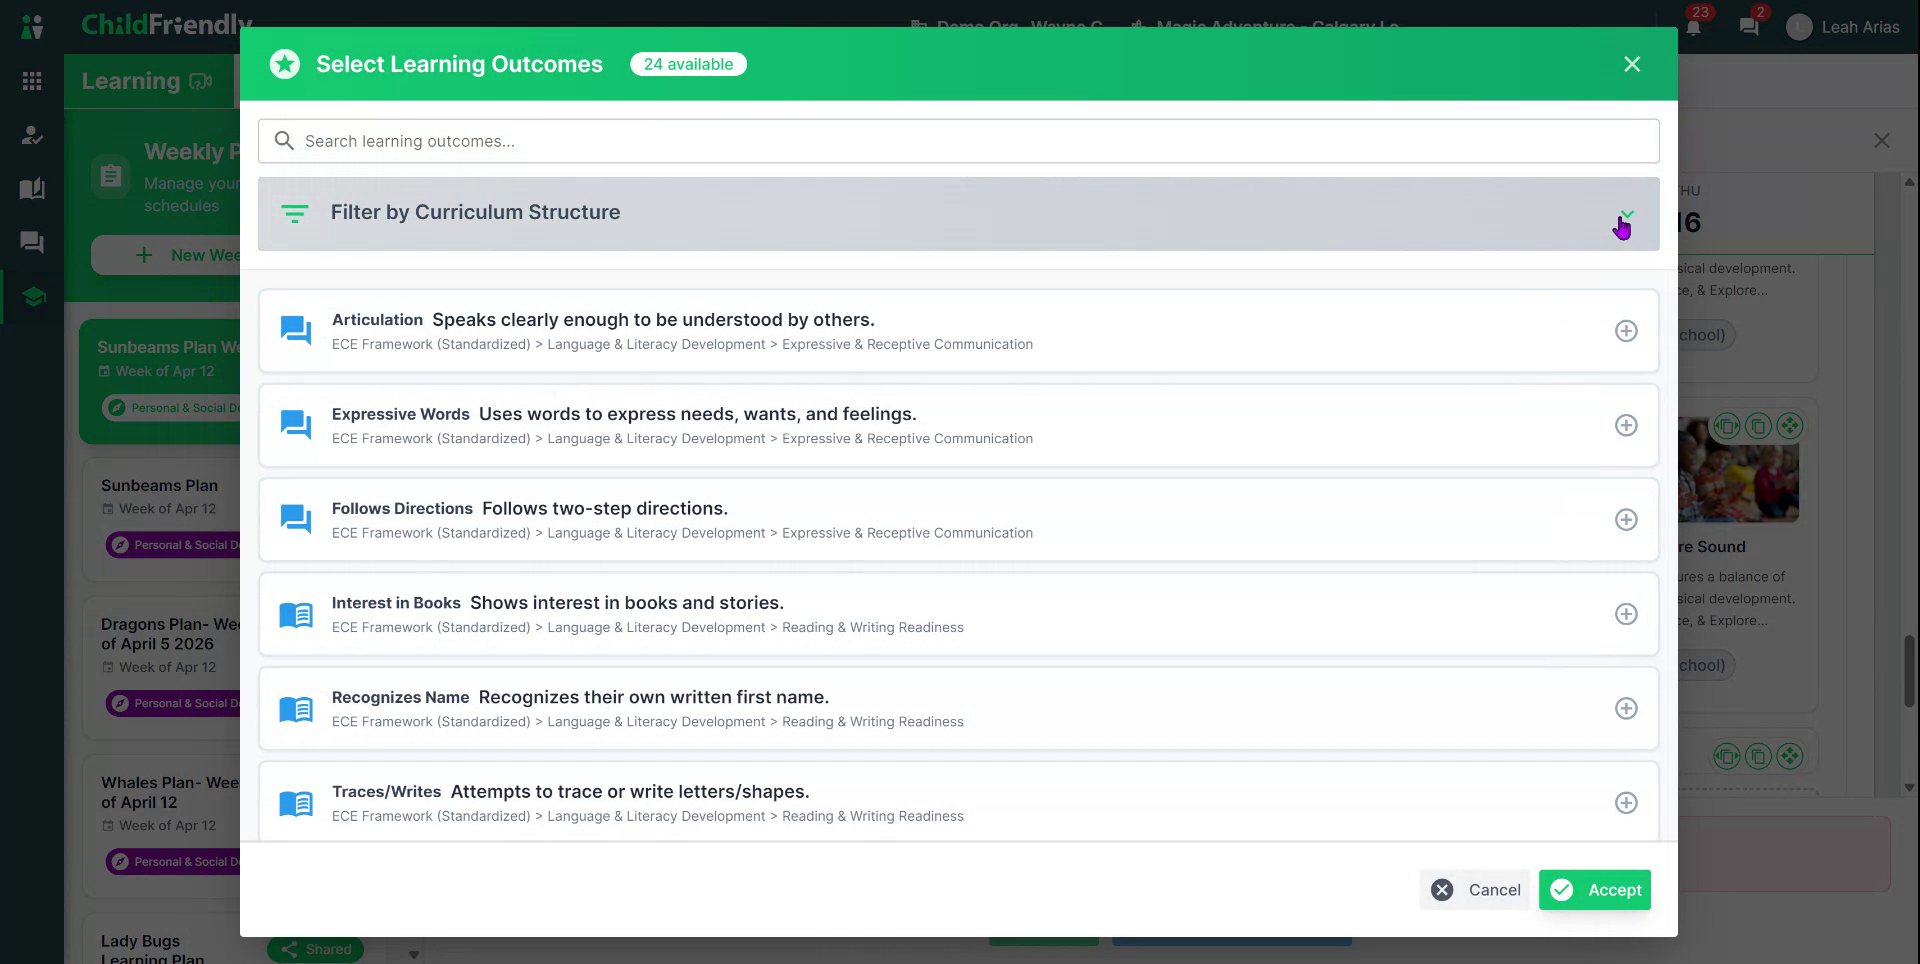
Use the filters to select a specific curriculum, domain, and focus area.
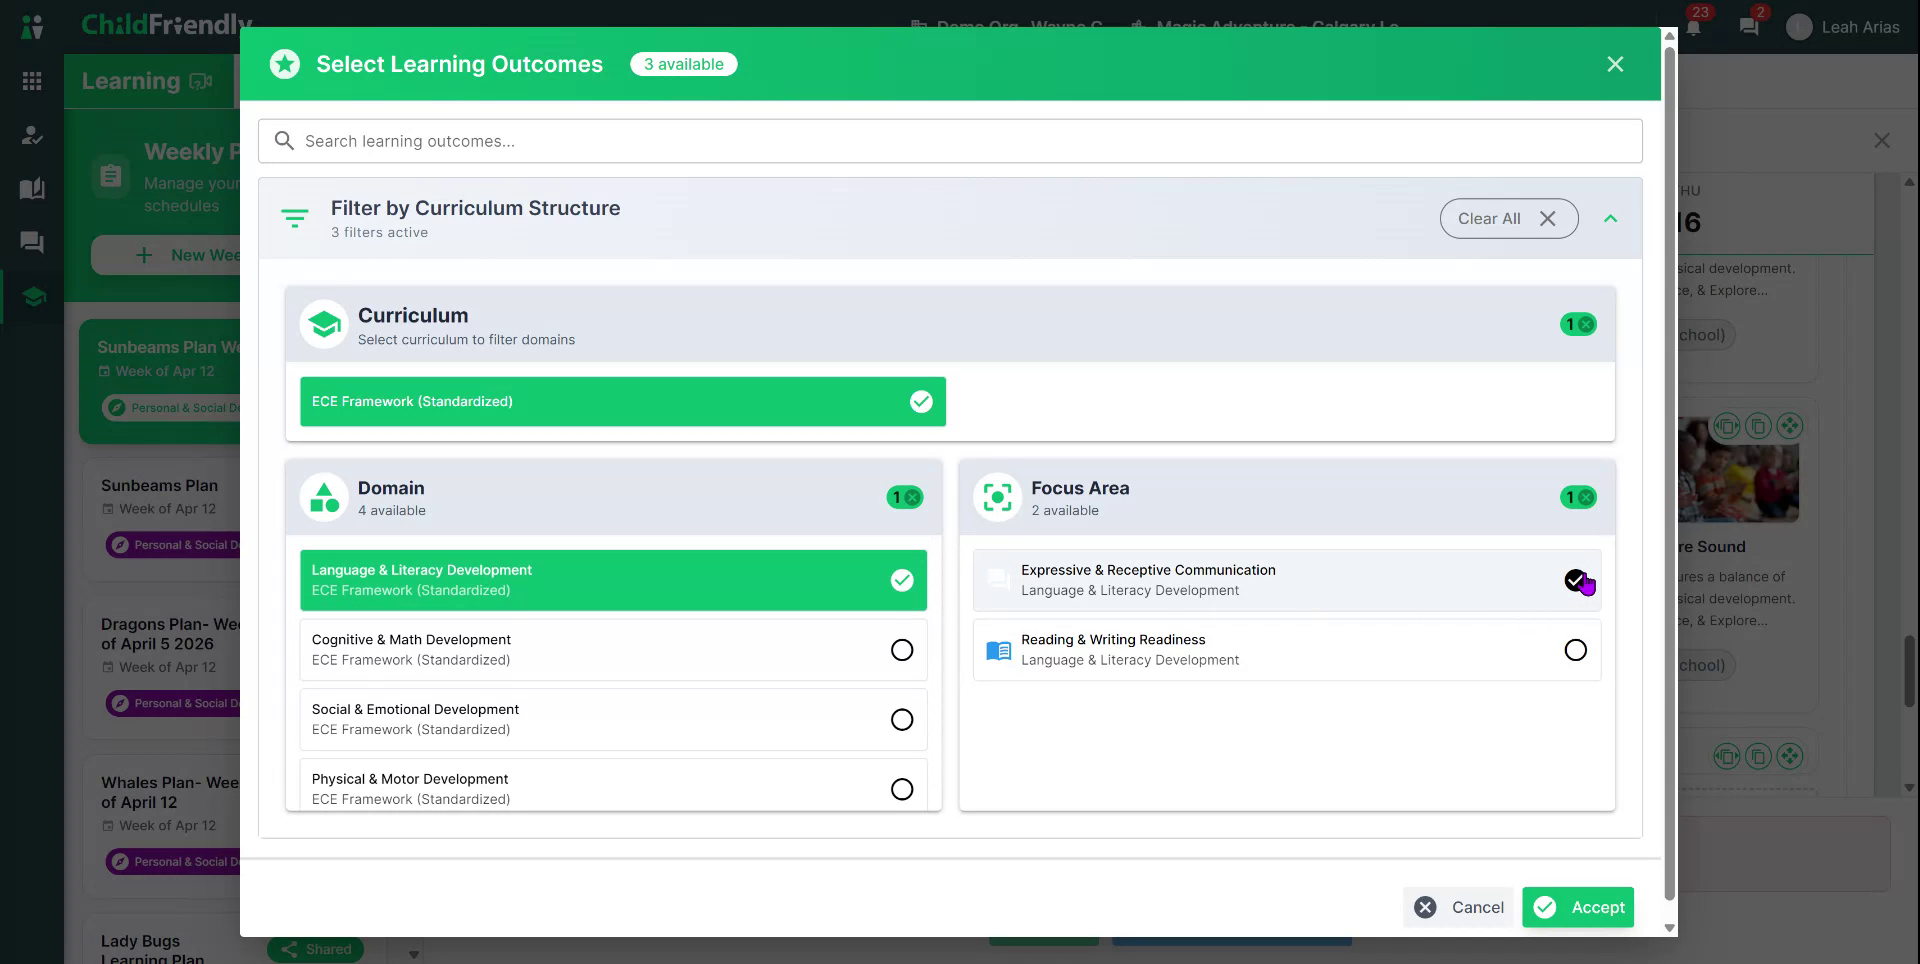
Minimize the filter panel once you have refined your list.
Select the outcomes you want to tag.
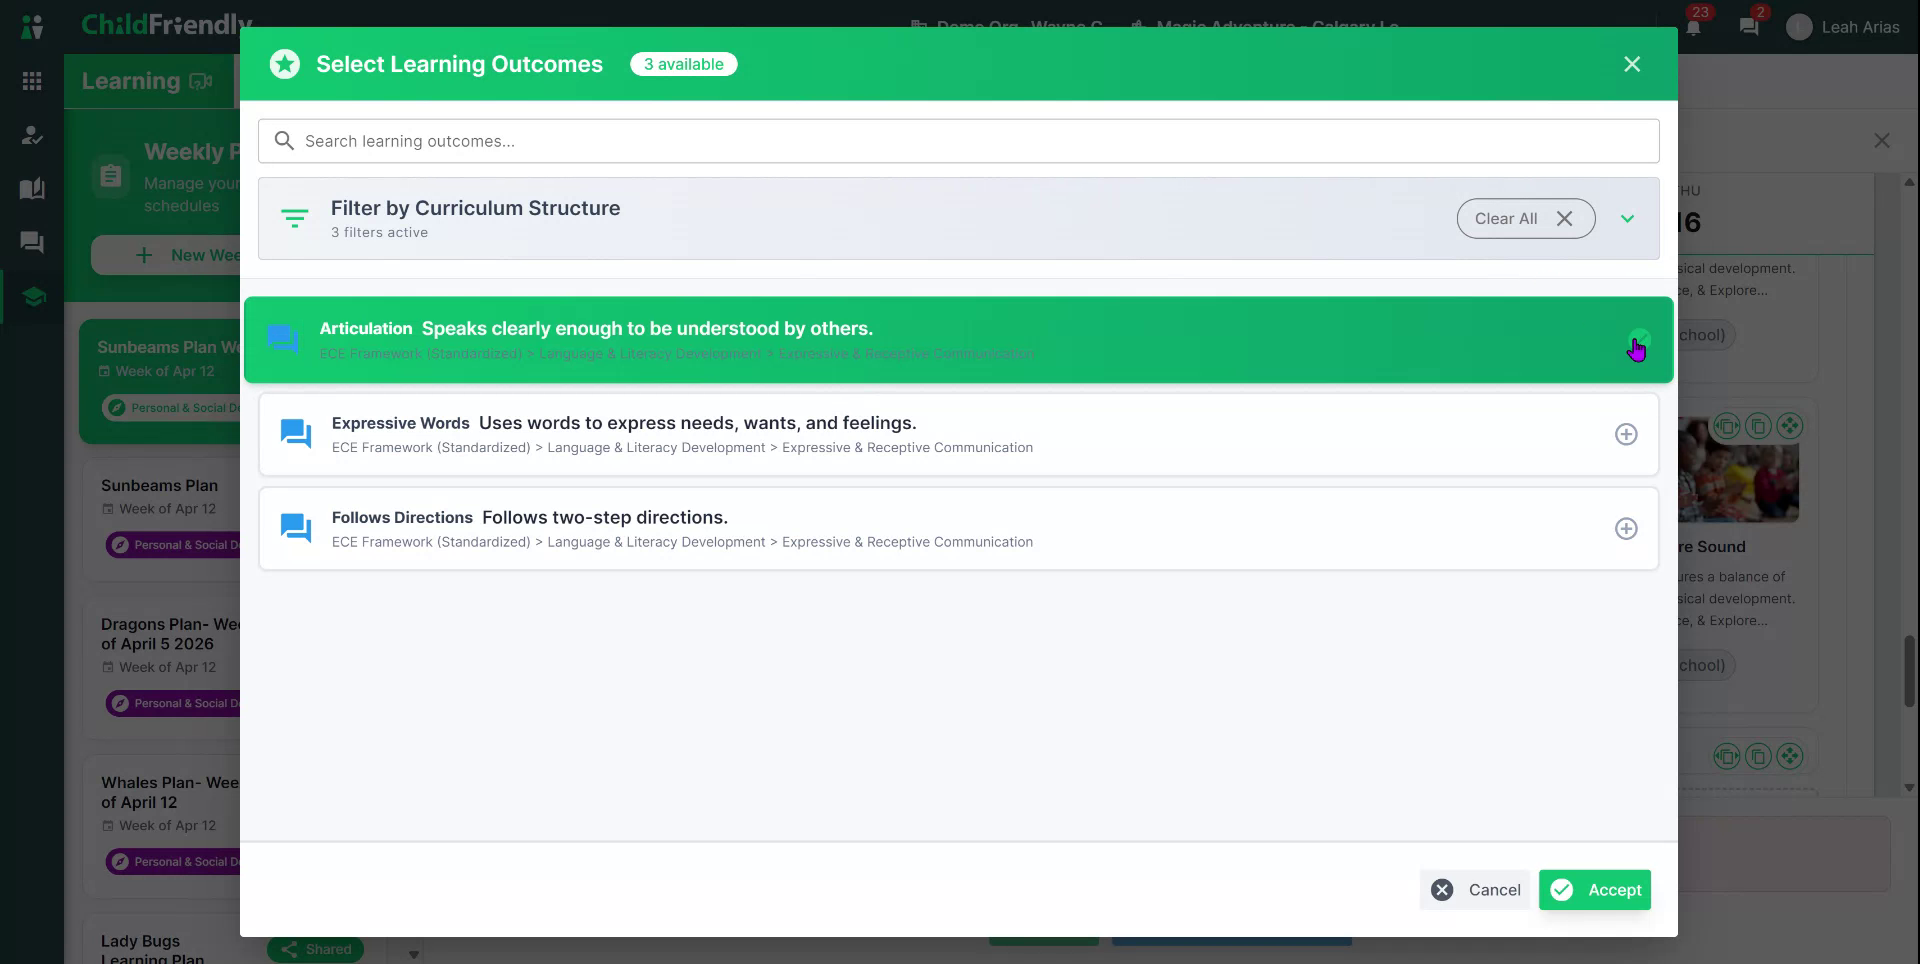
Press Accept to confirm.
Step 8: Add Materials and Activity Image
To add materials:
Click Add Material.

Enter the material name.
Enter how many are needed per child, or, for shared or pre-stocked items (e.g., one book, classroom paint), enter N/A.
Materials entered here are used to generate shopping lists (refer to the separate video on generating shopping lists for more details).

Next, add an activity image. This is required, as it is the preview image parents see for the activity:
Select an image from the global library, your organization’s library, My Library, or upload an image from your computer for one-time use.
Step 9: Attach an Associated Lesson (Optional)
For more complex activities that have formal lessons, you can attach an associated lesson instead of manually setting materials and outcomes (these fields will disappear once a lesson is attached to avoid duplication).
To attach a lesson:
Click Browse Lessons.
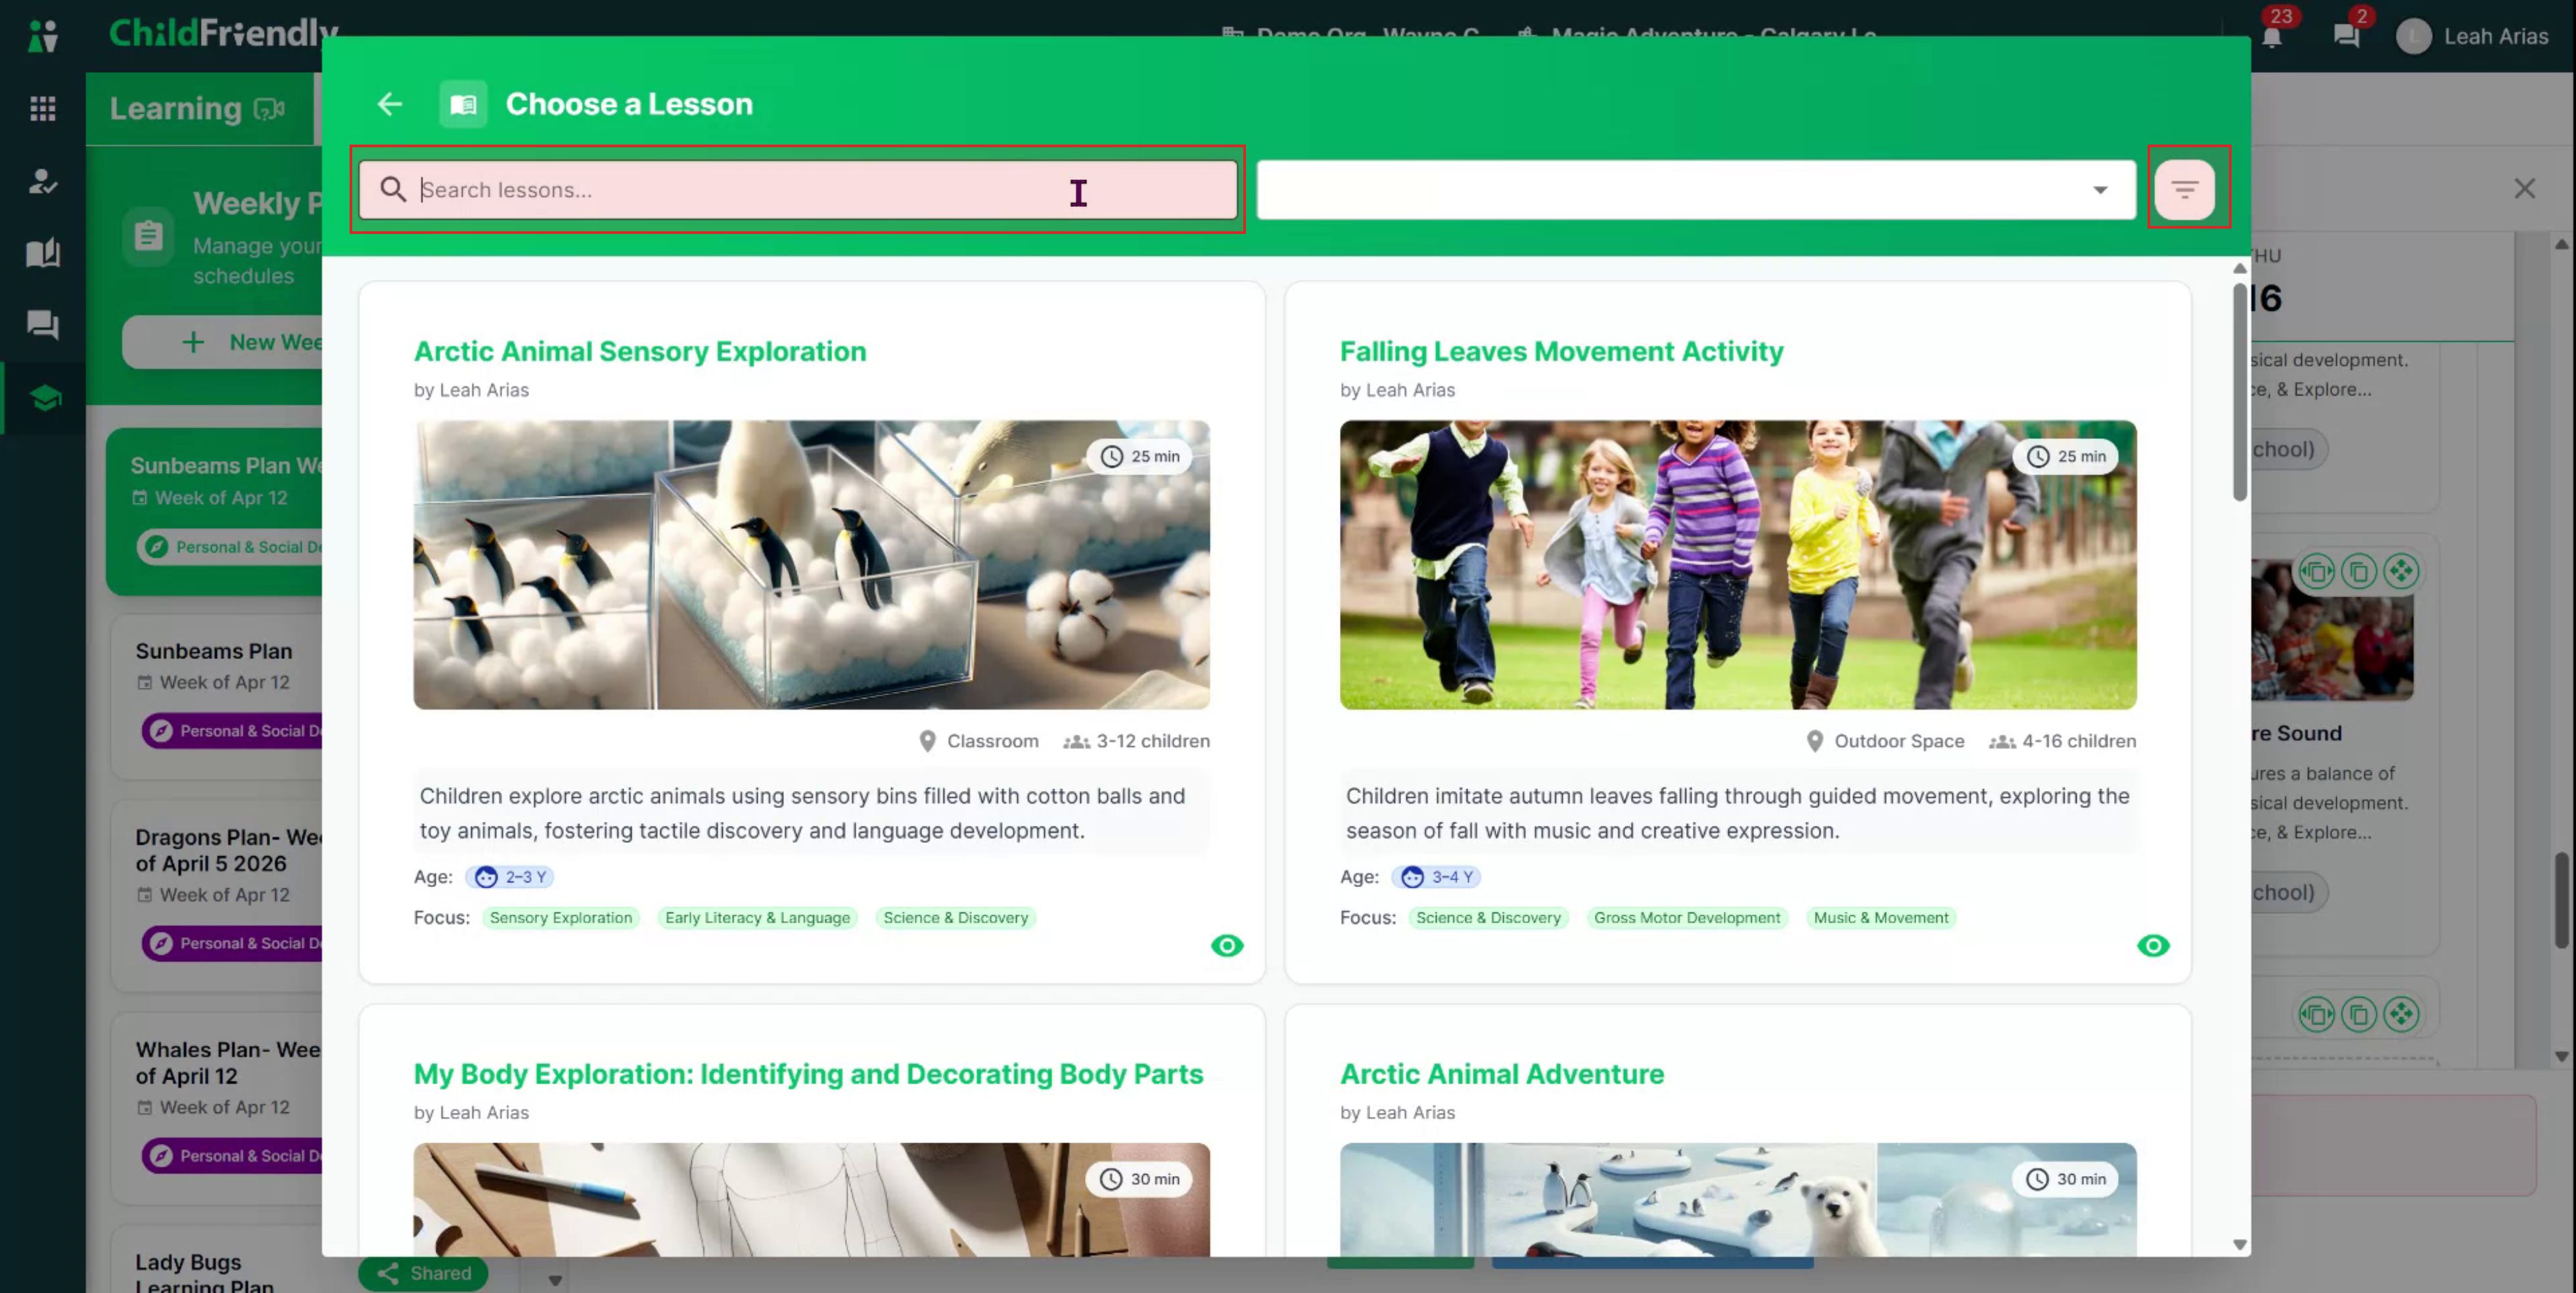
Use the search bar or filter icon to find the appropriate lesson.
Select the lesson from the results to attach.
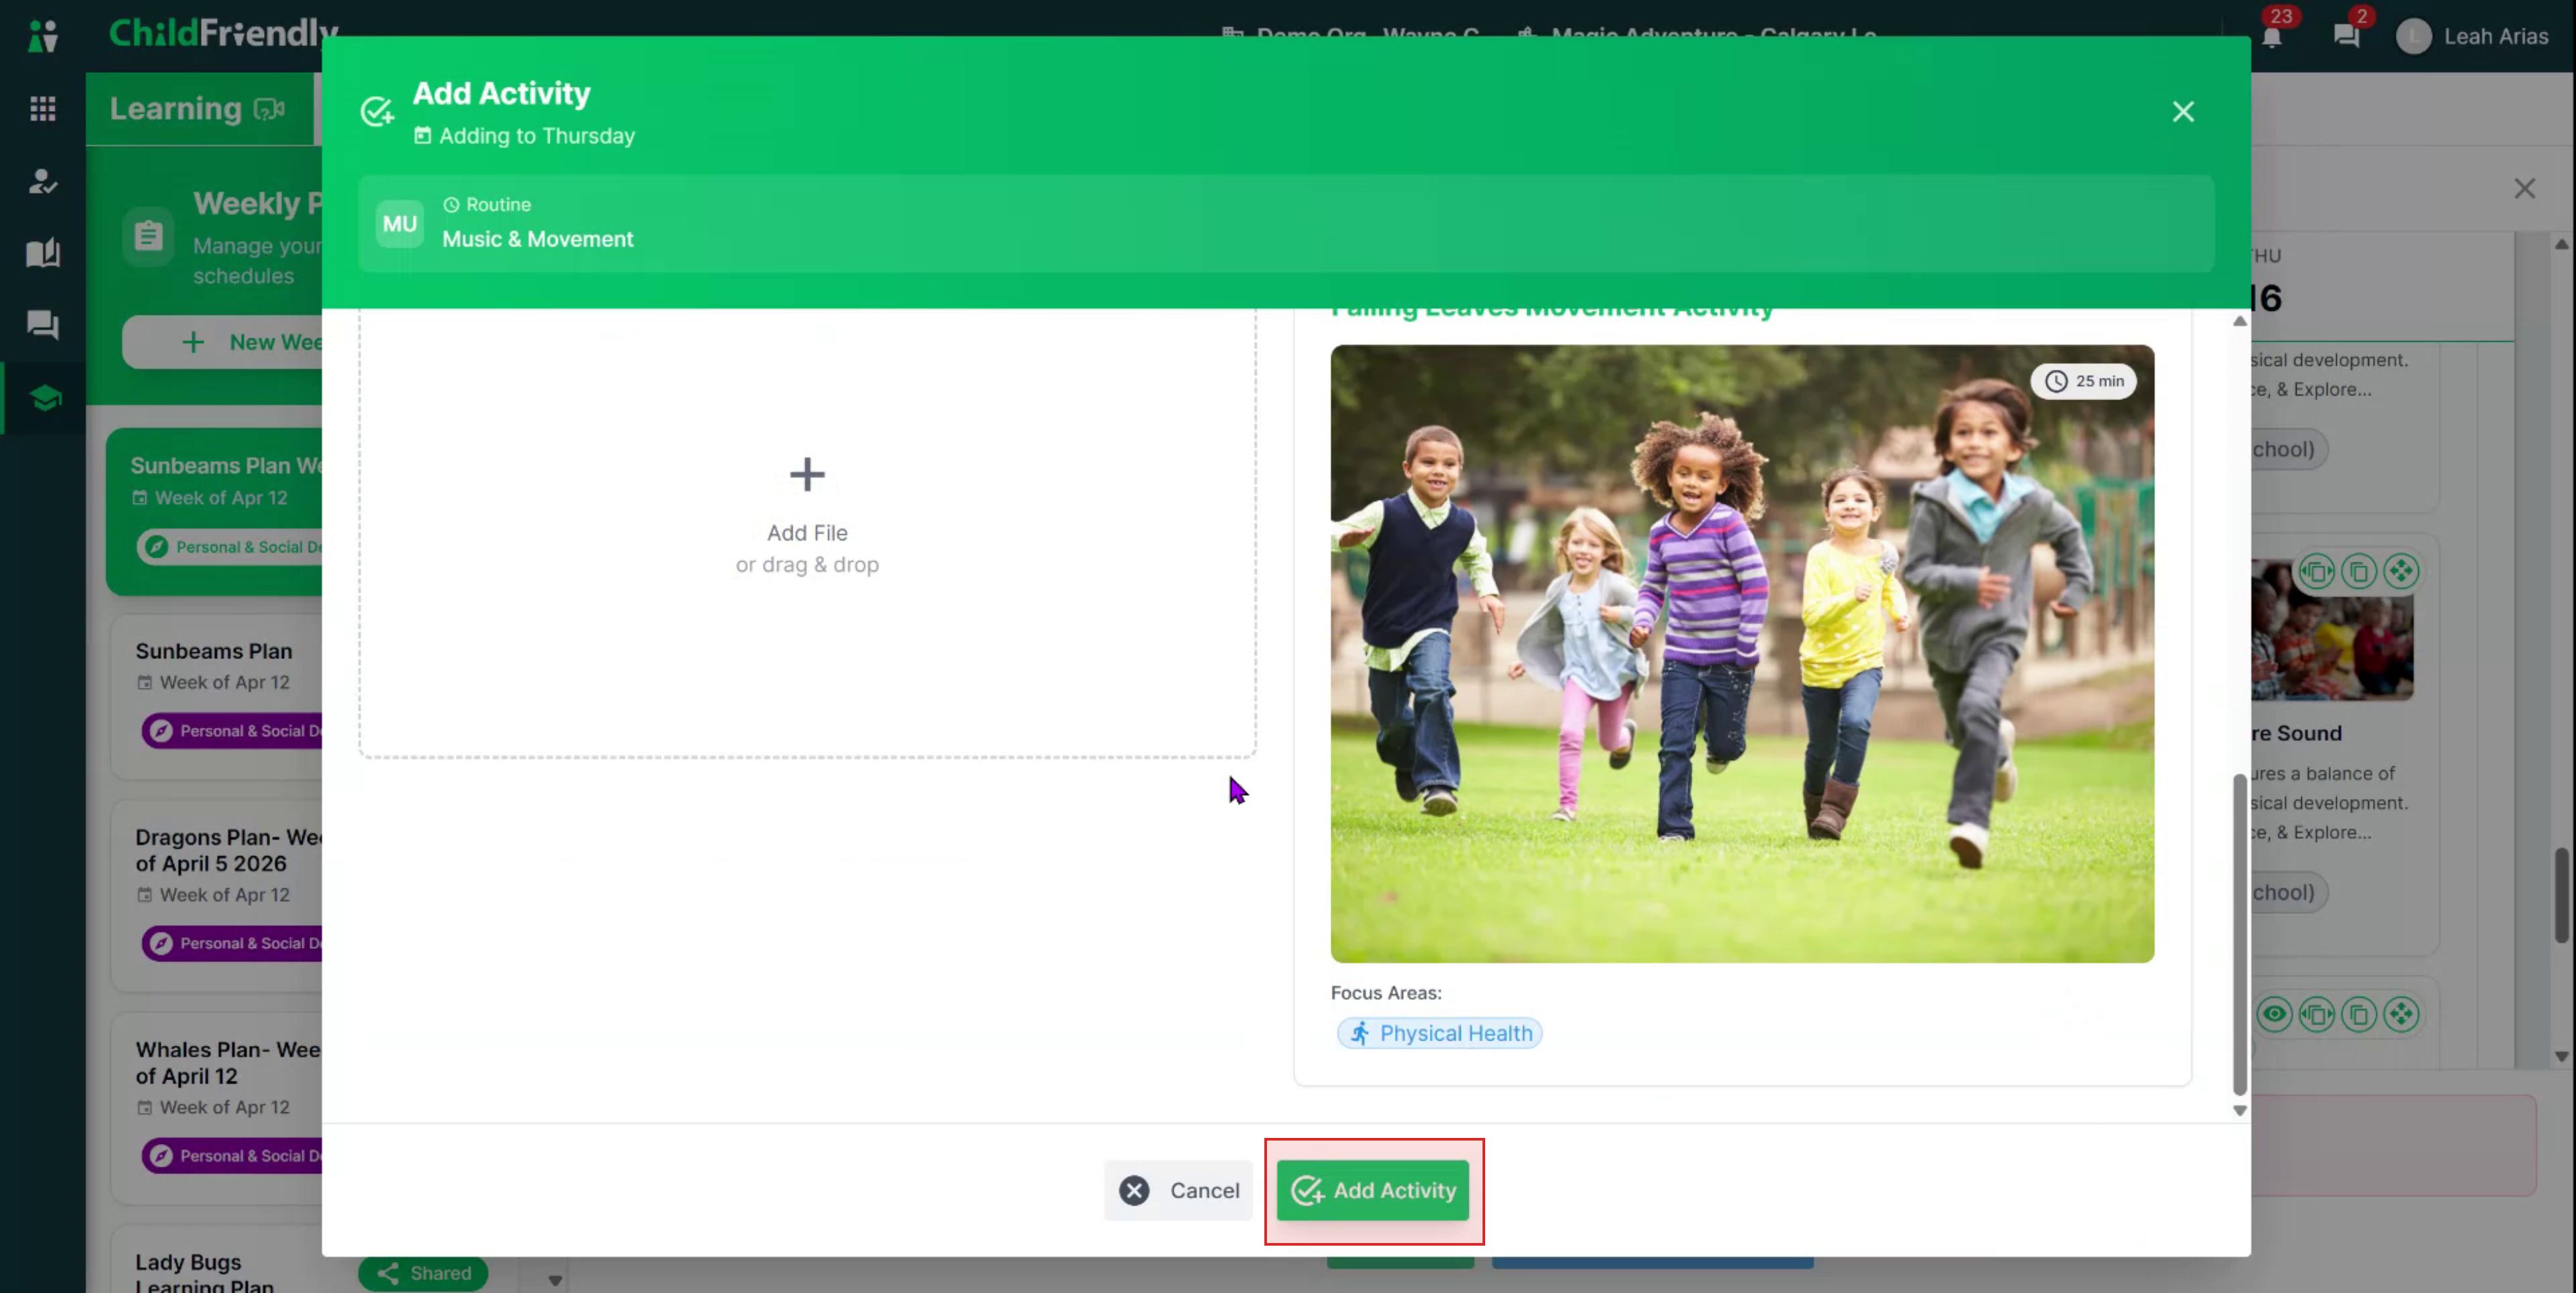
After completing all fields for the new activity, click Add Activity, then drag and drop the activity to its desired location in the plan.
Step 10: Save, Submit, and Request Approval
When you have finished configuring all routines, activities, images, and other fields in your plan:
Click Update Plan (for existing plans) or Create Plan (for new plans) to save your work.
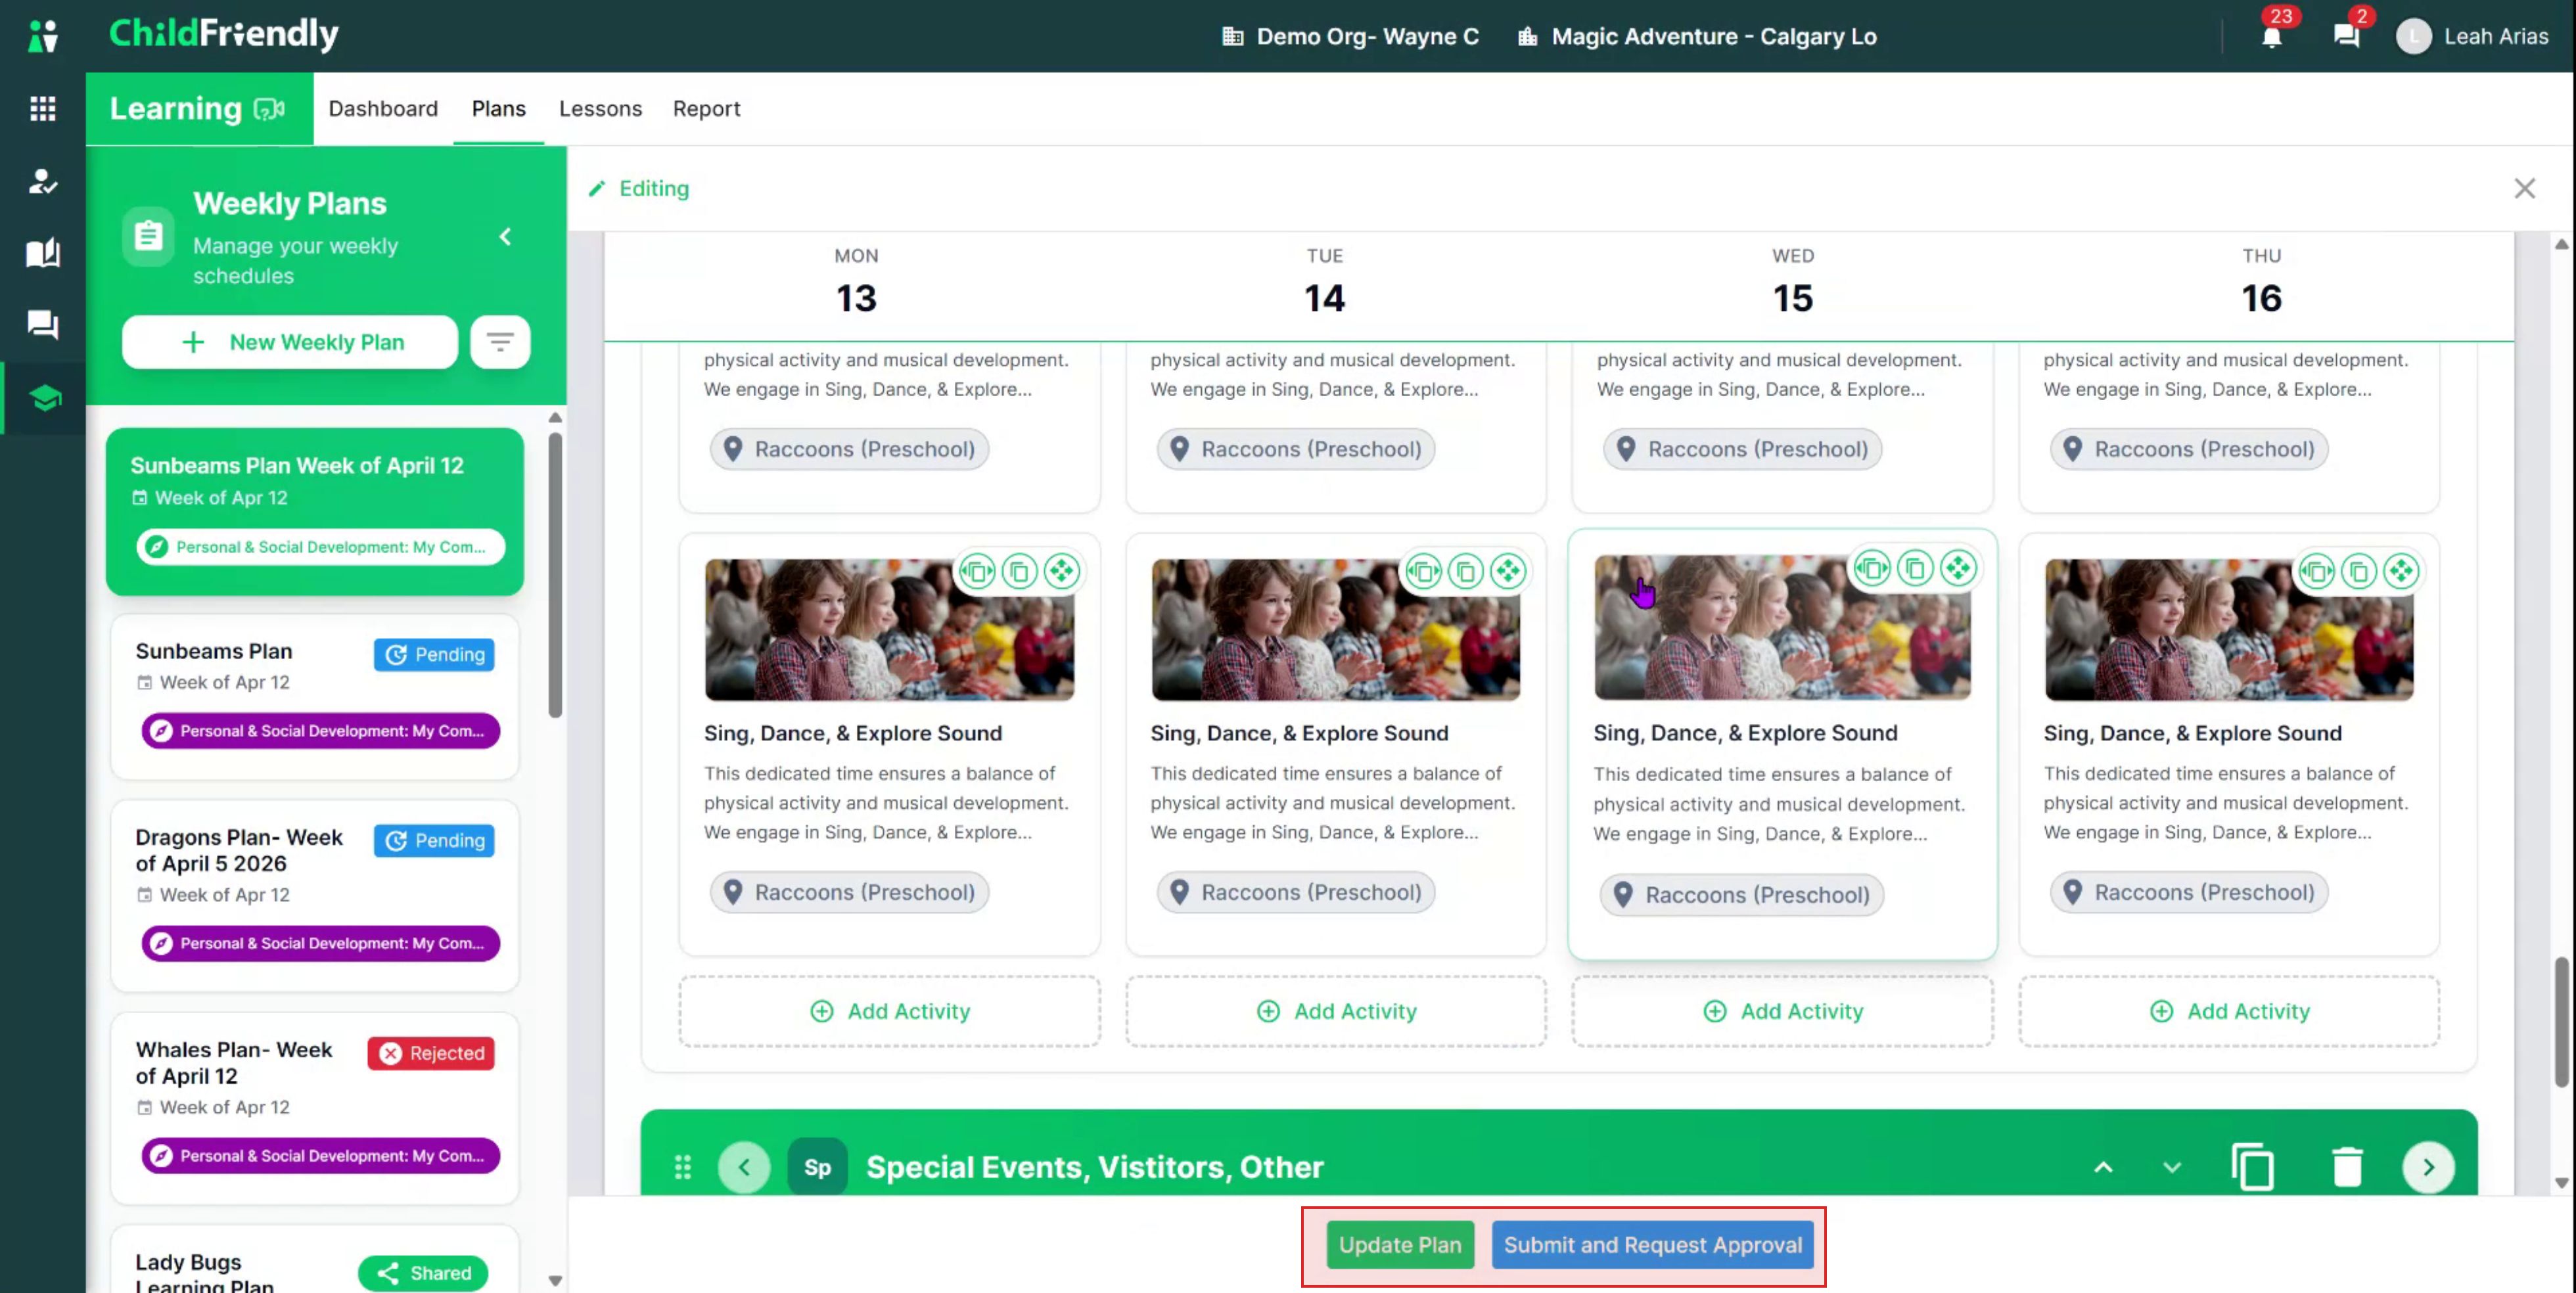
Optionally, click Submit and Request Approval to send the plan to admin for review and certification.
Admins must approve plans before they can be shared with parents, unless your center has configured permissions in the Learning Module Setup to allow educators to bypass certification. Administrators who want to learn more about approving lesson and learning plans should refer to the “How to Approve Lesson Plans and Learning Plans” training videos.
Was this helpful?
Still need help? Ask the team