How to Manage the Info Changes Tab
This document explains how administrators can access and manage information changes submitted by families in the ChildFriendly dashboard, including member info, payment info, and student profile updates.
Last updated 3 months ago
Step 1: Access the Info Changes Area
To begin managing info changes, ensure you have admin access to the system. From the main ChildFriendly interface, click on the Dashboard icon to open the admin dashboard.
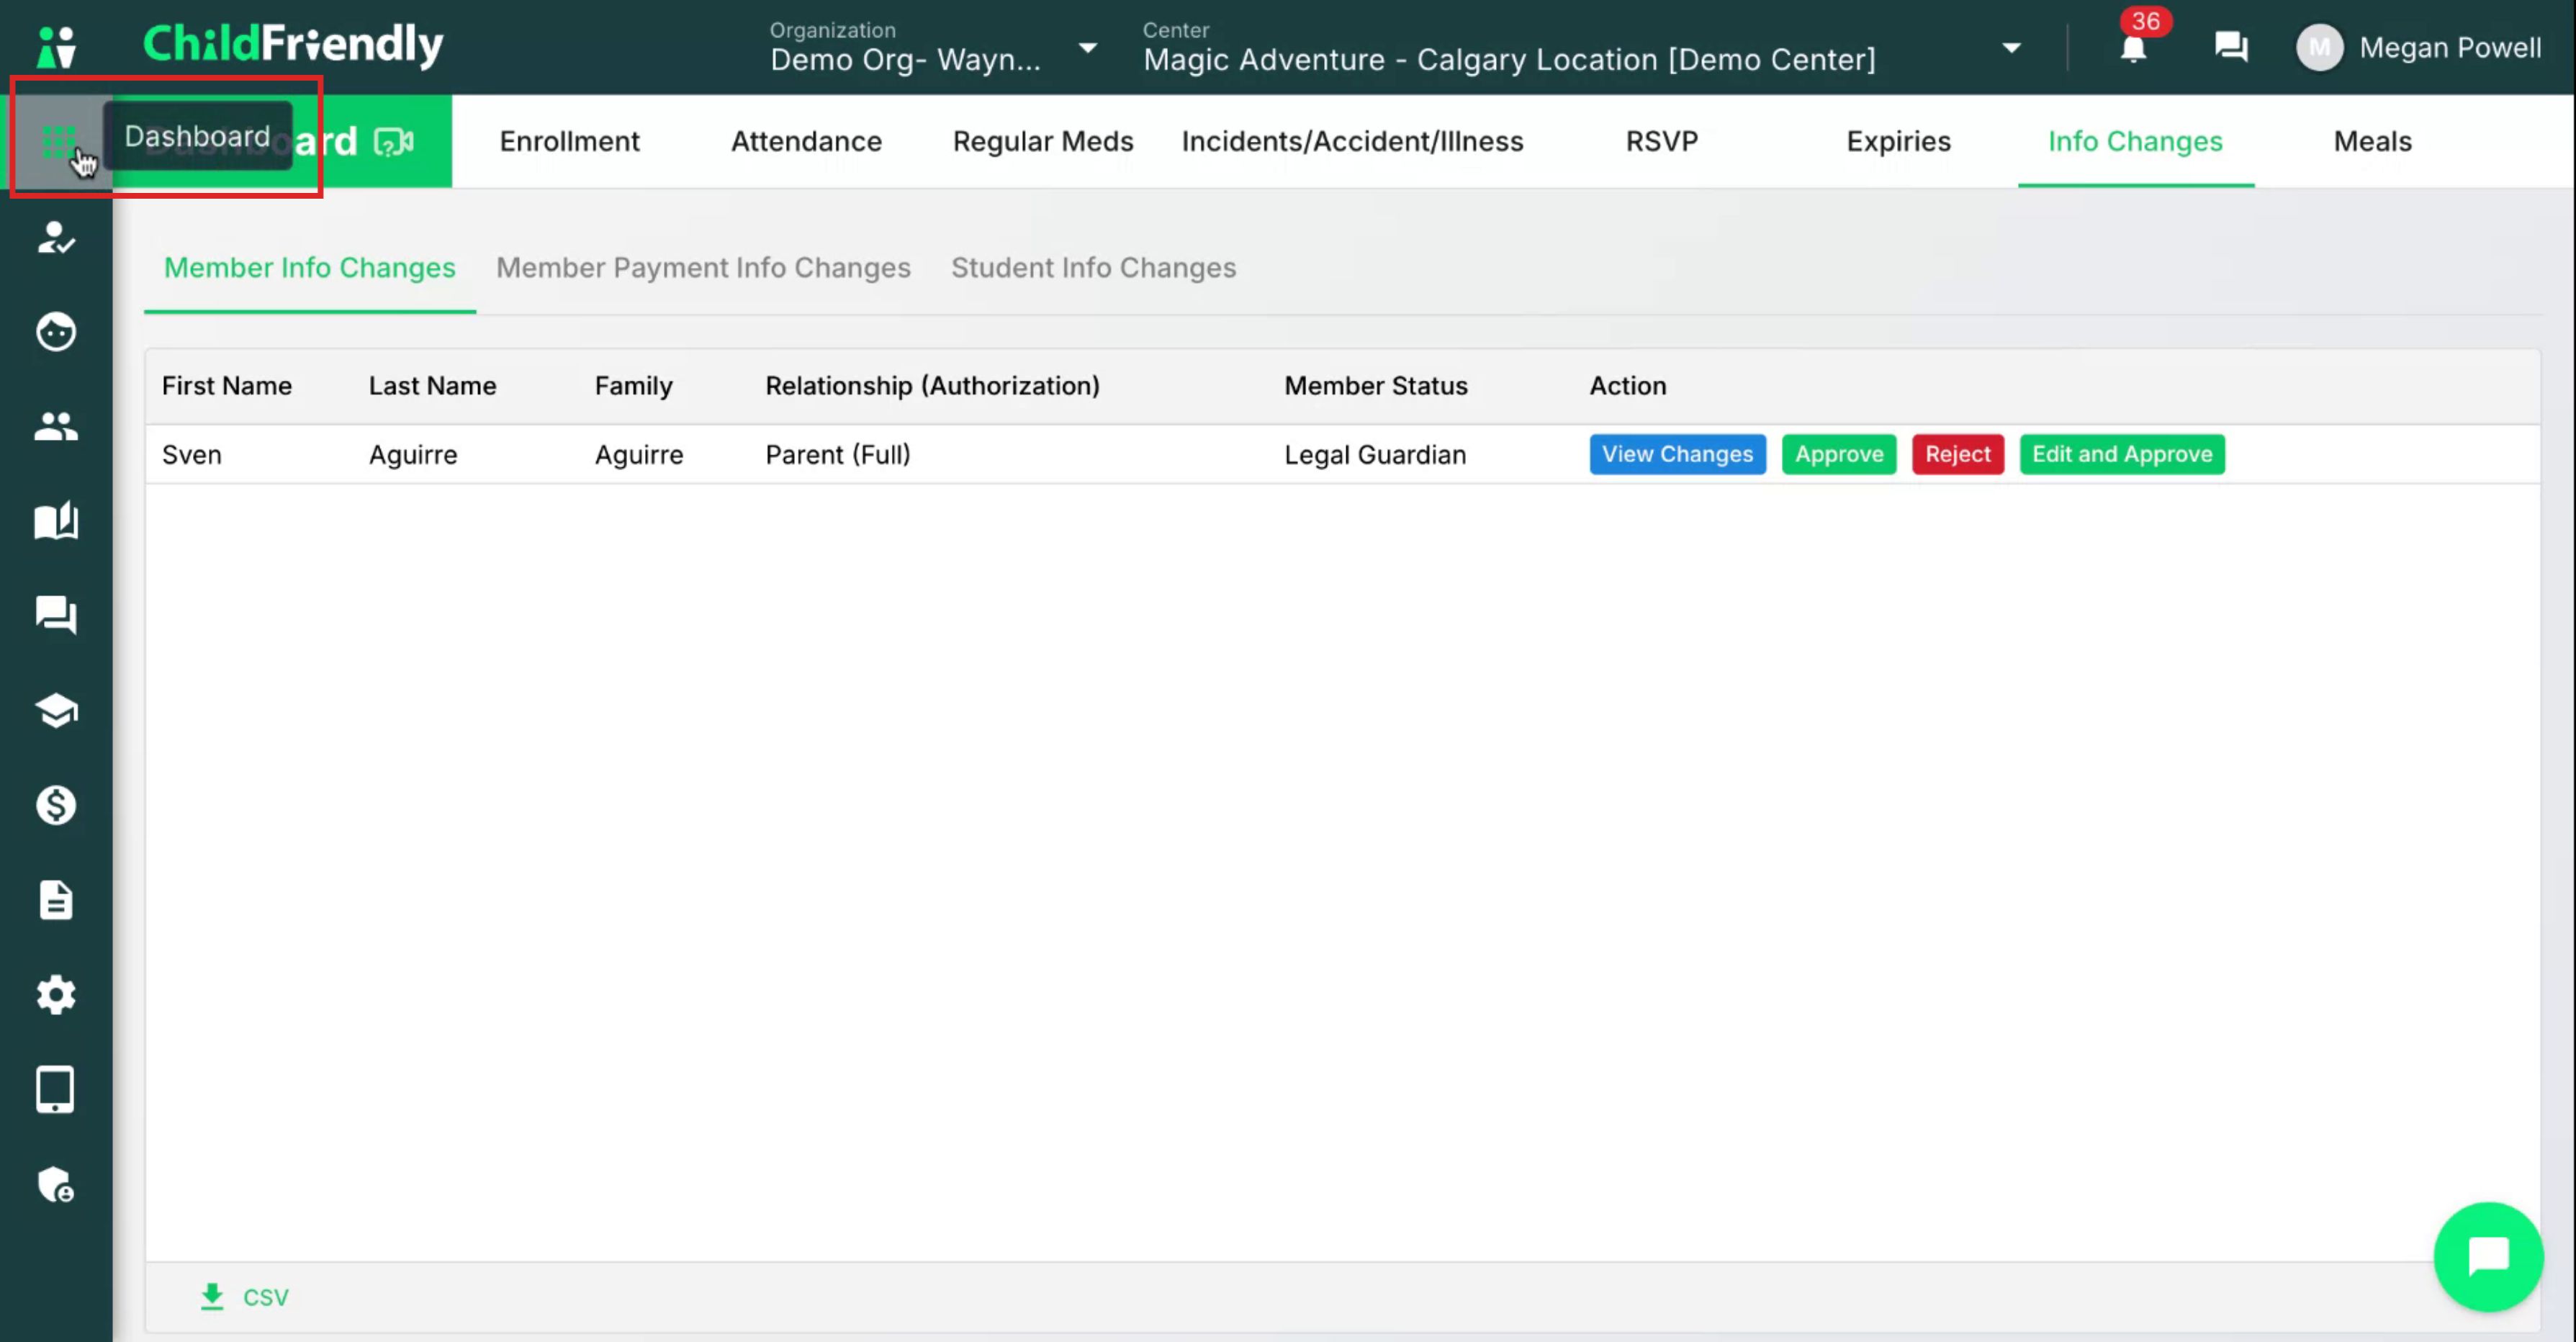
Within this area, select the Info Changes tab.

The Info Changes tab is used to view and acknowledge any changes that have been made to a family’s profile, including:
Child profile updates
Parent or guardian contact information changes
Payment information changes
The Member Changes Info section records any time a parent or guardian makes changes to the family account, such as:
Updating contact information
Changing family status
Adding a new portal member or emergency contact
Step 2: Review and Manage Member Info Changes
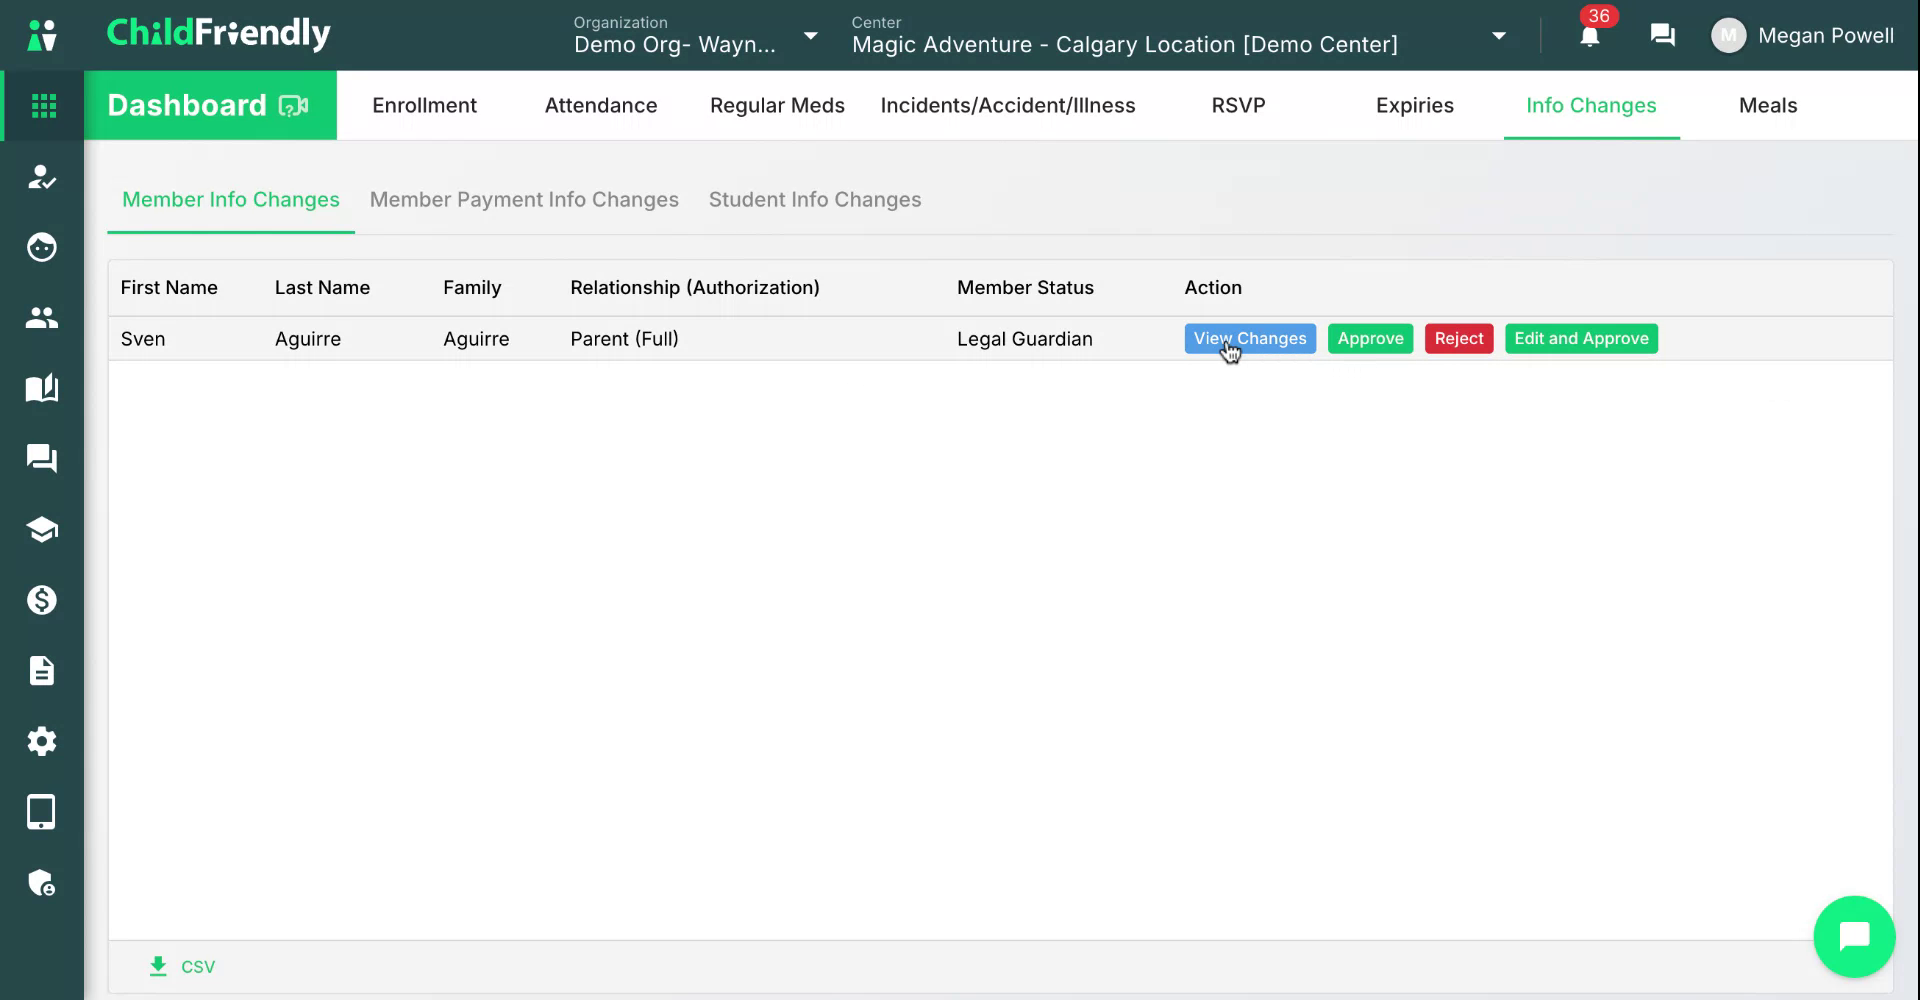
In the Member Changes Info section, locate the relevant record in the list. Scroll to the far right of the row to view your action options.
Click View Changes to open and review the details of the change.
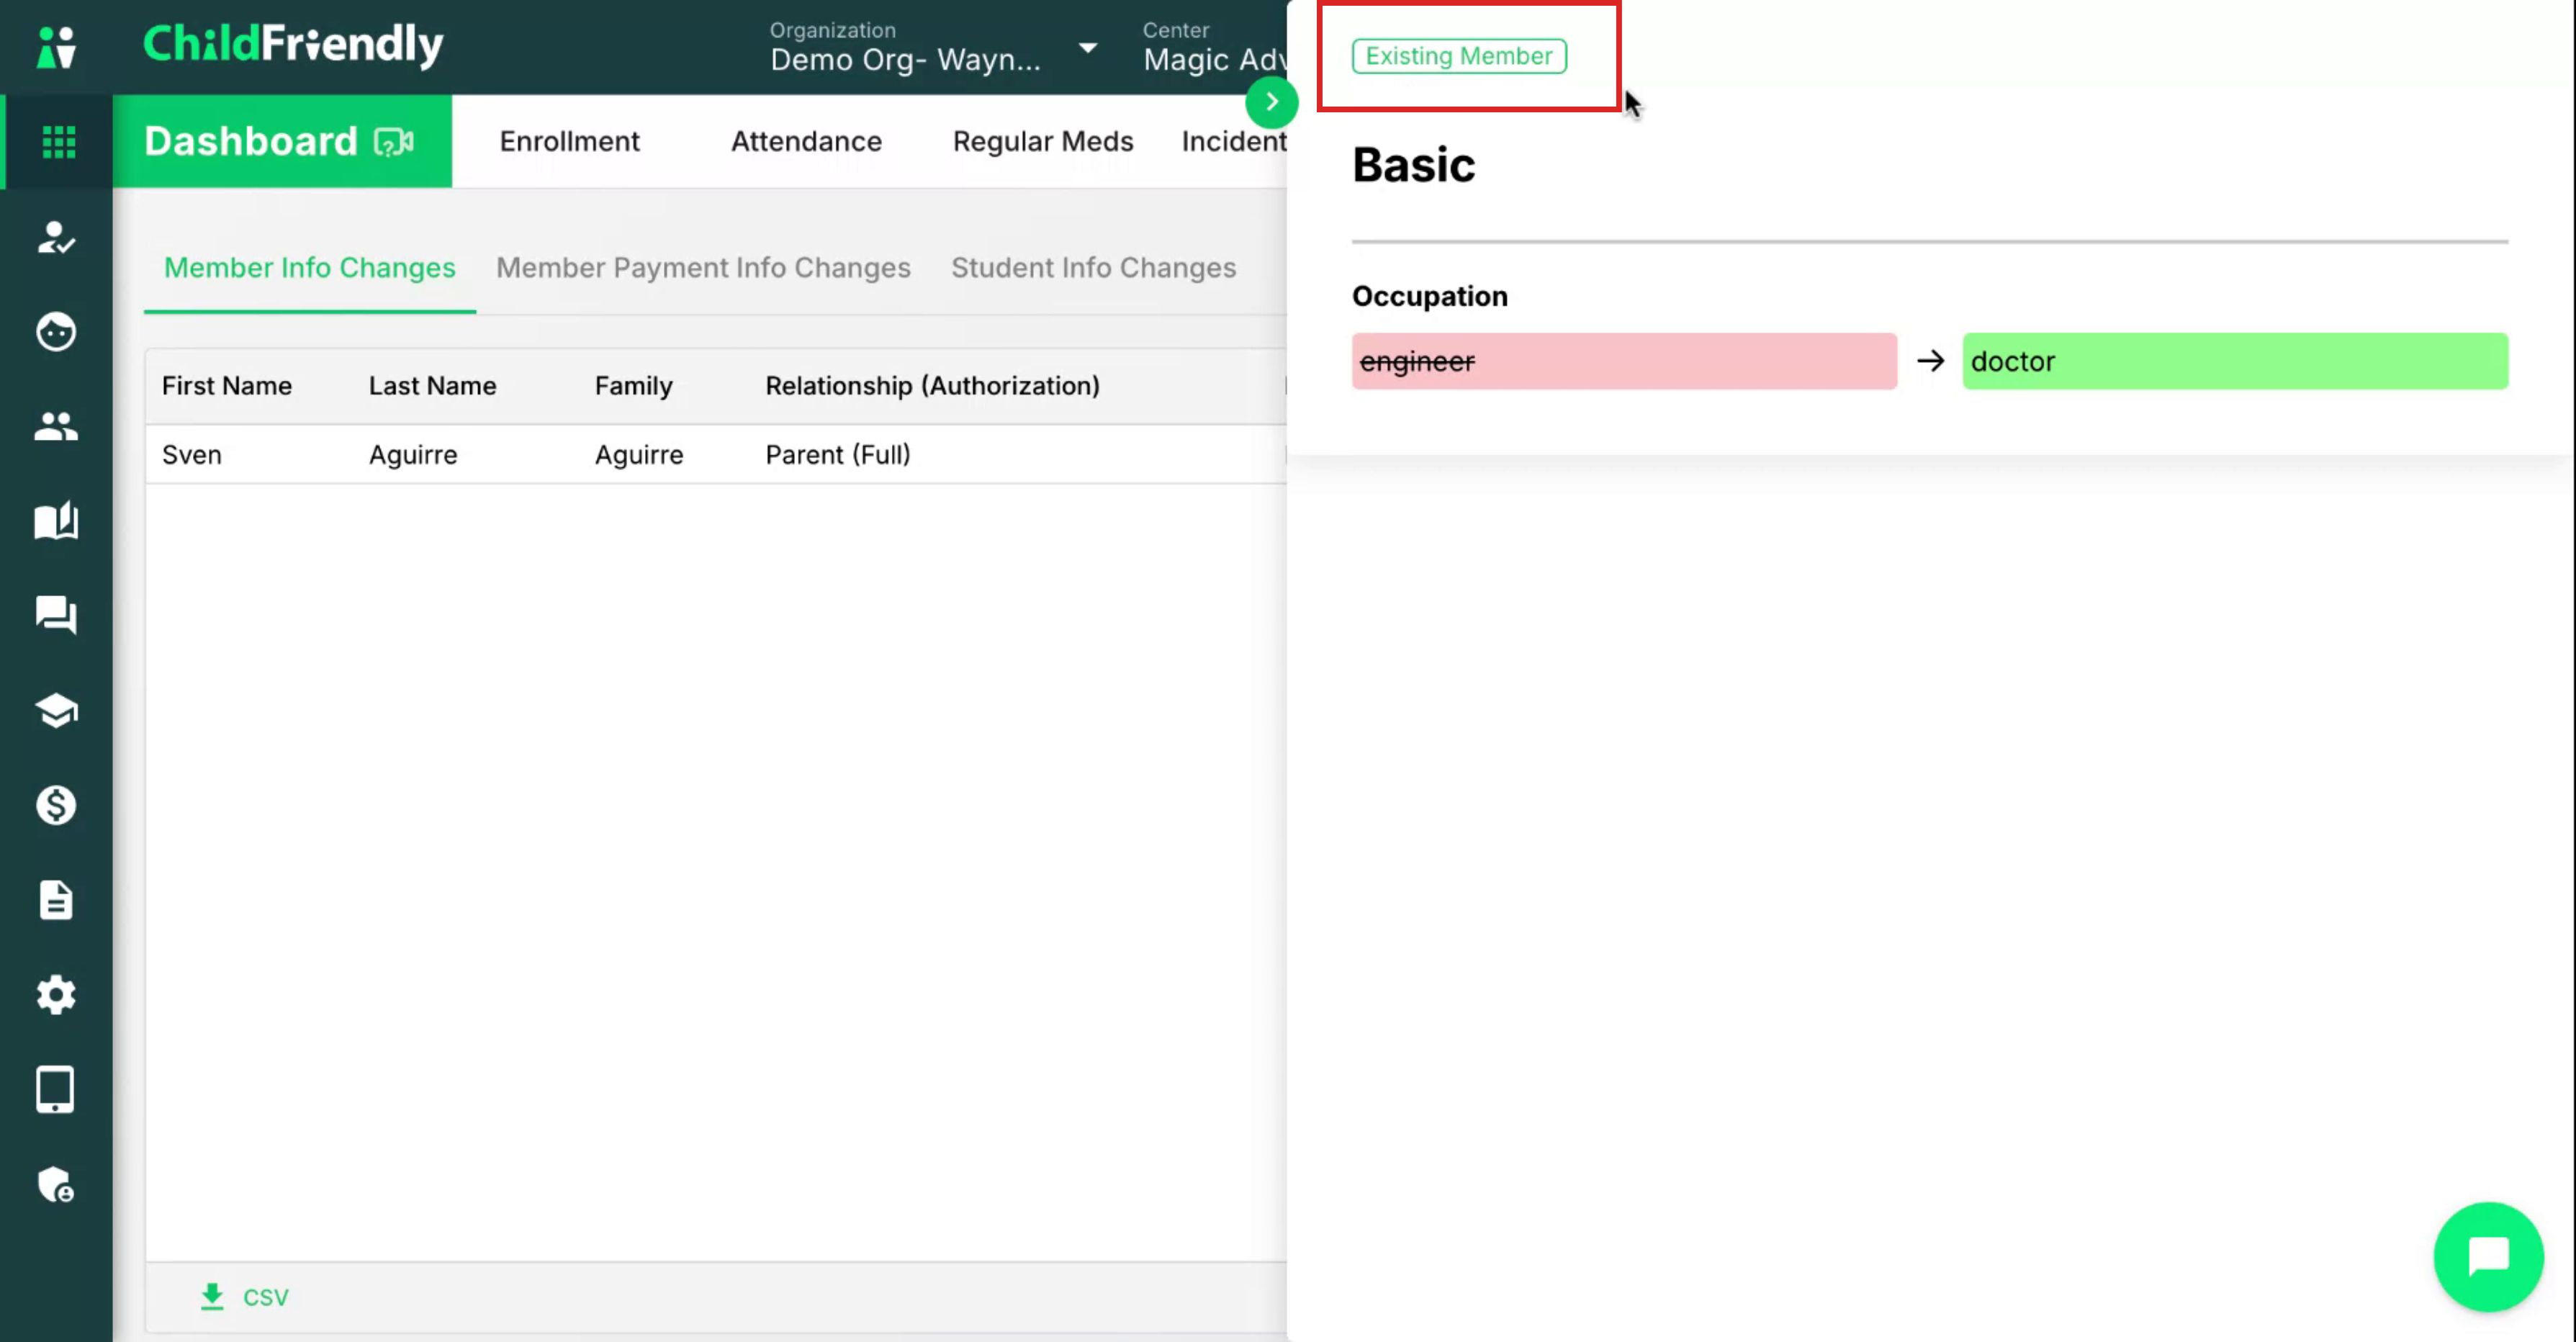
The top of the record will clearly indicate if the change is to an existing member or a new member - for example, an occupation change for an existing member, or a new portal member or emergency contact added.
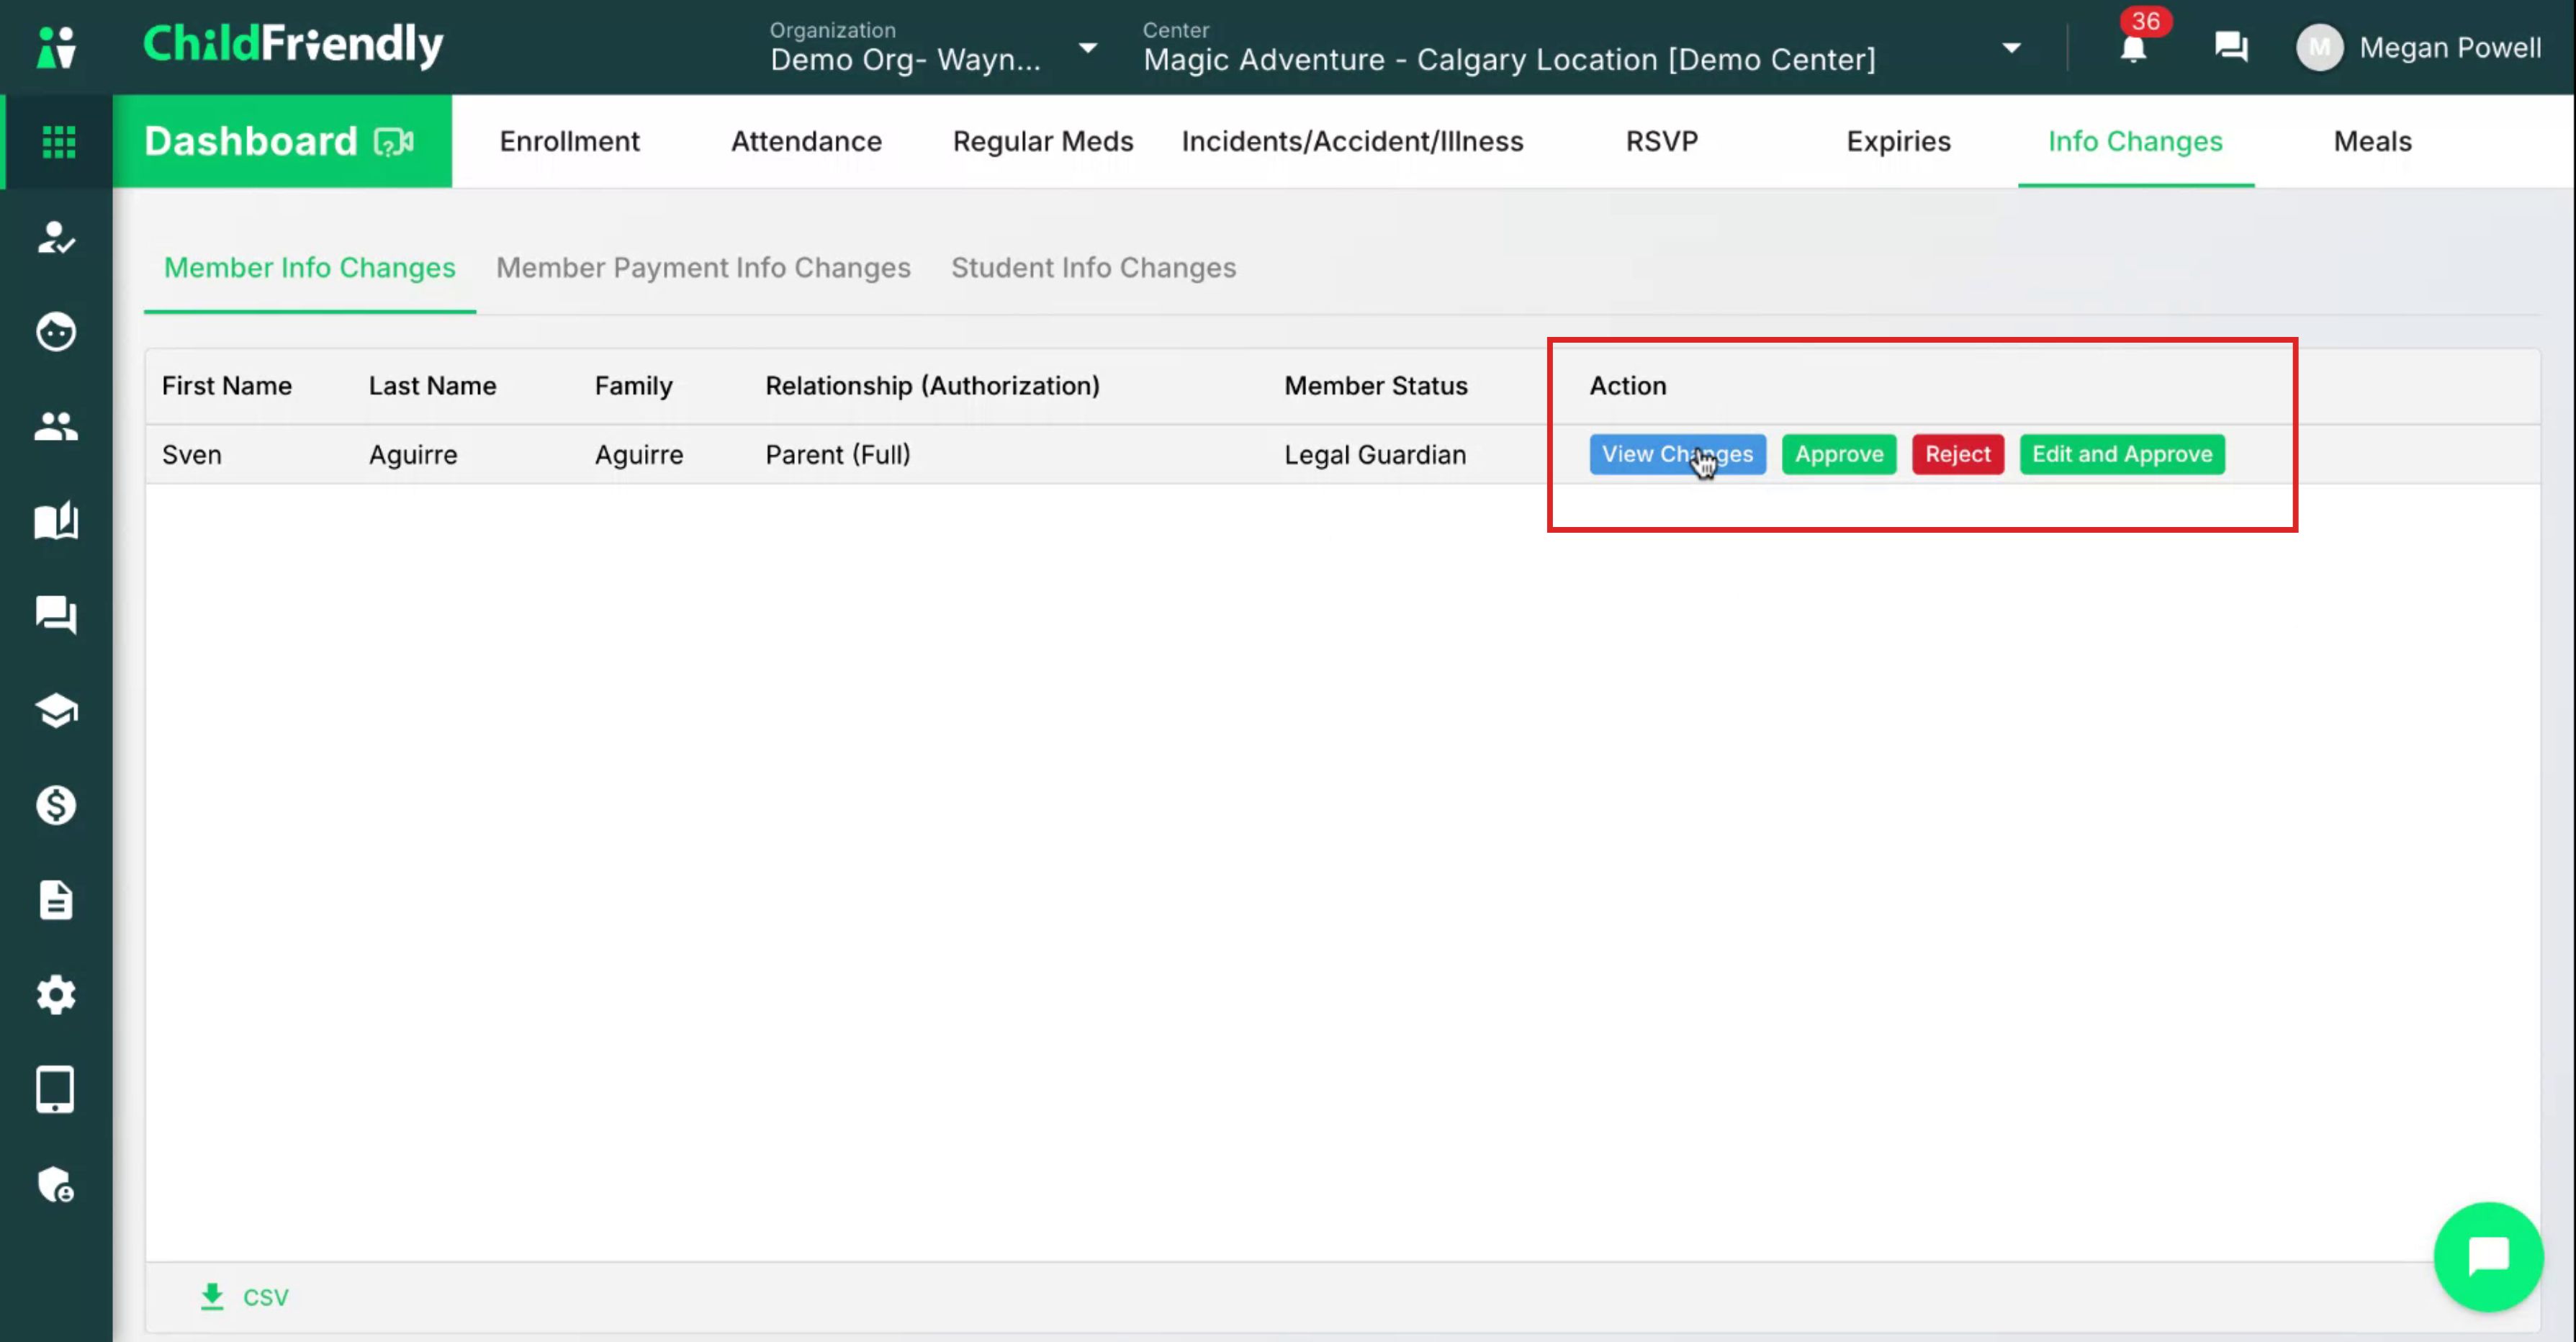
After reviewing the details, your options are:
Approve – accept the change as submitted
Reject – decline the change
Edit and Approve – make adjustments and then approve
Step 3: Manage Member Payment Info Changes
Navigate to the Member Payment Info Changes tab to manage payment-related updates.

This tab allows you to approve any changes a parent makes to their payment information. Check this tab regularly, as it will populate whenever a family adds or updates payment details for pre-authorized debit or credit card withdrawals.
Within this tab:
The Type column shows the kind of change (e.g., added bank info, edited bank info).
The Created column shows the date the change was made.
Your only action option here is to acknowledge the change, confirming that you have reviewed it.

You can also:
View other acknowledged items
Filter records by date to find specific changes
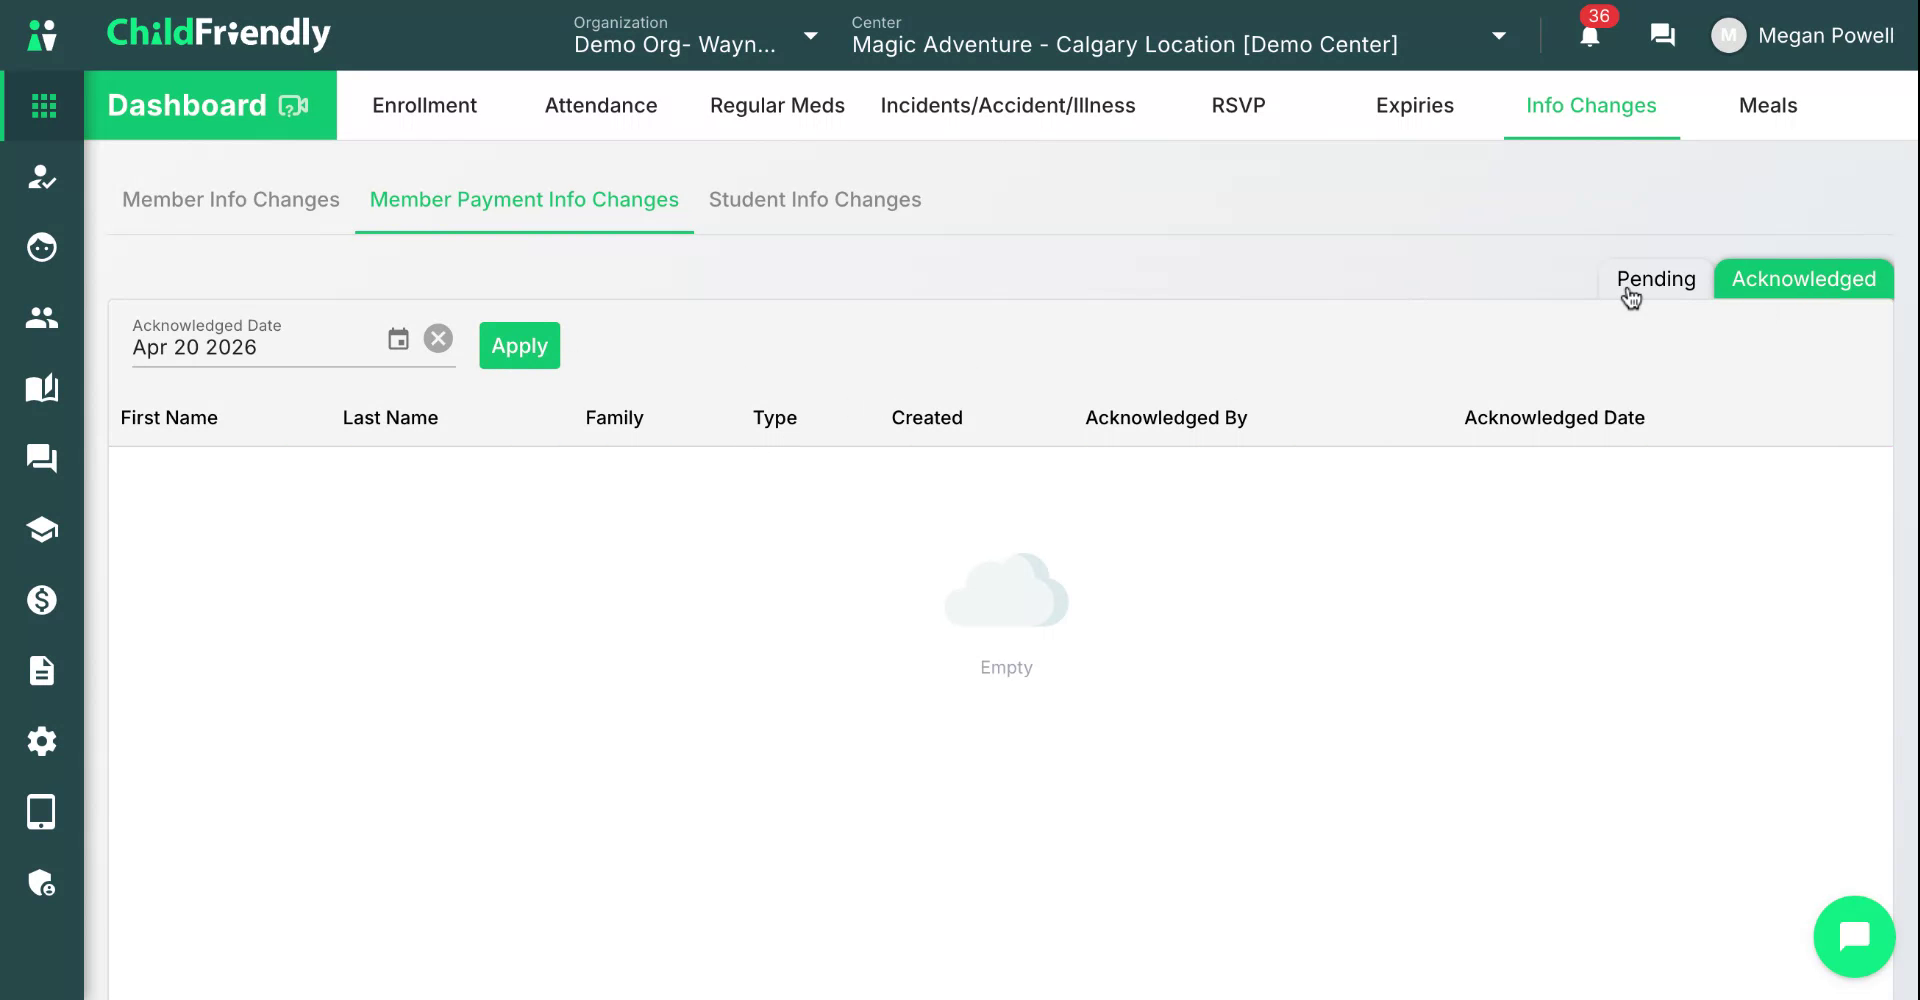
Once you acknowledge a change, it will be removed from the list of pending items.

Step 4: Manage Student Info Changes
Go to the Student Info Changes tab to review updates made to student profiles.
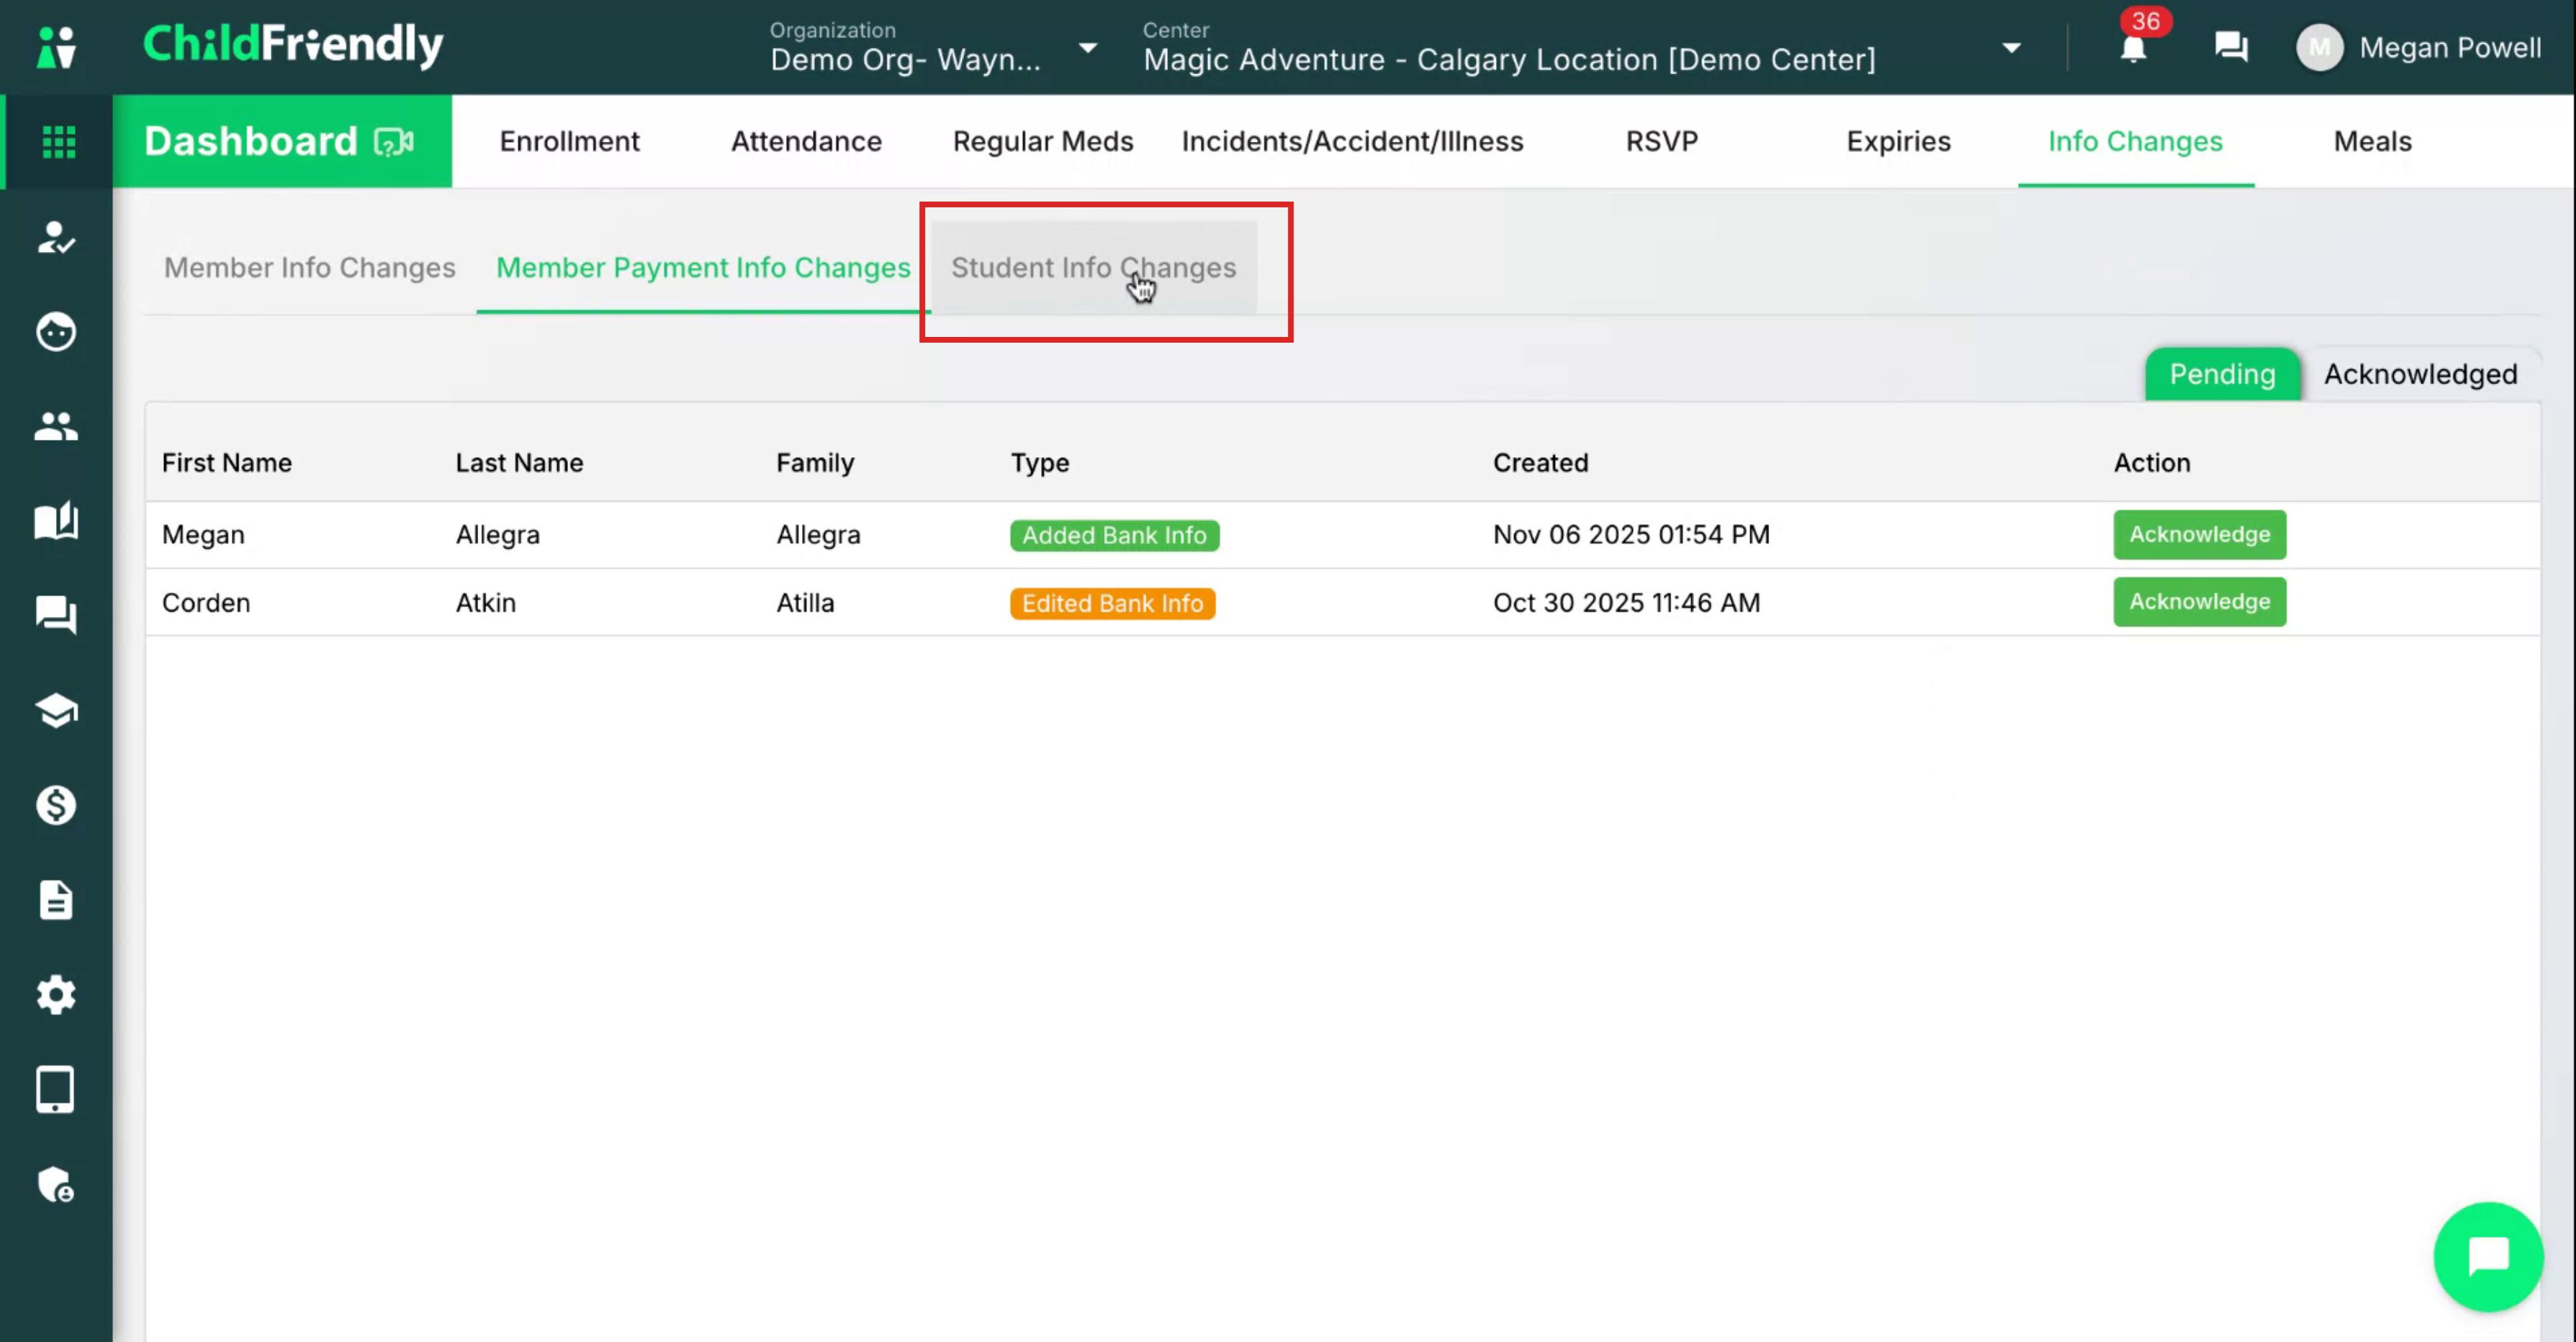
This area is where you can view any changes to a student’s profile, such as:
Name changes
New medications added to the child’s profile
Click View Changes to open and review the details of the change.
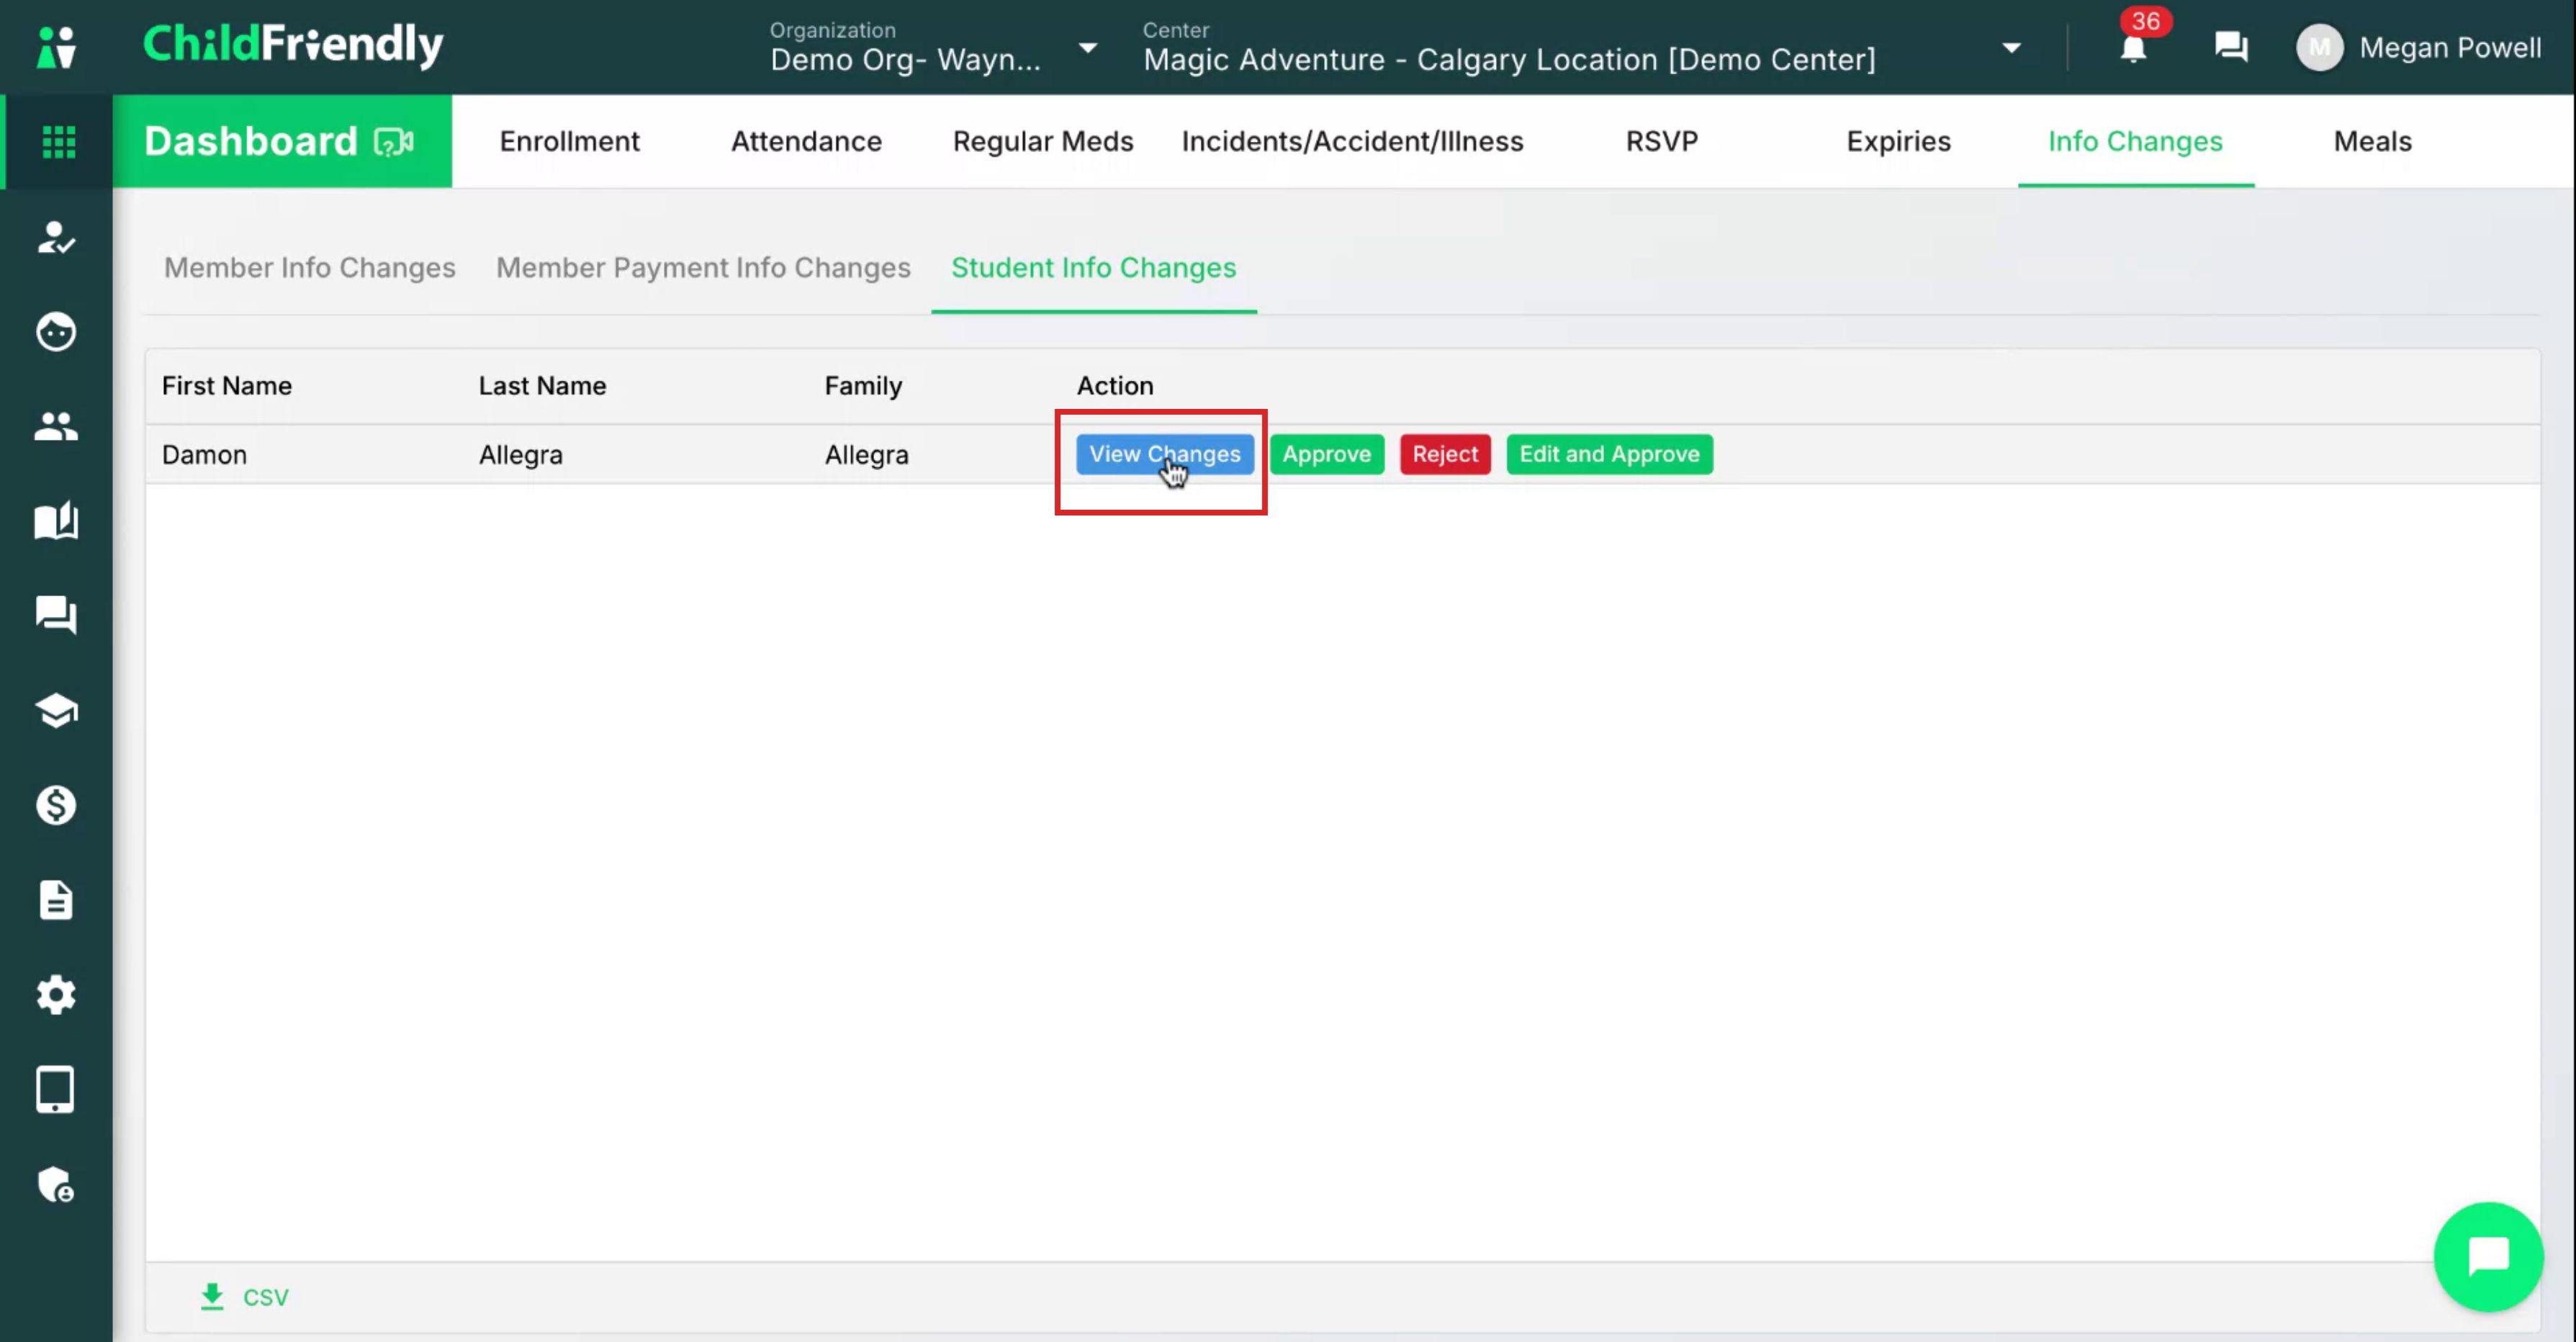
In the example shown, a new medication has been added. Scroll down to view all relevant information, including any meal information that may also have been added.

This section works the same way as Member Info Changes. You can:
Approve the change
Reject the change
Edit and Approve the change
When you click Approve, the change is removed from the pending list.

If at any point you have questions or concerns about a change, contact the parent or guardian for confirmation before approving.
Was this helpful?
Still need help? Ask the team