How to Use the Expiries Dashboard
Use the Expiries section within the Dashboard module to view and manage upcoming expiry dates for staff and students, including police checks, reviews, medications, grants, subsidy approvals, and immunizations. This feature is available to admin users and provides flexible date ranges, filters, and CSV export options for efficient follow-up.
Last updated 3 months ago
Step 1: Access the Expiries Tab
Open the Expiries section of the Dashboard Module, which displays records with expiries for staff and students (e.g., police record checks, reviews, medication expiries, grant expiries, supplemental fee expiries, subsidy approvals and immunizations). This tab is available only to admin users.

Step 2: Select a Date Range for Expiries
Choose the date range you want to use for viewing expiries.
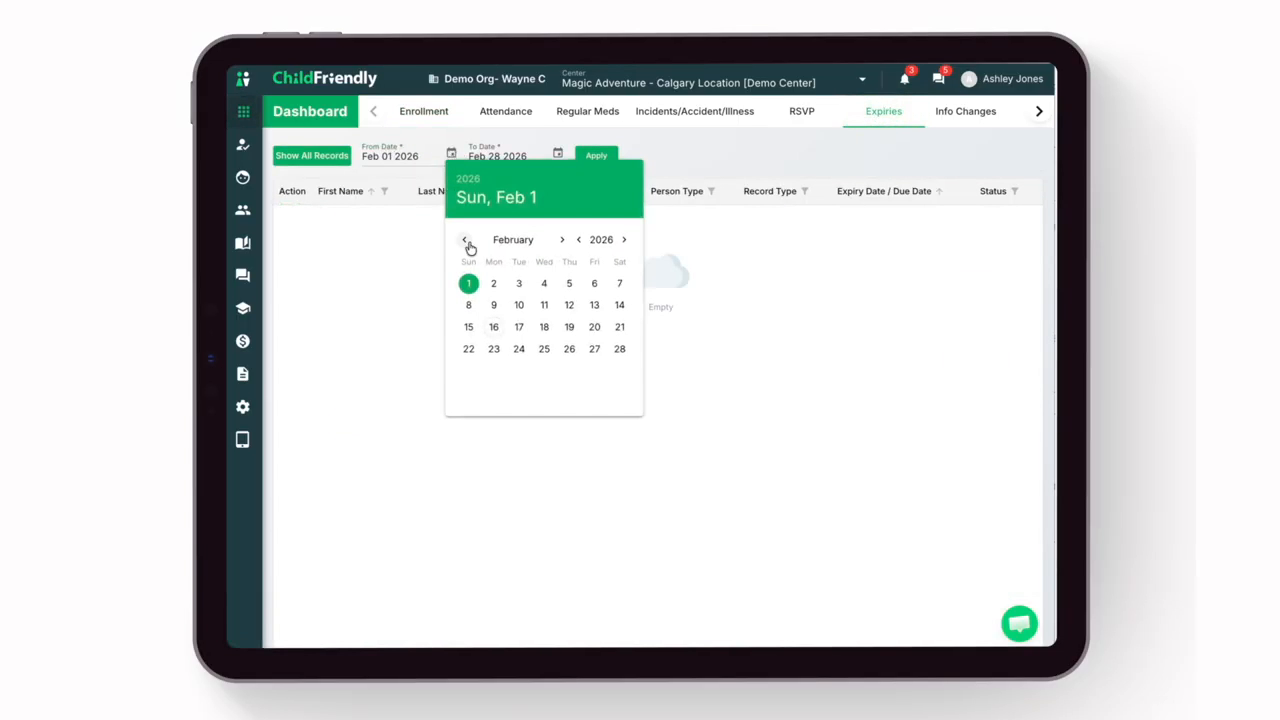
For instance, you might want to view expirations within the next three months.
After choosing the range, click the Apply button to refresh the list. The resulting list will include names, expiration types, and an Additional Details column for more context where applicable.
Step 3: Filter the Expiries List by Person Type
You can filter the list to show expiries for staff, students, or portal members. Use the filter beside the Person Type column:
Select the Person Type filter dropdown.
Choose whether to view expiries by student, staff, or member.
The list will update to display only the selected person type.Step 4: Filter the Expiries List by Record Type
To view specific types of expiries, such as medication, grant, fee, immunization, or police check:
Click the Record Type dropdown menu.
Select the desired record type to filter the list.

The display will automatically update to show items that match your chosen record type.
Step 4: Sort or Filter by Expiry Date
You can organize the list by expiry date to see which records are expiring soonest:
Use the expiry date column to sort or filter the results to your preference.
This helps prioritize which expiries require immediate action.

Step 5: Hide Records (Optional)
To clean up your records list, you can hide irrelivant, past records if you wish by selecting the "Hide" option in the Actions Column. You can always "Unhide" them later.
Step 6: Open a Person’s Record to View or Edit Details
To get more information about a specific expiry:
Click on the person’s name in the list.
In their record, review and update details as necessary (e.g., a police check nearing expiry).
Update related documents, if needed.
If updates from a parent are required (such as a medication form), contact them via email or request updates through the portal.

Step 7: Download Expiry Records as a CSV File
If you need to work with the expiry data externally:
Download the expiry records as a CSV file using the option in the bottom-left corner.
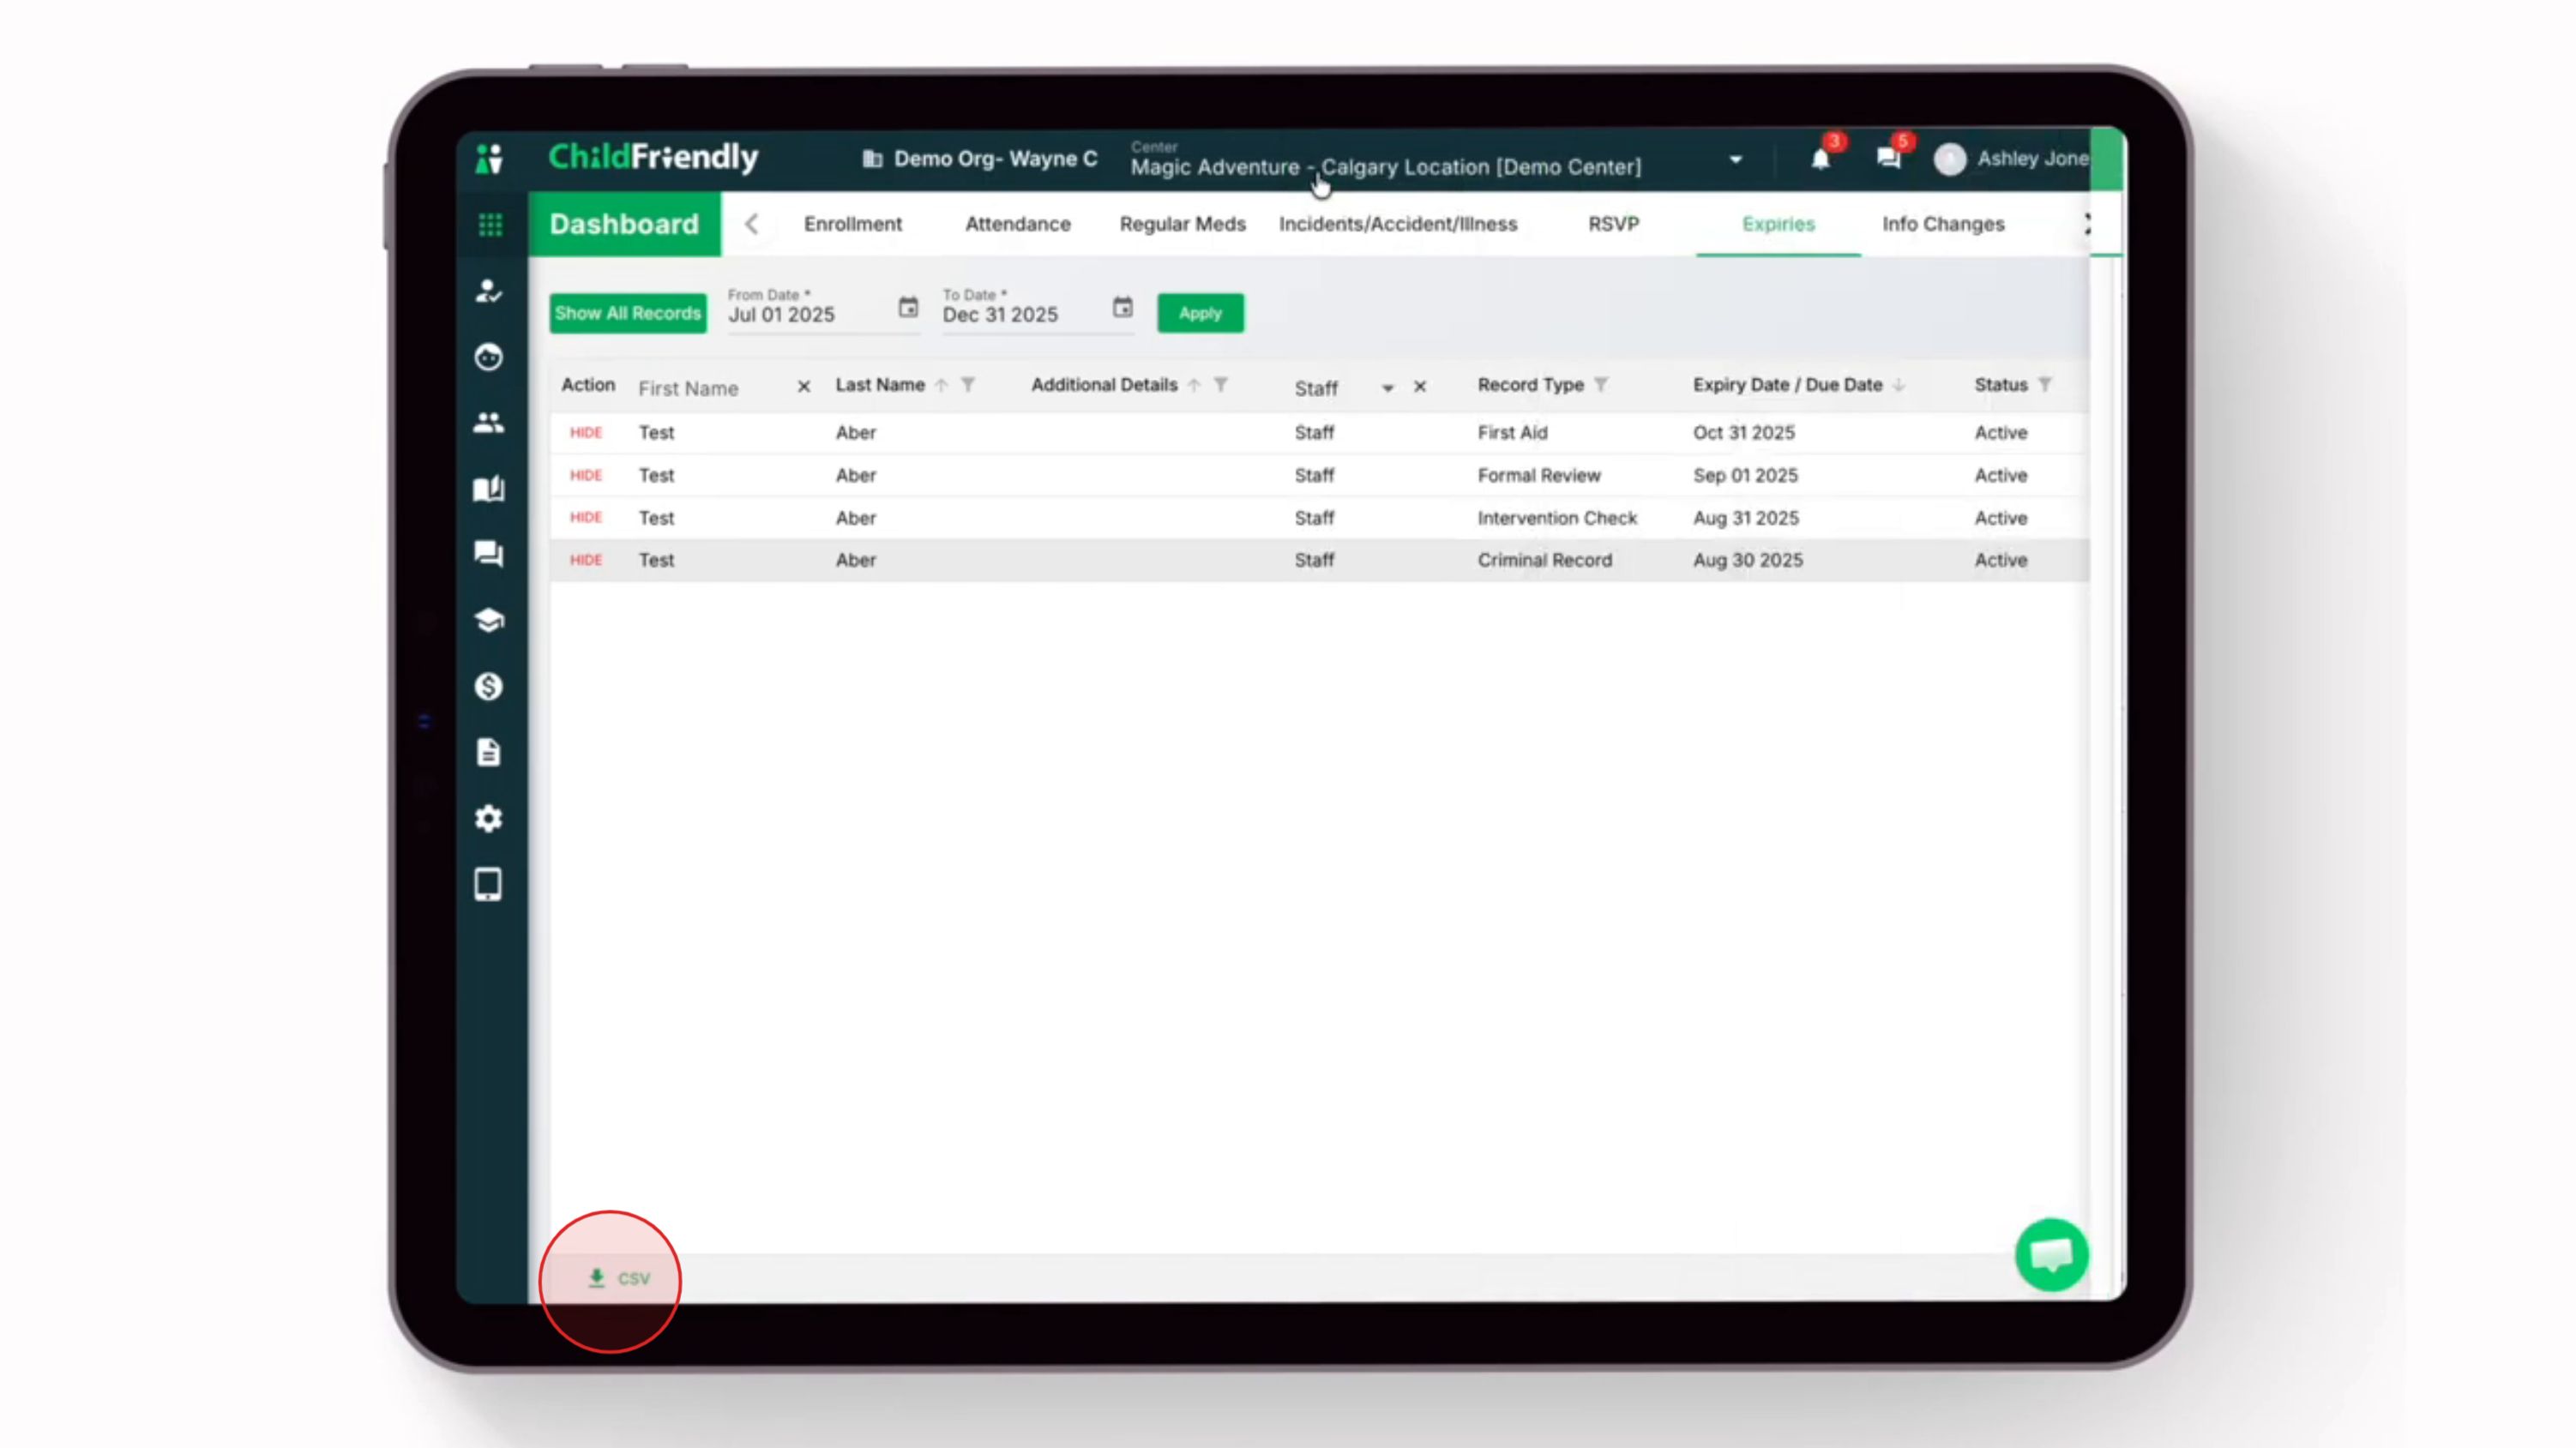
Use this file for reporting, tracking, or sending reminders as needed.
Was this helpful?
Still need help? Ask the team