How to Run Finance Reports
This document explains how to access and use key reports in the Finance module, including Revenue Pay Summary, AR Aging, Fees Record, Transaction, and Merchant Fee reports. It covers how to filter by period, grouping, and centers, how payment calculations work, how to customize columns, and how to export data for further analysis or import into external accounting systems.
Last updated 3 months ago
Revenue Pay Summary Report
Step 1: Select the Reporting Period
Choose the period you want to review in the Revenue Pay Summary report. This will define which billings and payments are included in the report.
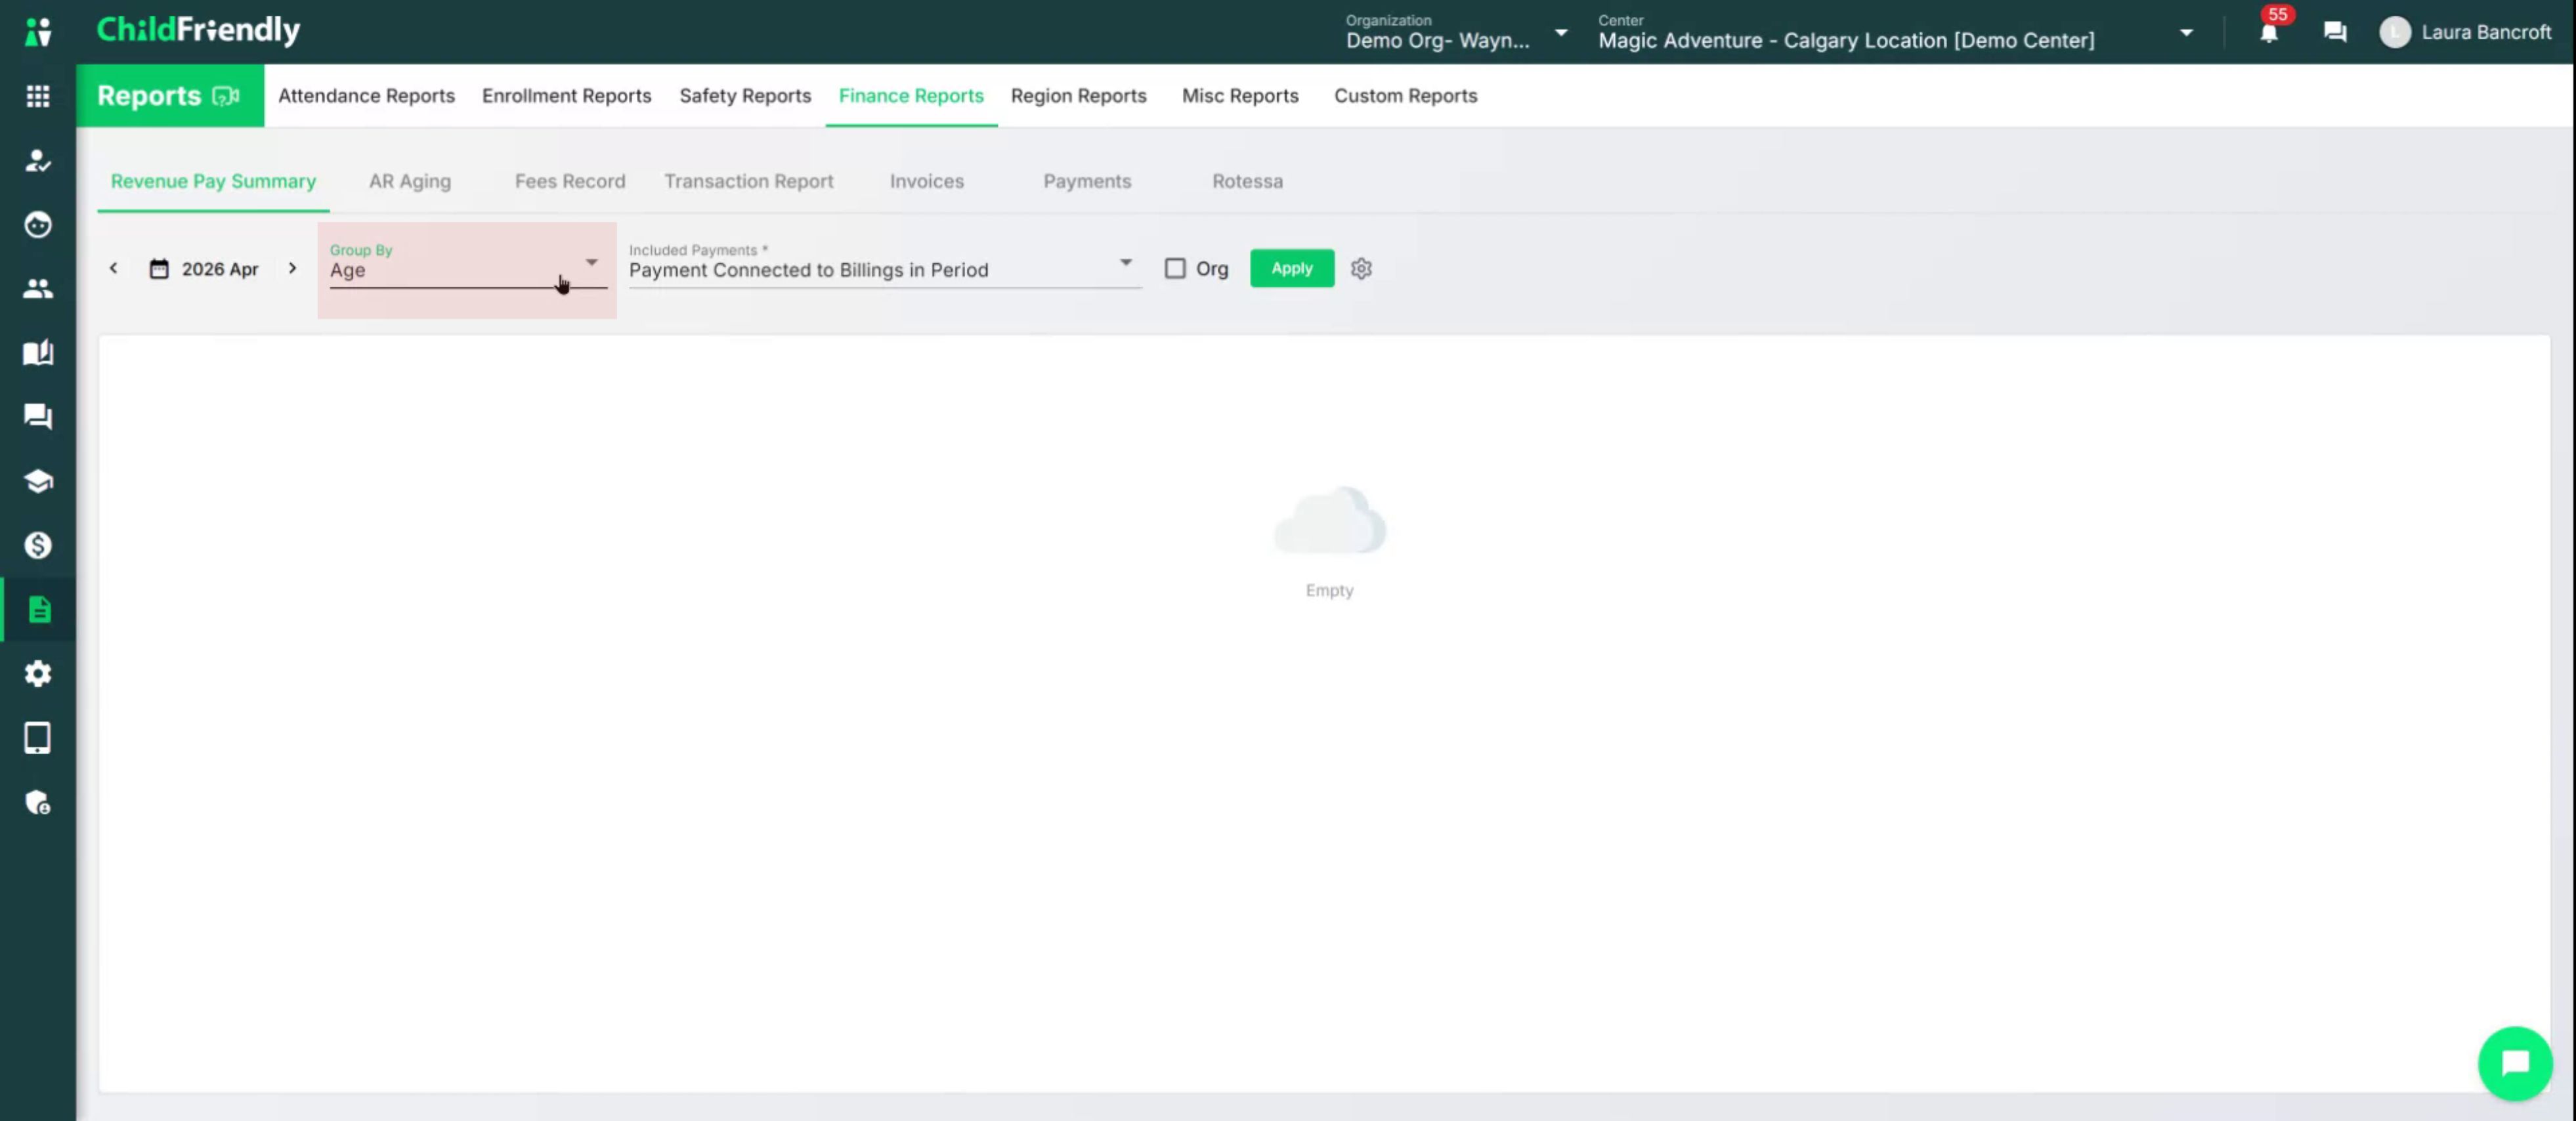
Step 2: Choose How to Group the Report
Decide how you want the report to be grouped:
By age category of the children
Or by specific groups (for example, “Bumblebees” or other class/group names)
Step 3: Configure How Payments Are Calculated
Choose how payments should be pulled and calculated in the report.
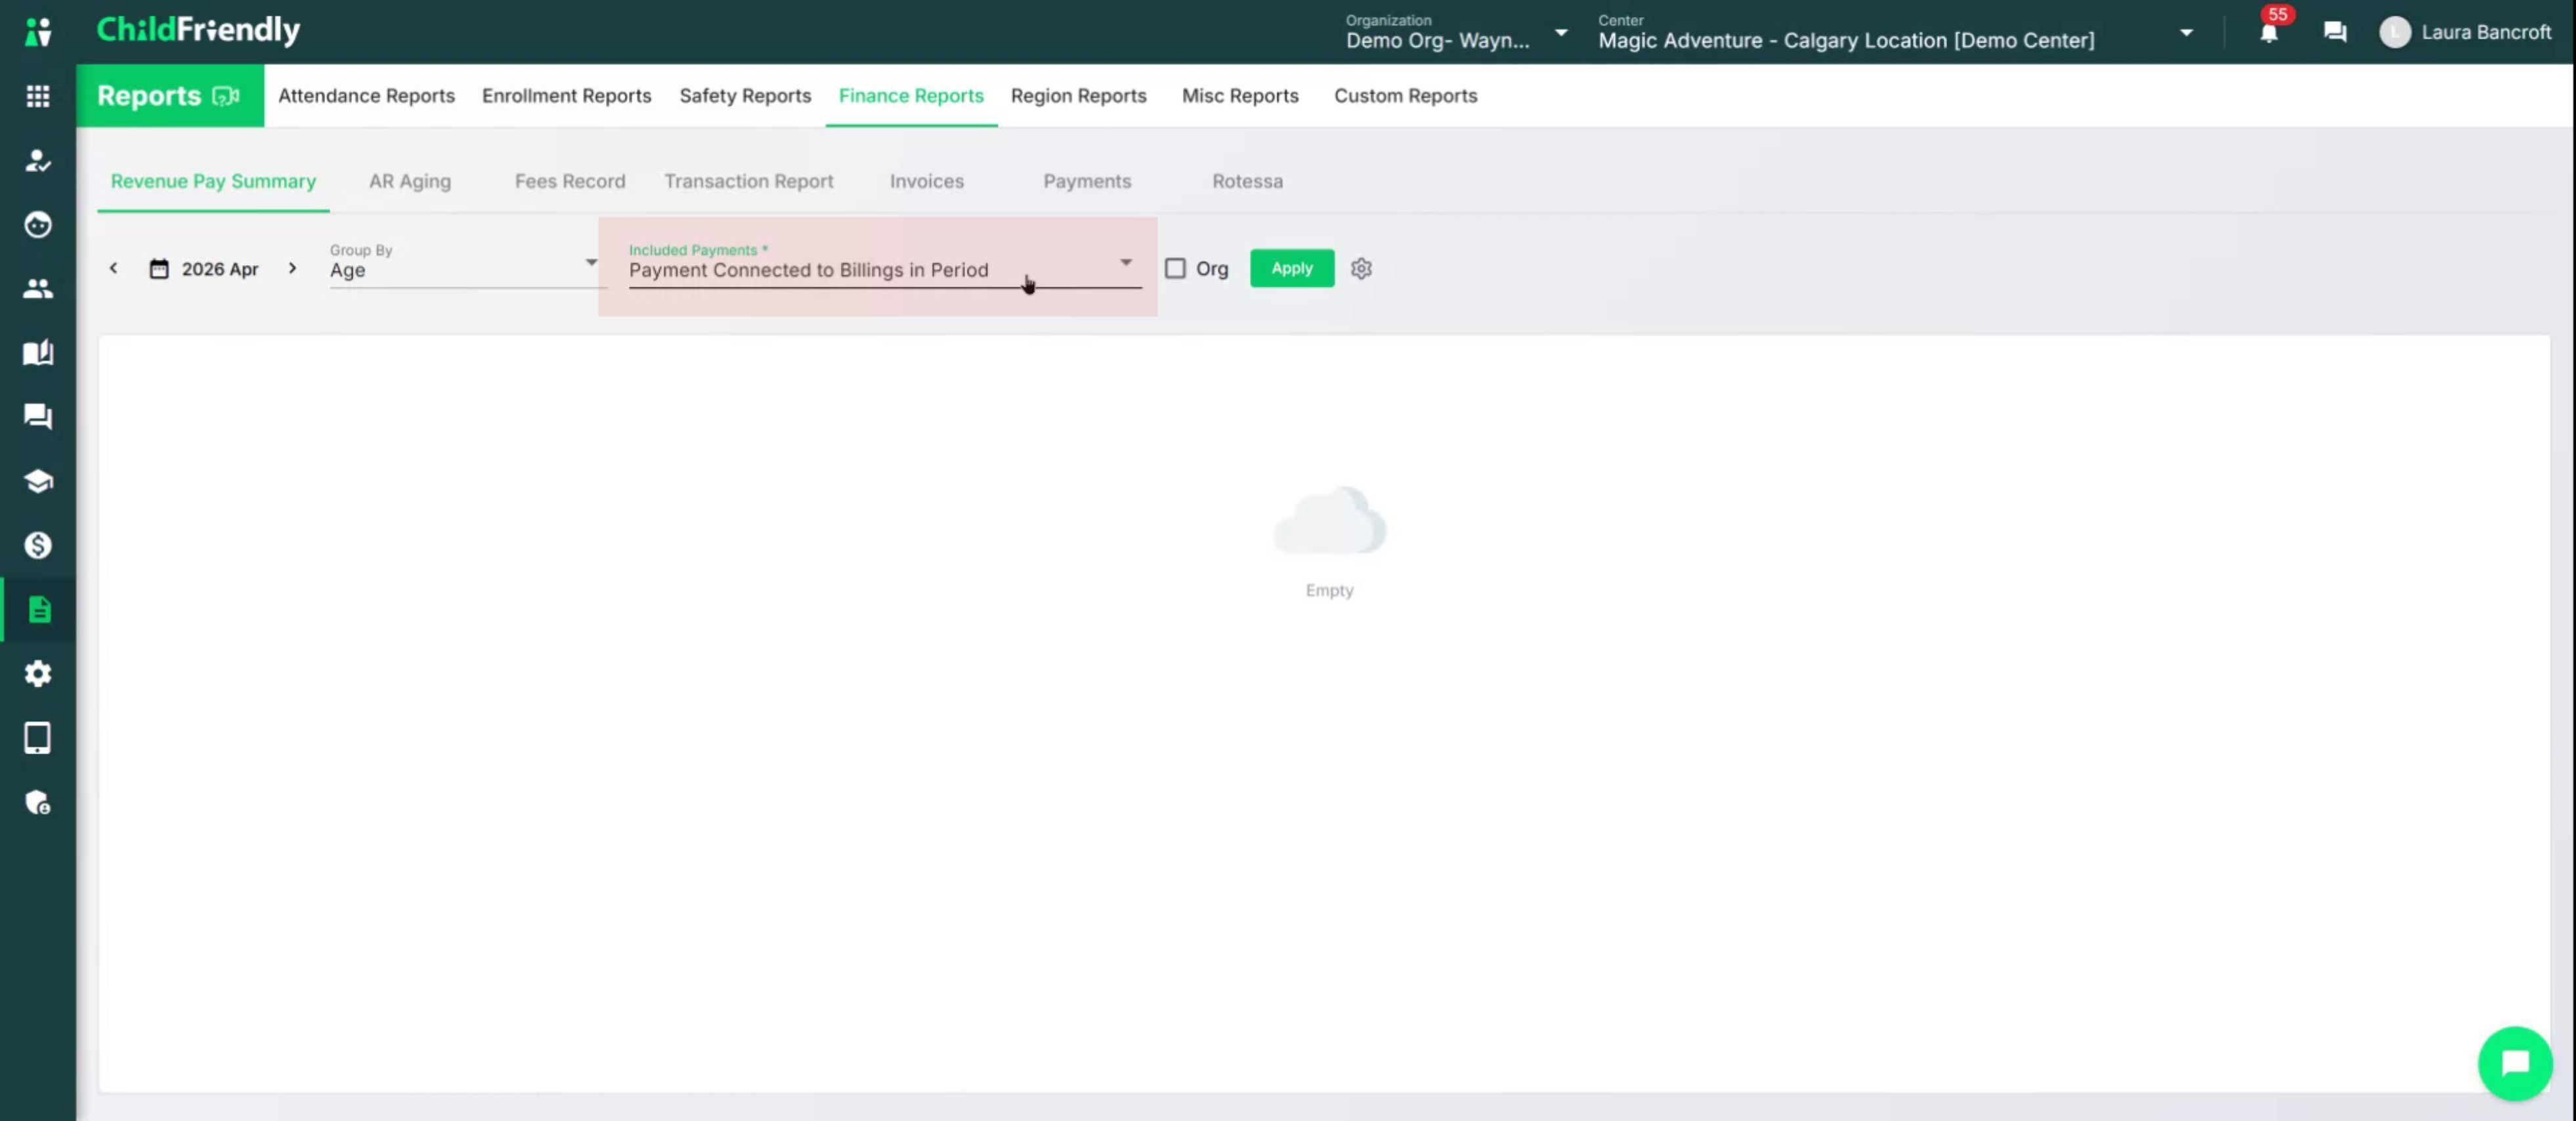
You have two main options:
Payments connected to billings in the period
Payments are calculated based on payments received for the selected period’s billings.
The payments are tied to invoices from the selected period, regardless of the actual payment date.
Payments collected in the period
Payments are calculated based on all payments received during the selected period.
These payments are not necessarily linked to billings or invoices from that same period.
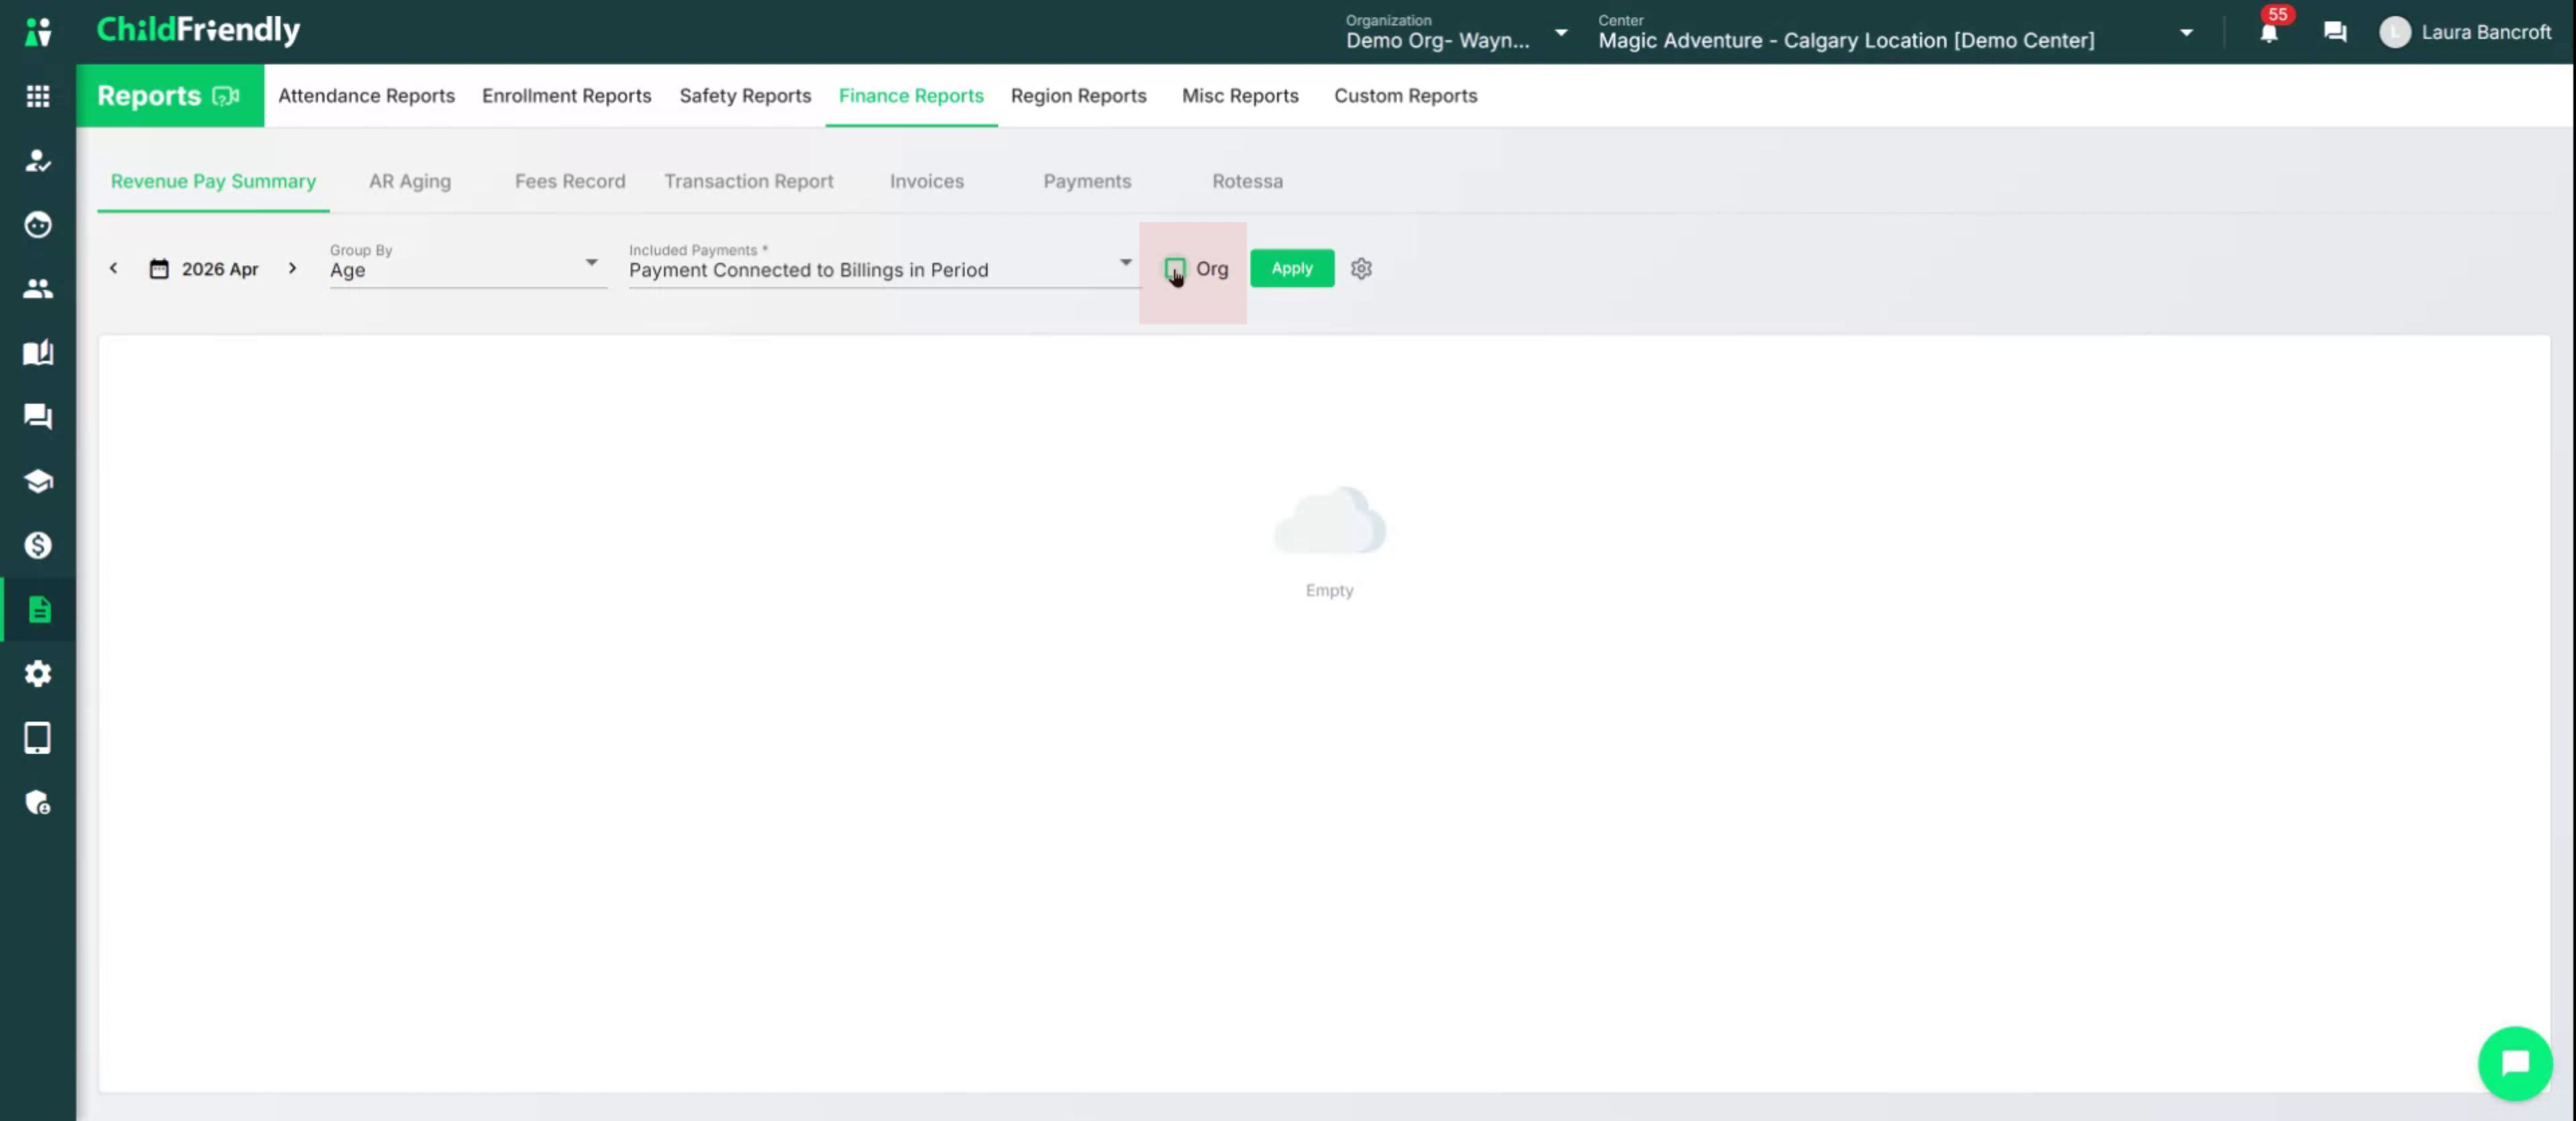
Step 4: Select Center Scope (Single Center vs. Combined)
Choose whether the report should show data for:
Only this center, or
A combined report for all centers (entire organization).
Only organization administrators can select the combined report option.
Step 5: Apply Filters and Review the Revenue Pay Summary Layout
Set the period (for example, April), then click Apply to generate the report.

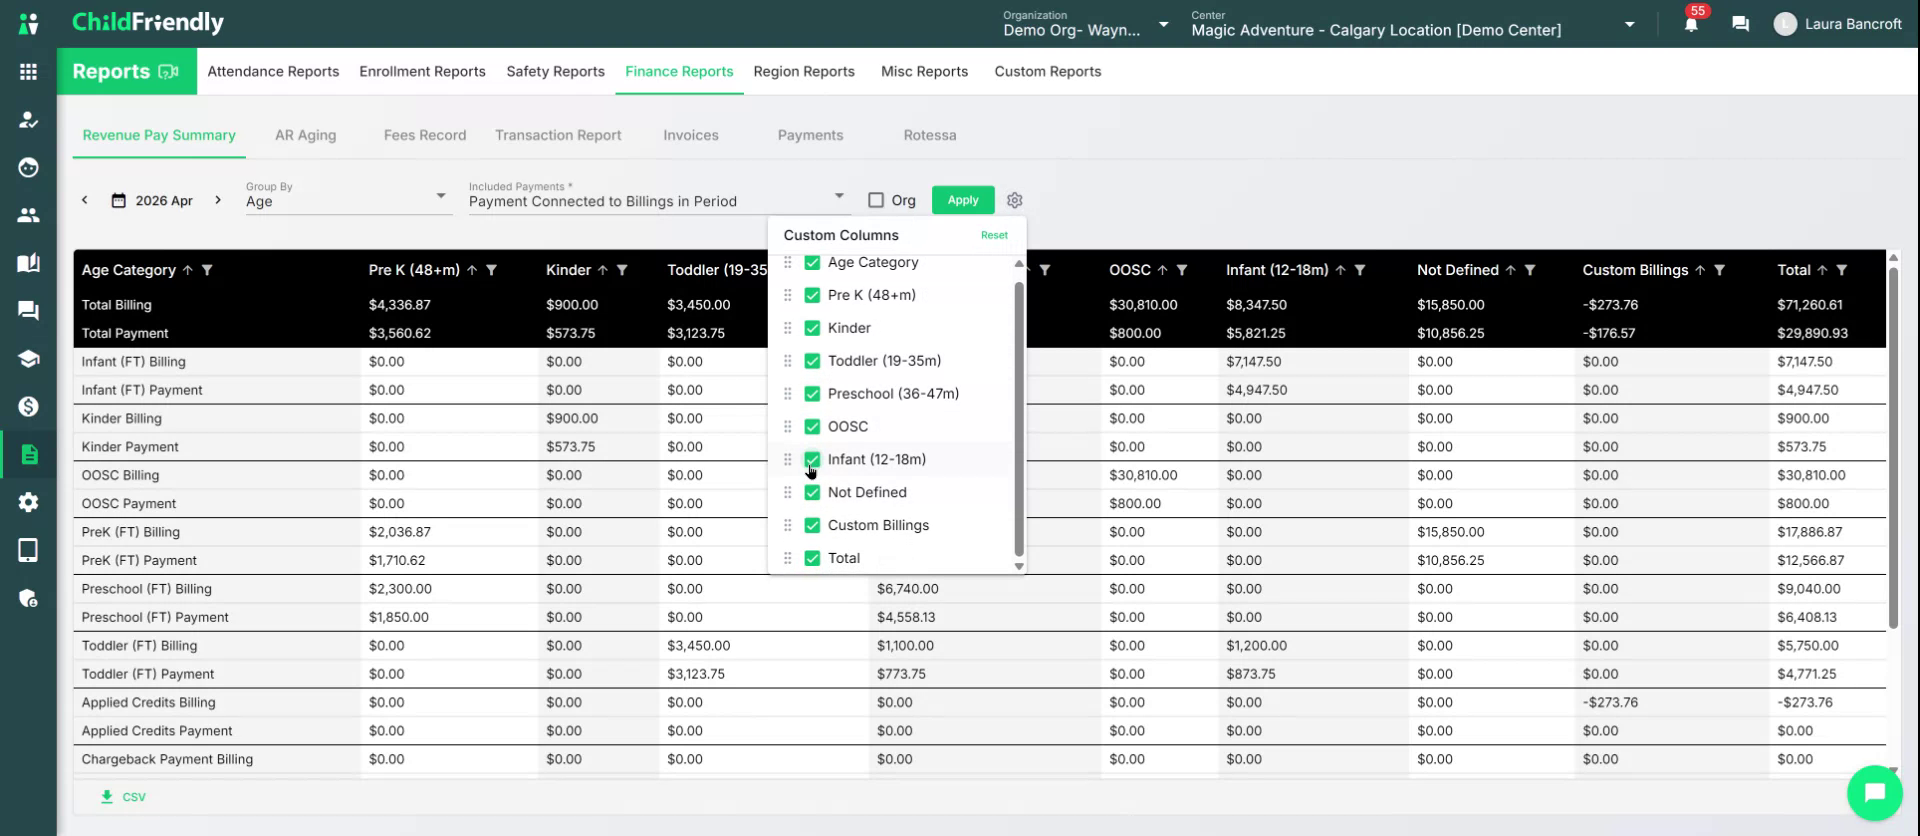
At the top of the report, you will see the grouping you selected (e.g., age categories), with each age or group displayed across the top.
If you selected Age Category, all ages appear along the top.
If you had chosen Groups, all of your groups would appear across the top instead.

Along the left-hand side, you will see all of your billing catalog items (customizable in your setup). Across the top summary area, for each age or group, you will see:
Total billings for the period (invoices created during the period for that age/group)
Payments calculated for the period, based on the payment calculation option you selected earlier.

If needed, you can Customize the Columns to hide or show specific columns.
You can hide any columns you do not wish to see.
All reports, including this one, can be exported as CSV via the bottom left icon, for further analysis.
AR Aging Report
Open the AR Aging Report to view a summary of accounts receivable by aging buckets.
Configure the report as follows:
Optionally filter by group; if no group is selected, all groups and children are combined.
Select or deselect columns to hide information you do not need, such as auto-billing.
Set the date for which you want to view accounts receivable.
Click Apply to generate the report.

The report will show:
Family name and child name
Child’s group
Sponsor’s name (for whom the receivable is calculated)
Sponsor type: External (third-party subsidy, e.g., government) or Personal (family member)
Total balance as of Todays Date
Total balance as of the selected date with accompanying aging buckets (e.g., 0–30 days, 31–60 days past due, etc.)
Fees Record Report
Open the Fees Record Report to see a detailed listing of all fees and payments for a selected period.
Configure the report:
Filter by group or choose to include all children.
Customize columns as needed.
Set the period (for example, April) and click Apply.

In the report, you will see:
Family name and child’s name
Group and age of the child
Regular fee billed for the period
Forwarded balance from the previous period (for the entire family, all sponsors combined)
Family portion billed for the current period
Any family discount applied
Total received from the family for the period
Family balance outstanding at the end of the period
As you scroll right, additional columns include:
Third-party balance, including:
Third-party balance forward from the previous period
Amount billed this period
Discounts
Amounts received from third parties for the period
Transaction Report
Open the Transaction Report to view all transactions processed during a selected period.
Configure the report:
Select the transaction type you want to see (for example, Invoice to see all positive invoices for the period).
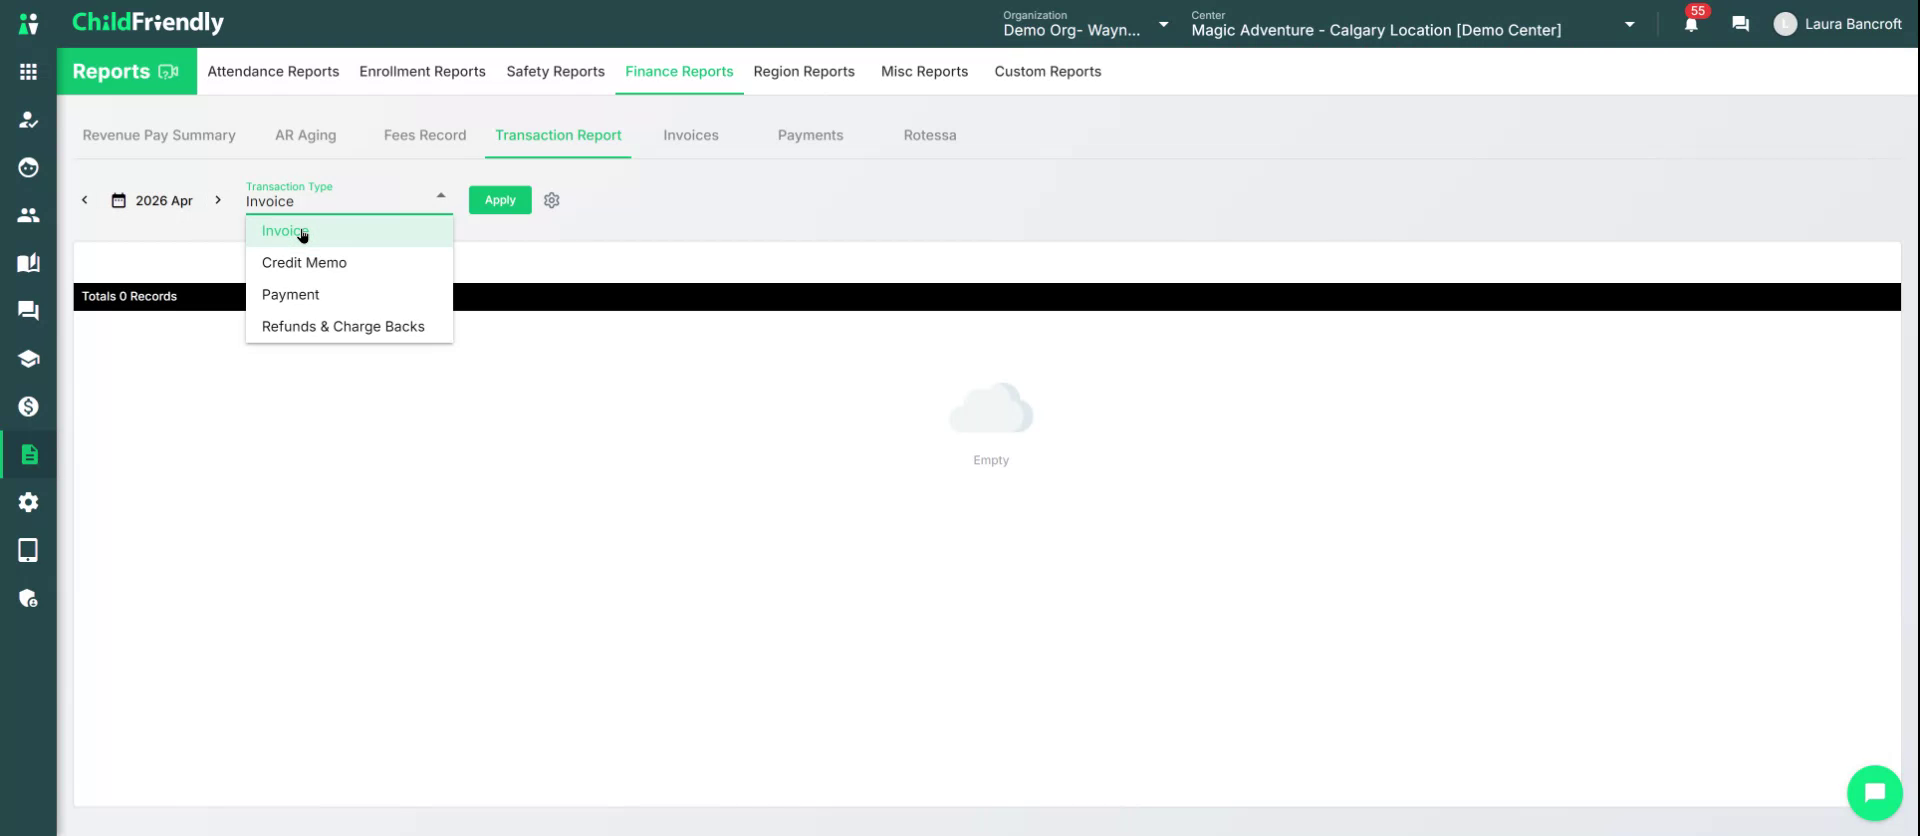
Set the desired period (e.g., April) and click Apply.
The report will display:
Invoice (or transaction) number
Sponsor (the person or entity charged)
Transaction date (within the filtered period)
Memo (if any)
Product or service (your catalog item, found on the invoice and set up in the Set Up Module)
Amount

This report is exportable as CSV.
The same Transaction Report format is available for credit memos, payments, refunds, and chargebacks. You can export each as CSV to upload into external accounting software (if you are not using QuickBooks or another natively integrated system), mapping fields as required.
Merchant Fee Reports
Use the final three reports (Invoices, Payments and Rotessa), which are related to merchant fees, to understand payment processing costs.
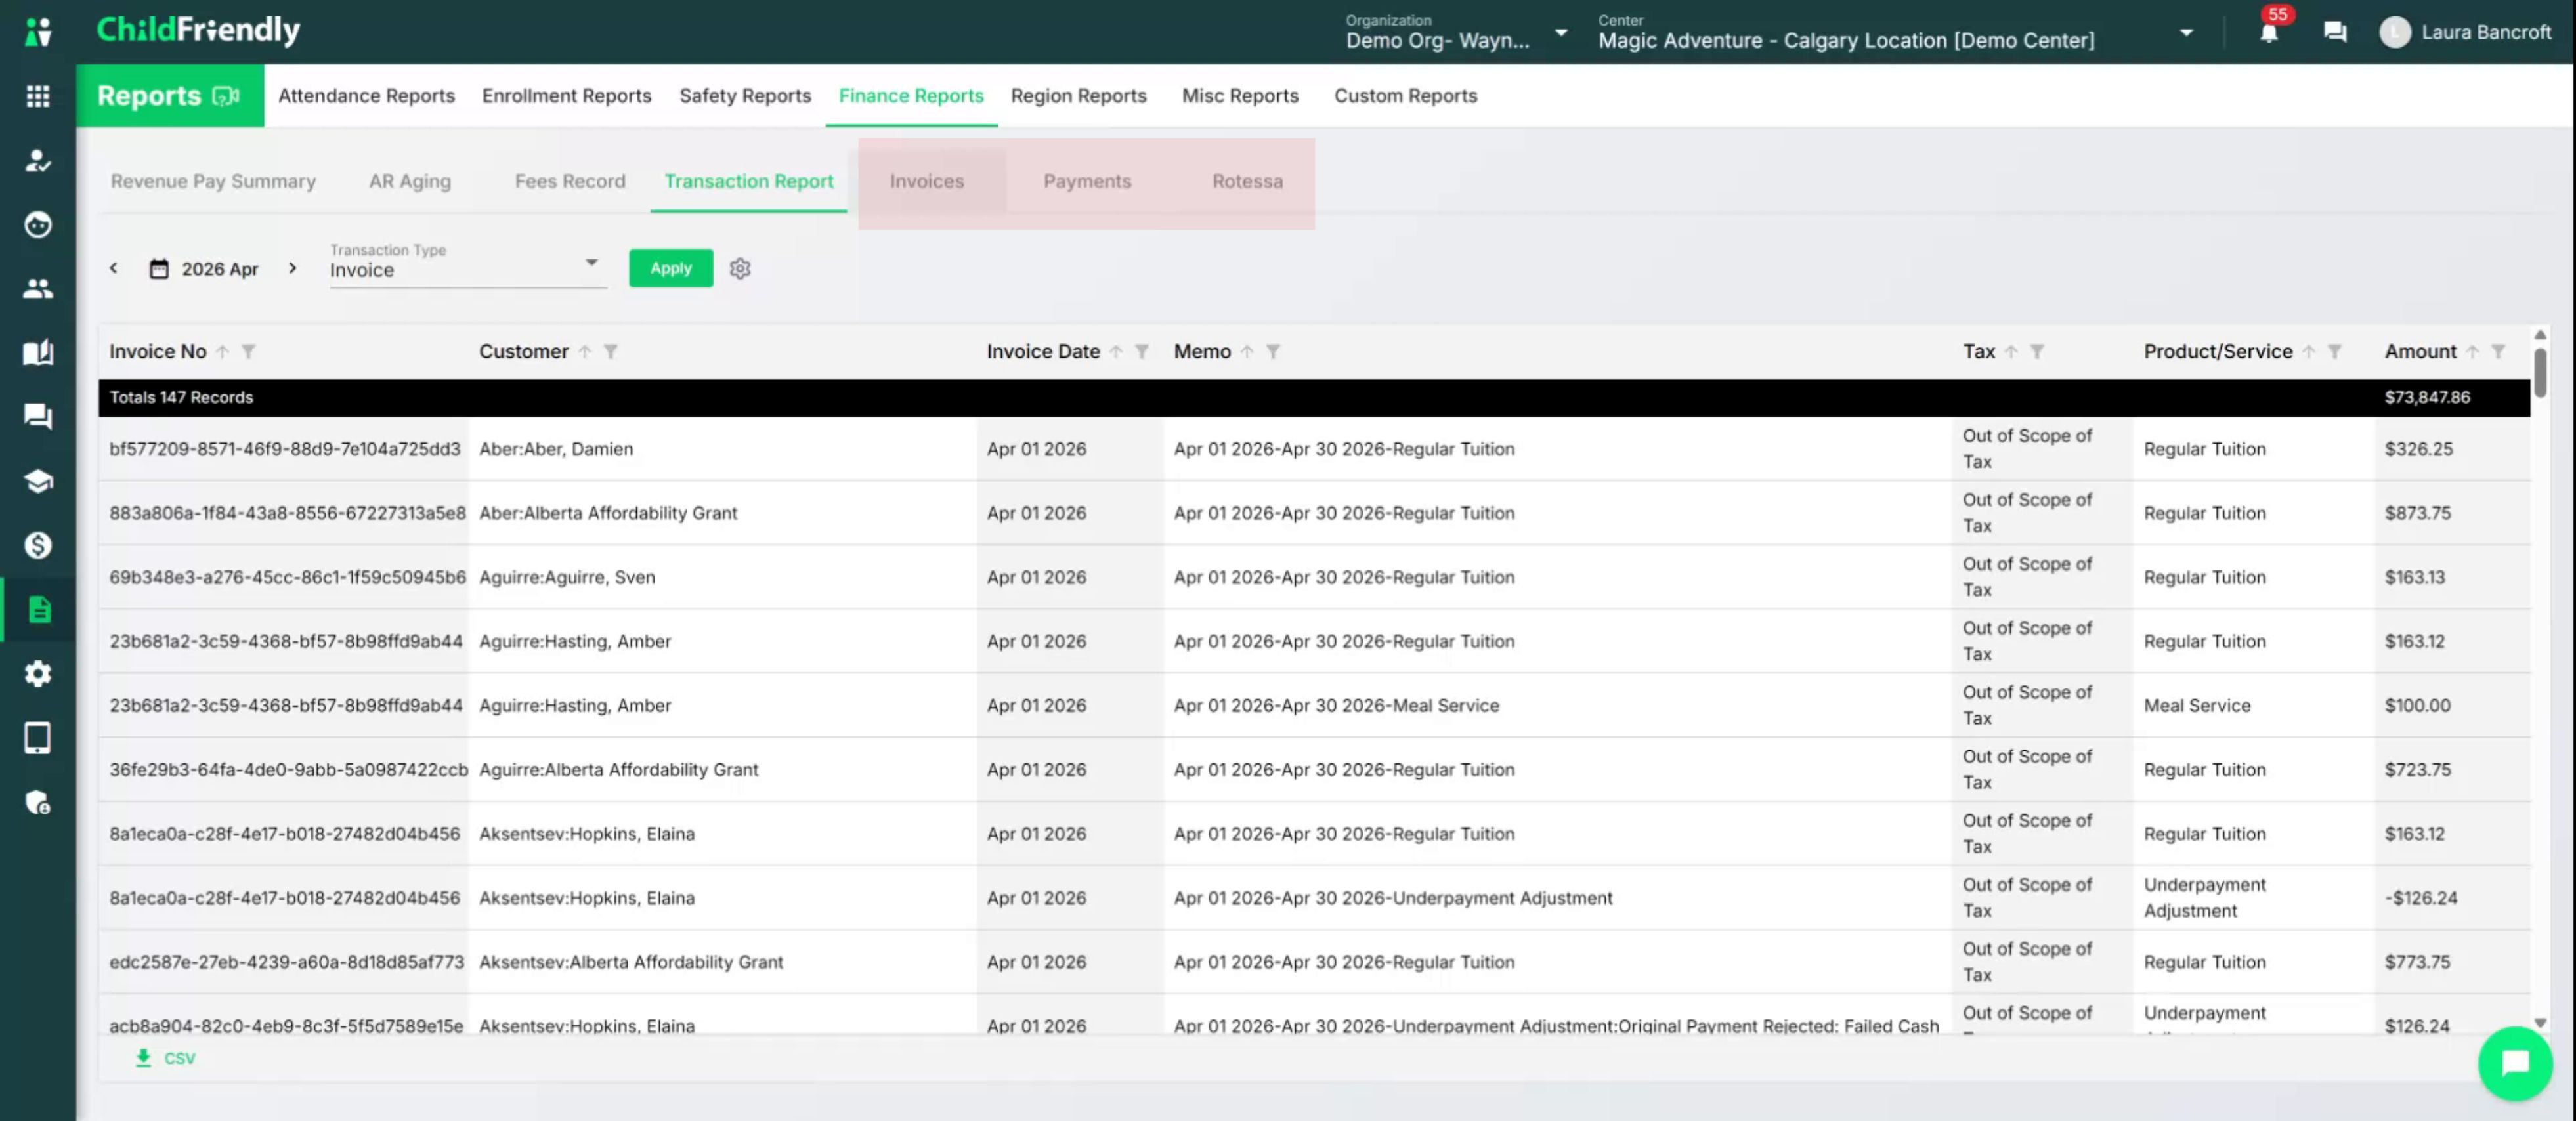
Depending on your merchant fee setup for PAD and credit cards (whether the organization pays the fees or passes them through to families), these reports will show:
All payments processed
Associated merchant fees
Deposit dates
Other related fee details
Was this helpful?
Still need help? Ask the team