How to Set Up Spaces within a Center
This article explains how to configure physical “spaces” in your center so staff and children can be accurately signed in and out for attendance, ratios, task and compliance tracking. You will complete these steps for each individual center.
Last updated About 2 months ago
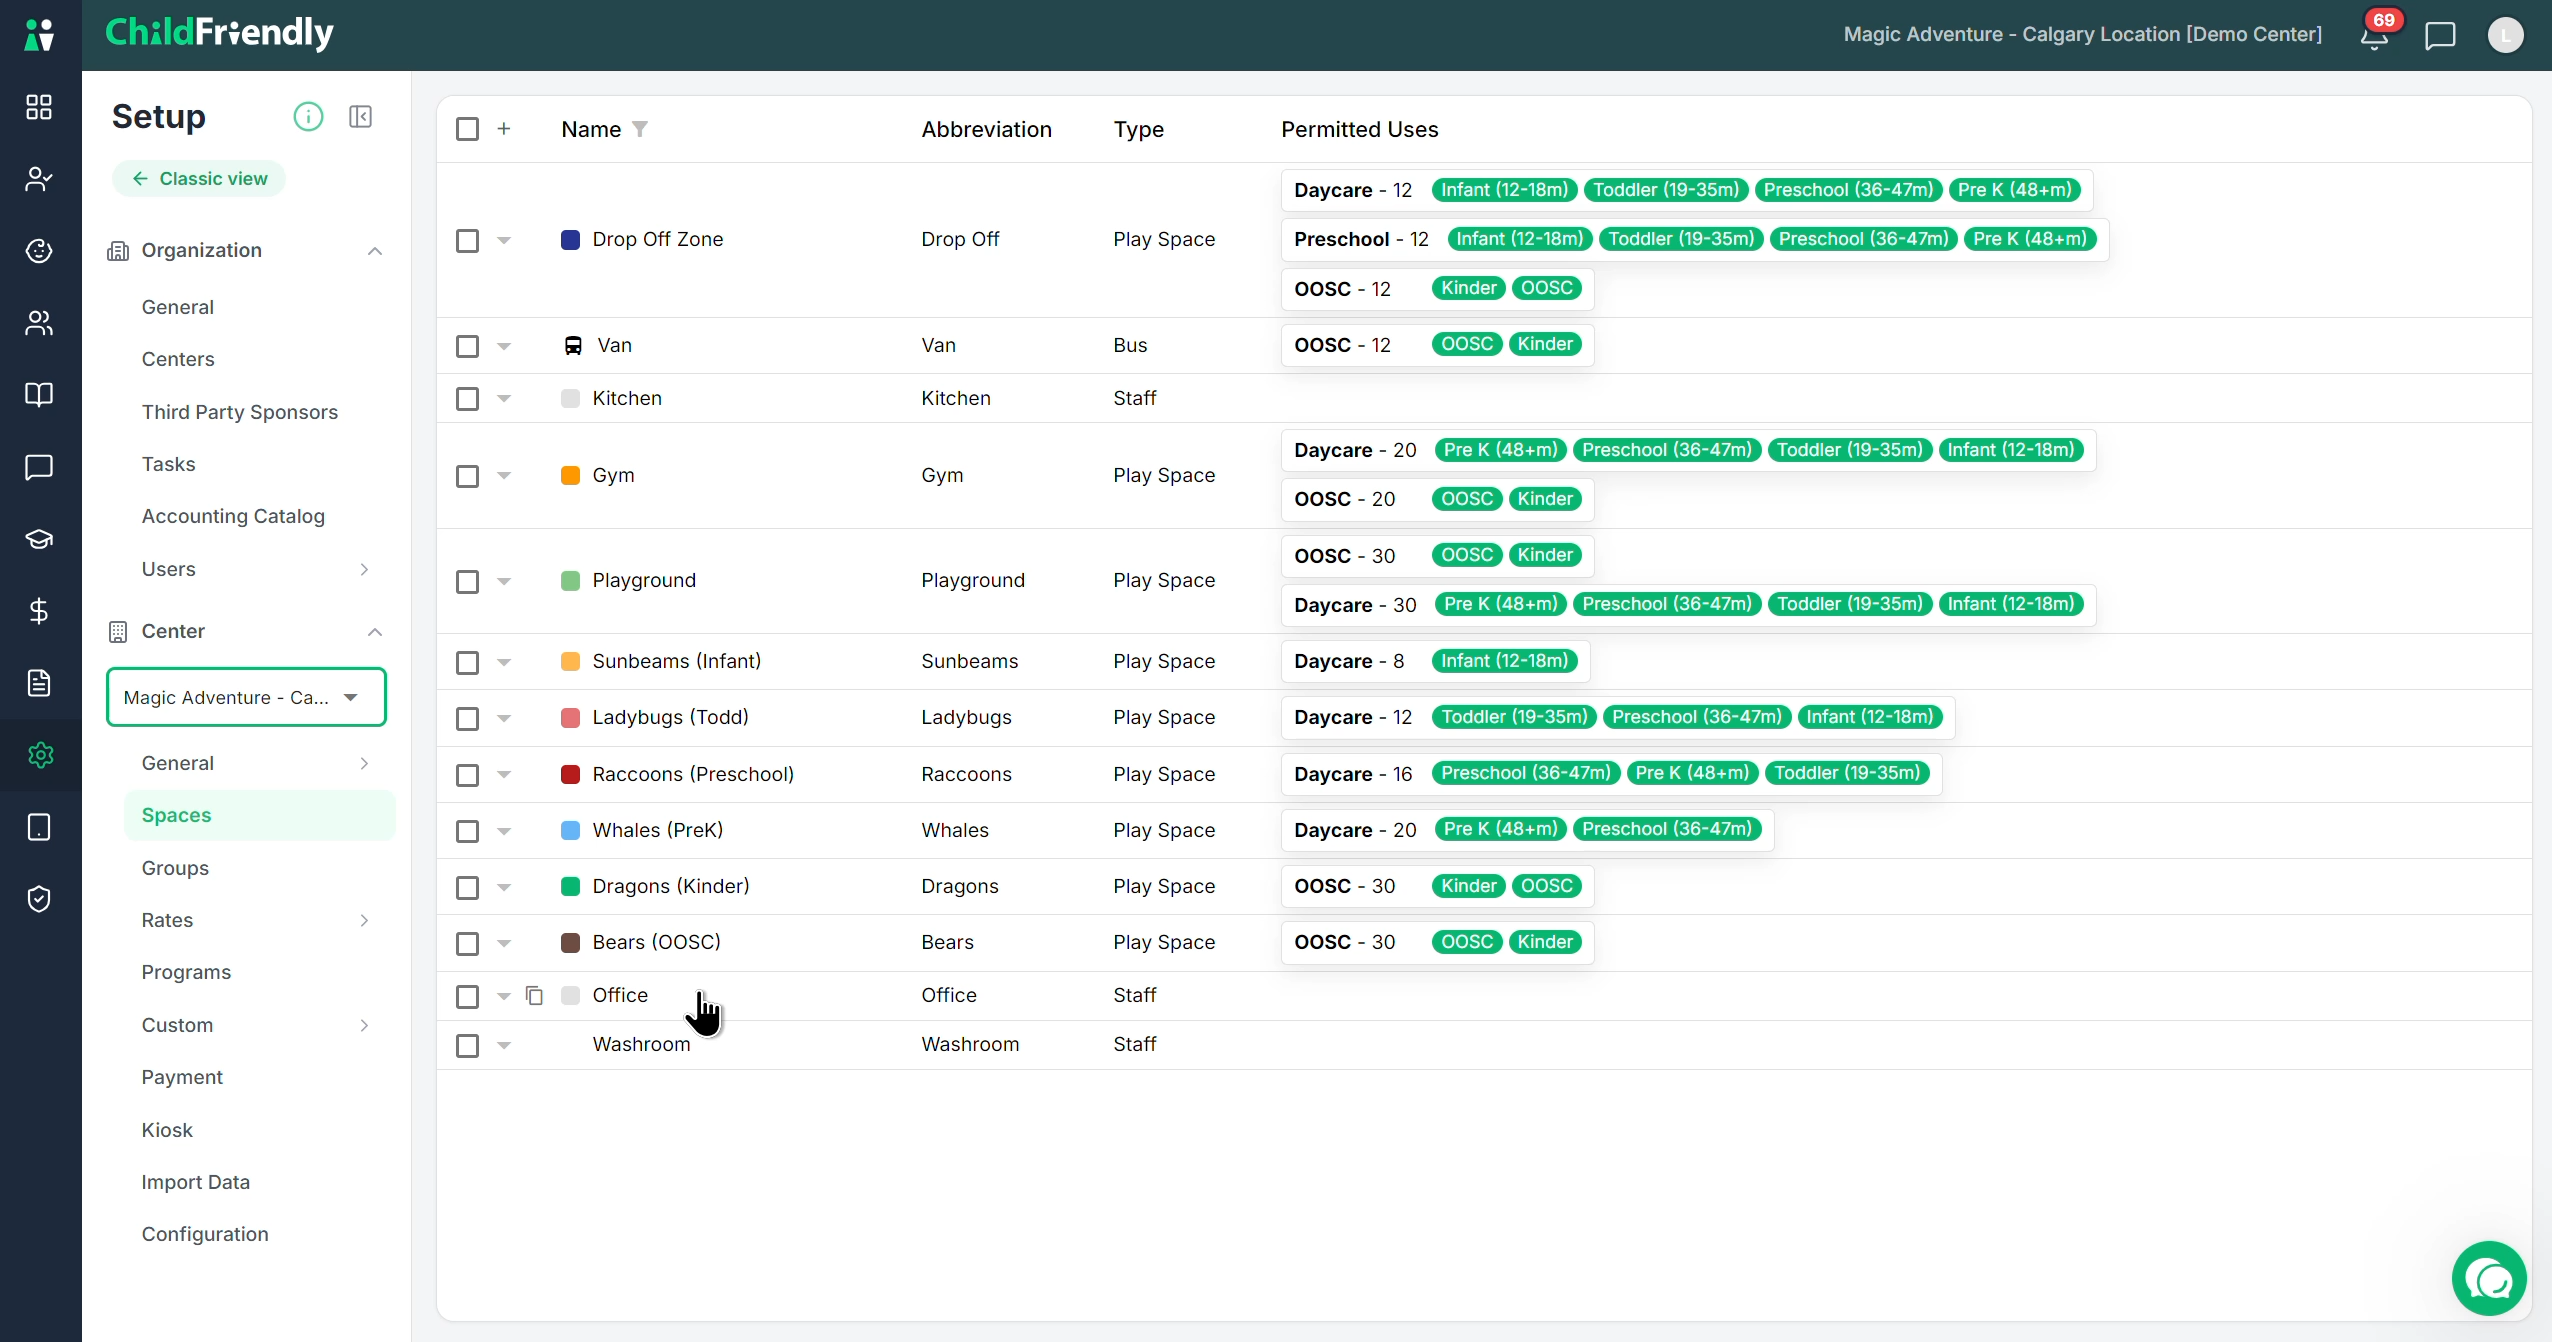
Step 1: Open the Spaces Configuration for the Correct Center
Make sure you are in the Setup module and have selected the Spaces category for the specific center you are working on. You will repeat this process for each center individually.
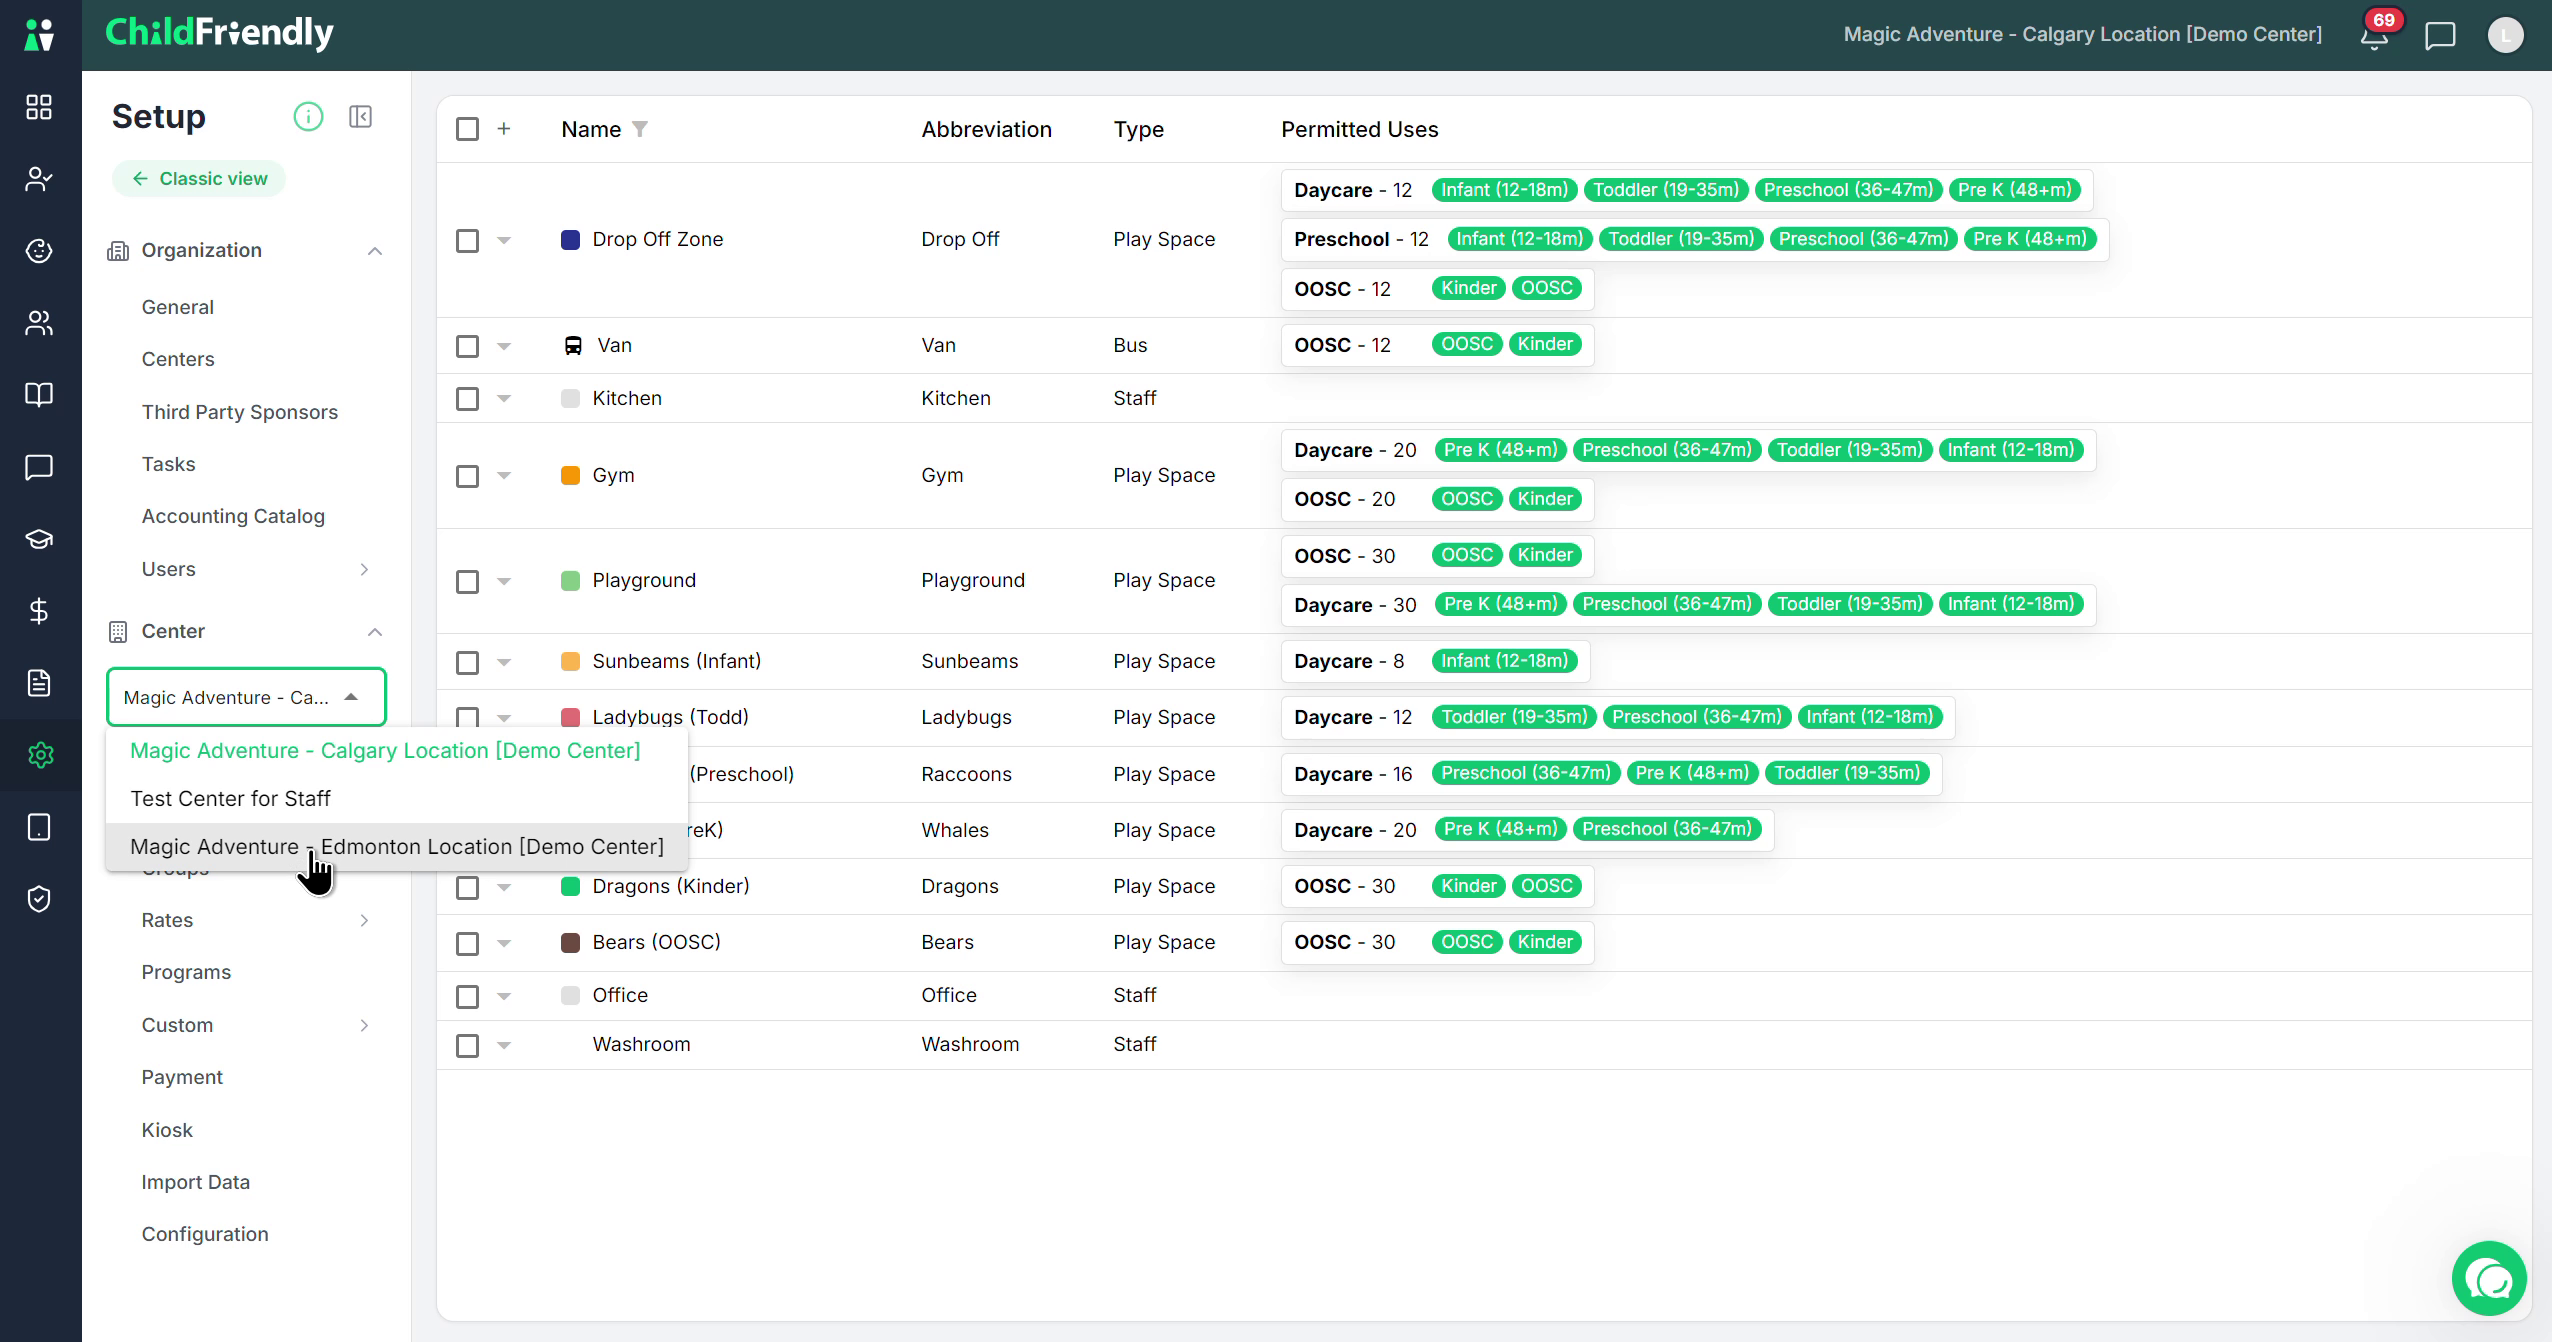
Step 2: Understand What Spaces Represent
Spaces are physical locations within the center that staff or students can be signed into. While a space and a group may sometimes share the same name, they are different concepts; groups will be covered in a separate video.
Spaces include any physical classroom, gym, office, kitchen, outdoor area, and similar locations where staff and/or children can be present and signed in.
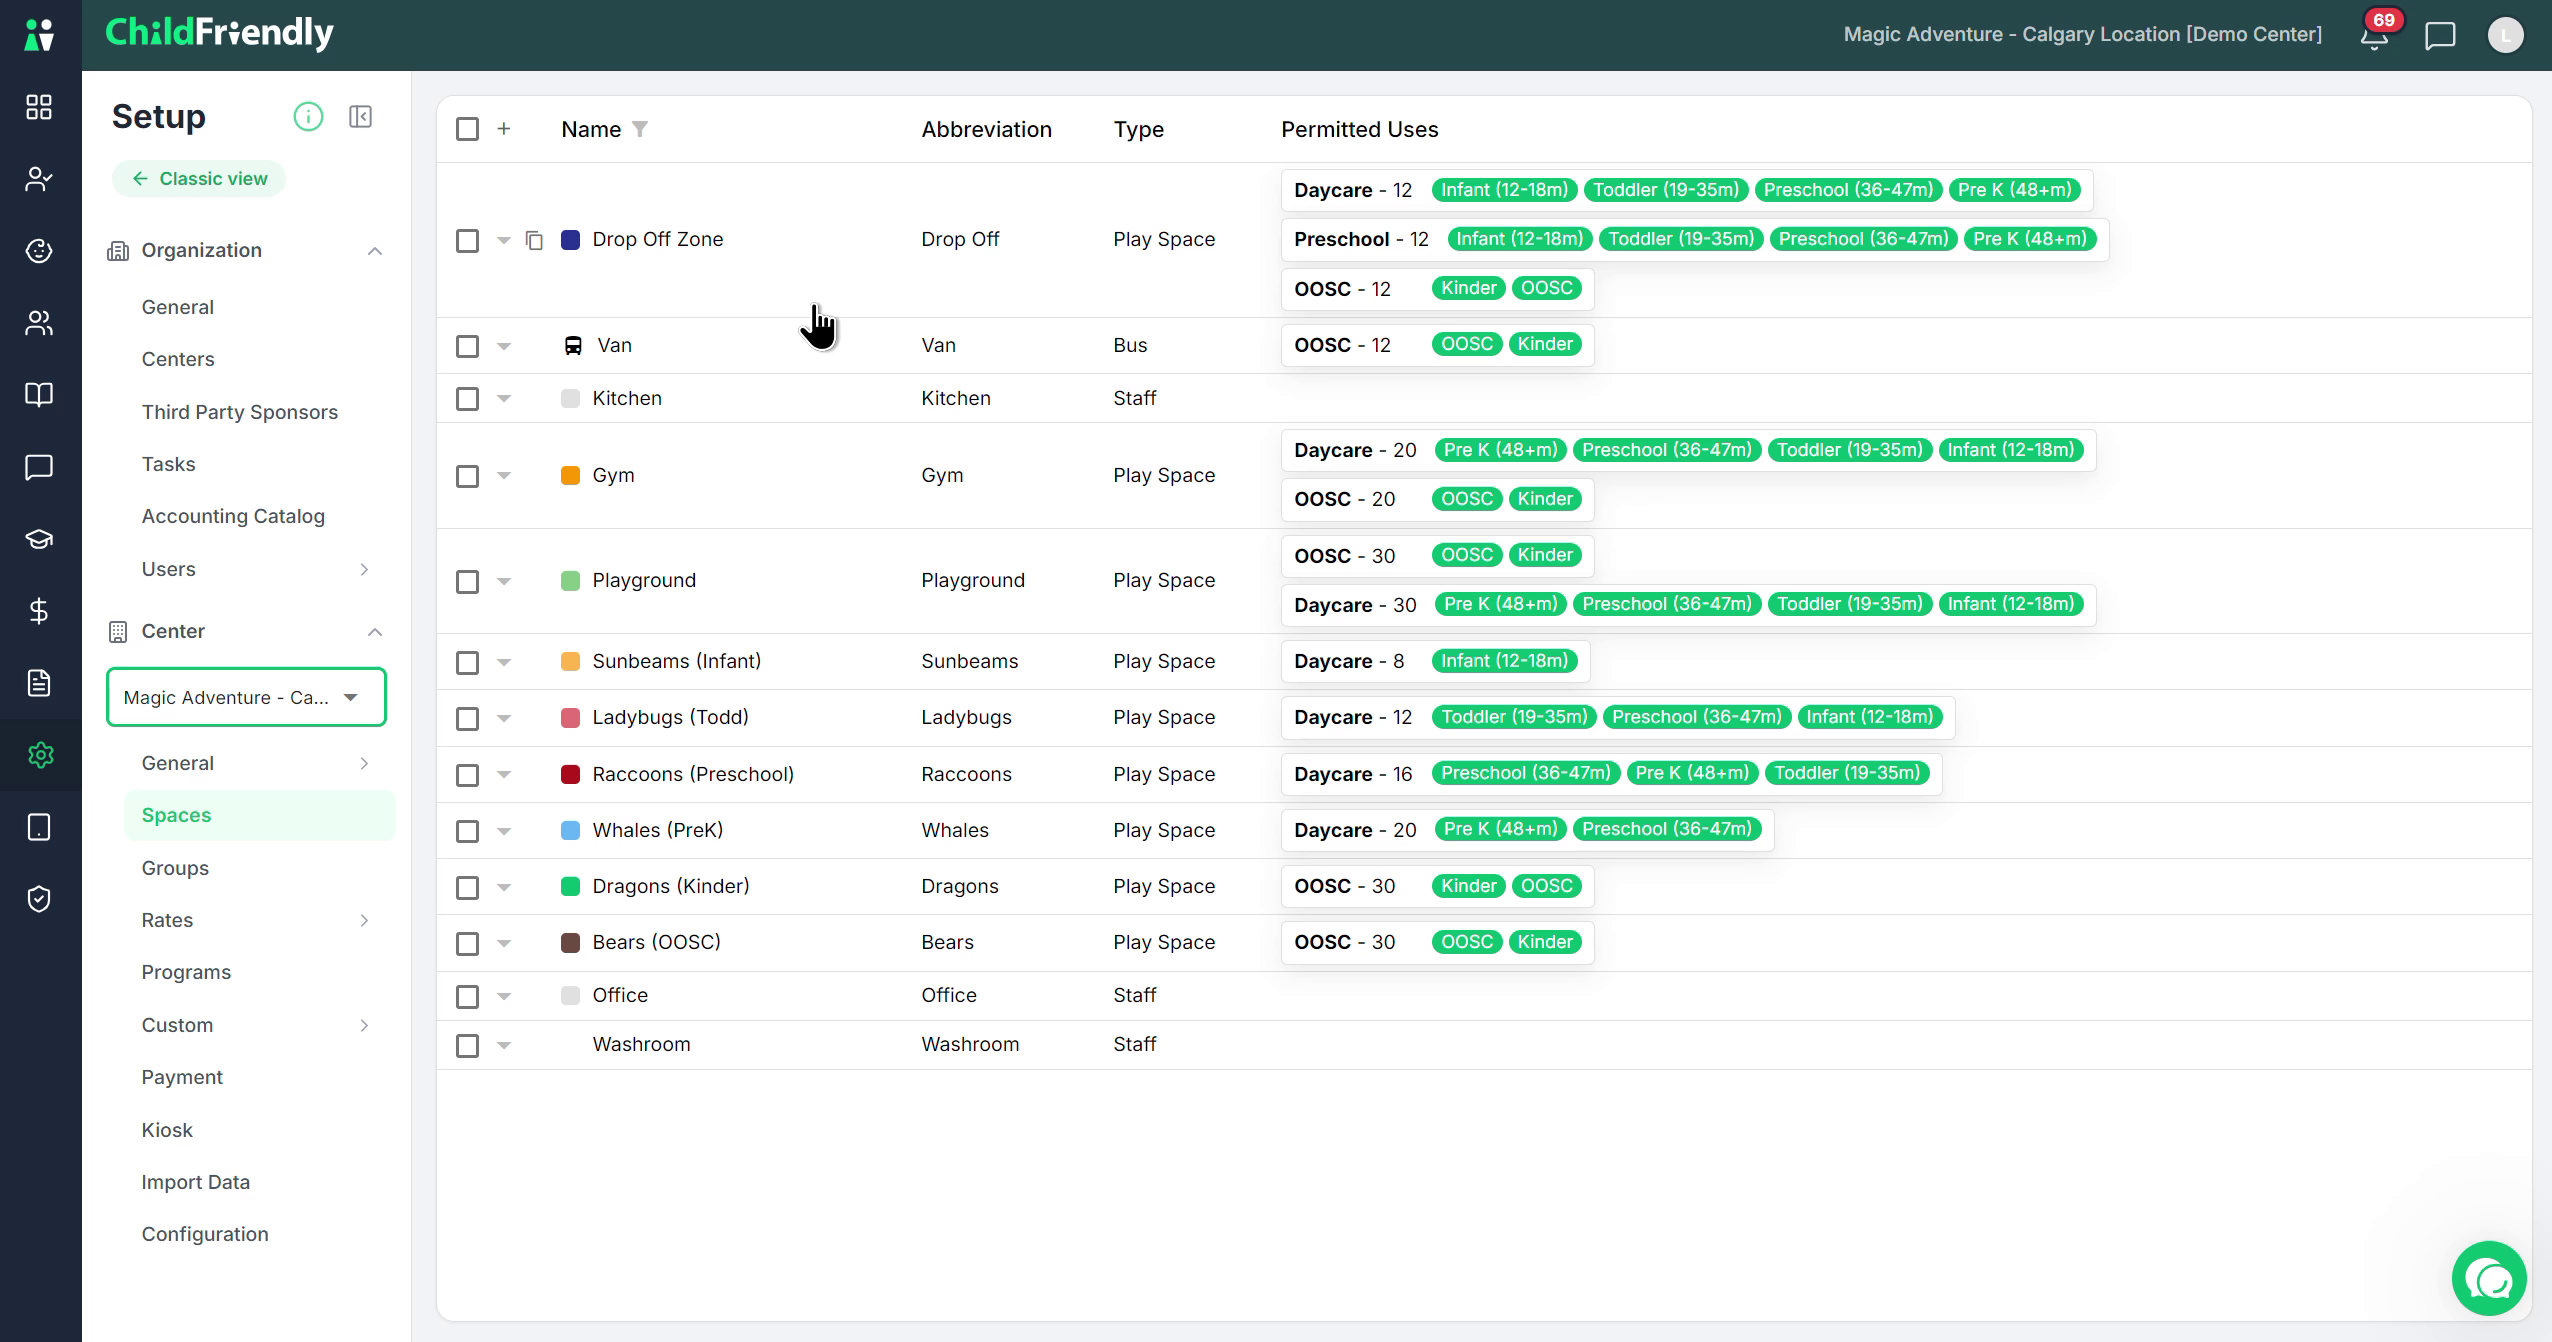
Include All Relevant Physical and Operational Areas
Add all physical spaces that staff or students may need to sign into, including non-classroom locations and movement/transition areas. This can include:
Transportation spaces such as vans or walking groups
Operational spaces such as the kitchen for staff
Administrative spaces such as the office for prep or admin work
Even granular locations such as washrooms or temp absence, if you want detailed tracking
It is advisable to have staff sign out of their current room (e.g., “Whales” classroom) and into a washroom space when they go on a break. This ensures they are not counted in child-to-staff ratio while away from the room, keeping ratio calculations in the dashboard and attendance module accurate.
Step 3: Add, Delete, and Clone Spaces
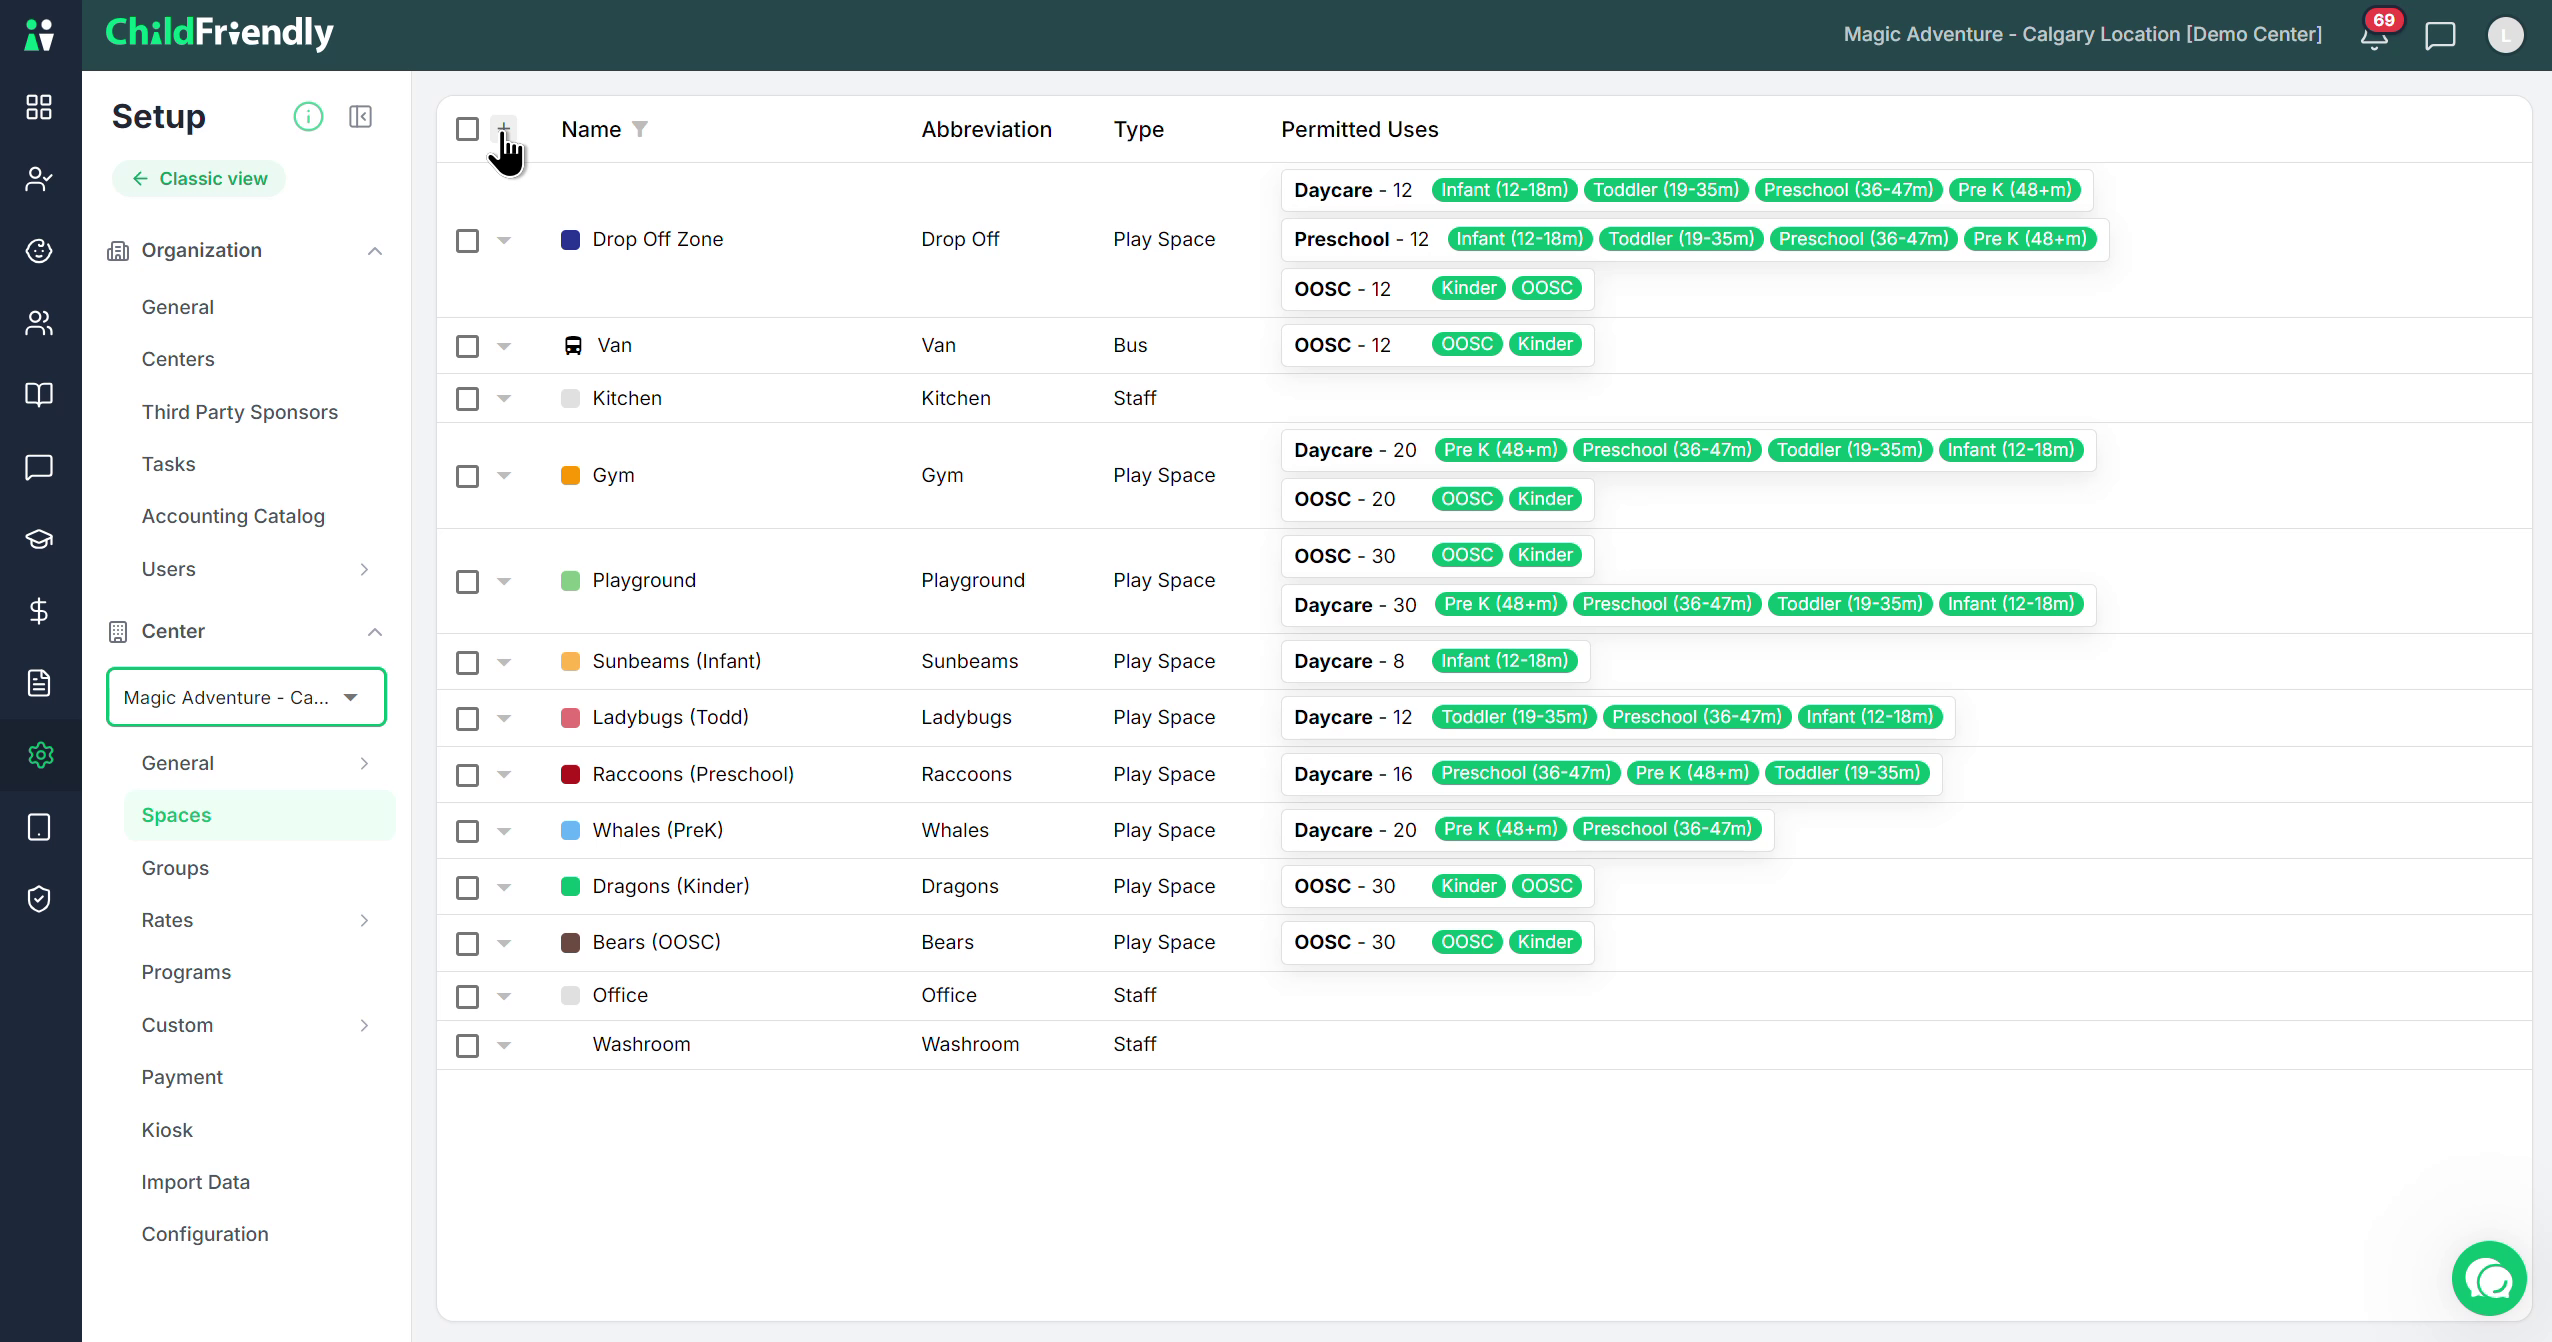
To add a new space, click the plus (+) sign.
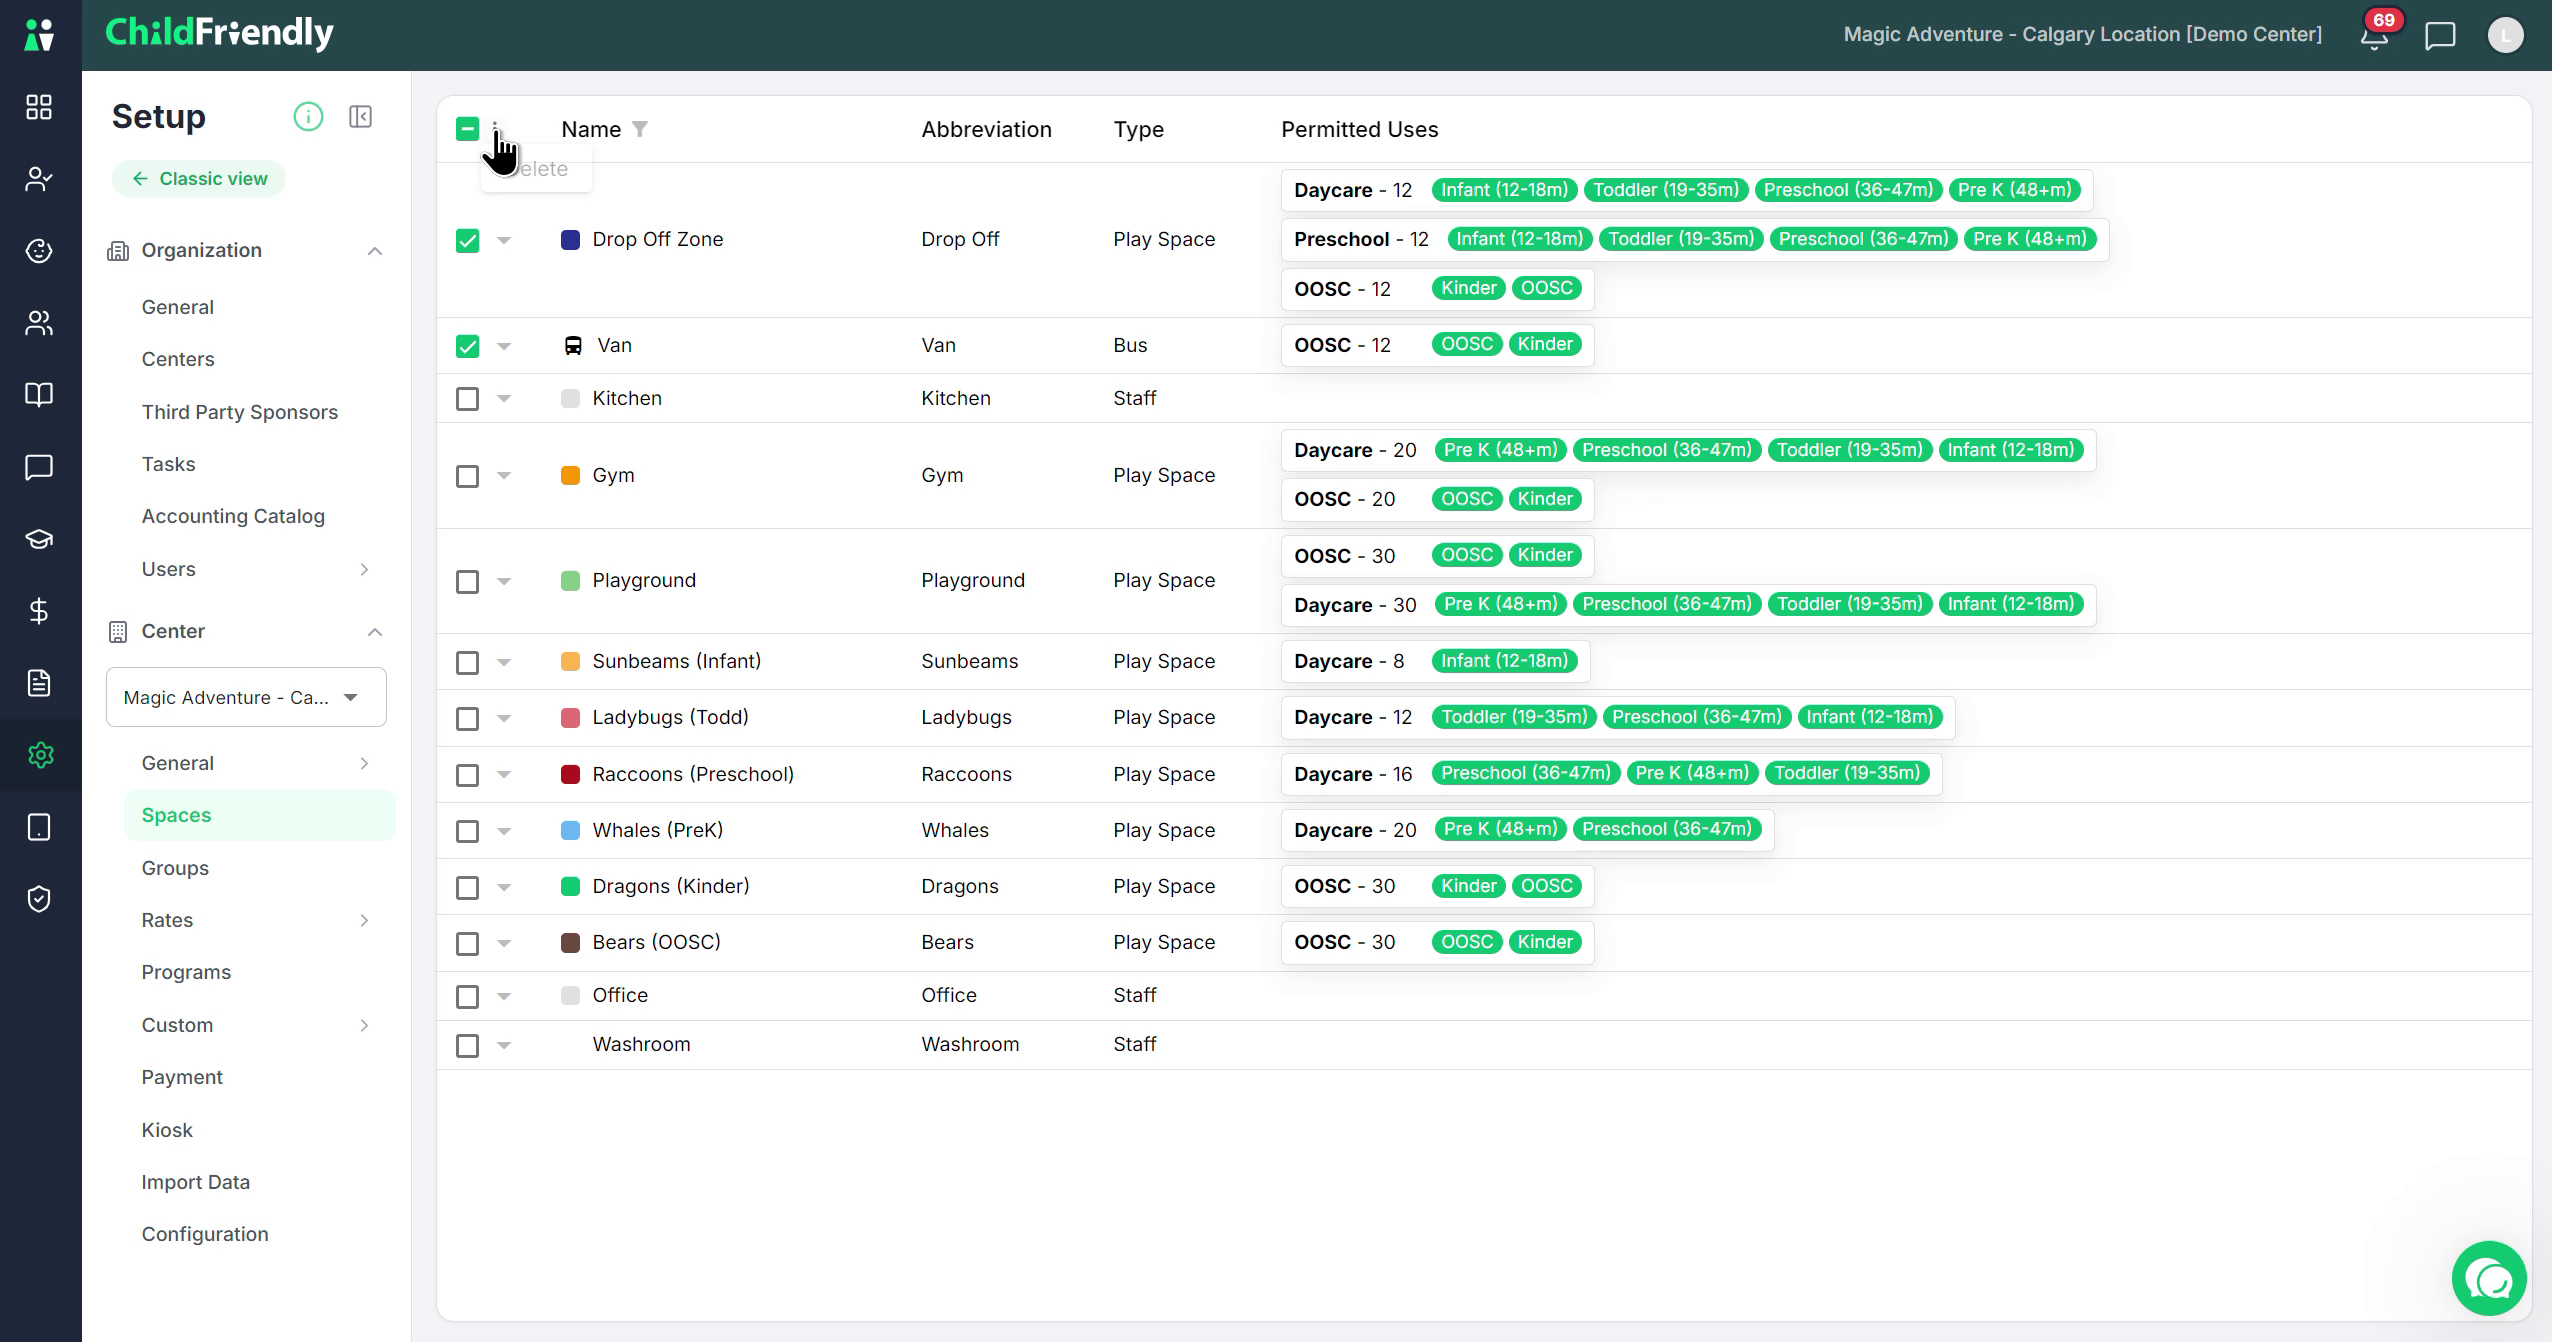
To delete a space, select it and use the triple-dot menu to choose the delete option.
You can also clone existing spaces and then edit and rename them to match your needs.
Step 4: Configure Basic Details for a Space
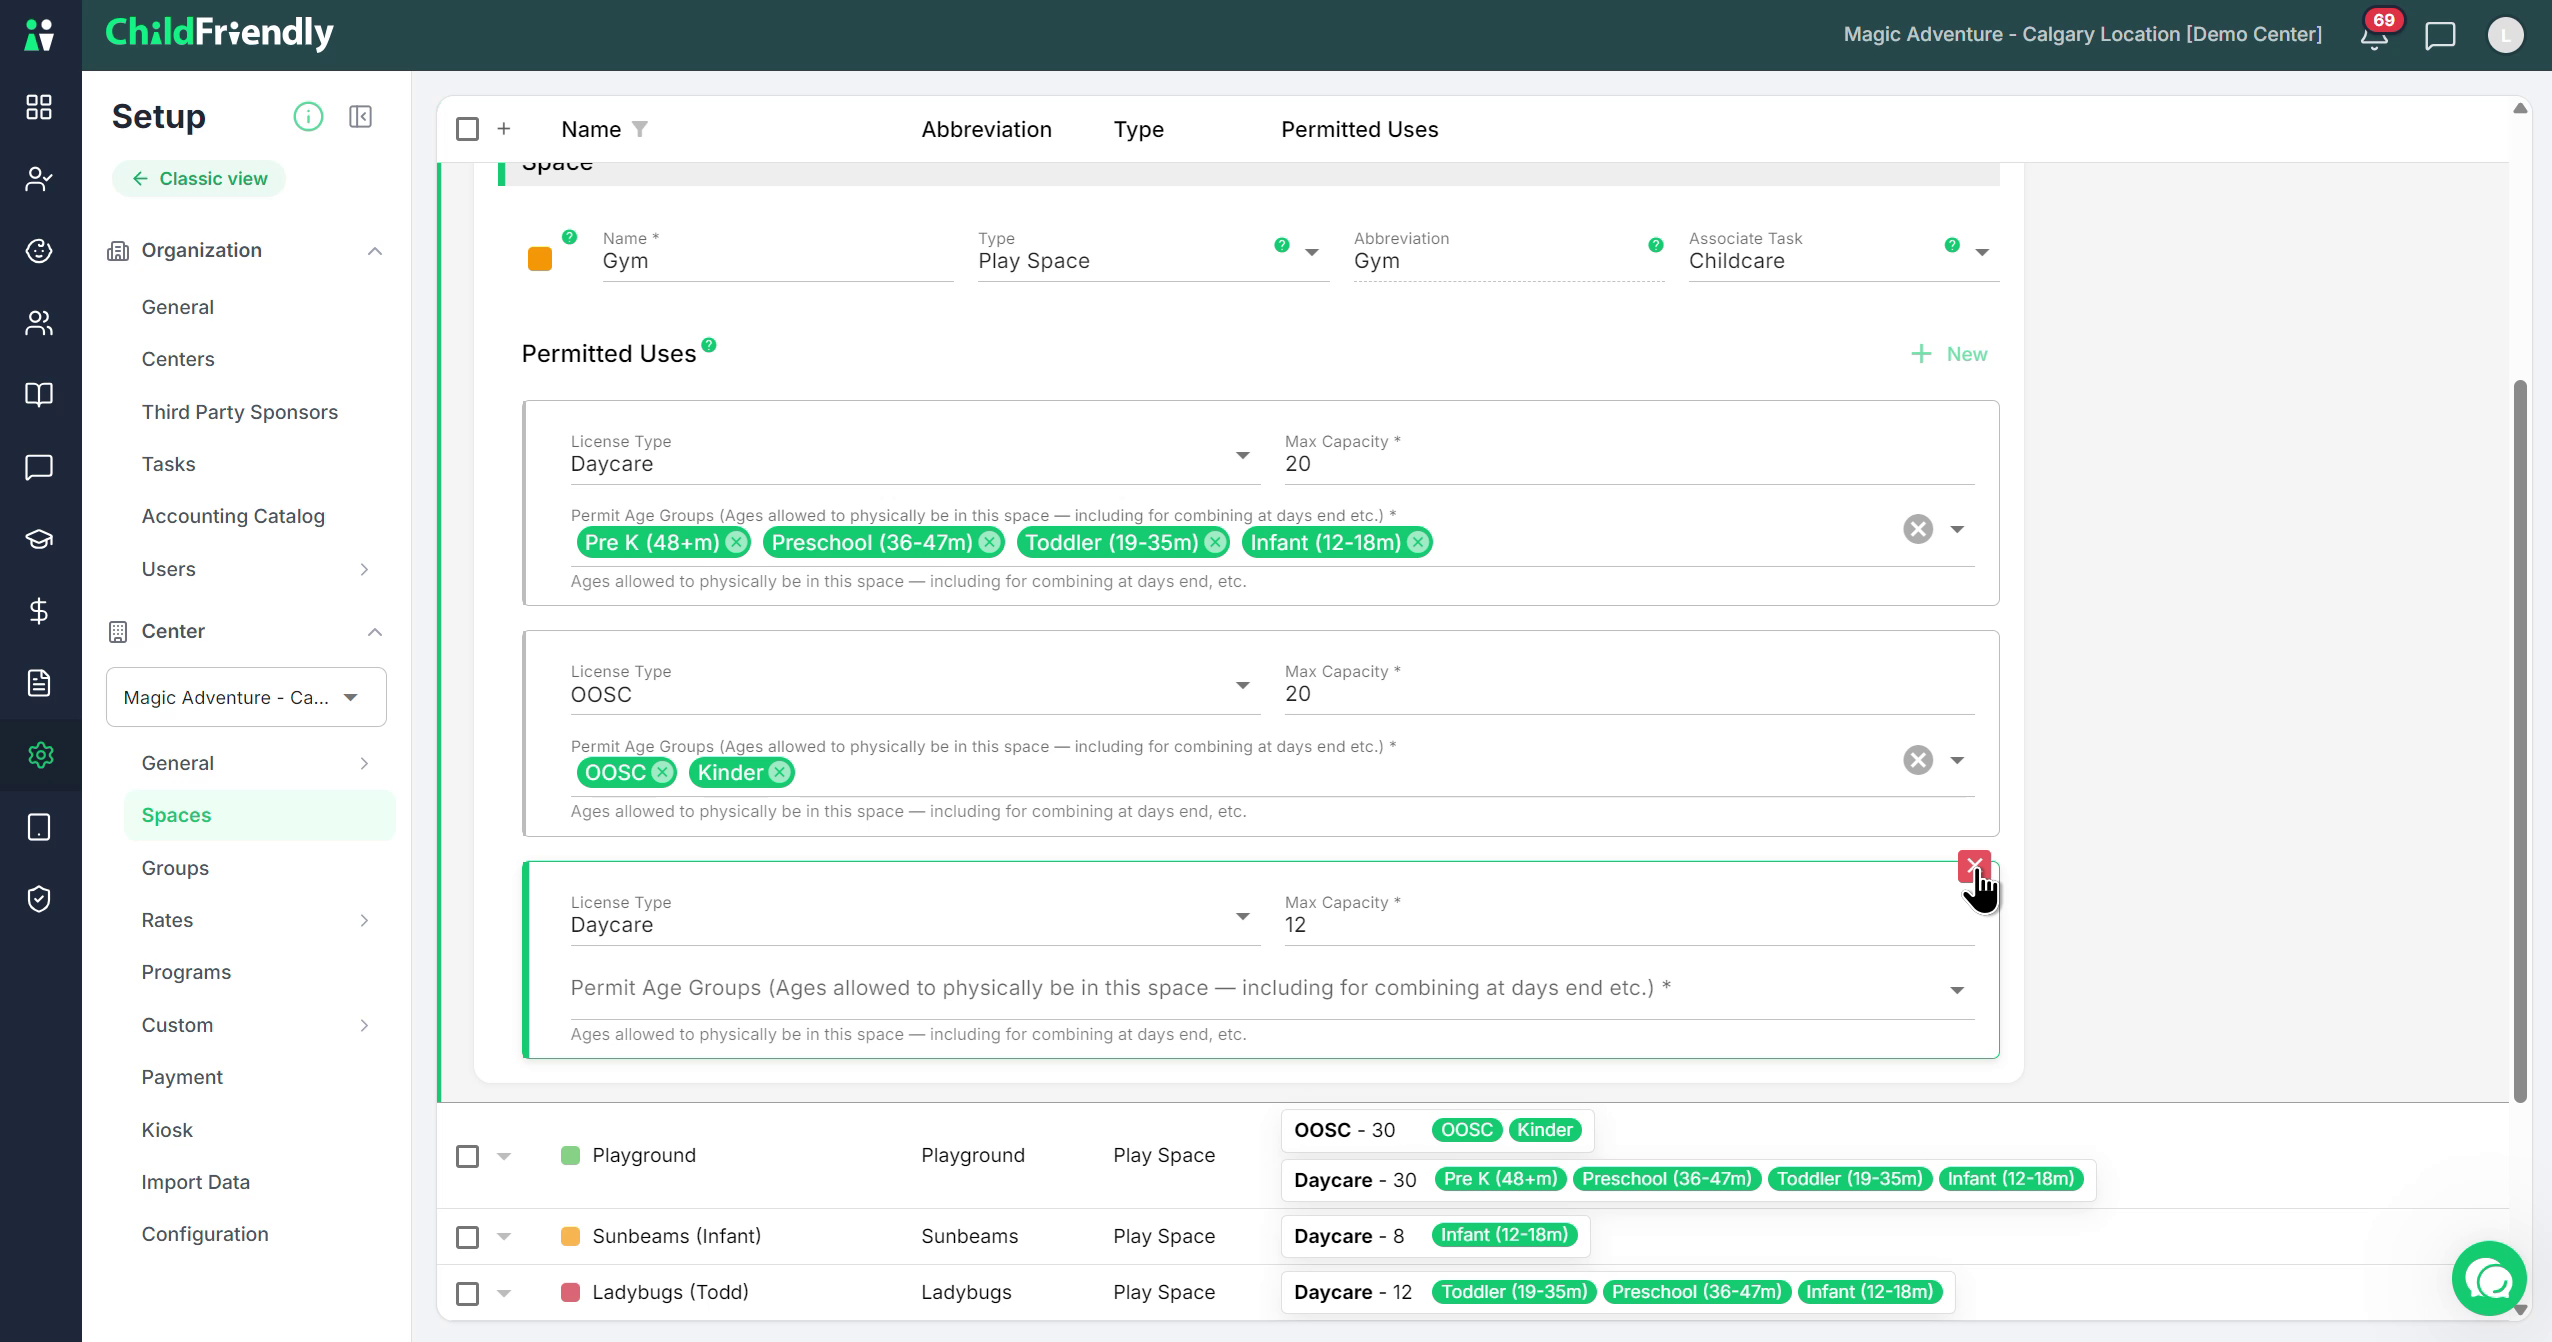
Open an existing space (for example, the Gym) to review and configure its details.
Within the Gym space, configure:
Name of the space
Type of space (e.g., play space where children can play, staff-only space, walking/transport space to school or park, bus/van, or other such as bathroom)
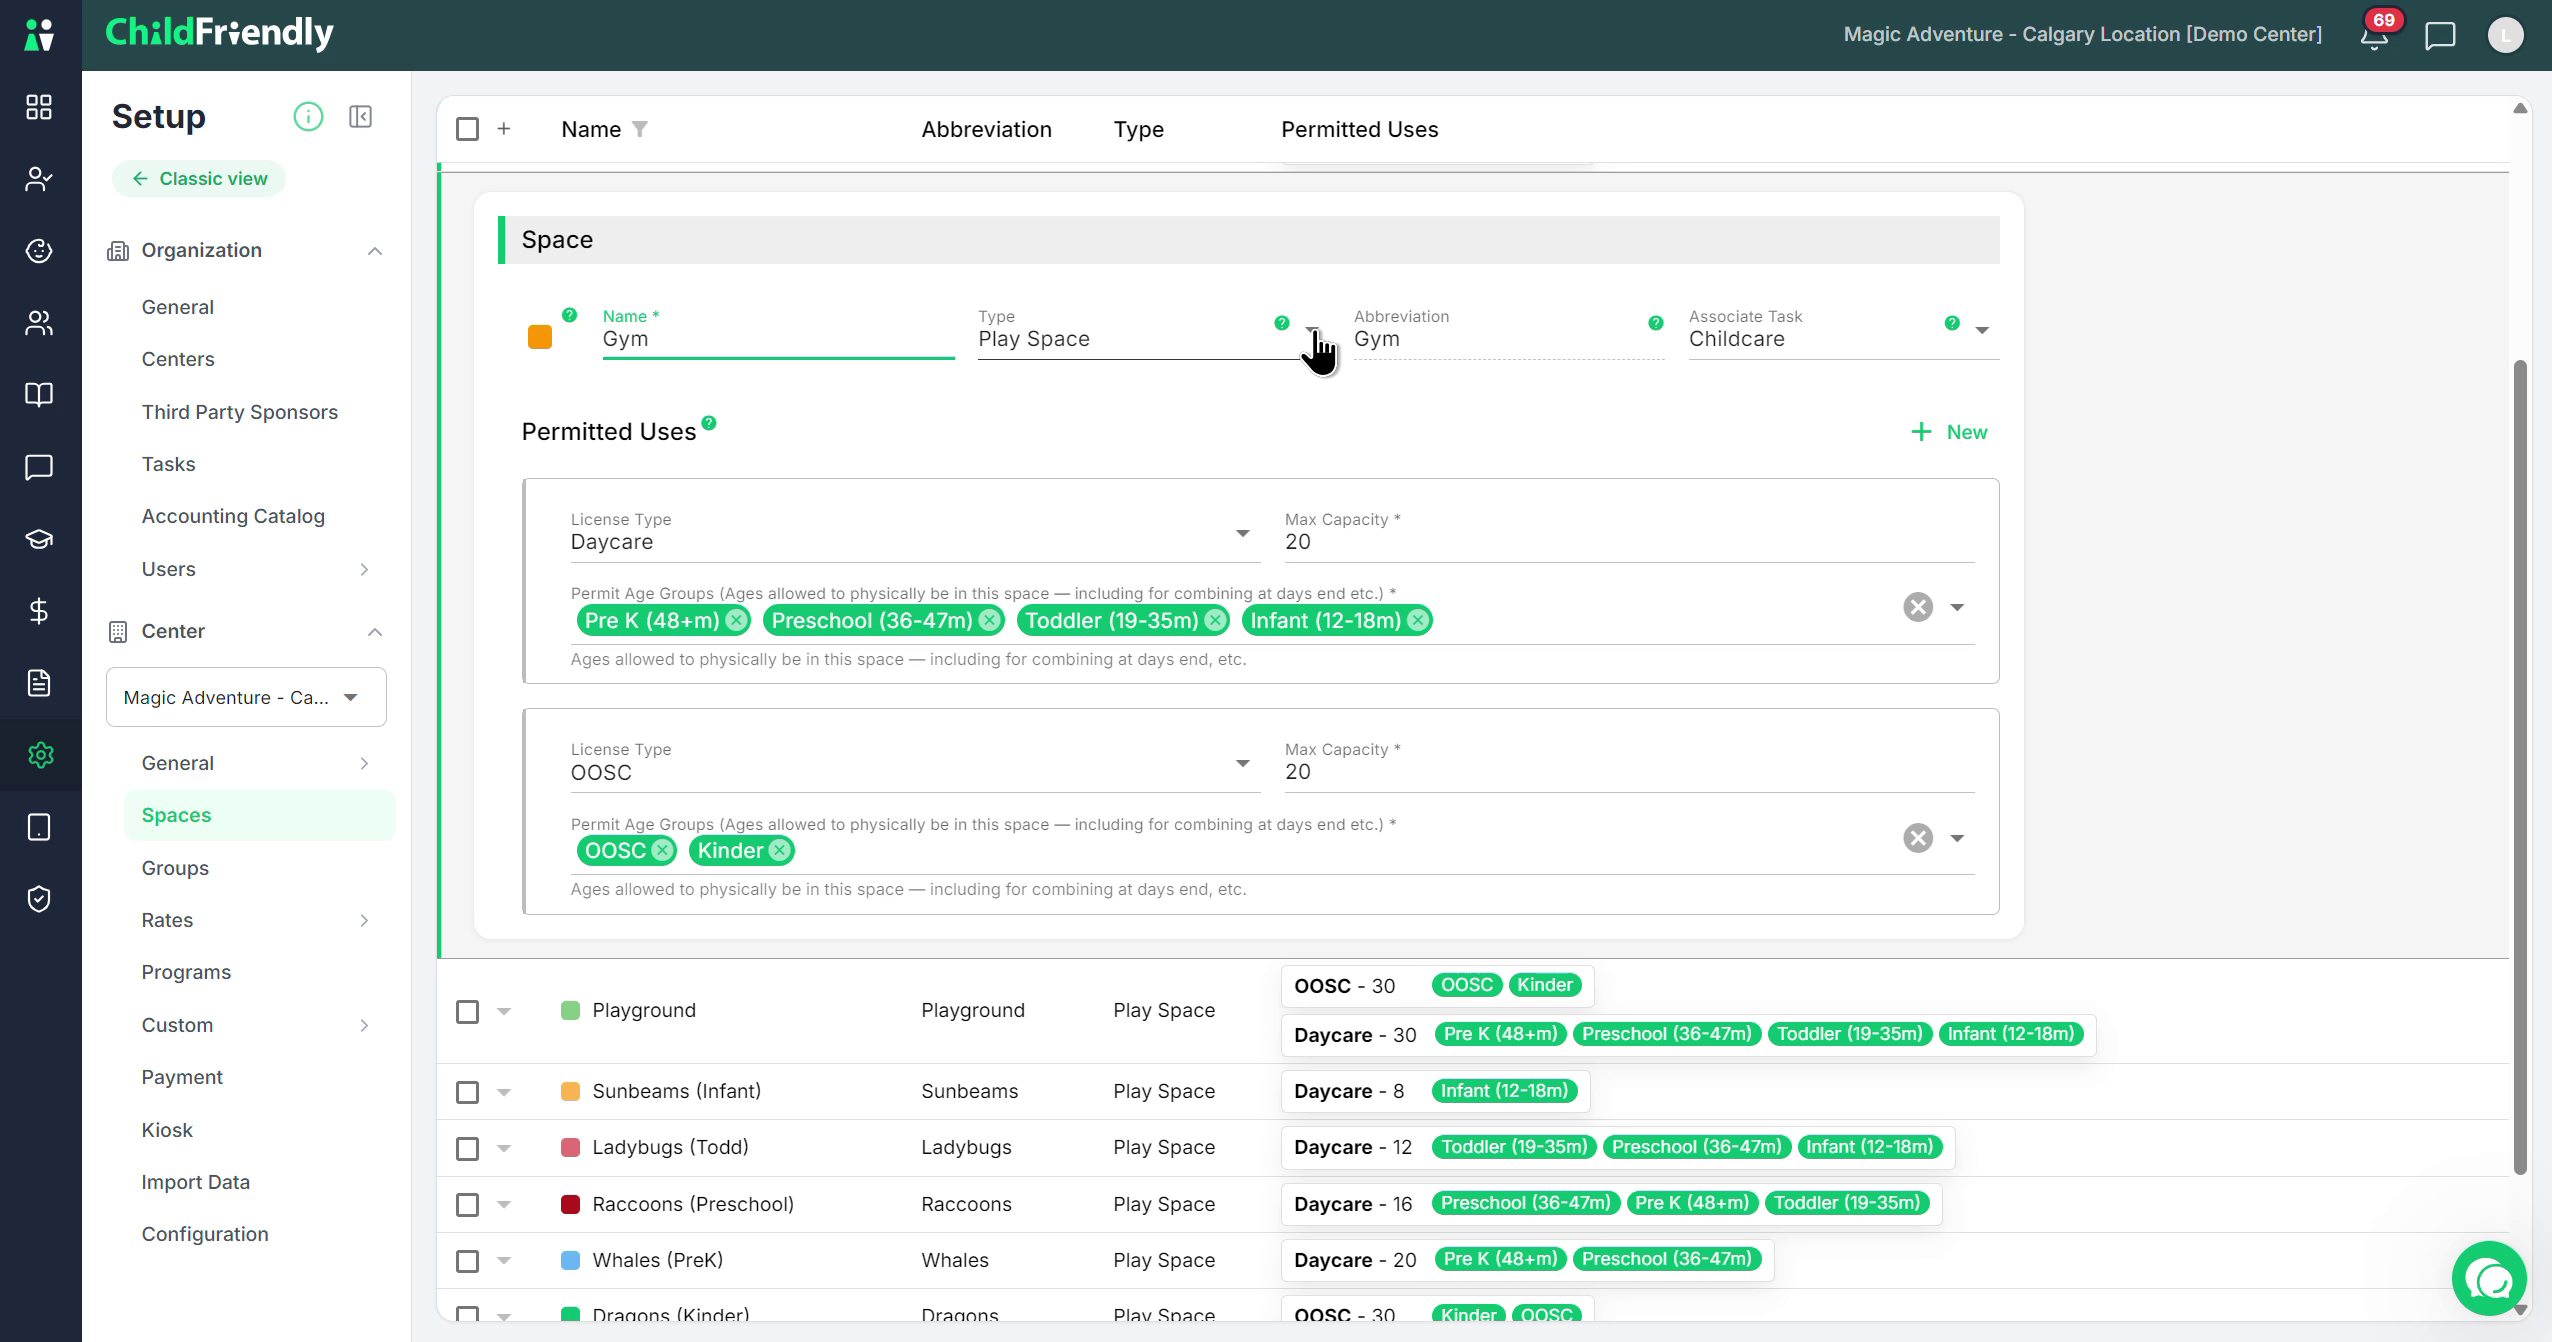
Abbreviation, which is useful if the space name is long, so it displays neatly in the attendance module
Use the question mark icons beside fields for additional explanations where available.
Also configure the Associated Task:
If your organization has set up tasks under the organization menu (see the tasks video for details), you can link each space to a default task. For example, anyone signing into the Gym is likely performing Childcare, so you can set Childcare as the default task for that space.

For a bus space, you might select a task such as Transport, depending on your organization’s customized task list.
When staff sign into this space, their time will default to that task for payroll and reporting. They can override the default at sign-in if needed, but the default speeds up the process.
Step 5: Set Up Permitted Uses and Licensing Details
Configure Permitted Uses to match what your licensing authority has approved for that space.

Permitted uses usually reflect:
The license type (e.g., daycare license)
The maximum number of children allowed in that space under that license
The age ranges permitted in that space
In this Gym example, there are two permitted uses:
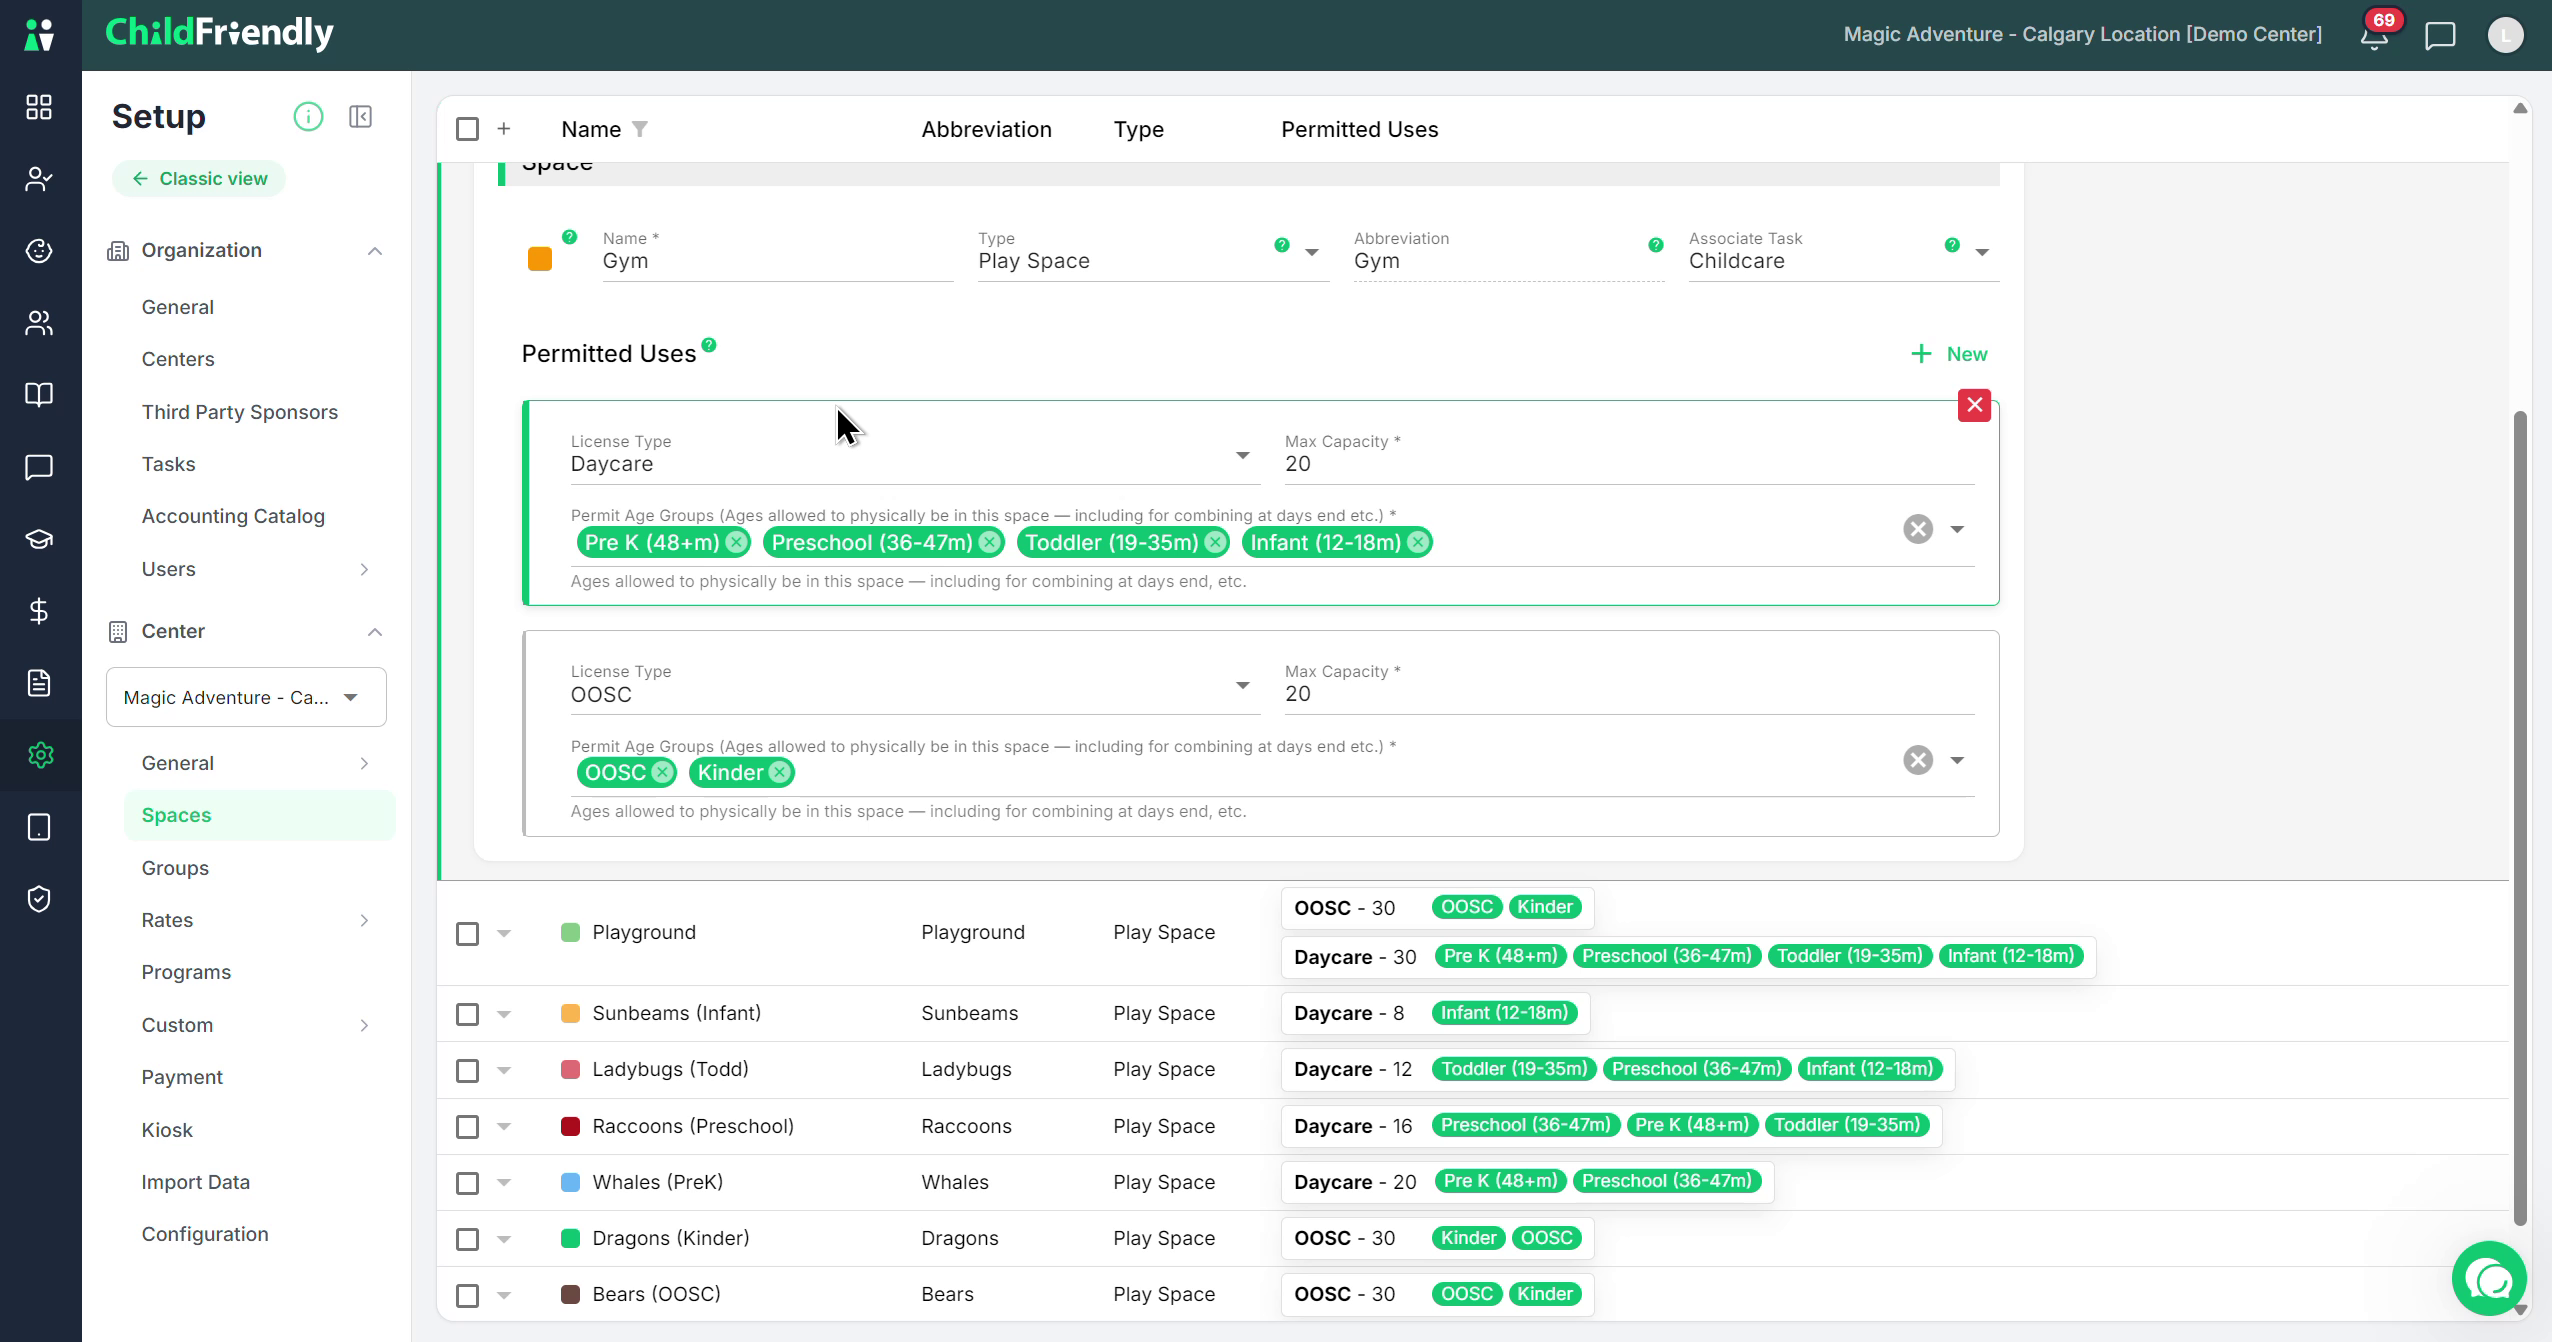
Under the daycare license, up to 20 children may be present, and they may come from various age categories. While you may not typically have infants and pre-K together at the same time, the configuration can allow different age groups at different times of day.
Out-of-school care children may also use the Gym at different times, broken down into categories such as Kindergarten and Out-of-School Care, which you previously defined under General → Age Categories.
To manage permitted uses for a space:
Click New to add another permitted use entry.
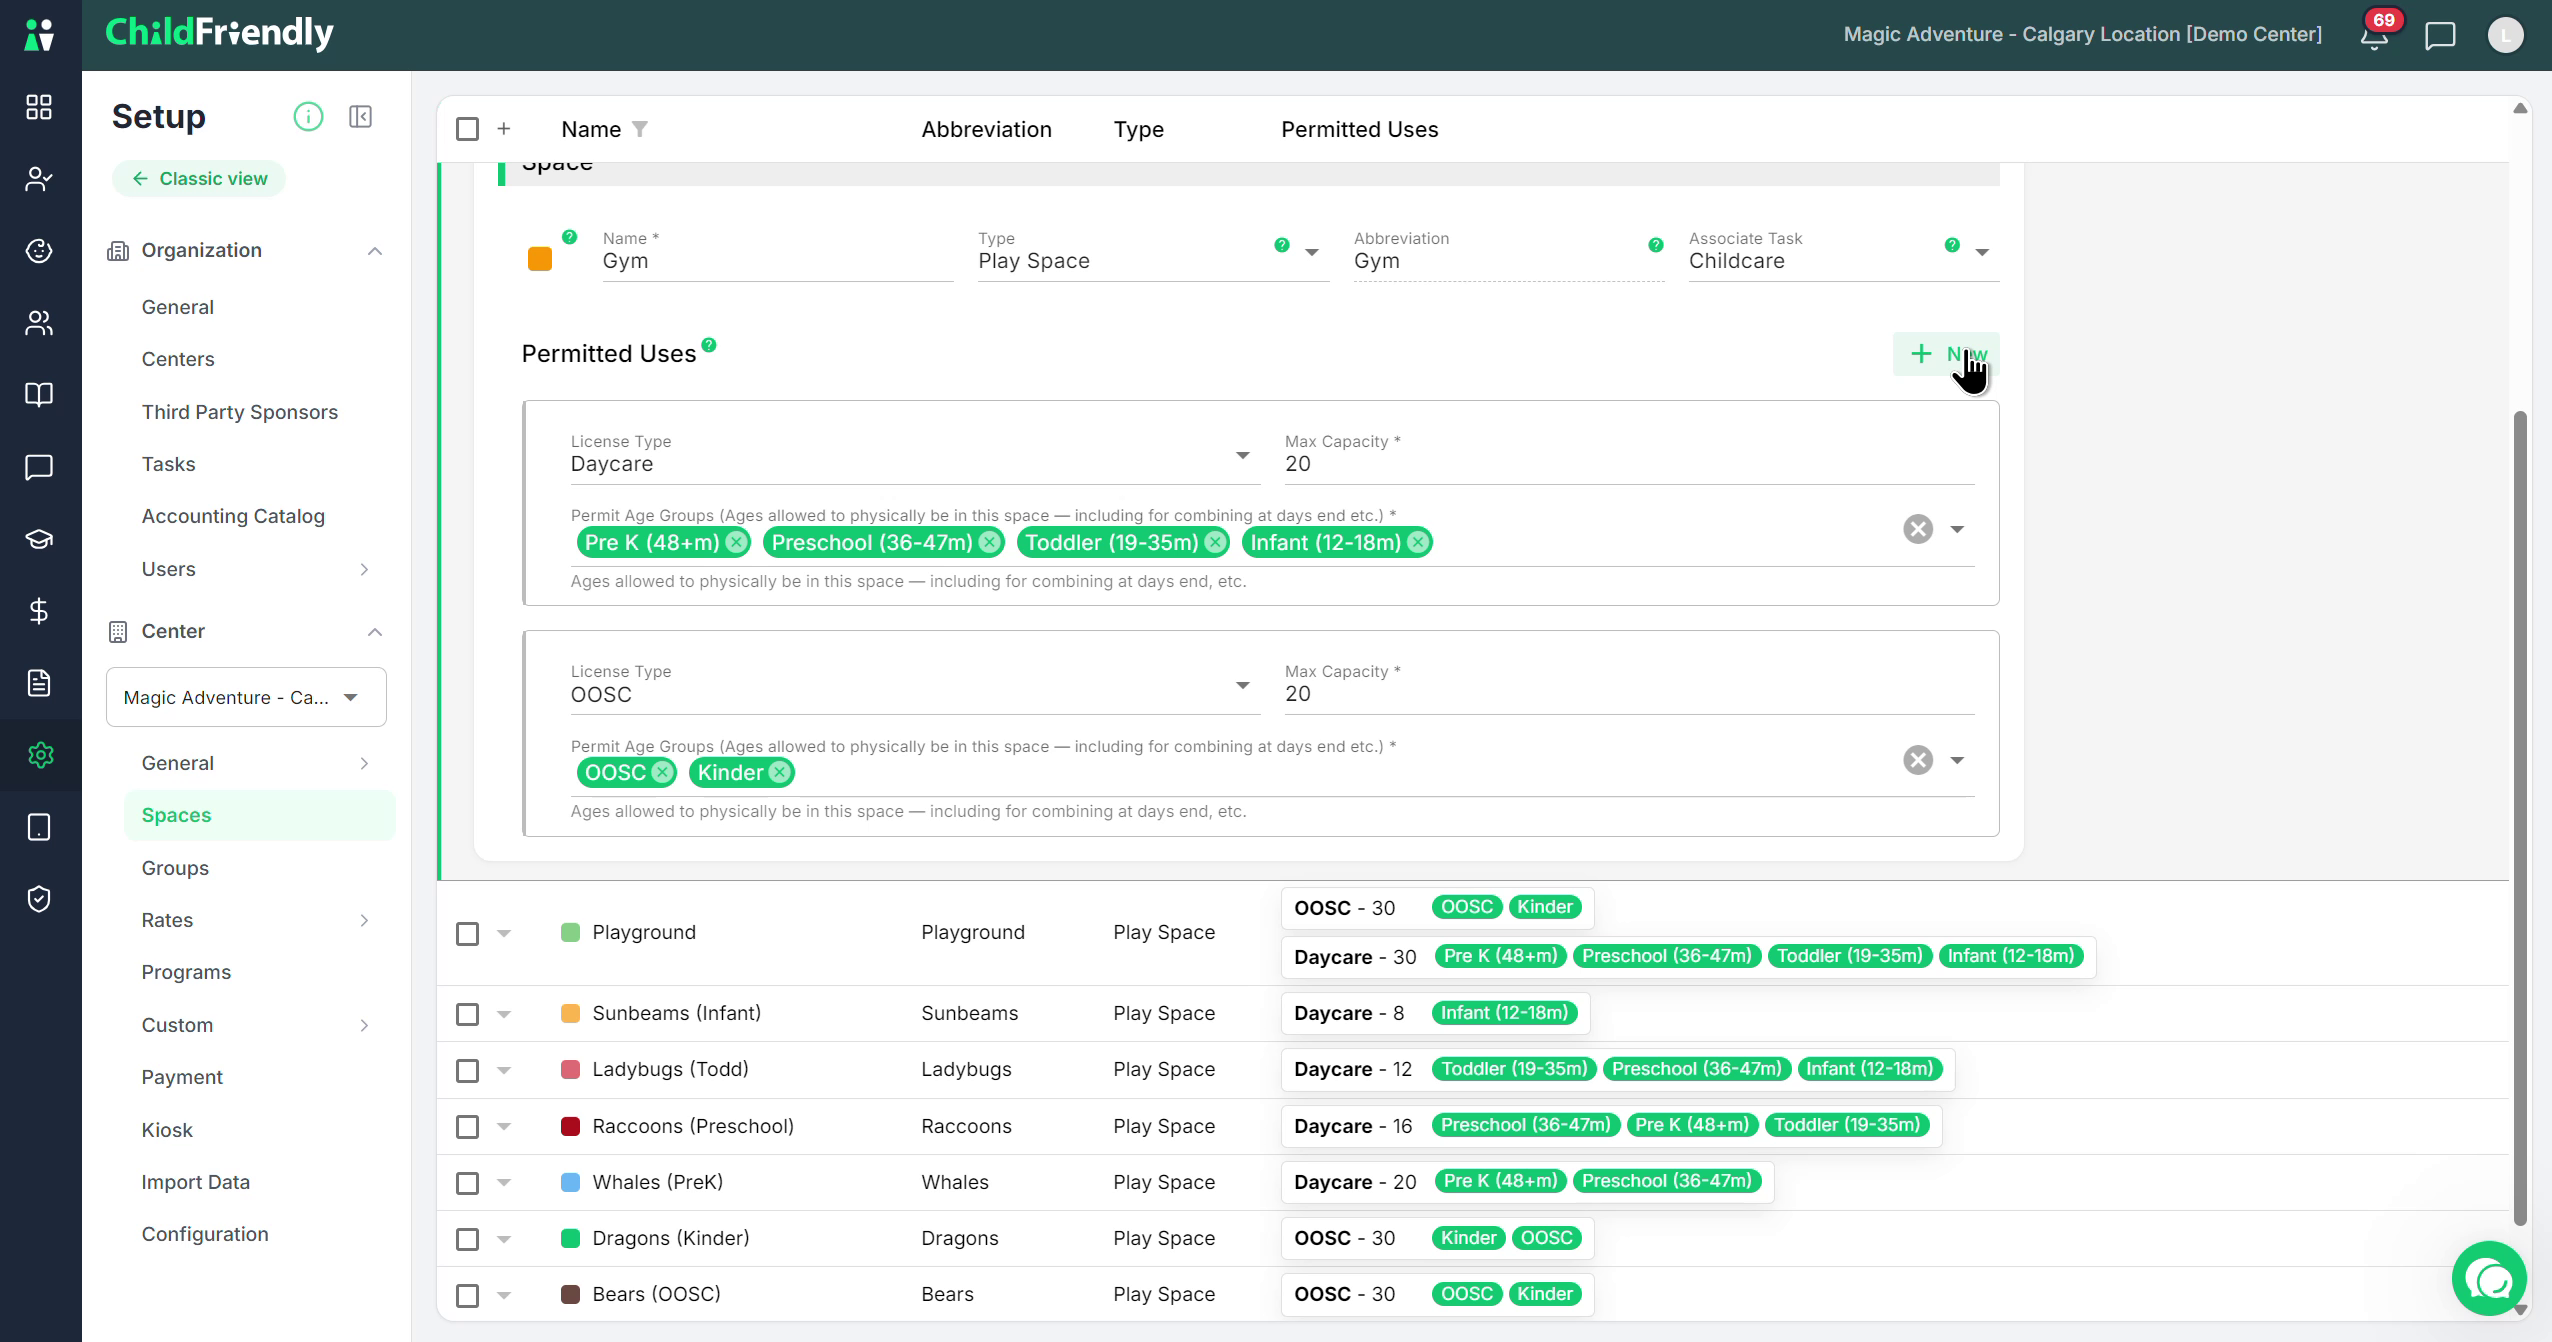
Click the X to remove an existing permitted use.
Note that available license types, age categories, and groups will vary by province or state.