An Overview of the Miscellaneous Reports Available
This document explains how to access and use the Miscellaneous Reports in the Reports module, including student and staff birthdays, age changes, certifications, directories, agreements, permissions, and prospective inquiries. These reports support daily operations, planning, compliance tracking, and record-keeping.
Last updated About 2 months ago
Step 1: Open the Miscellaneous Reports Section
Ensure you are in the Reports module.
Click the Miscellaneous Reports tab at the top.
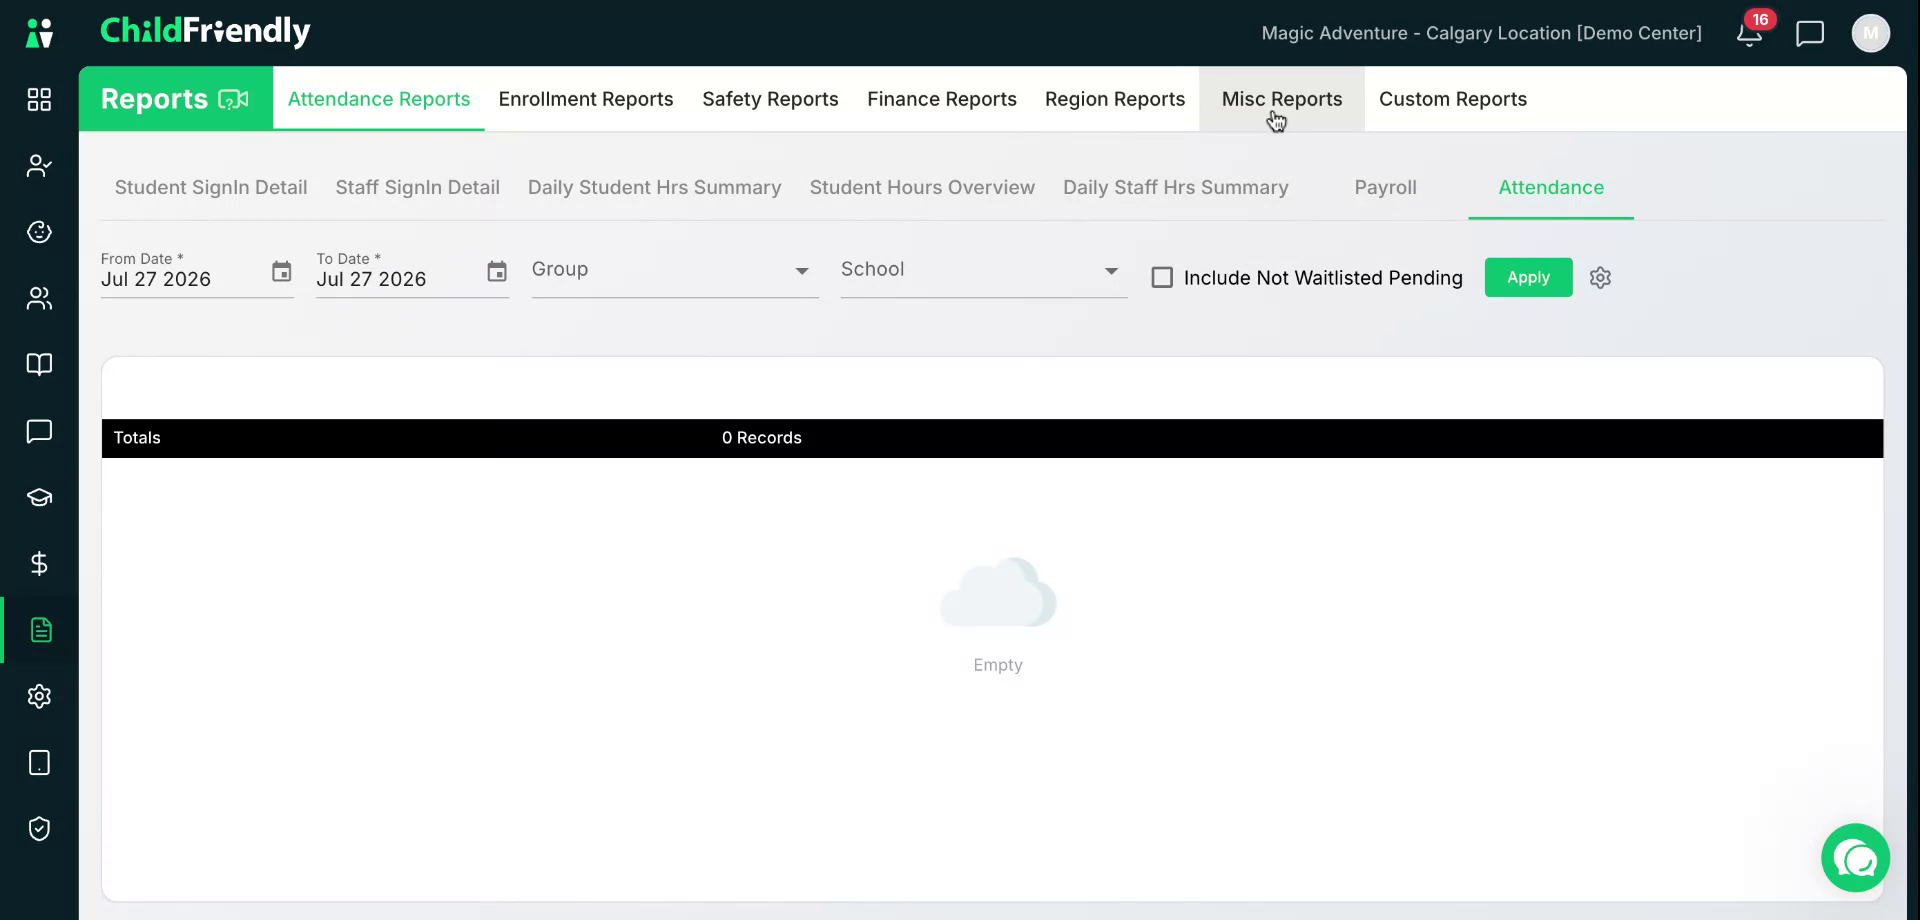
This section contains multiple reports, including Student Age Changes, Student and Staff Birthdays, Staff Certification Expiry, Student and Staff Directories, Member PIN, Agreements Signed, Permission Consent, and Prospective.
Step 2: Use the Student Age Changes Report
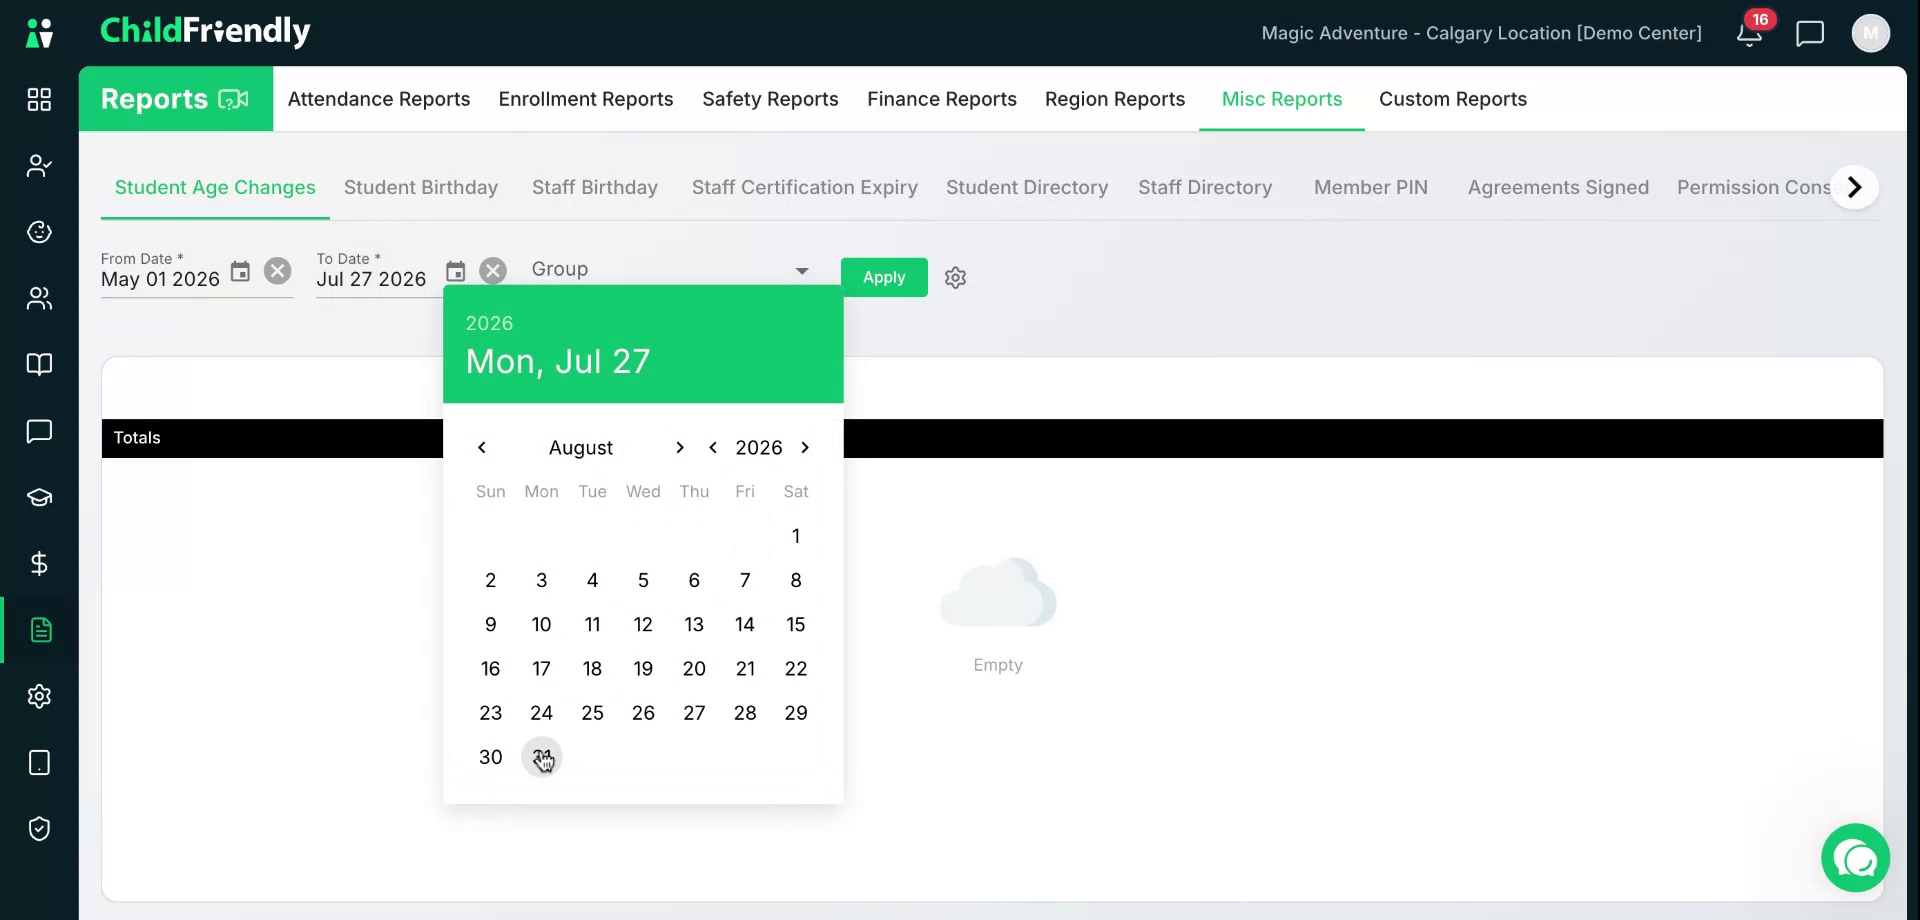
Open the Student Age Changes report to see students whose ages will change within a selected date range, helping you plan program transitions.
Select your date range.
Then click Apply.
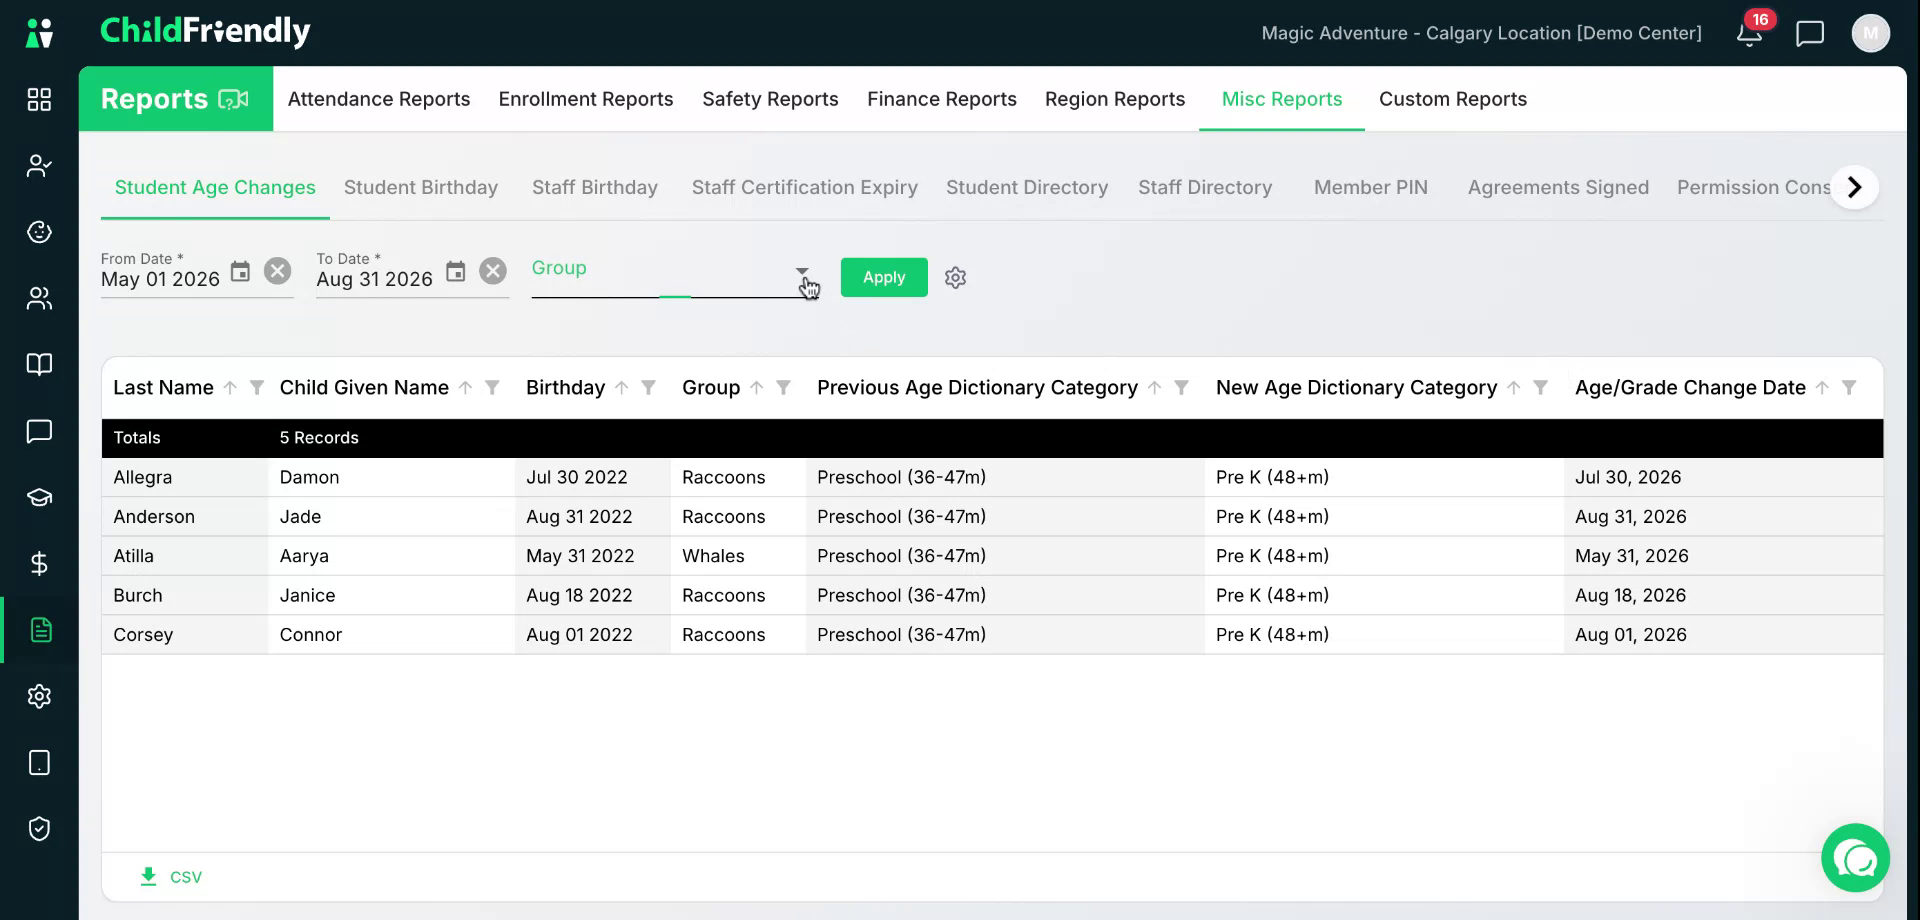
A list of children whose age is changing within your selected date range will display, including:
Child’s name and birthday
Current group
Current and new age dictionary categories
Date their age is changing
You can further filter this report by group if preferred.
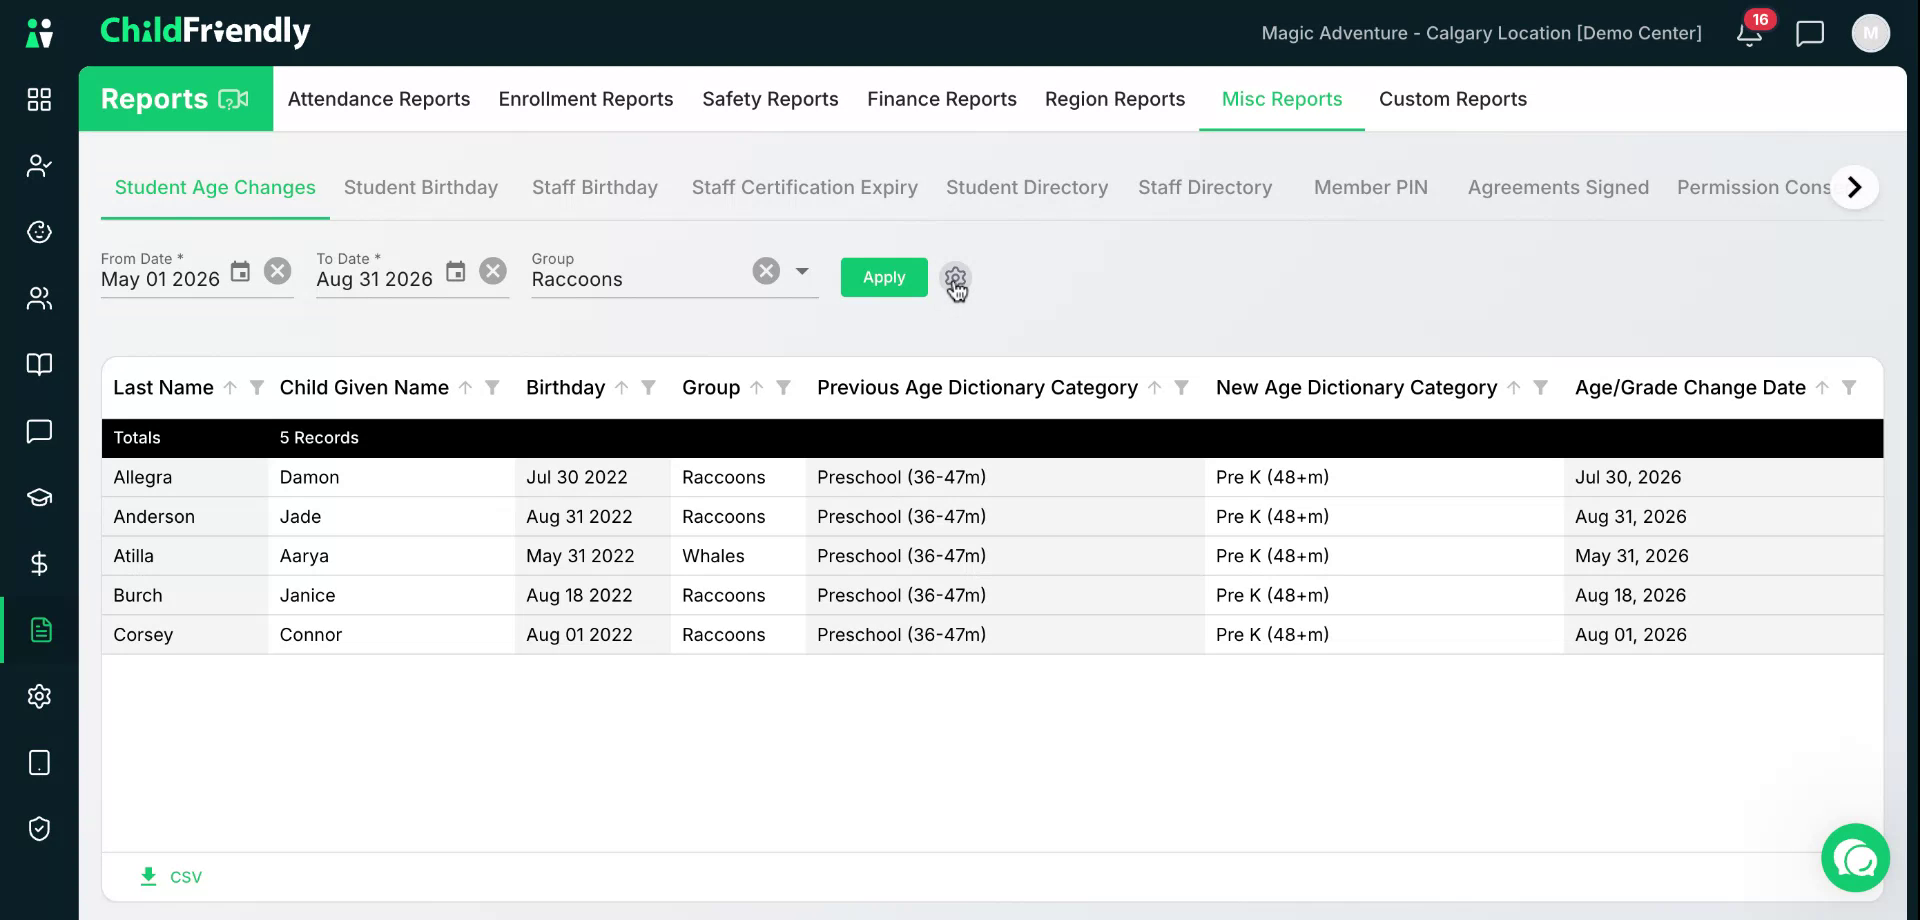
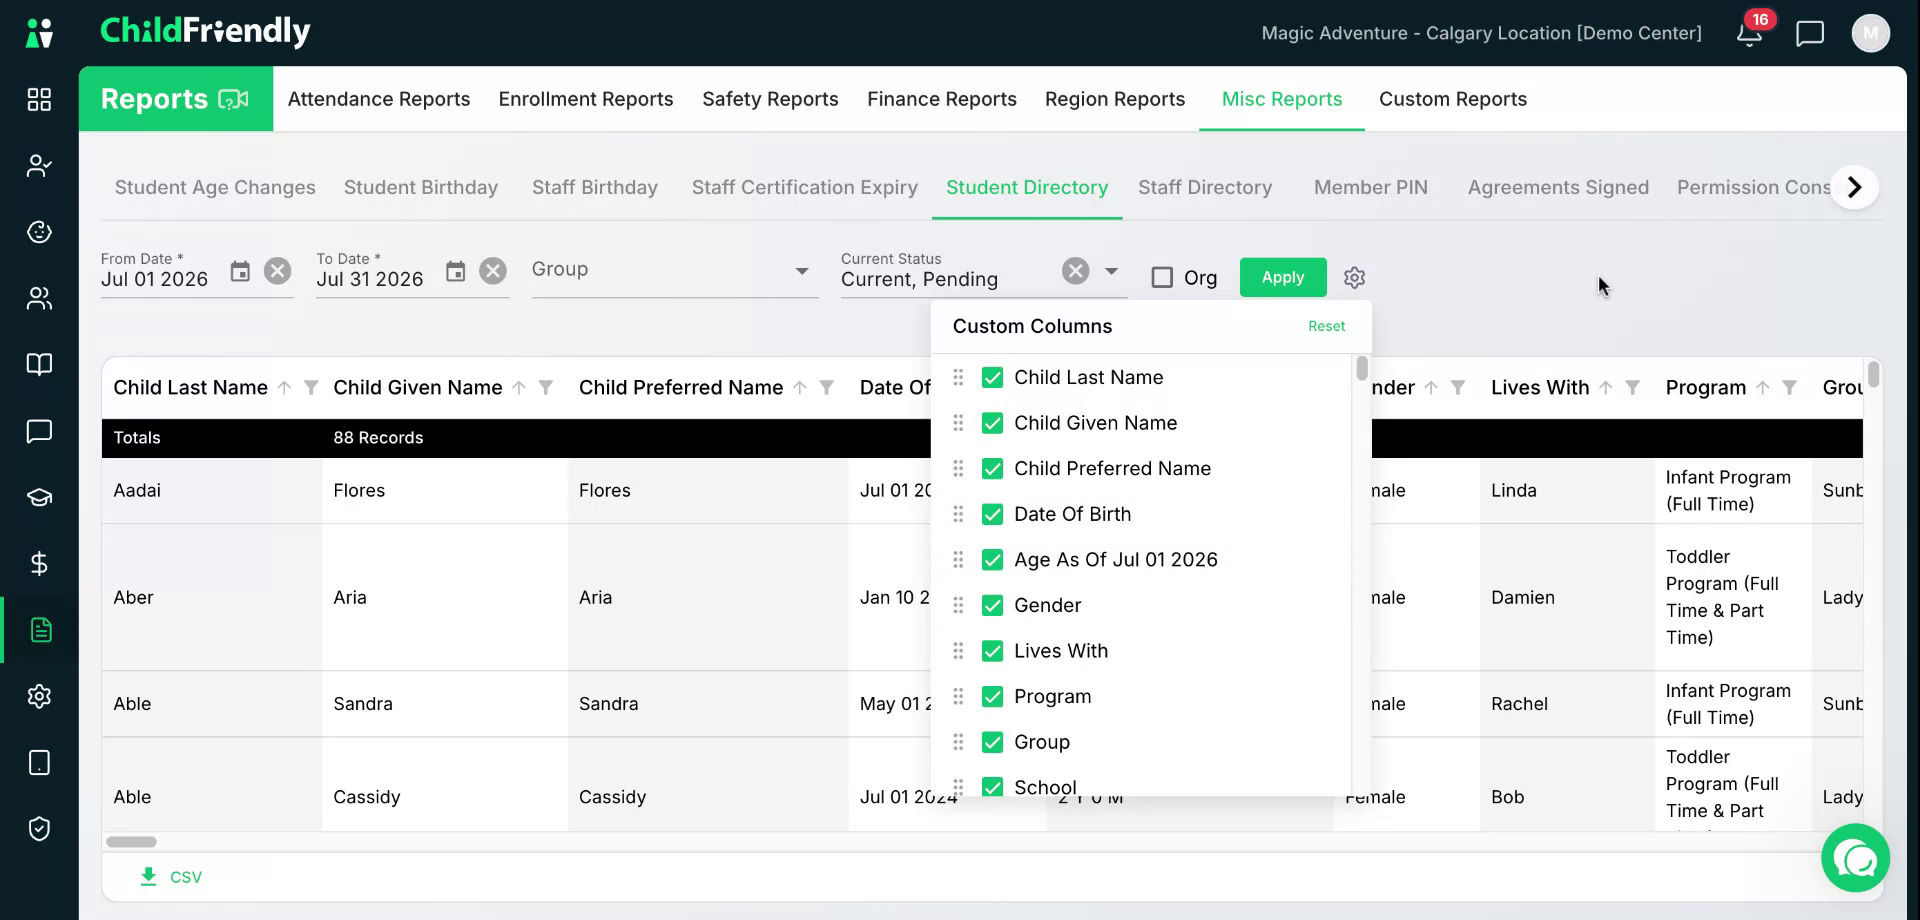
With any report, you can also use the Settings tab to adjust which columns are shown as well as their order.
For example, you can remove the Group column, and it will disappear immediately.
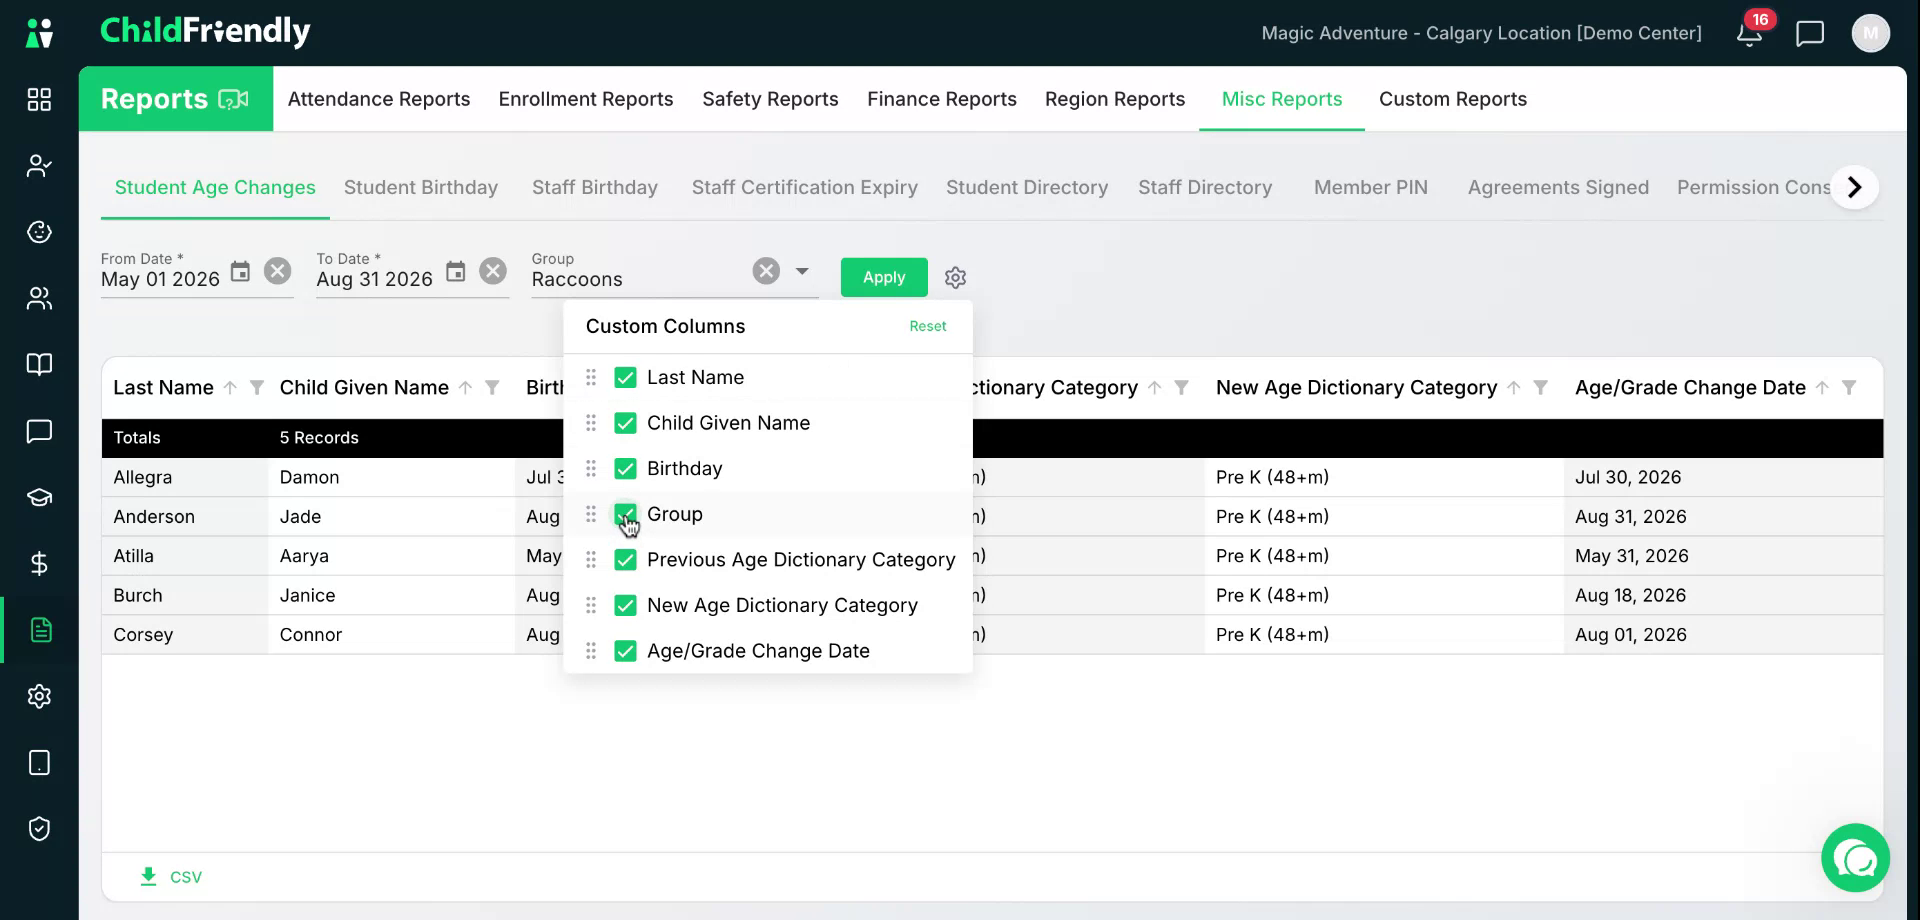
You can also reorder columns, such as placing First Name before Last Name.
Step 3: Use the Student Birthday Report
Open the Student Birthday Report to view upcoming student birthdays and support birthday planning.
Choose the date range you wish to view birthdays for (e.g., for the month of August only).
This helps you plan any birthday celebrations.
Once your date range is selected, click Apply.
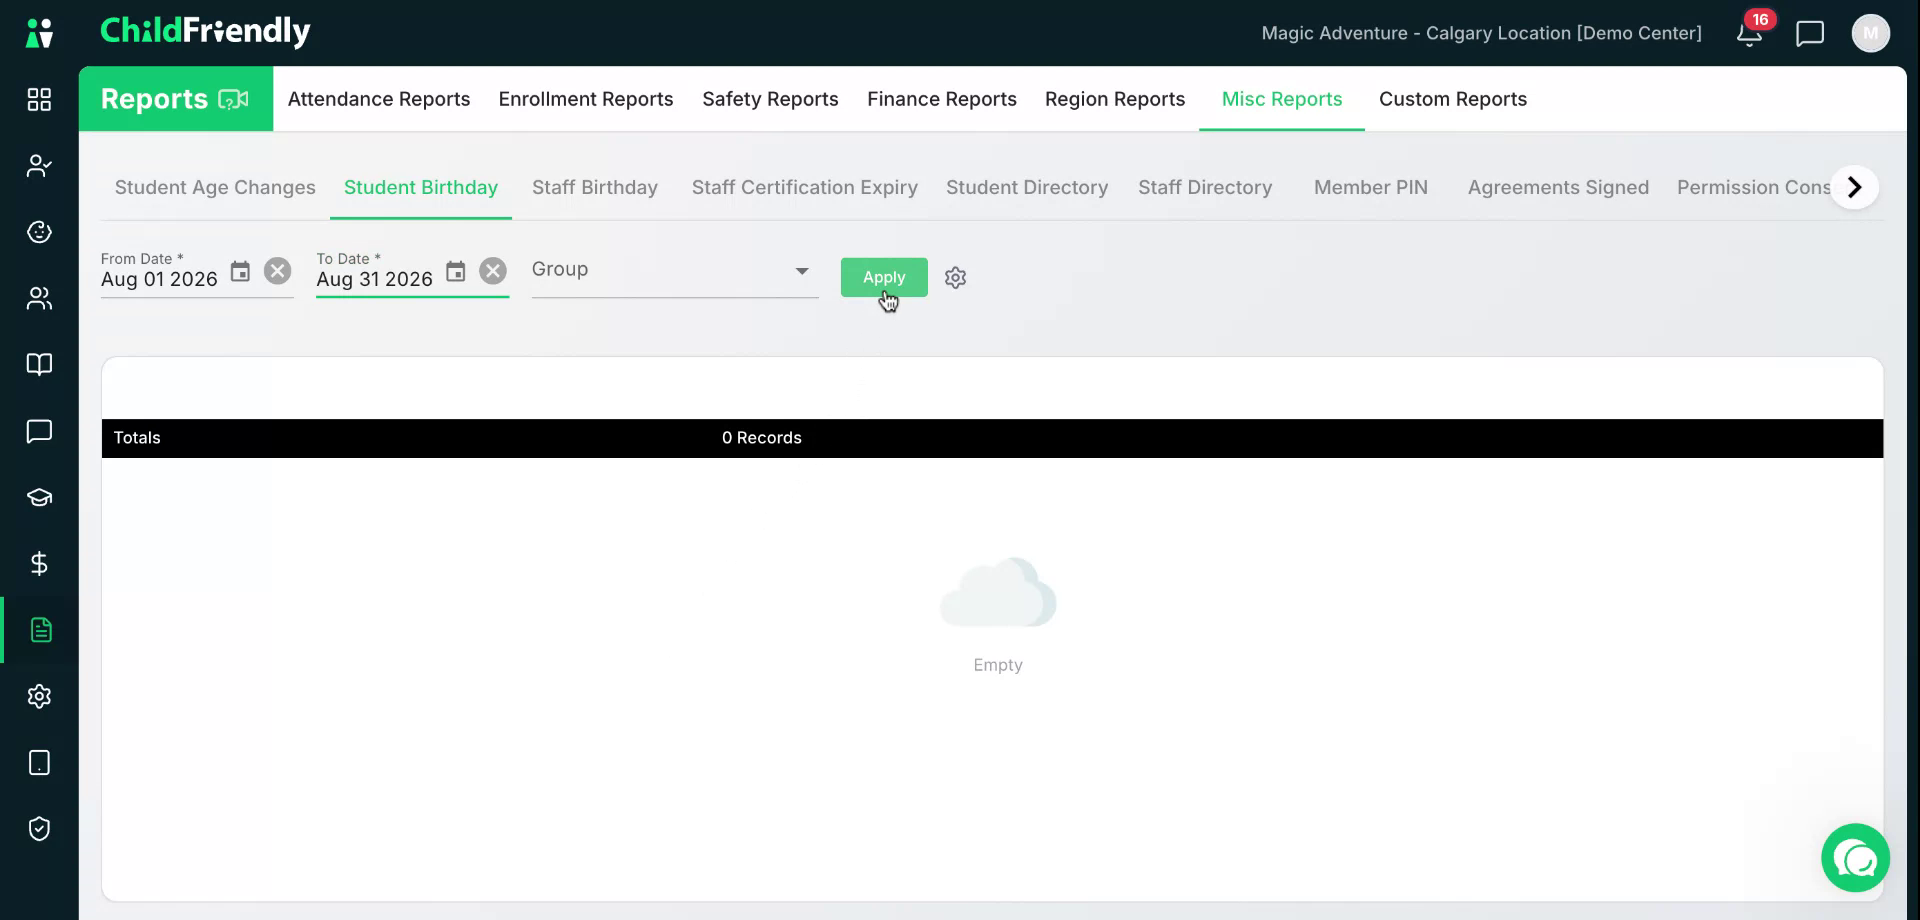
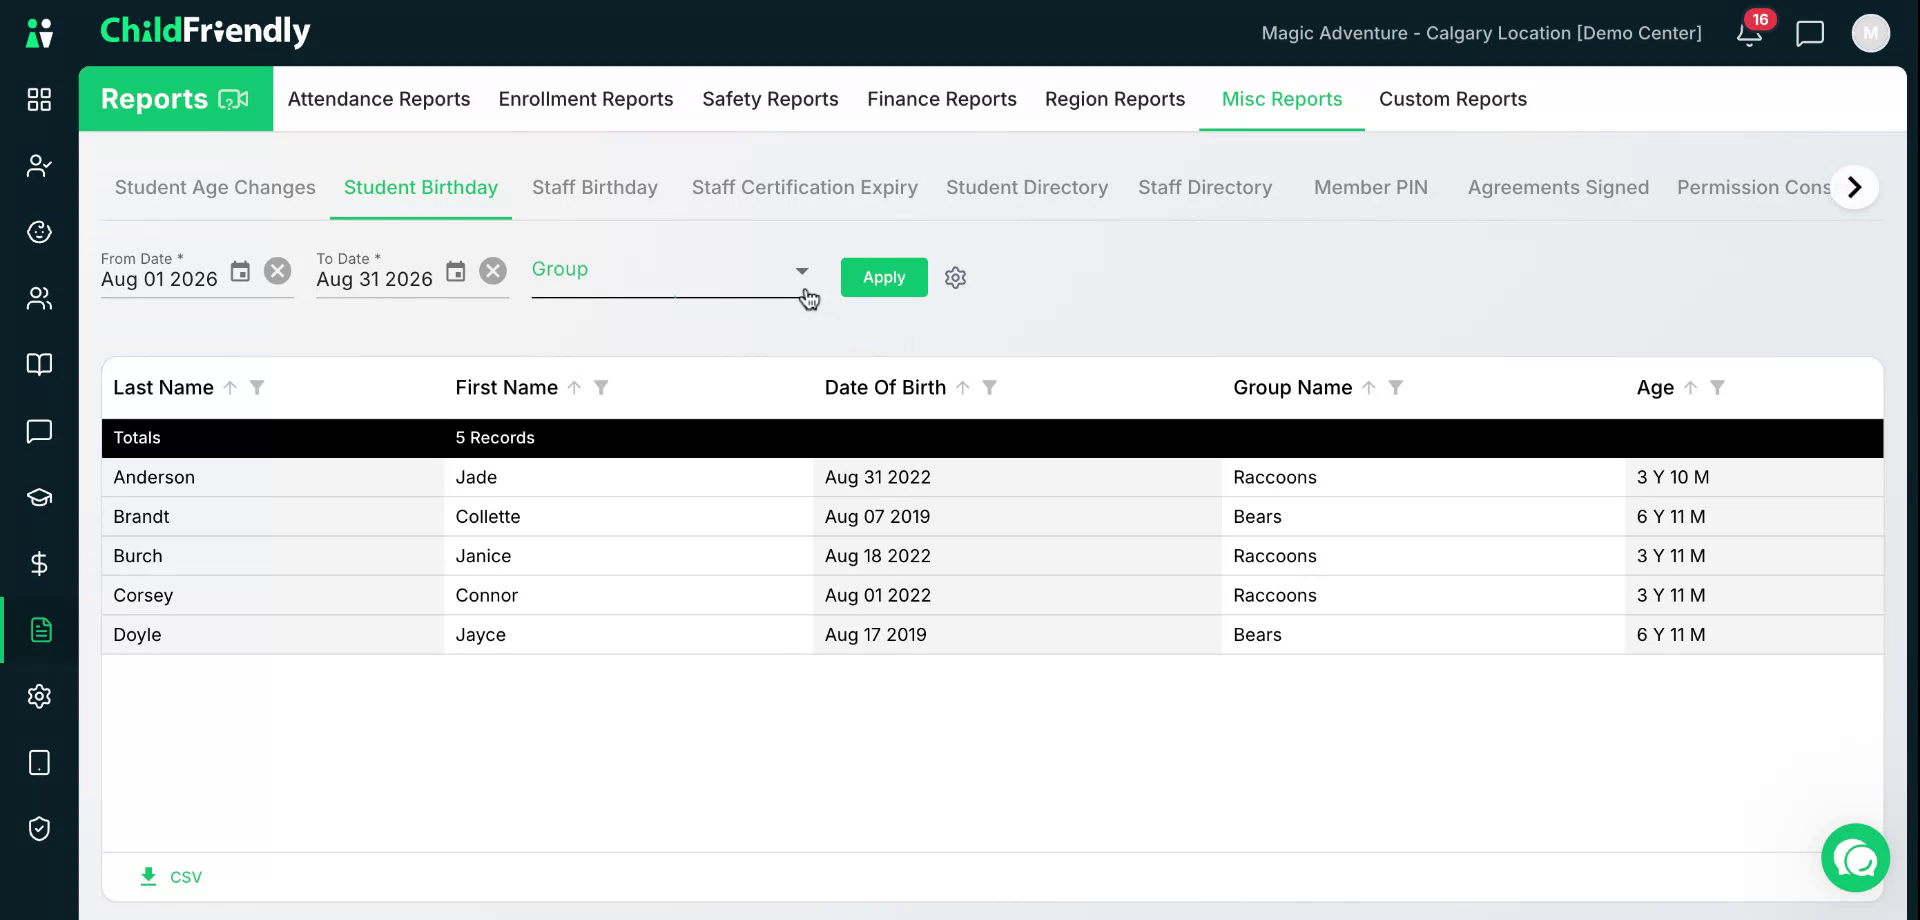
You will see children with birthdays in the selected period, including their group name and age. The Settings icon is available on this and every report to adjust columns. You can also filter this report by group.
Step 4: Use the Staff Birthday Report
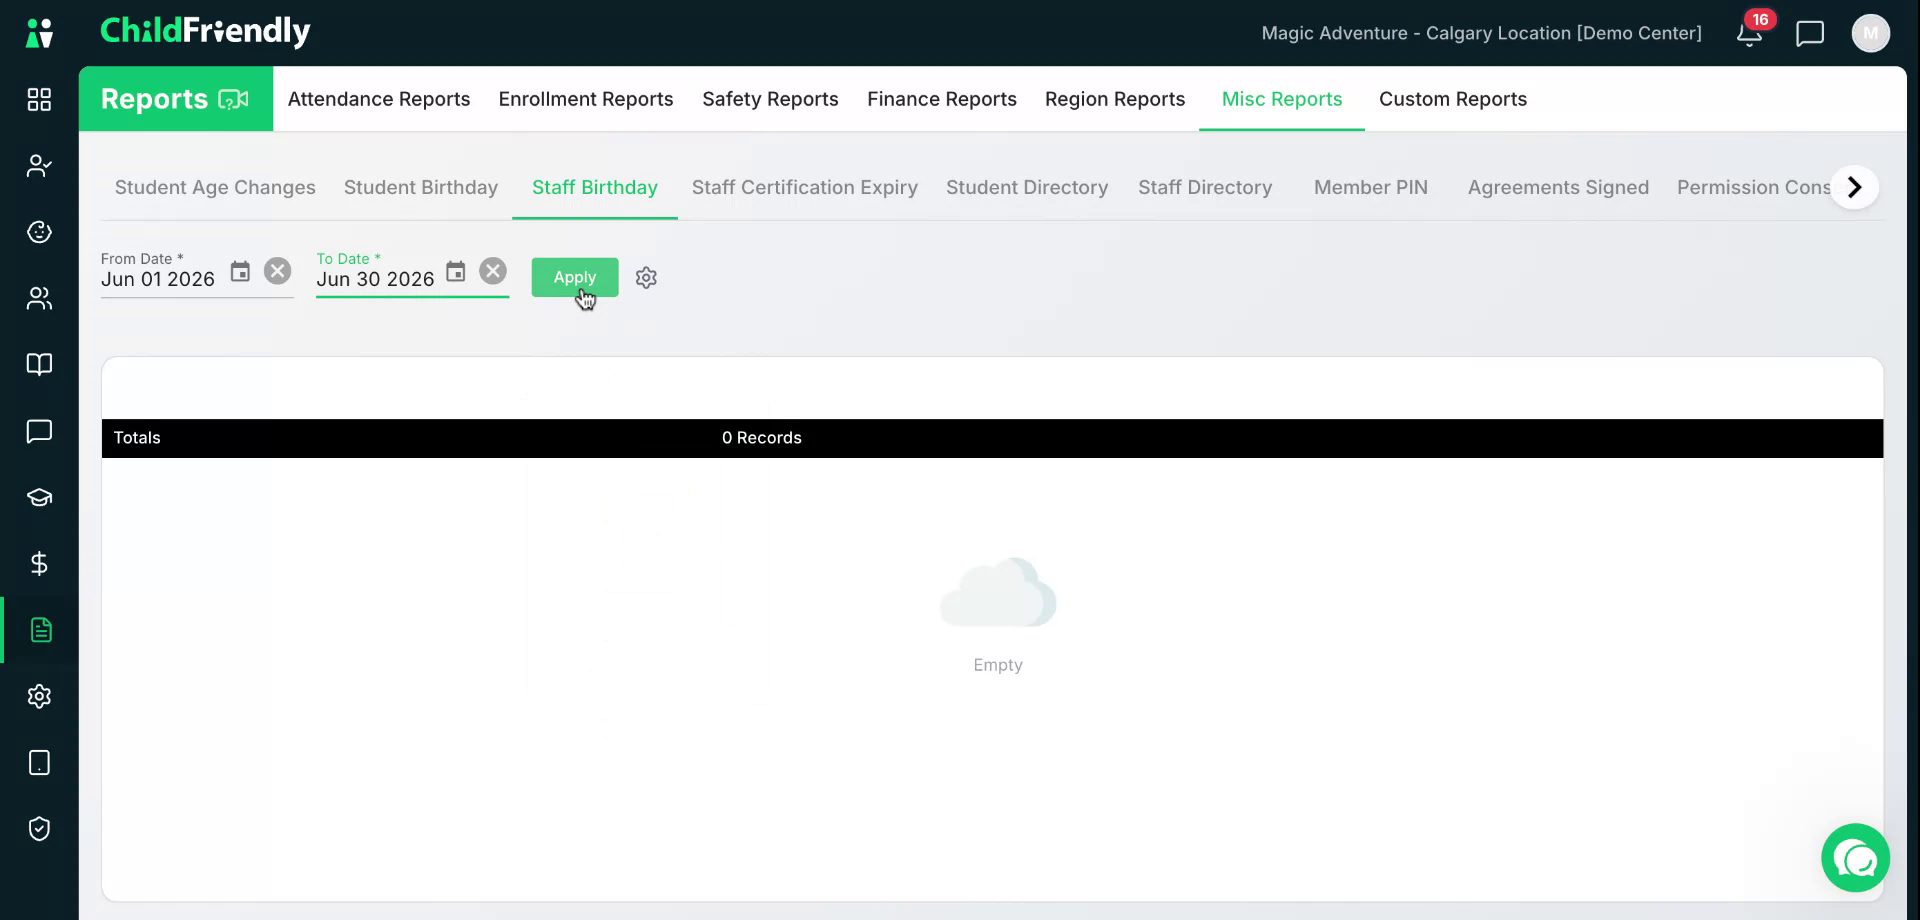
Open the Staff Birthday Report to view upcoming staff birthdays for recognition and celebration planning.
You can view any staff members who have birthdays within your selected date range.
This is useful if you would like to celebrate those staff members.
Step 5: Use the Staff Certification Expiry Report
Open the Staff Certification Expiry Report to track upcoming expirations of staff certifications (e.g., First Aid, CPR, criminal record checks).
Select your date range to view upcoming expiries.
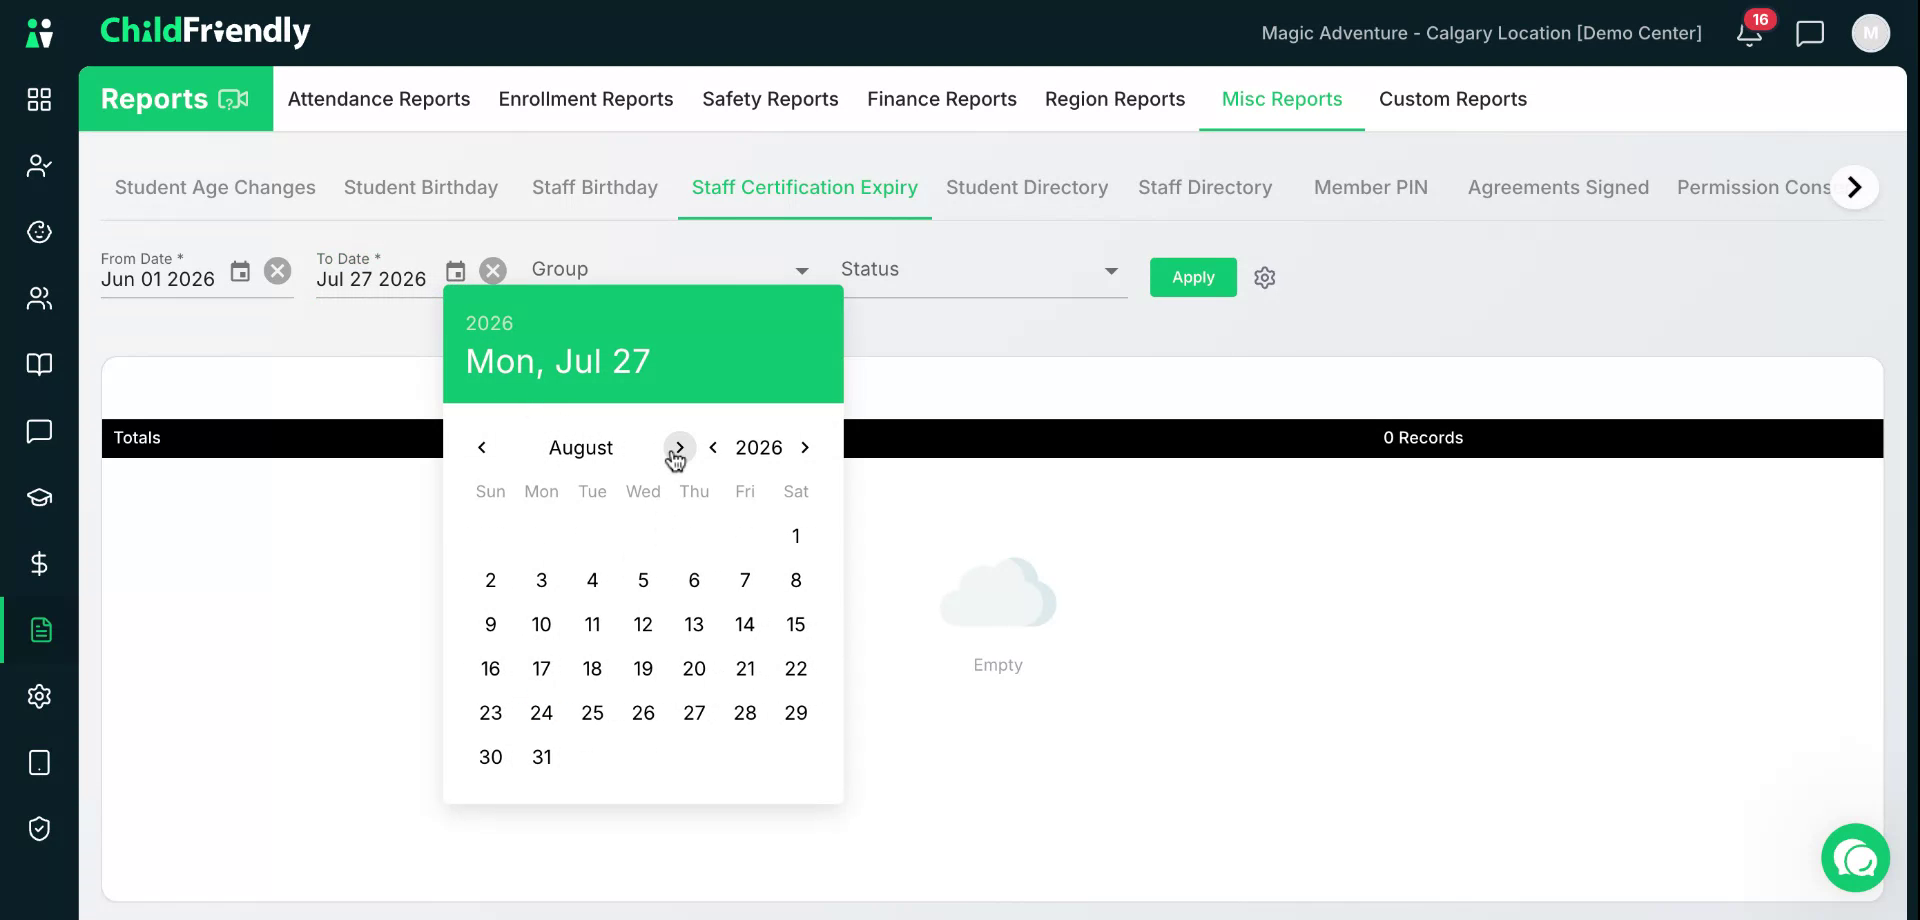
Click Apply.
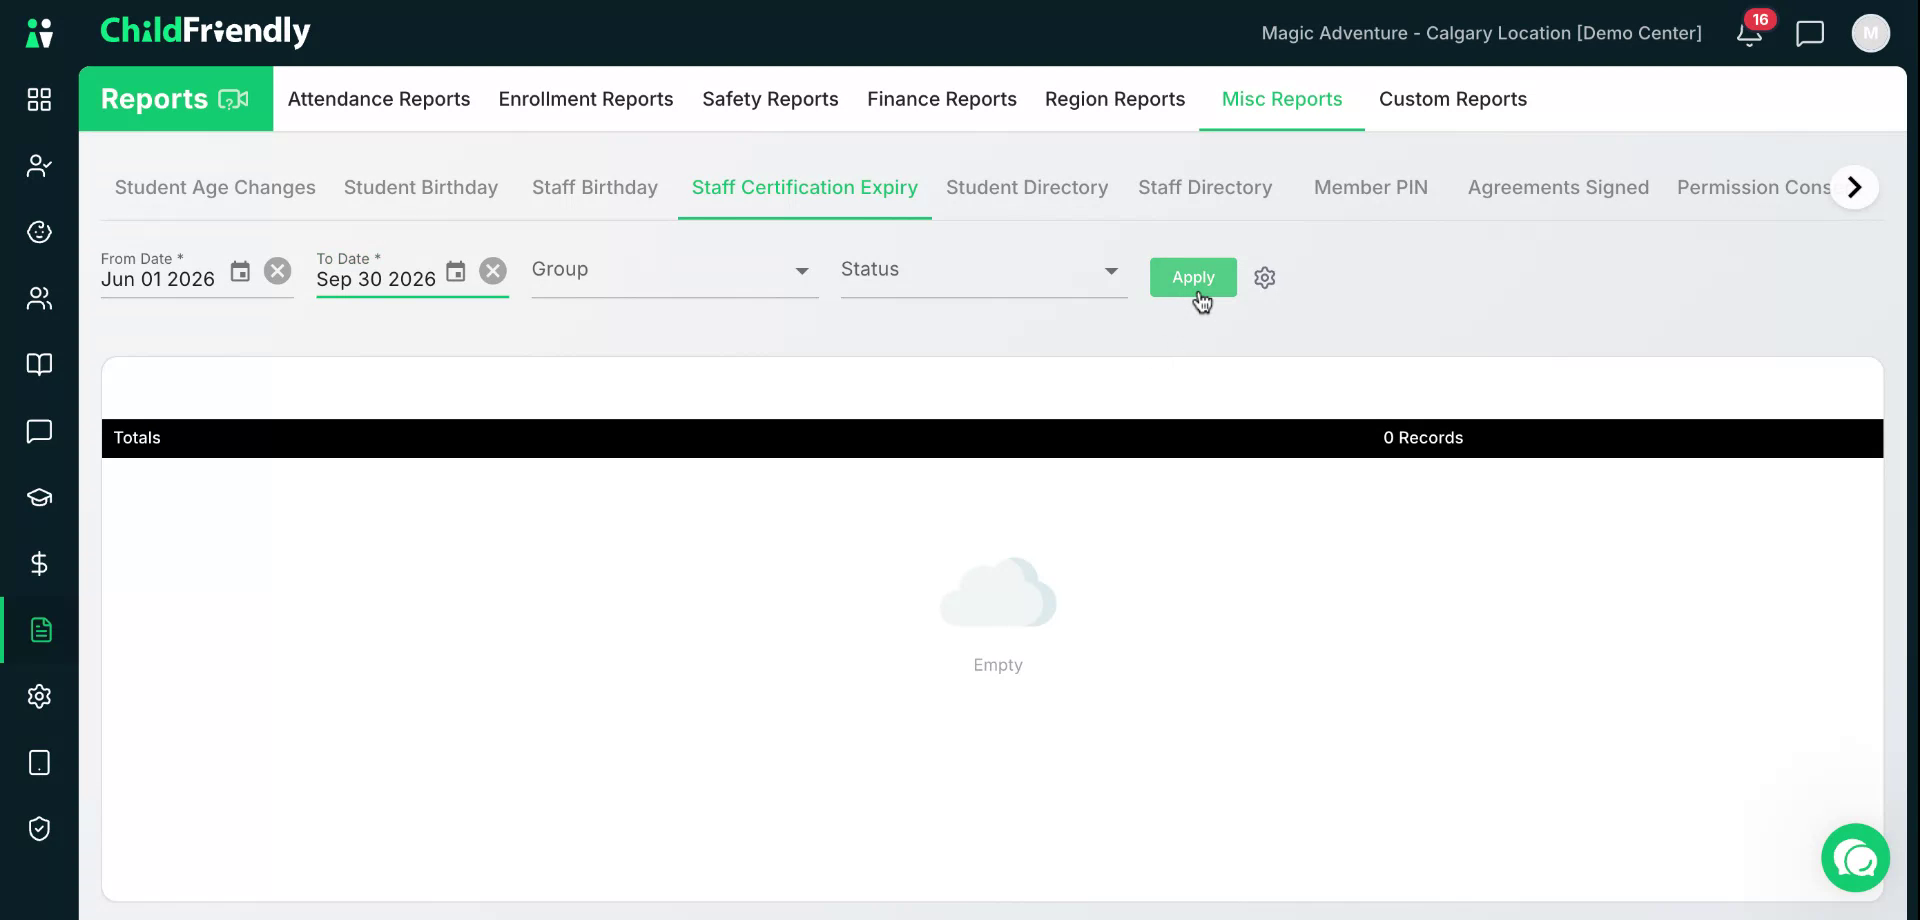
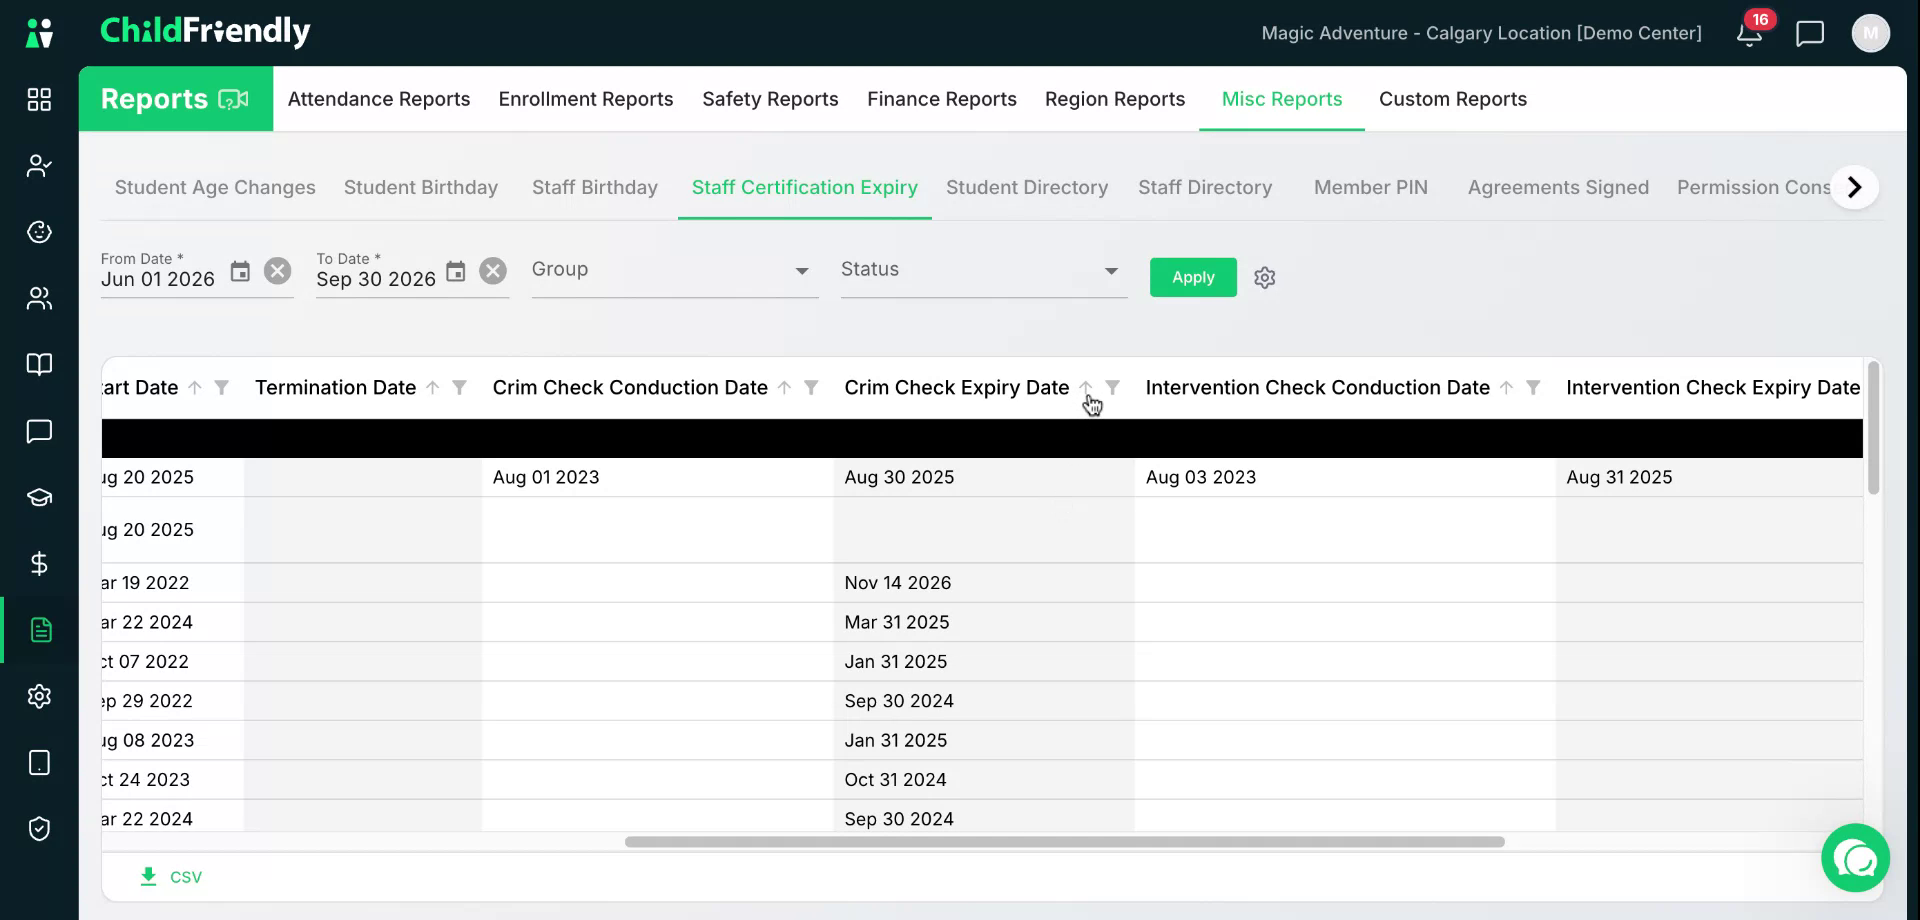
The report displays:
Staff name and date of birth
Group assignment
Certification type
Certification expiry dates
You can filter the list by expiry date (e.g., those expiring soonest) to see what is due first.
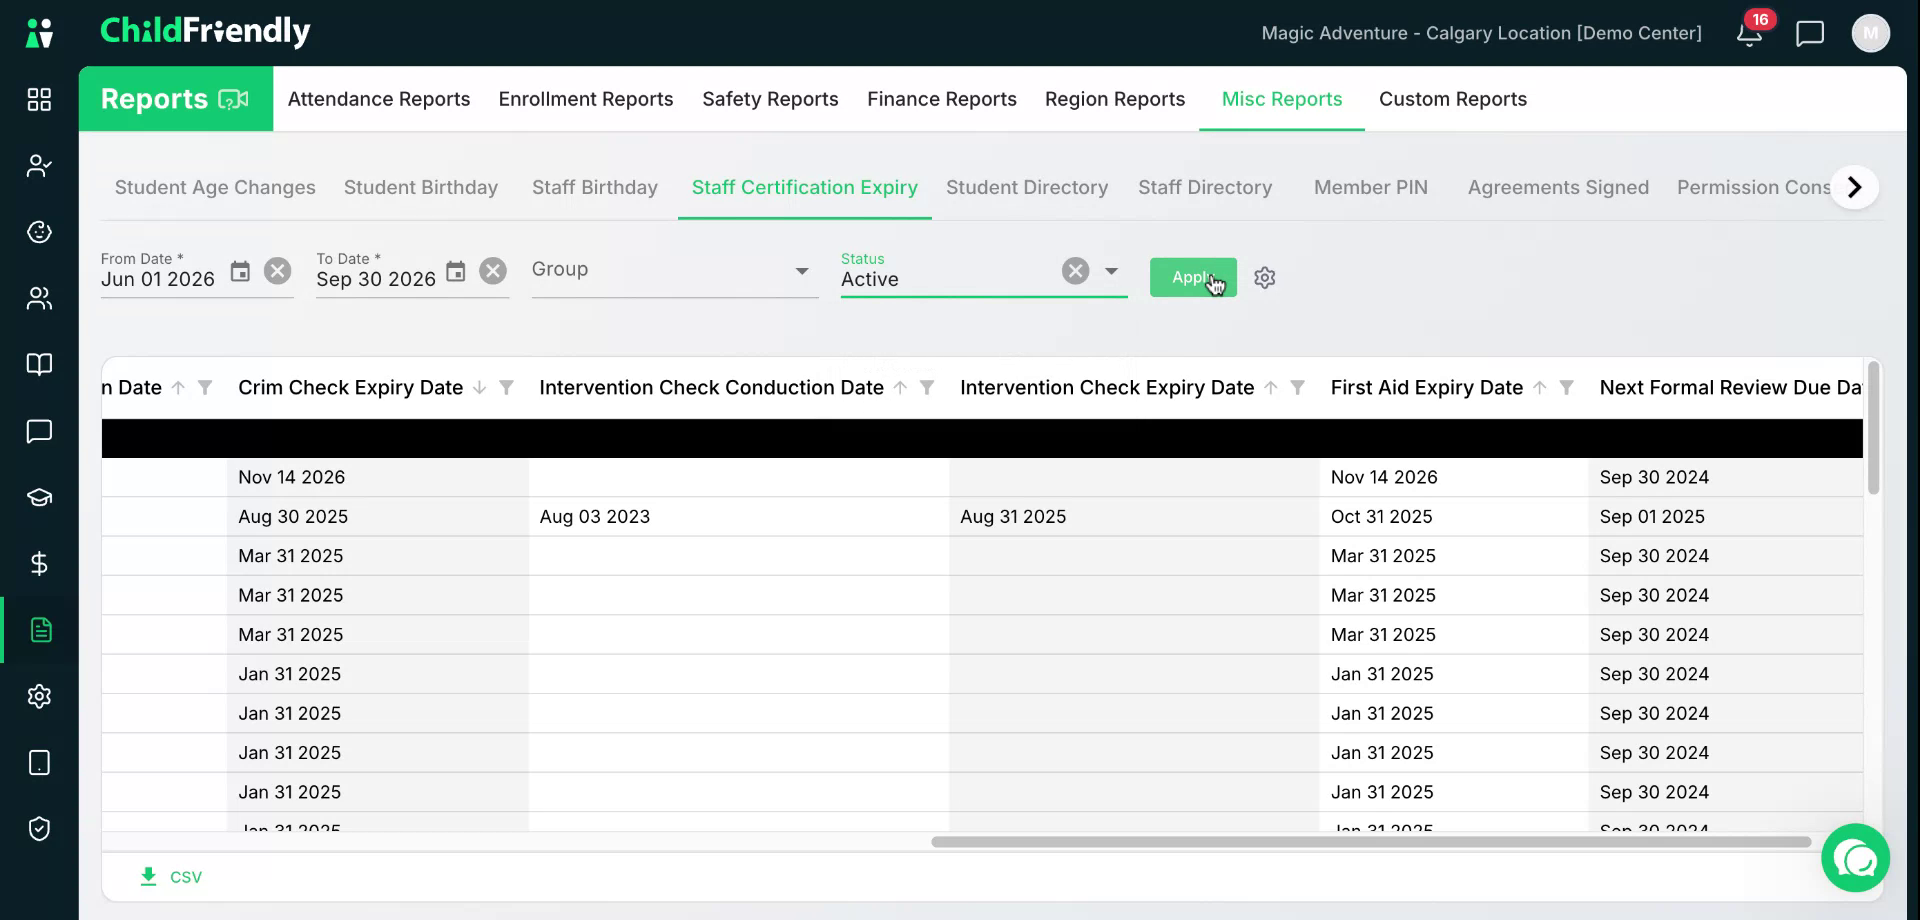
You can also filter by staff status, such as viewing only Active staff.
At any time, you can download this and other reports by clicking the CSV icon in the bottom left to generate an Excel-compatible spreadsheet.
Step 6: Use the Student Directory Report
Open the Student Directory to view detailed information about children currently or historically enrolled.
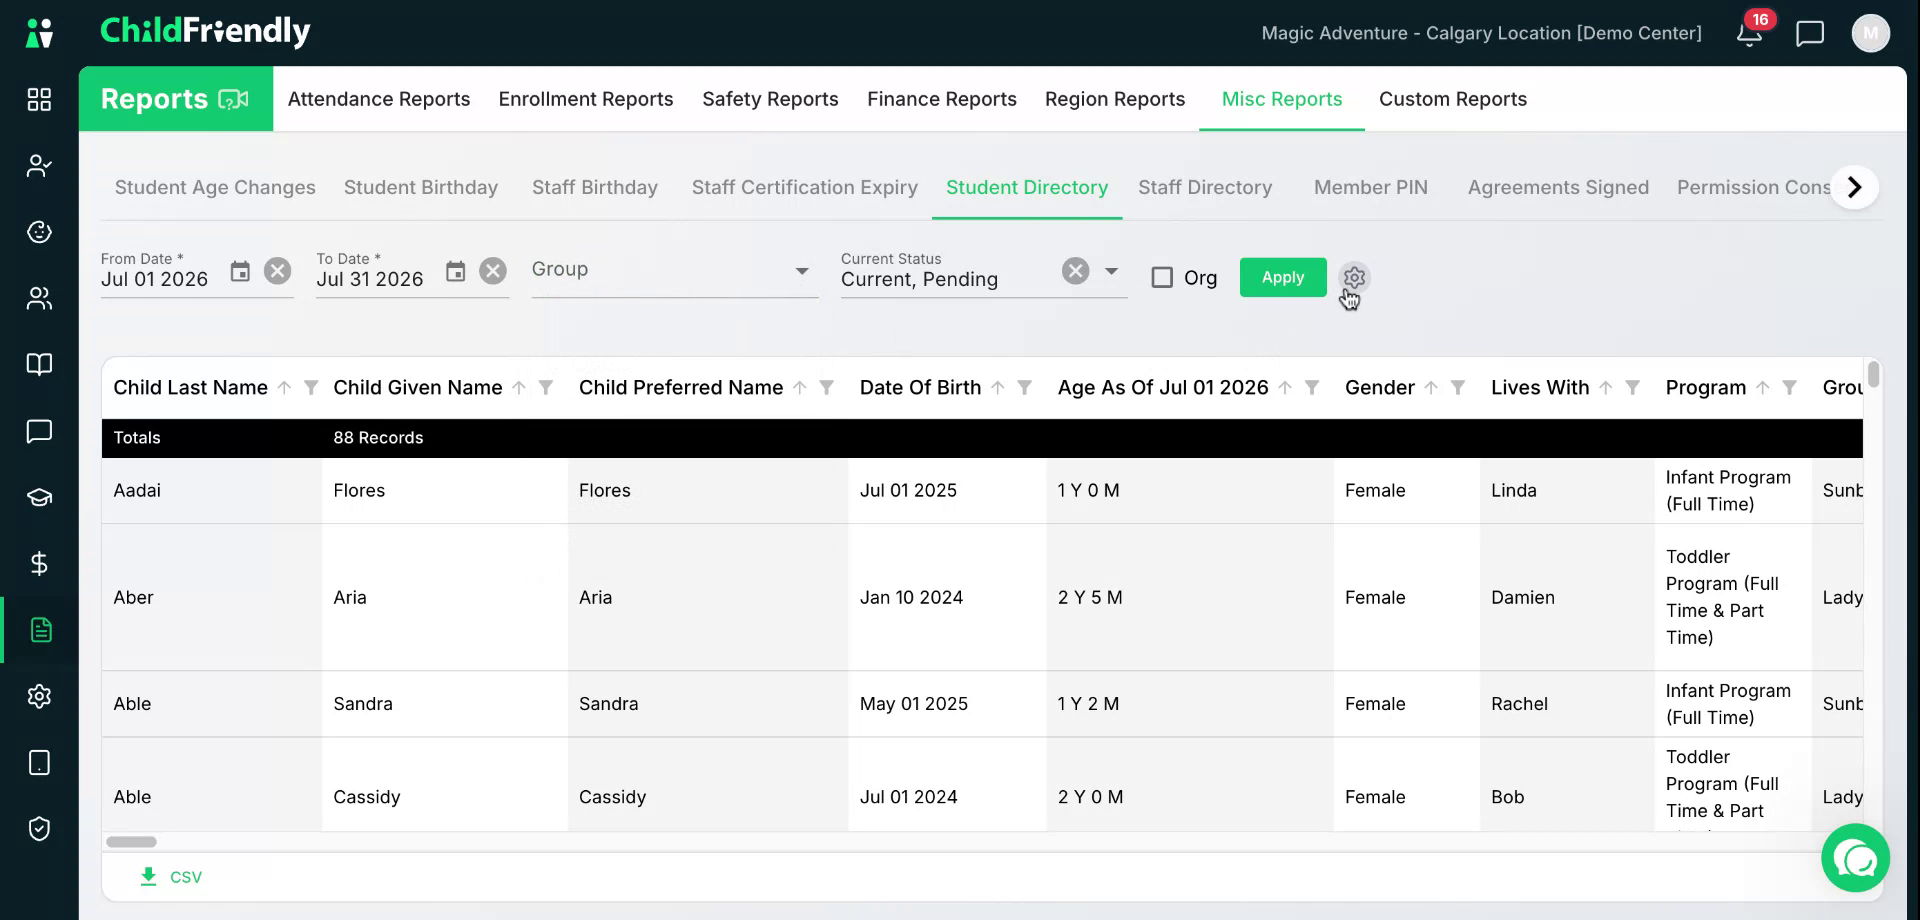
The Student Directory displays a range of information about the children.
Select the date range you wish to view.
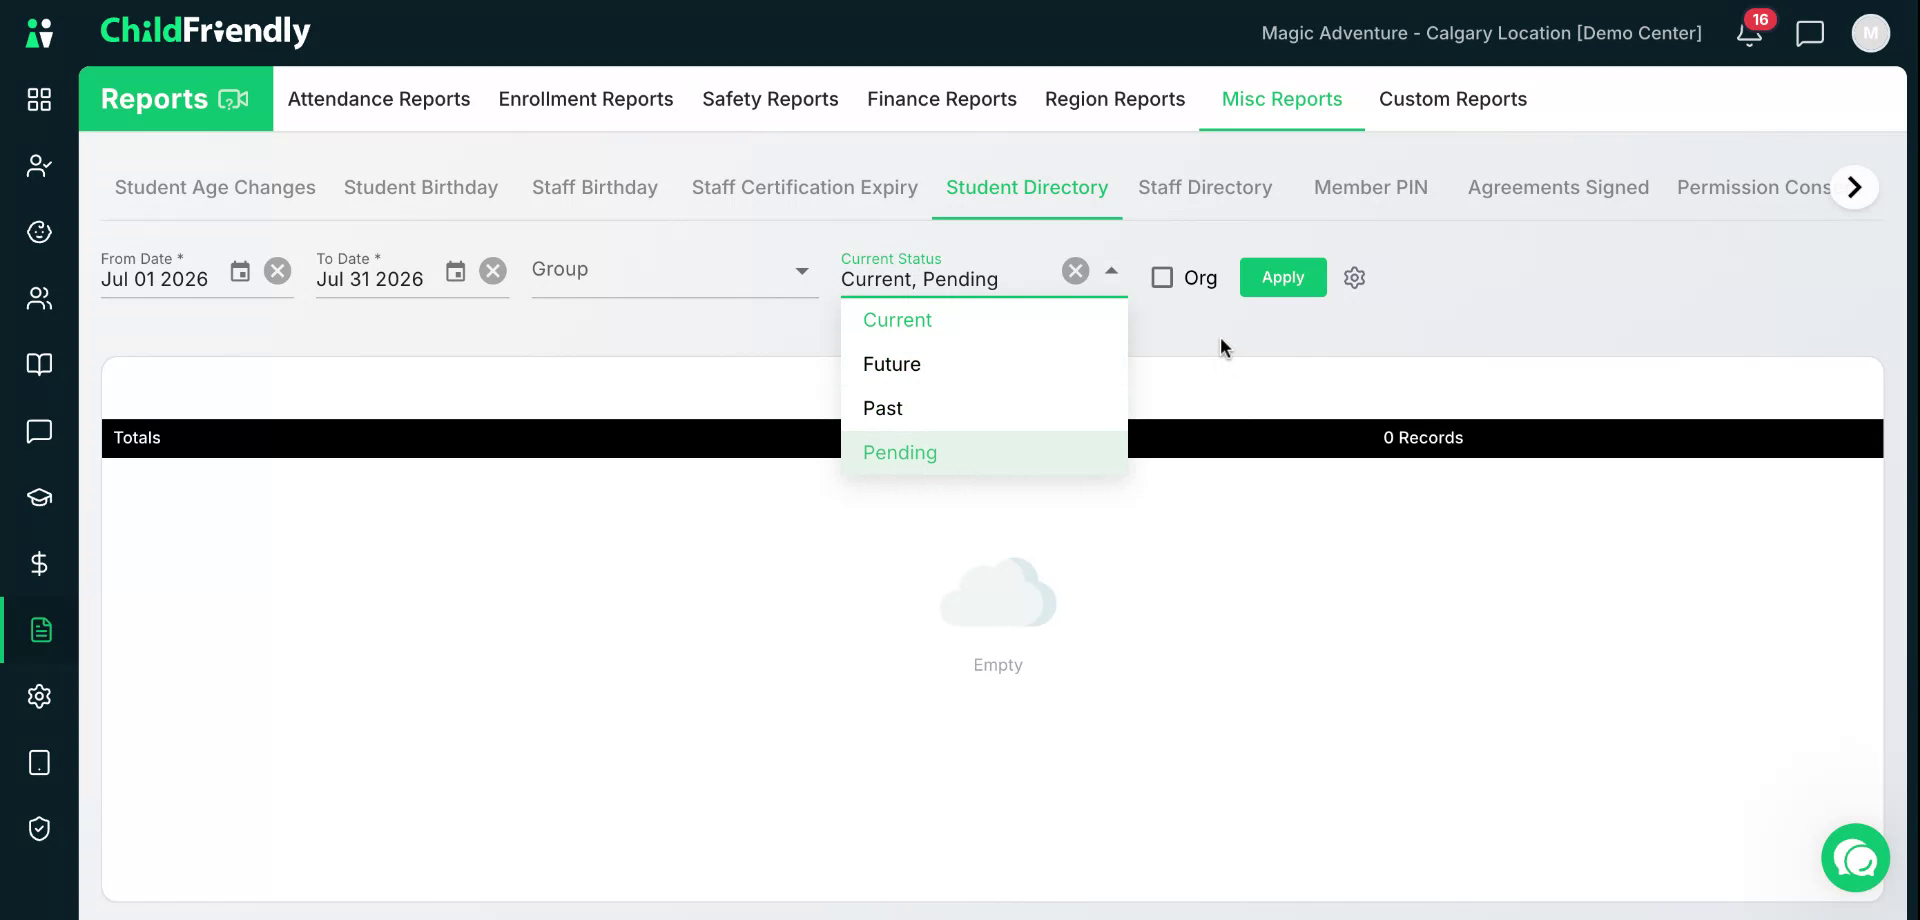
You can filter by student status: current, future, past, or pending.
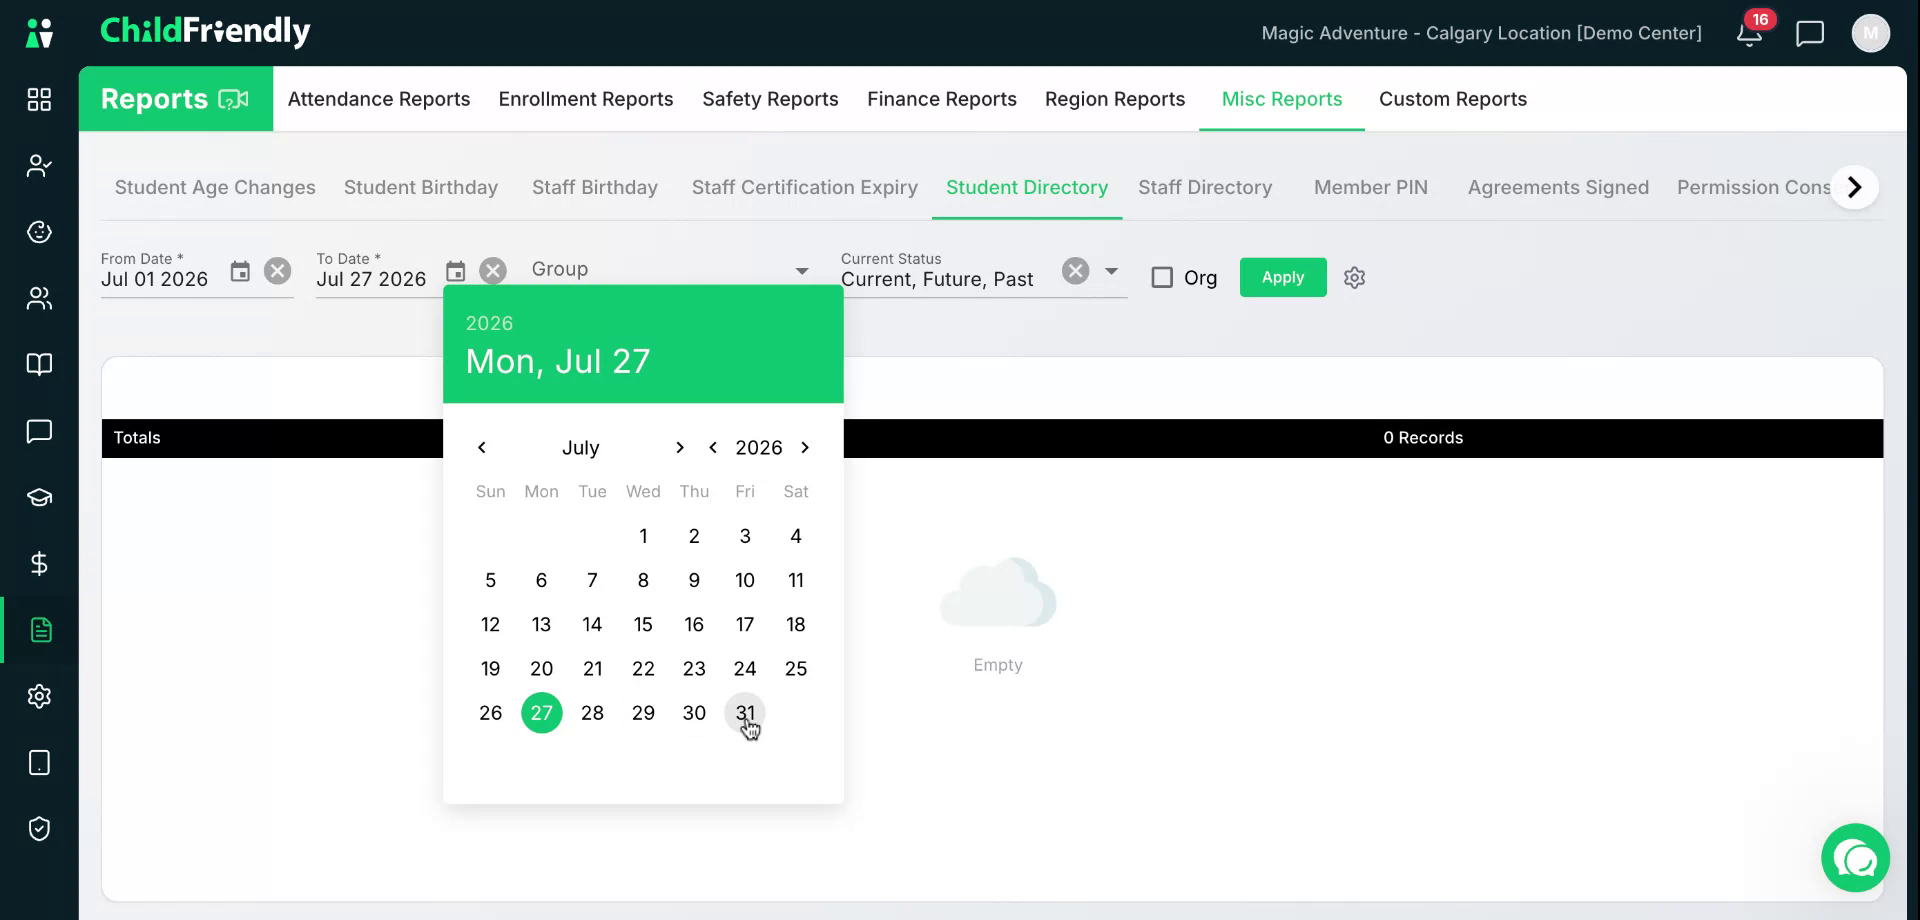
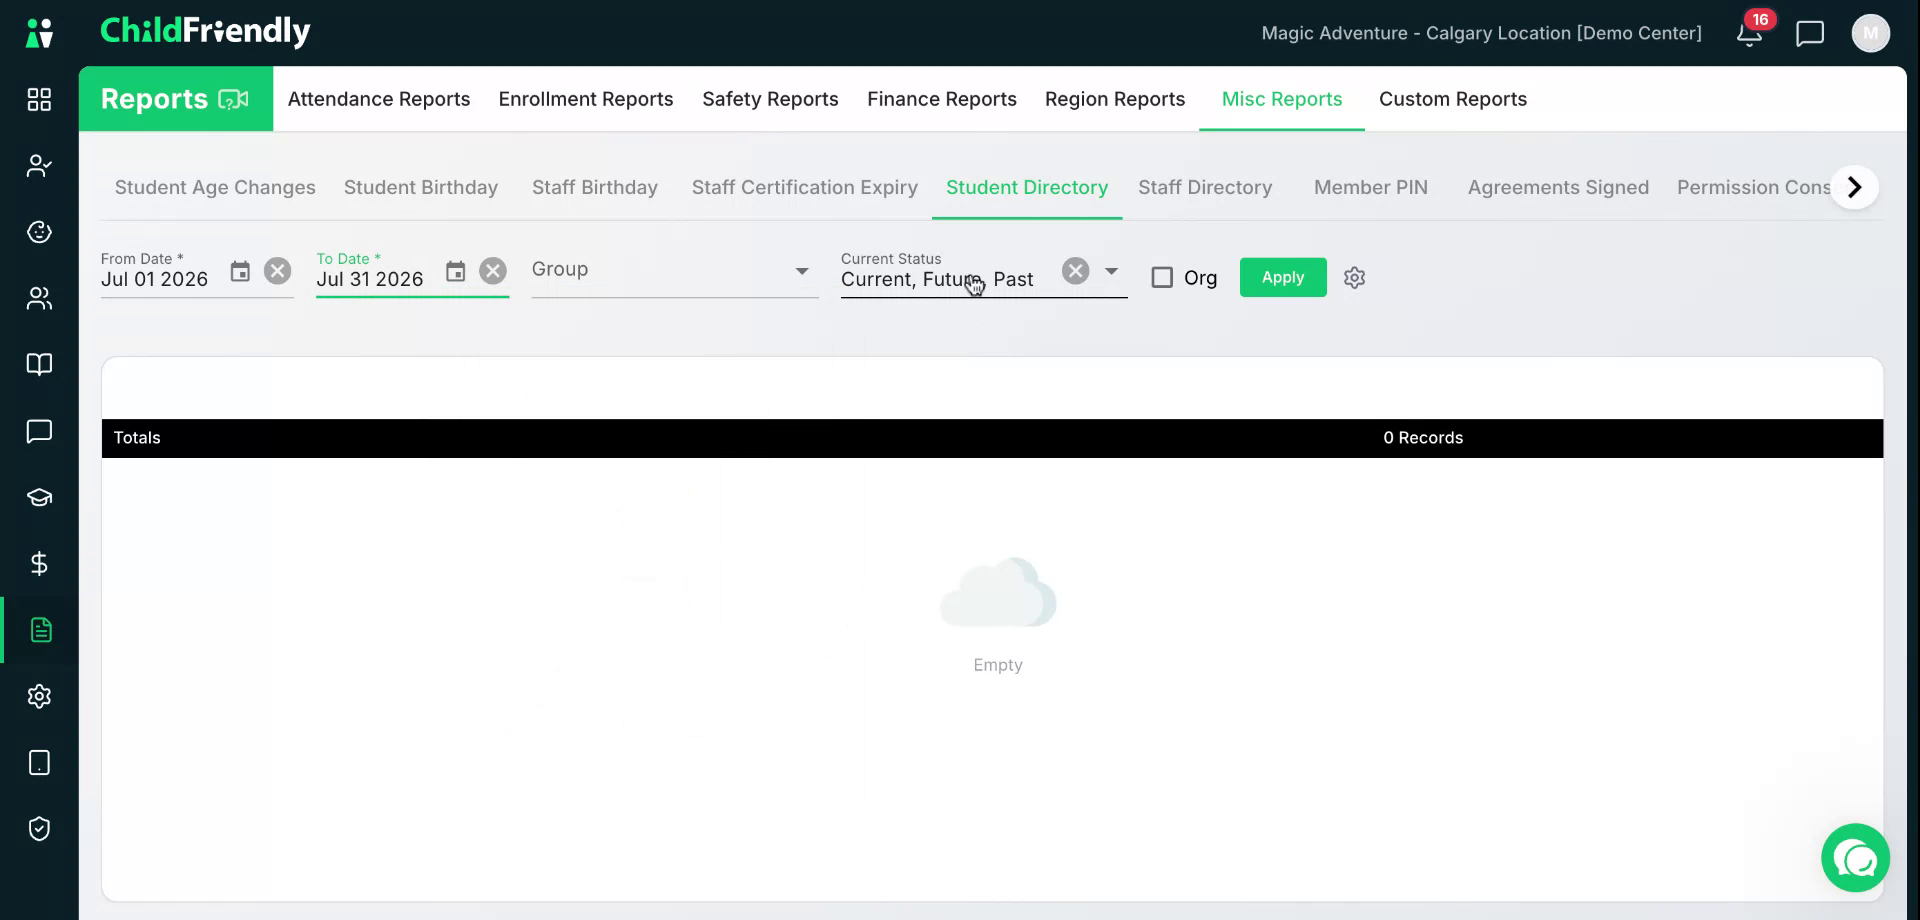
For example, to view only current and pending students:
Ensure Current and Pending are both selected in green.
Then click the Apply button.
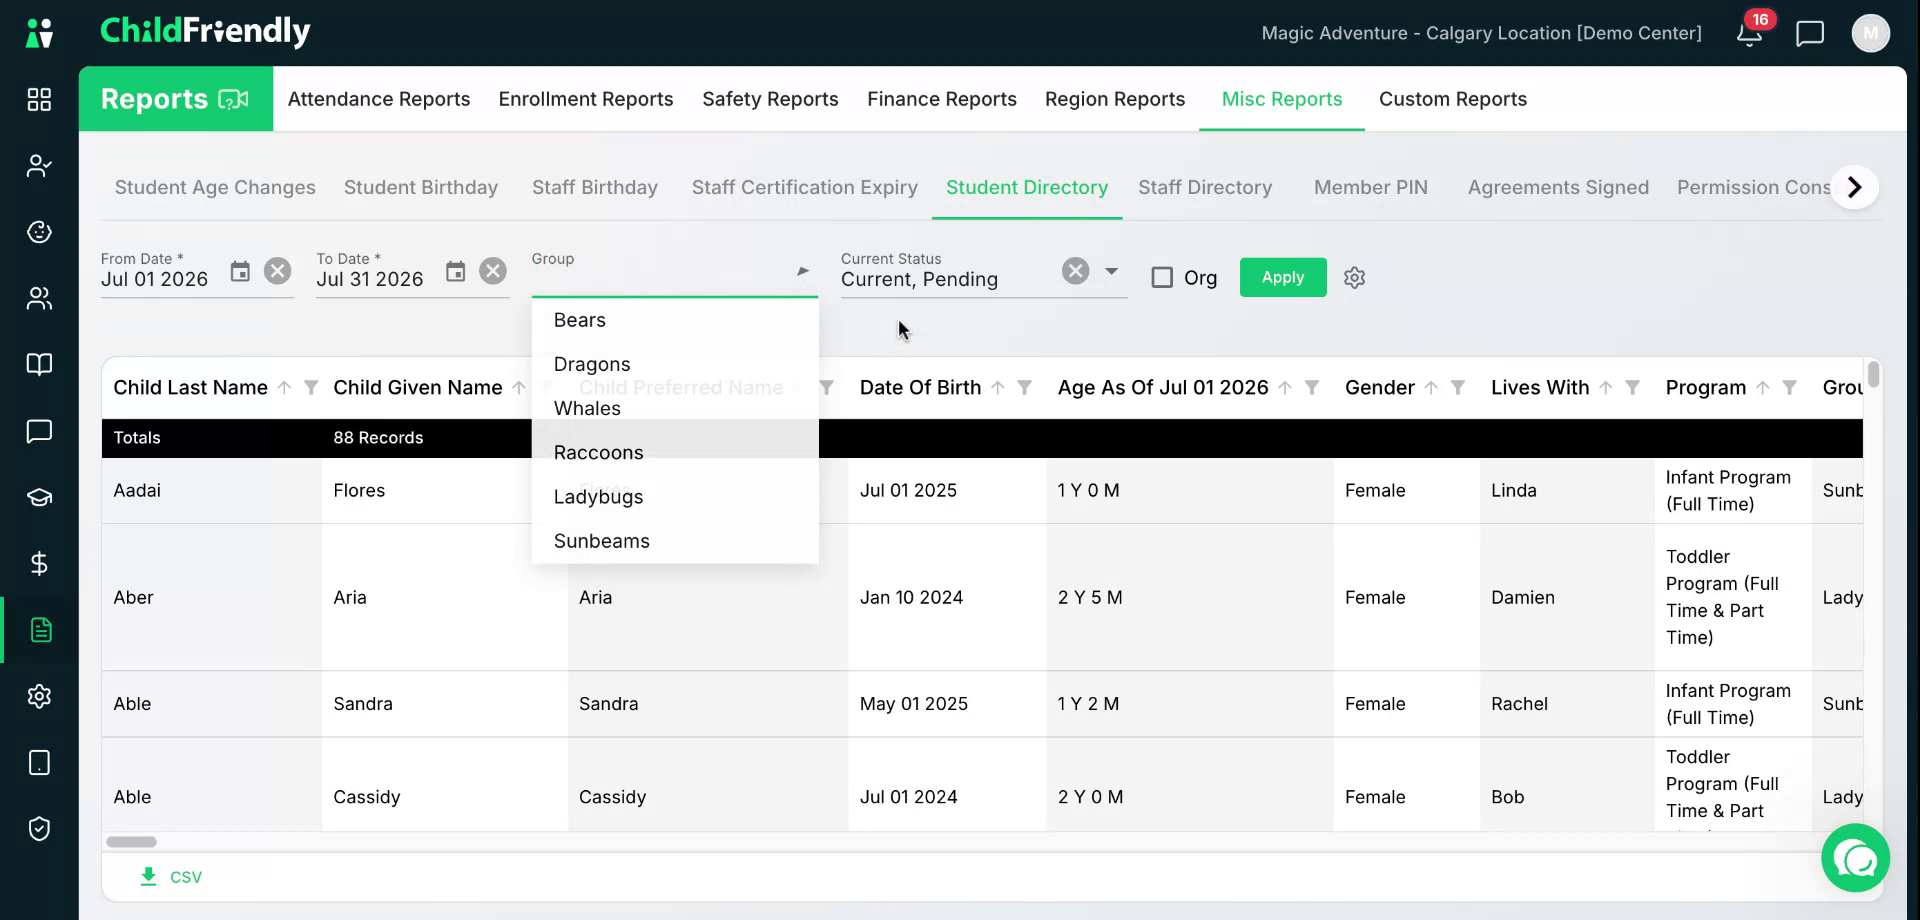
You can further filter by group if desired.
You can also adjust Settings to reorder or hide columns, such as moving First Name before Last Name or rearranging other fields.
The directory can show:
Child’s name, date of birth, and age (as of the start of the filter period)
Who they live with and gender
Program and group
Additional columns such as immunizations, prohibited foods, allergies, medications, special needs, and member portal information
This report can be downloaded as a CSV and kept in a binder. It is especially helpful if you filter by group. For days when you are off-site (e.g., field trips), you can print this list and keep it handy in a binder.
Step 7: Use the Staff Directory Report
Open the Staff Directory Report to view comprehensive information about staff members.
You can view staff by a specific date range and by status.
Select the desired status, such as Active, and click Apply.
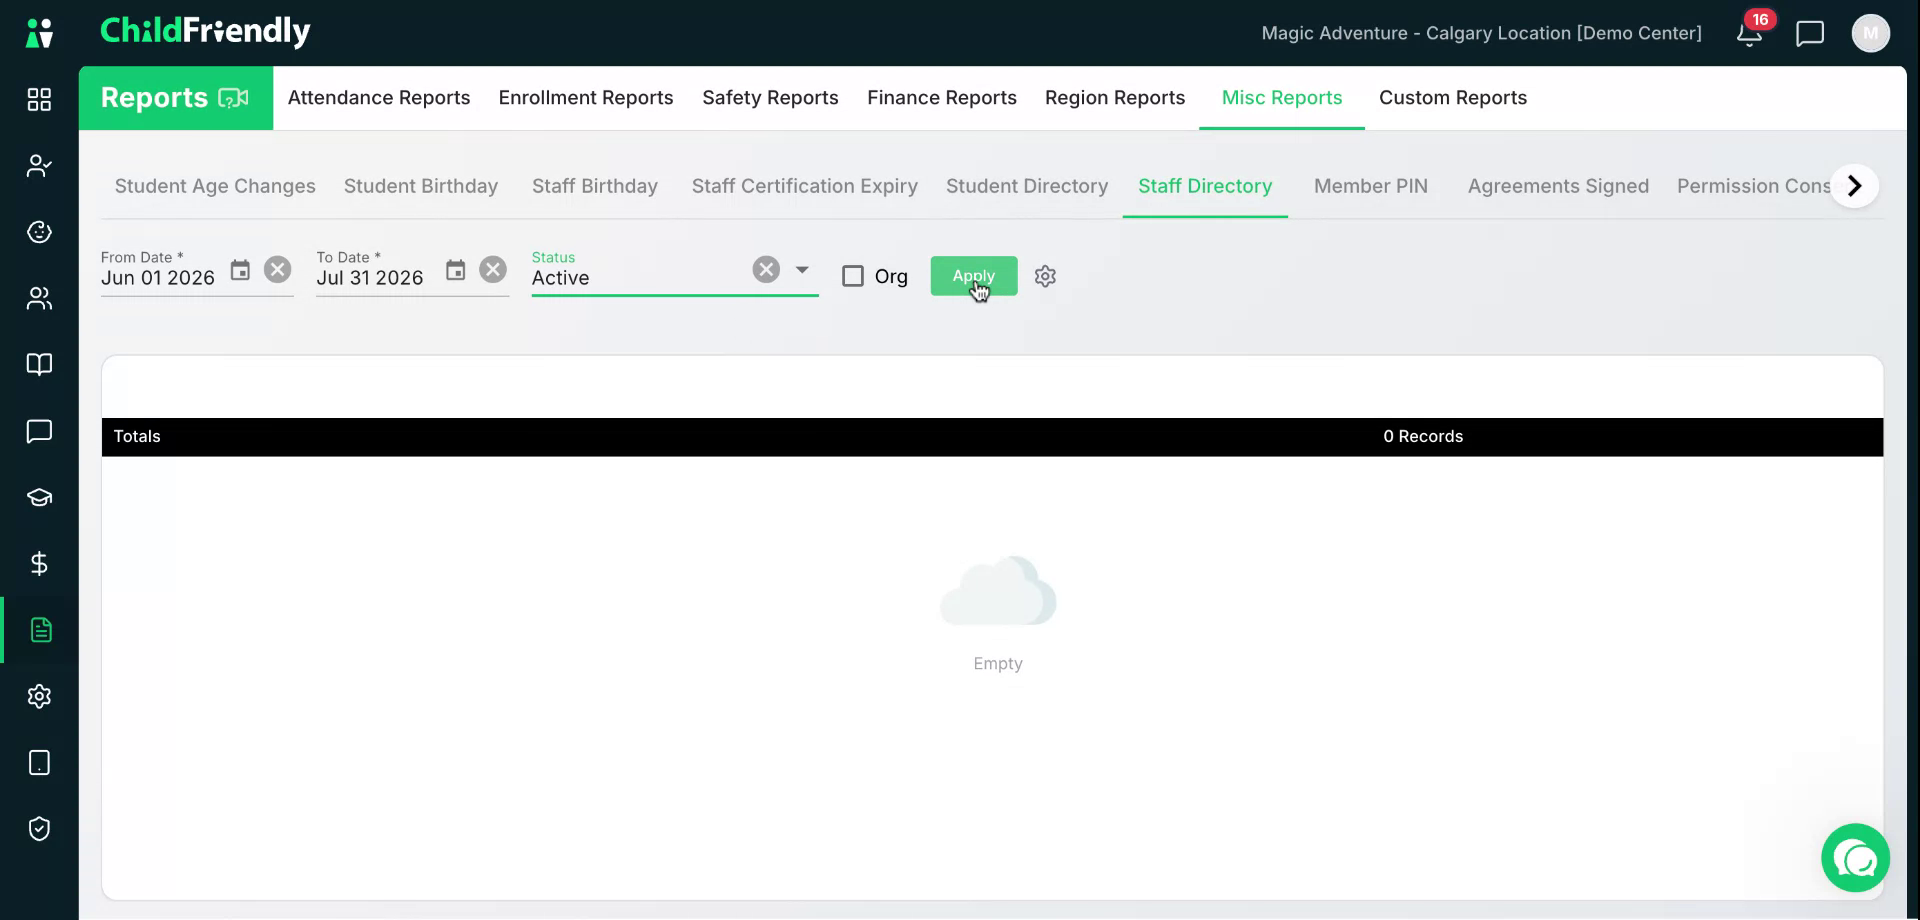
The report will show staff name, date of birth, gender, position, start date, termination date (if applicable), phone number, email, address, and other relevant details.
Step 8: Use the Member PIN Report
Open the Member PIN Report to manage parent kiosk PINs.
This report is useful if you use a kiosk for parent sign-in and sign-out. You can download it as a CSV to keep a secure record of parent PINs in case they are lost or parents need reminders.
Step 9: Use the Agreement Signed Report
Open the Agreement Signed report to see which children have completed or are missing required agreements.
This report helps you identify outstanding agreements for each child.
You can filter by agreement type, which is configured in the Setup module (e.g., pre-authorized debit, credit card payment, parent handbook).
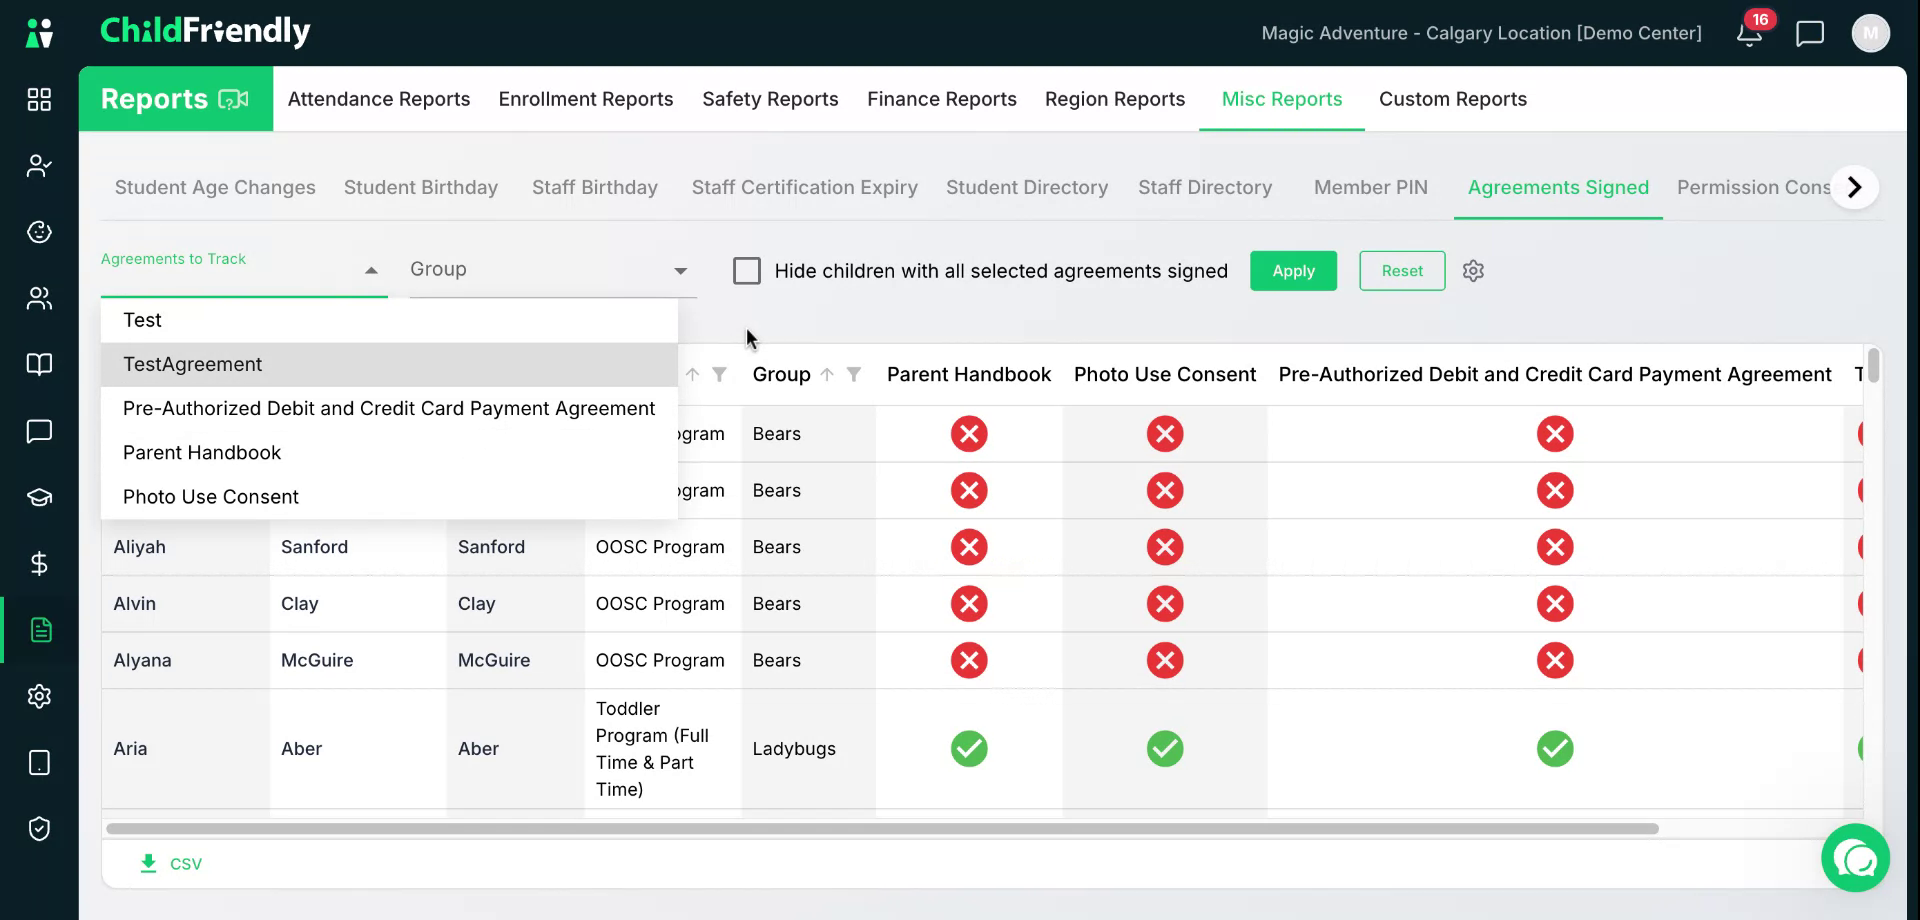
You can further filter by group.
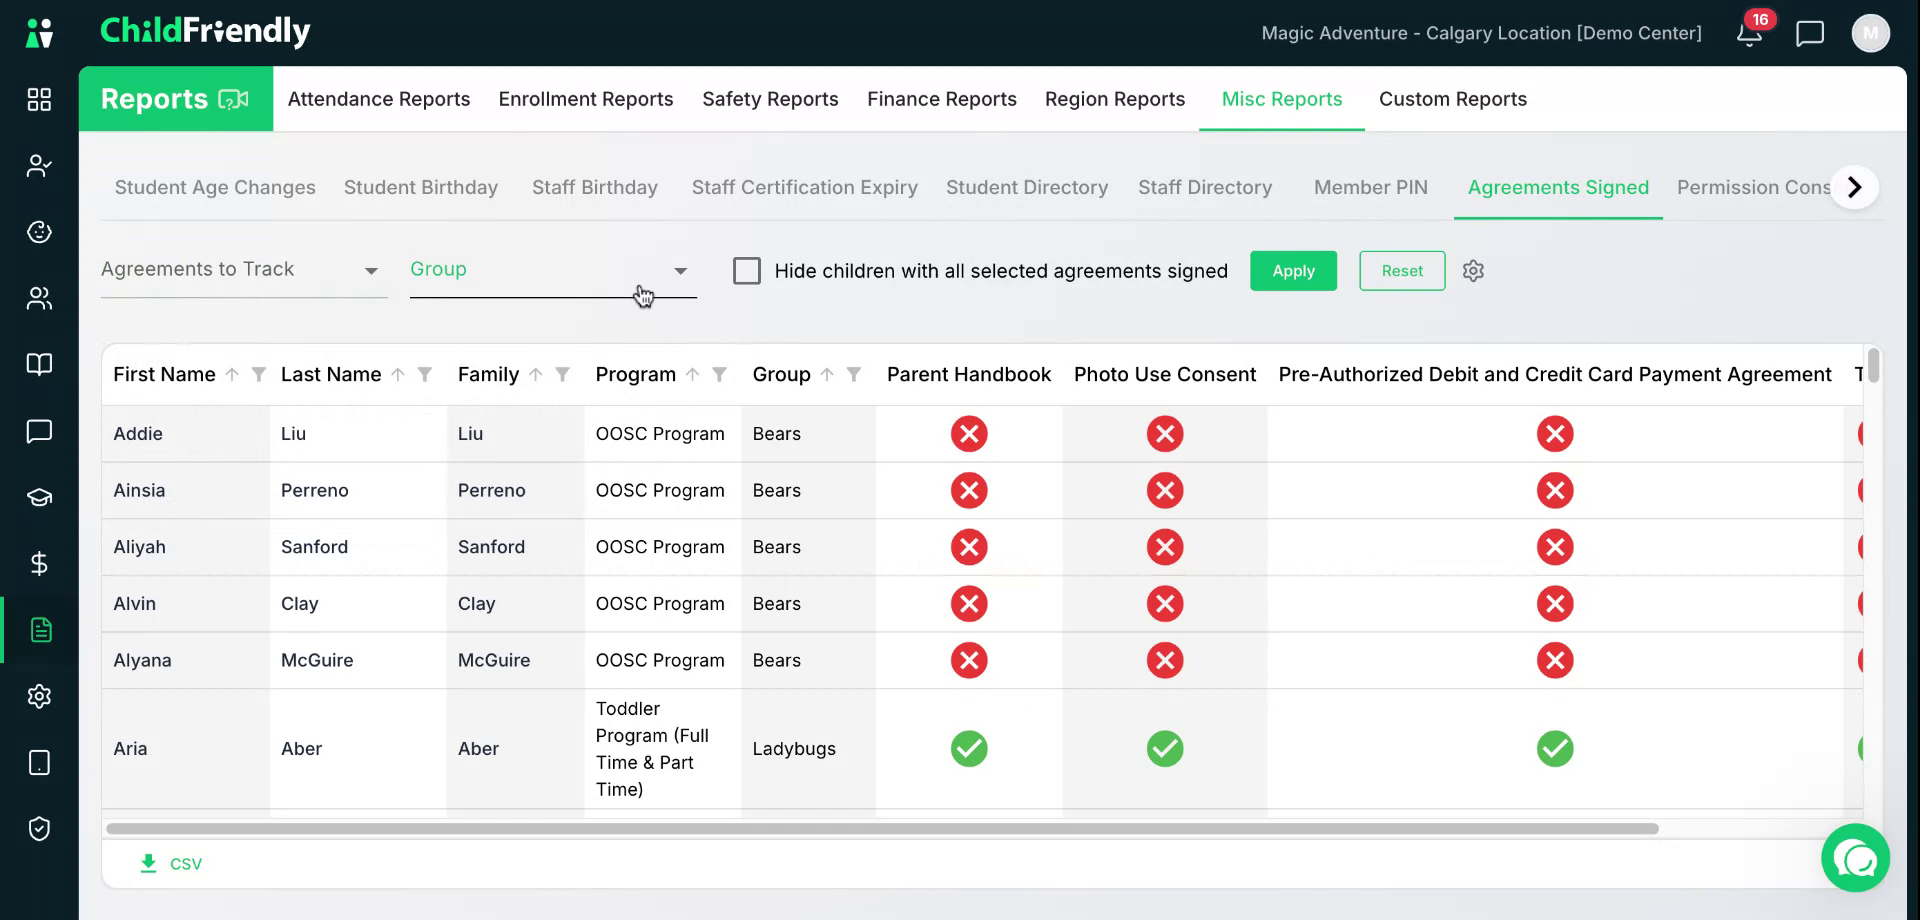
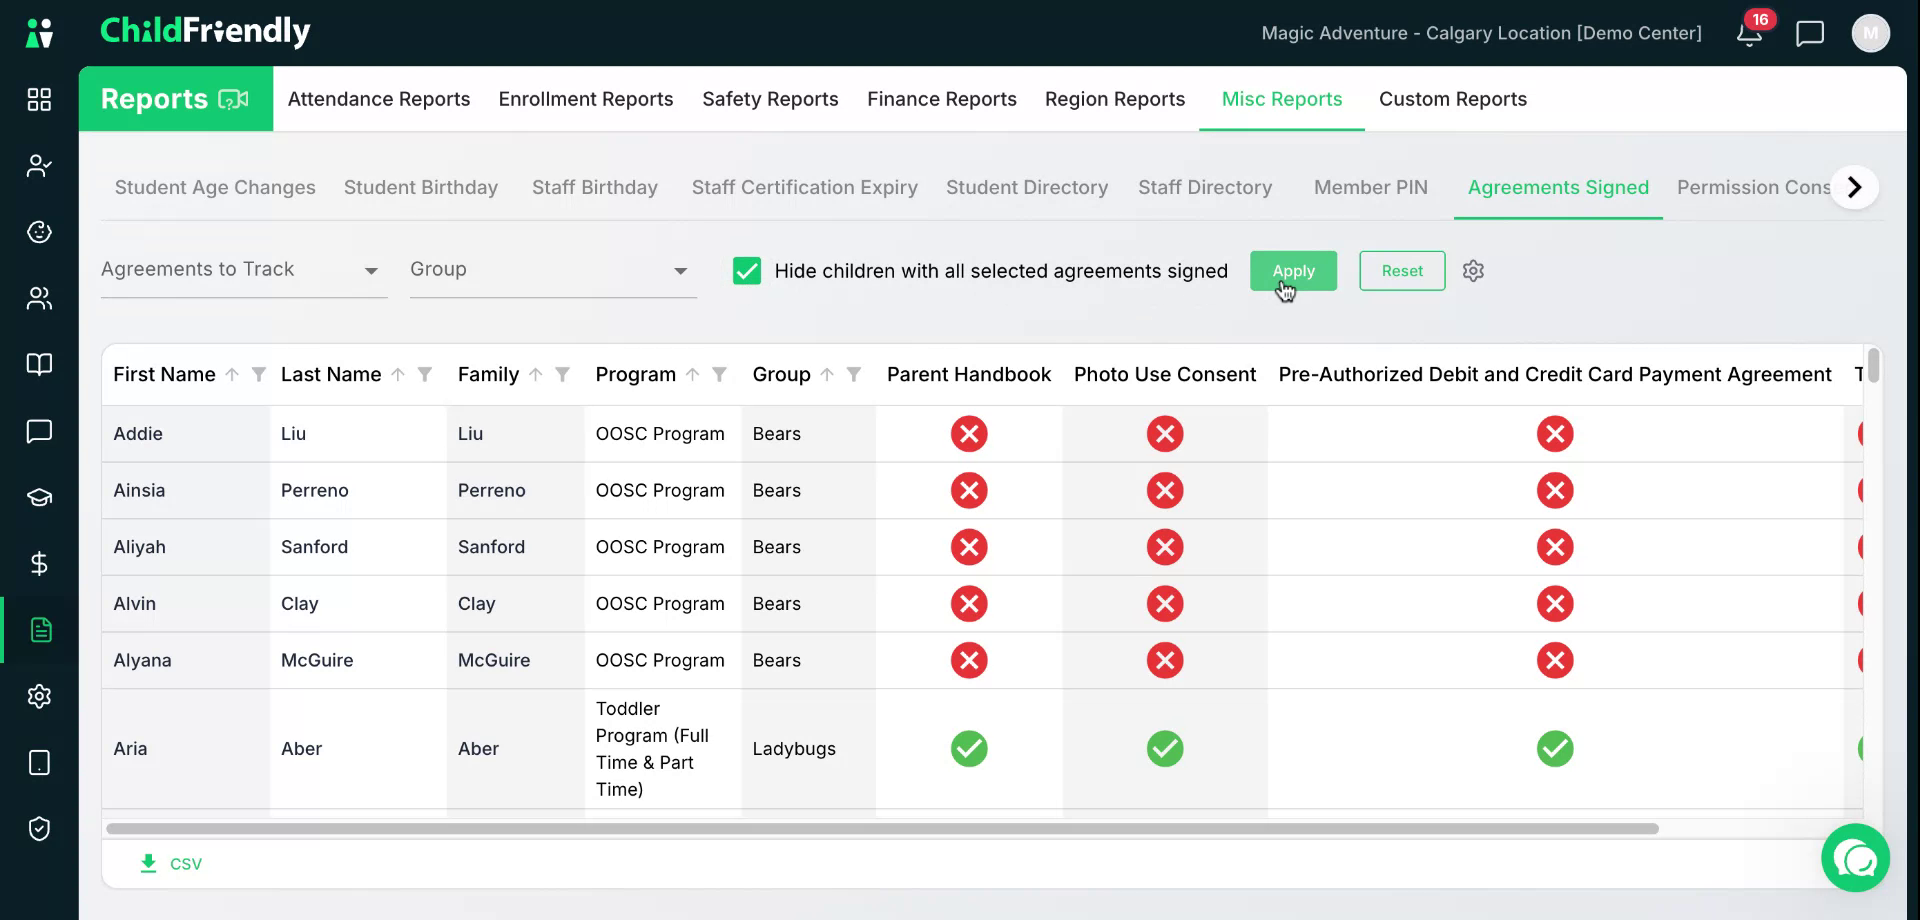
If you only want to see children who still need a specific agreement signed, check Hide Children with All Selected Agreements Signed, then click Apply.
You can also filter by specific agreement types (again, set up in the Setup module).
For example, you can specify children who only need the PAD agreement signed in a particular group, then click Apply.
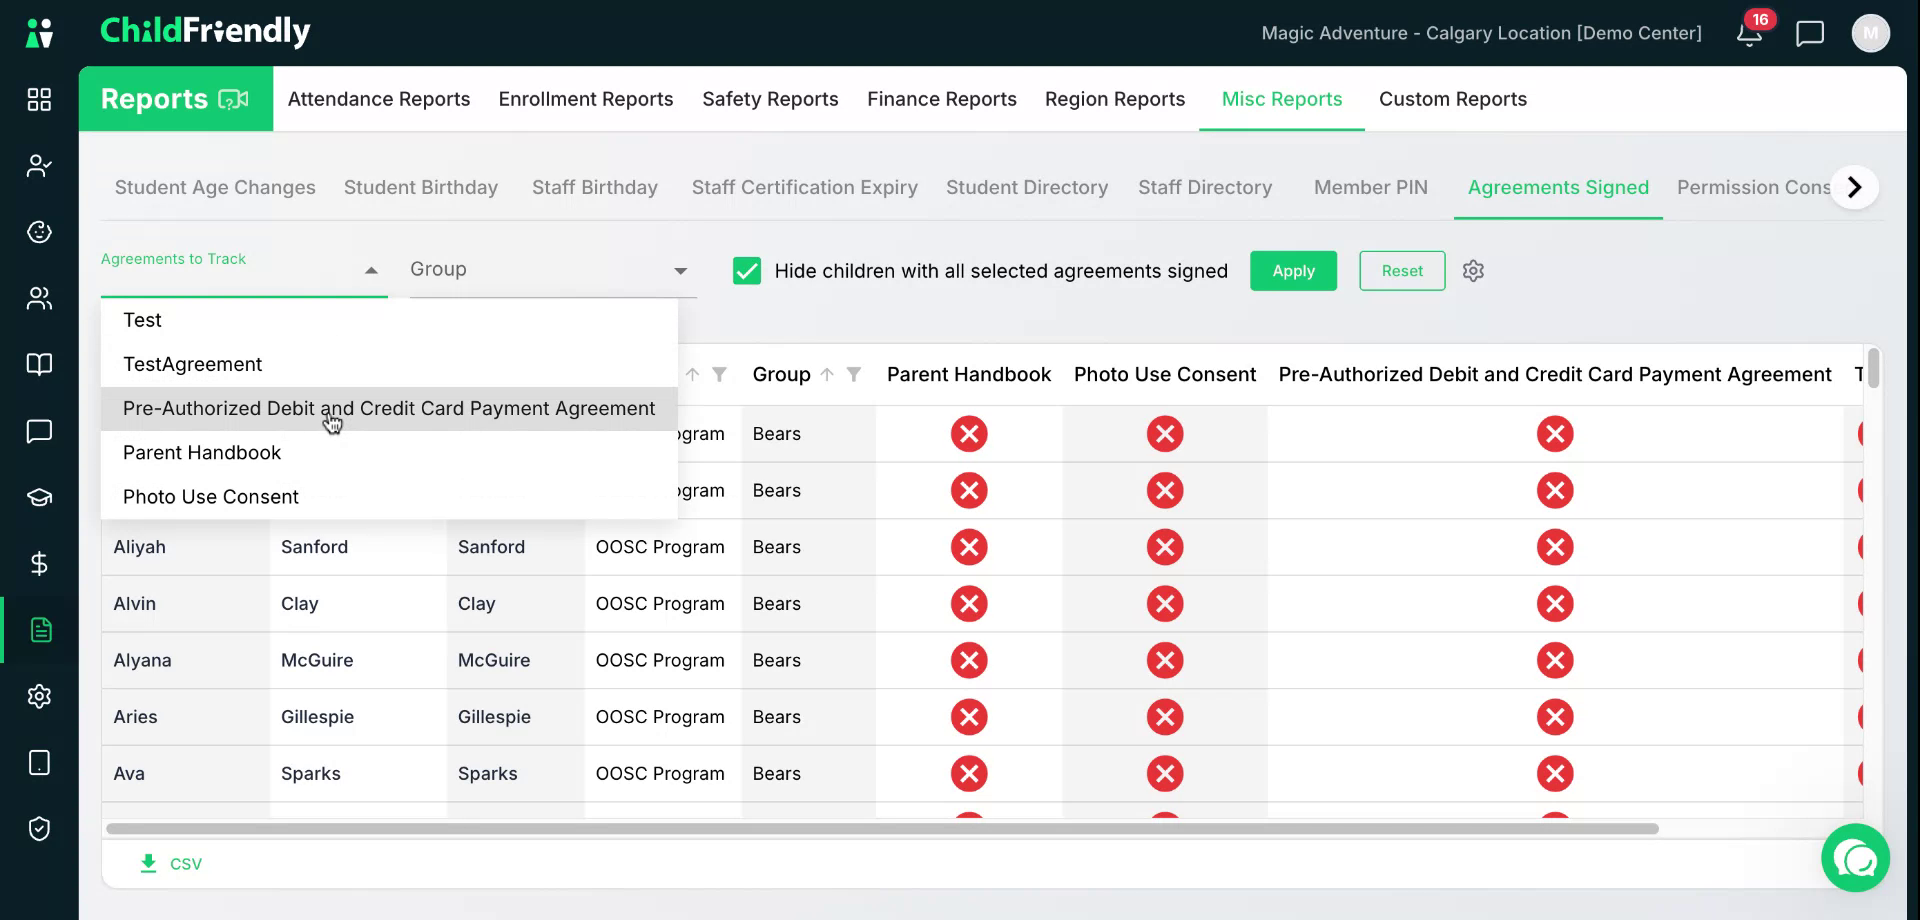
Anyone in that group needing that particular agreement will display in the results.
Step 10: Use the Permission Consent Report
Open the Permission Consent report to track parent permissions and consents.
This report lets you view any permission consents, similar to the Agreement Signed report.
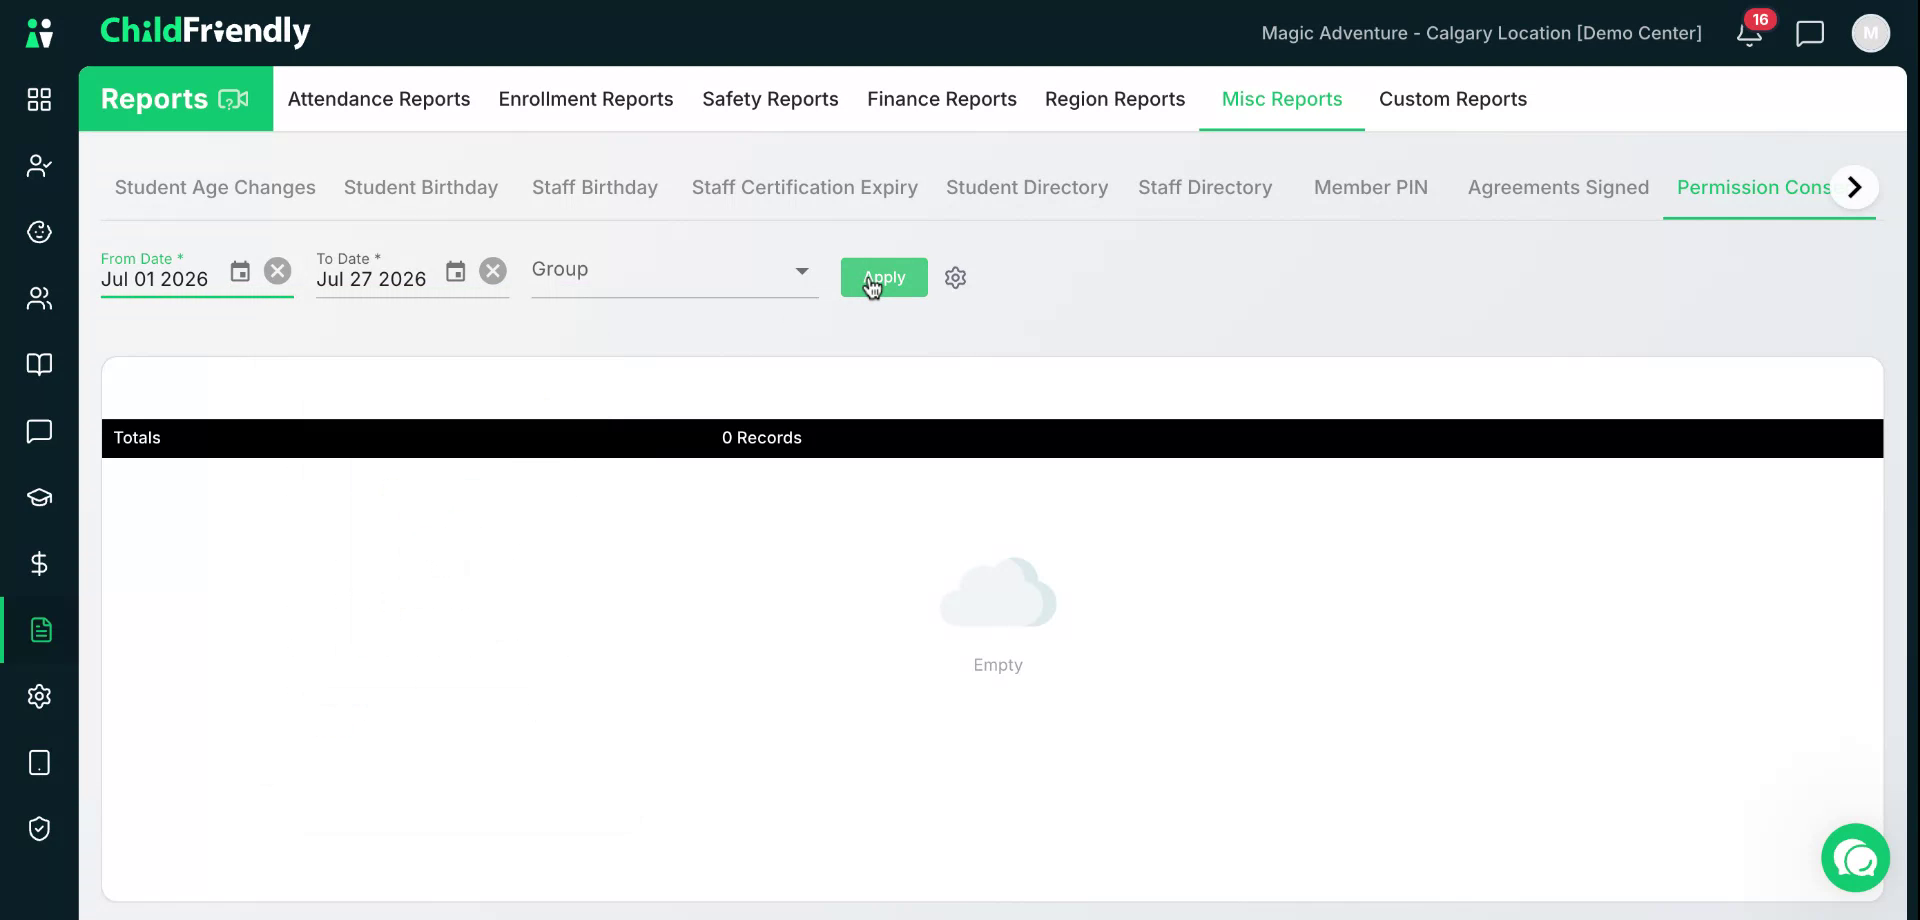
It includes items set up in the Setup module, such as the parent handbook and photo use consent, which you can filter by as needed.
Step 11: Use the Prospective Report
Open the Prospective report to track inquiries from prospective parents.
This is the final report in the Miscellaneous Reports section.
This report helps you track prospective parents who may have visited or contacted the center.
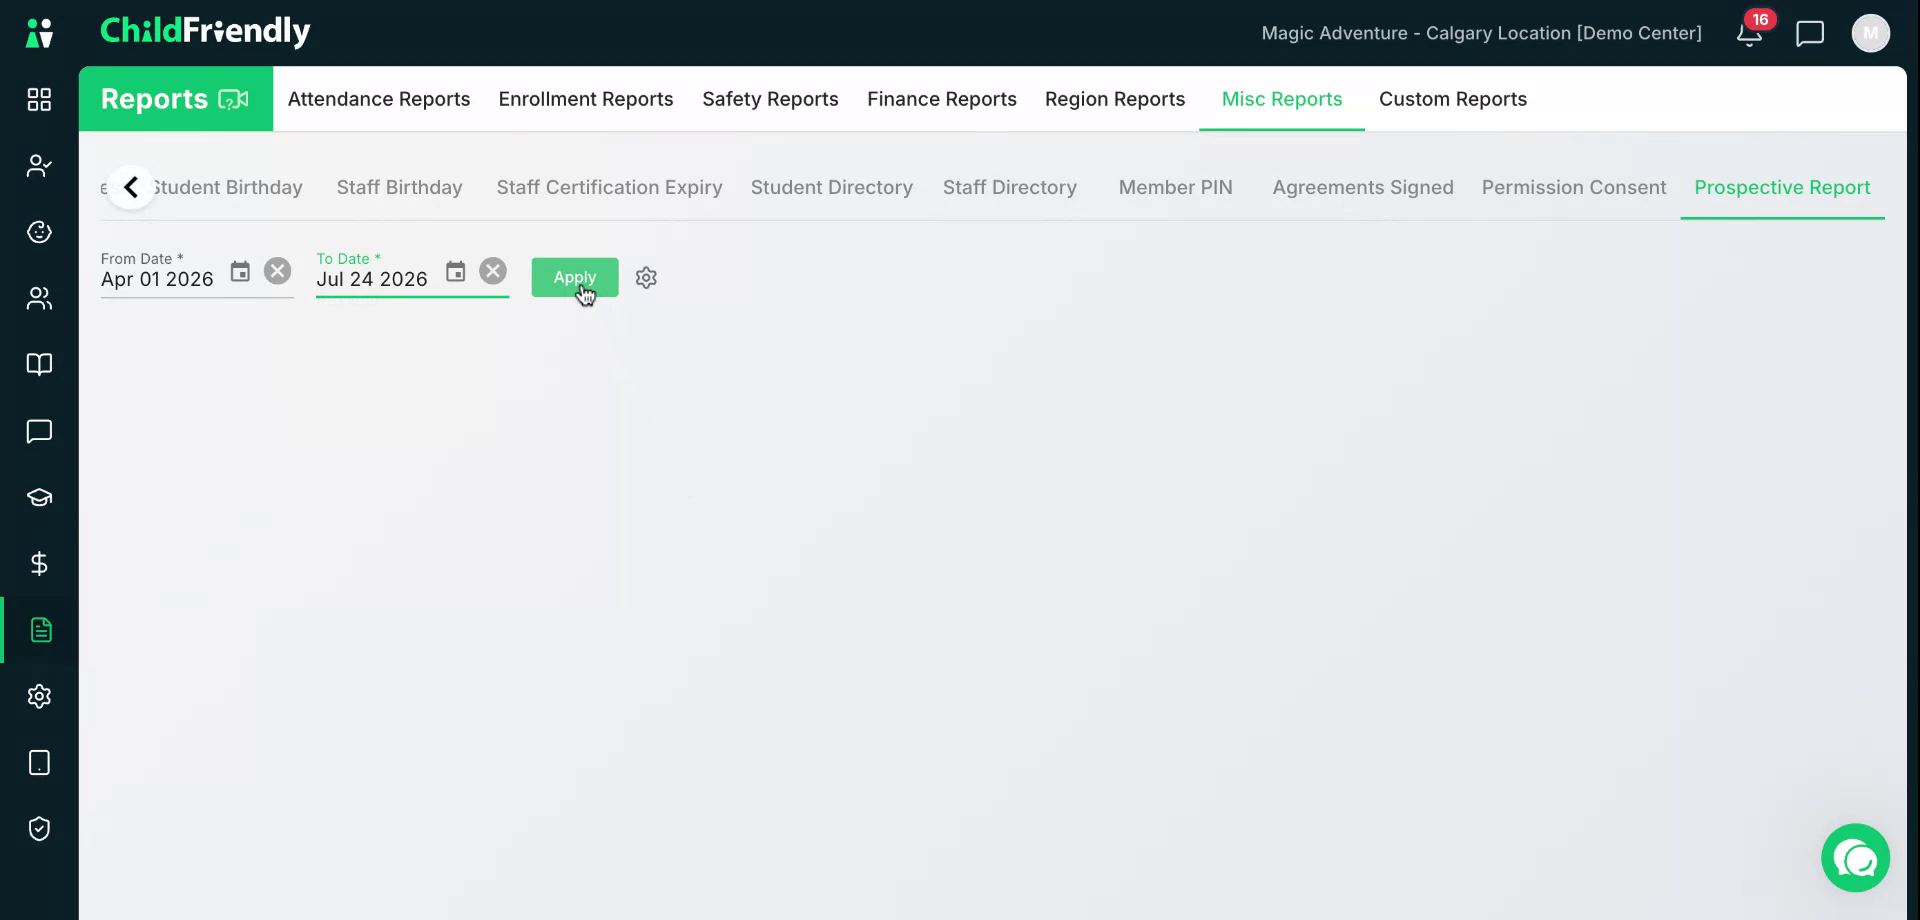
View records by a specific date range.
Click Apply.
You will see a list of anyone who submitted an inquiry, along with their details.
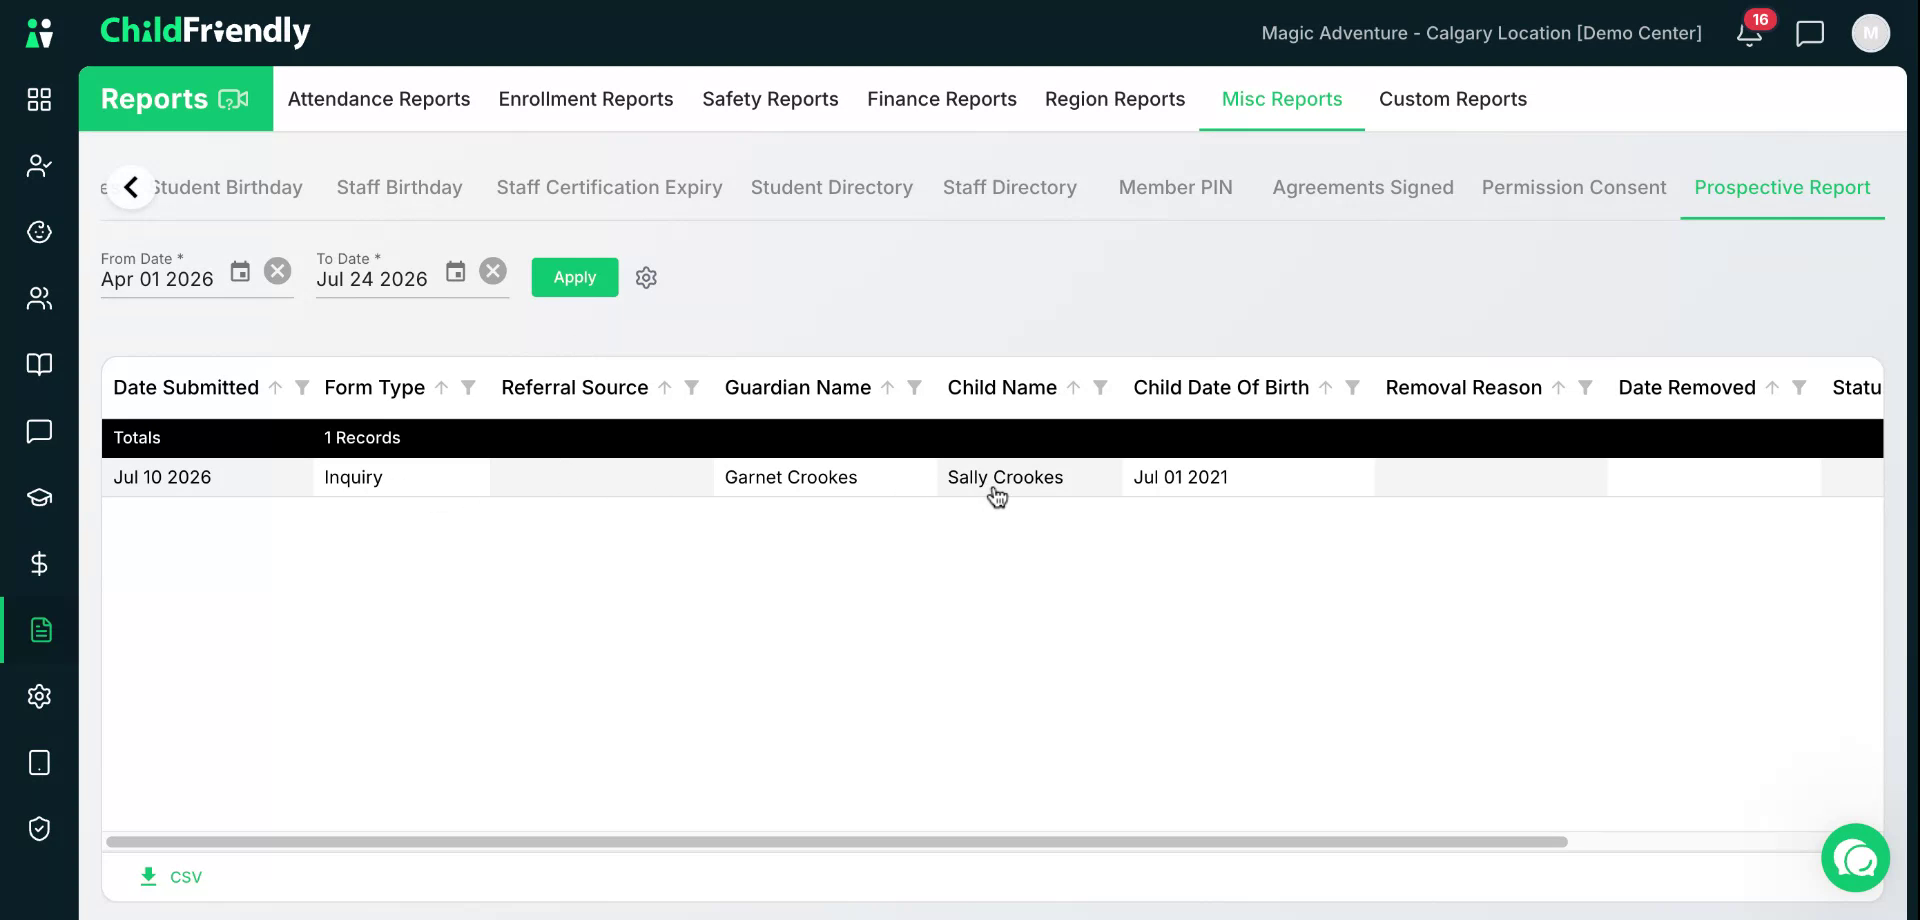
Use this report to follow up with prospective families and maintain a record of inquiries.