How to Sync to QuickBooks
A step-by-step guide to connecting QuickBooks to ChildFriendly so you can automate your financial tracking and seamlessly sync your accounting data.
Last updated 3 months ago
Connect to QuickBooks [One Time]
Step 1: Connect Your Quickbooks Account
1. First, login to your QuickBooks account that you plan to sync.
2. Next, go to your QuickBooks Company Settings:
a. Account and Settings > Advanced > Automation
b. Toggle the “Automatically apply credits” option to the Off position.

3. In the Accounting section, take note of your QuickBooks “Close the books” date. ChildFriendly will ONLY sync transactions that take place AFTER the “Close the books” date.

4. Leave the QuickBooks file open that you wish to sync, and return to Child Friendly.
5. In the Finances Module:
a. Select the Sync Tab.
b. In the QuickBooks Config box, select “Create QuickBooks Connection”.
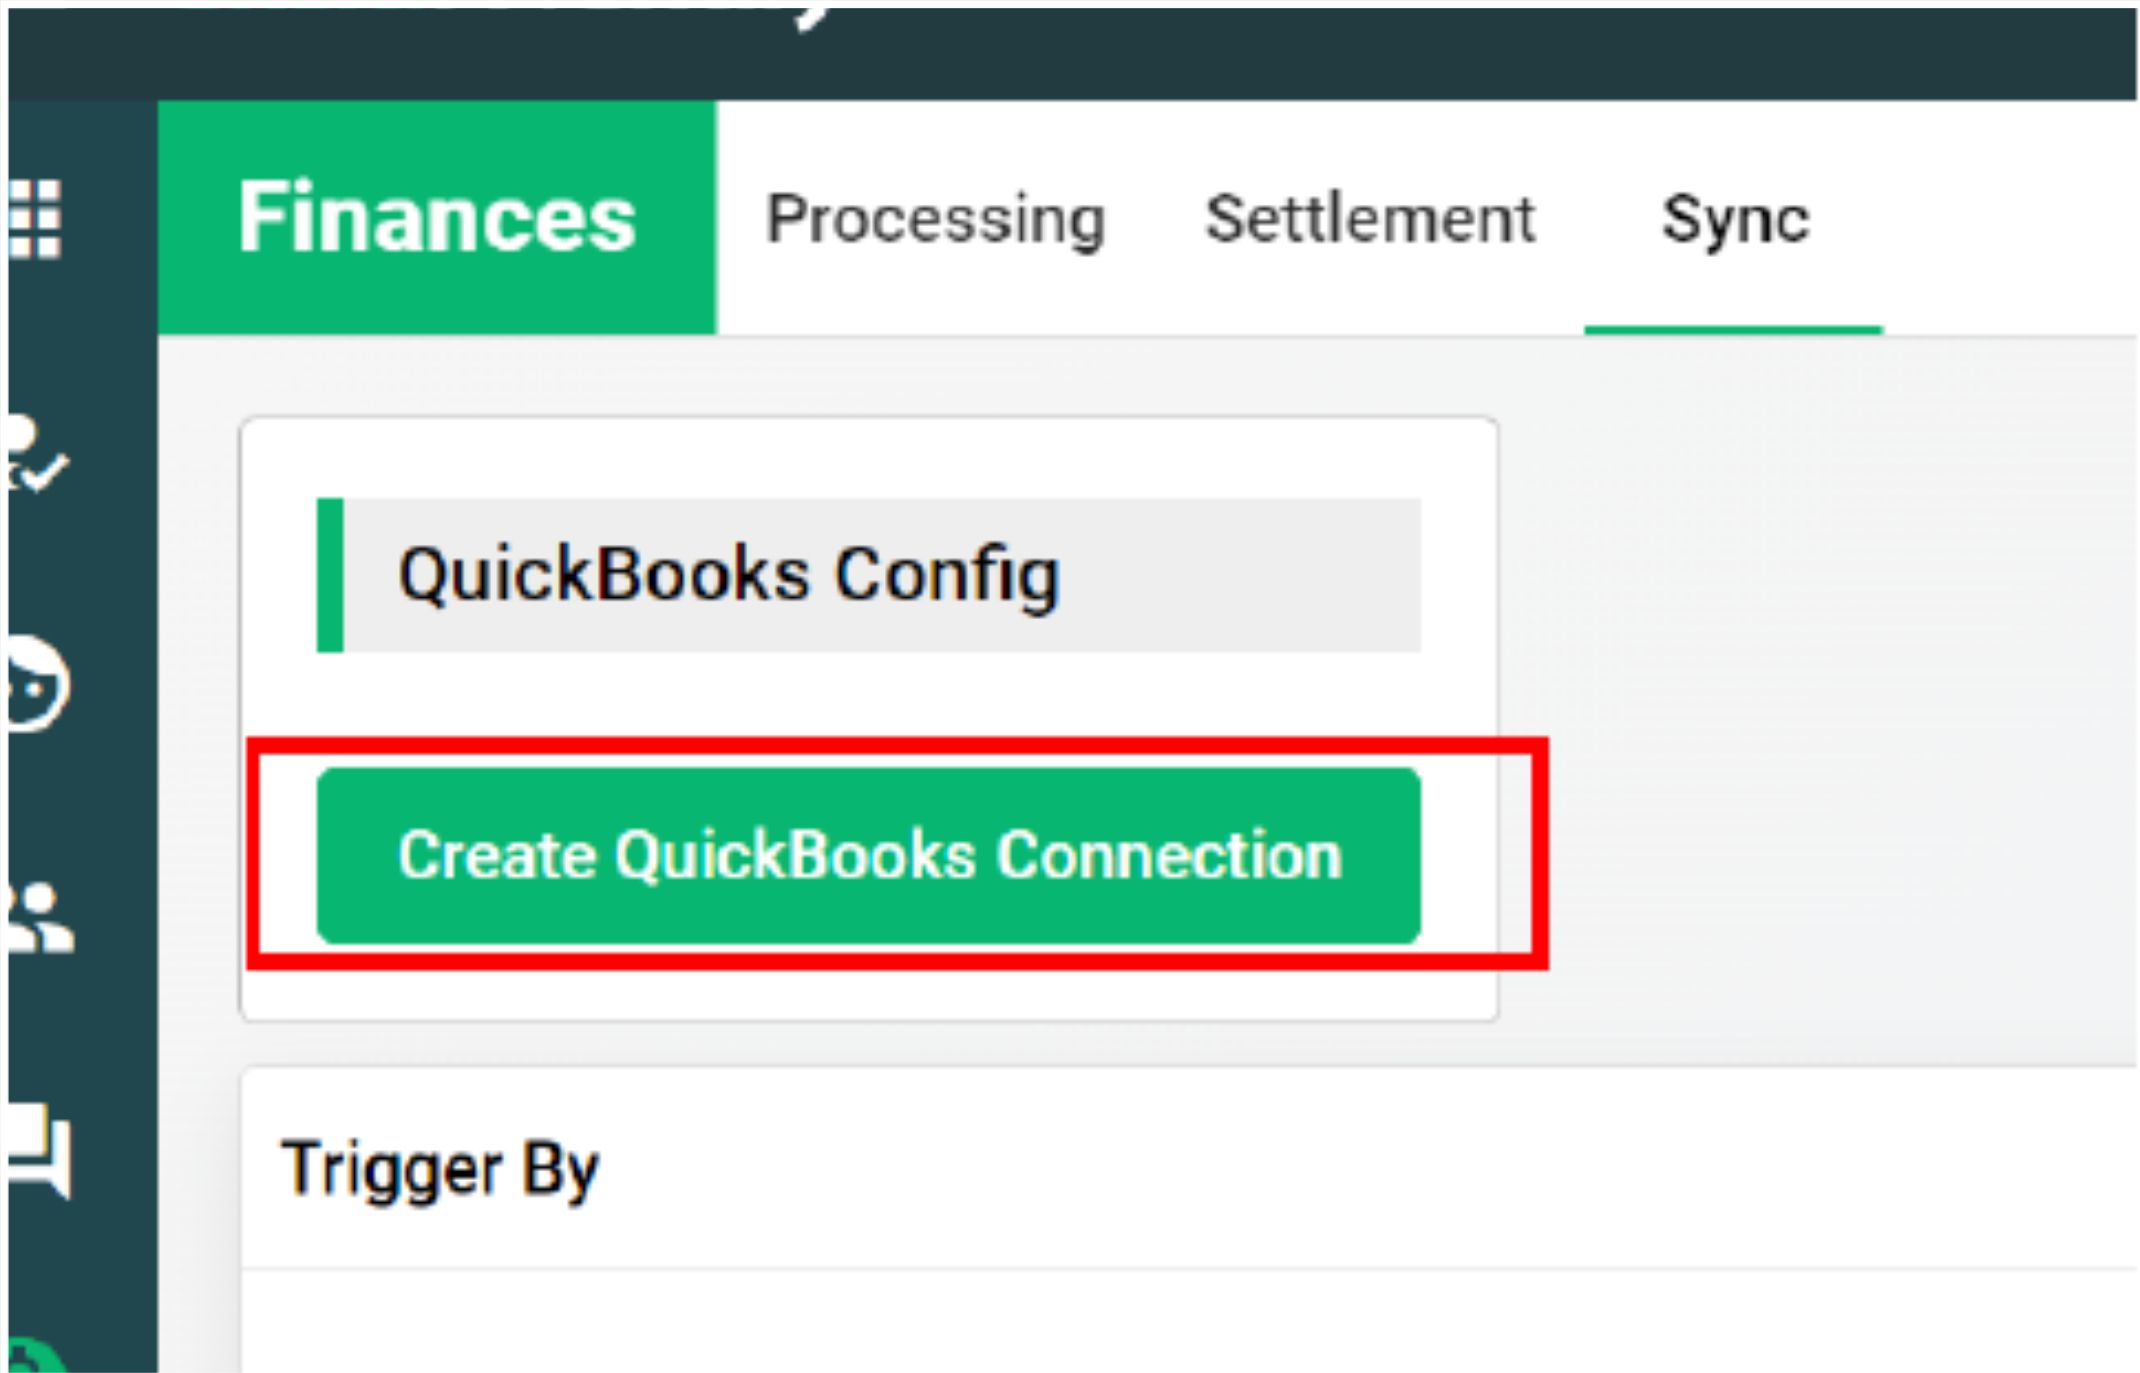
6. You will be prompted to login, or if already logged into QuickBooks, you will be prompted to select the QuickBooks account you wish to connect to.
7. Click Next and follow the prompts.
Important: Be very careful that you have both the correct ChildFriendly center open and that you select the correct corresponding QuickBooks file to sync.

Step 2: Set Up of your Products/Services in your Quickbooks Account
The below step is only required to be completed the first time you sync to Quickbooks AND if you add a new catalog item in ChildFriendly that you have never synced over before.
• First go to the Finance Module -> Sync and Press "Sync to Quickbooks'
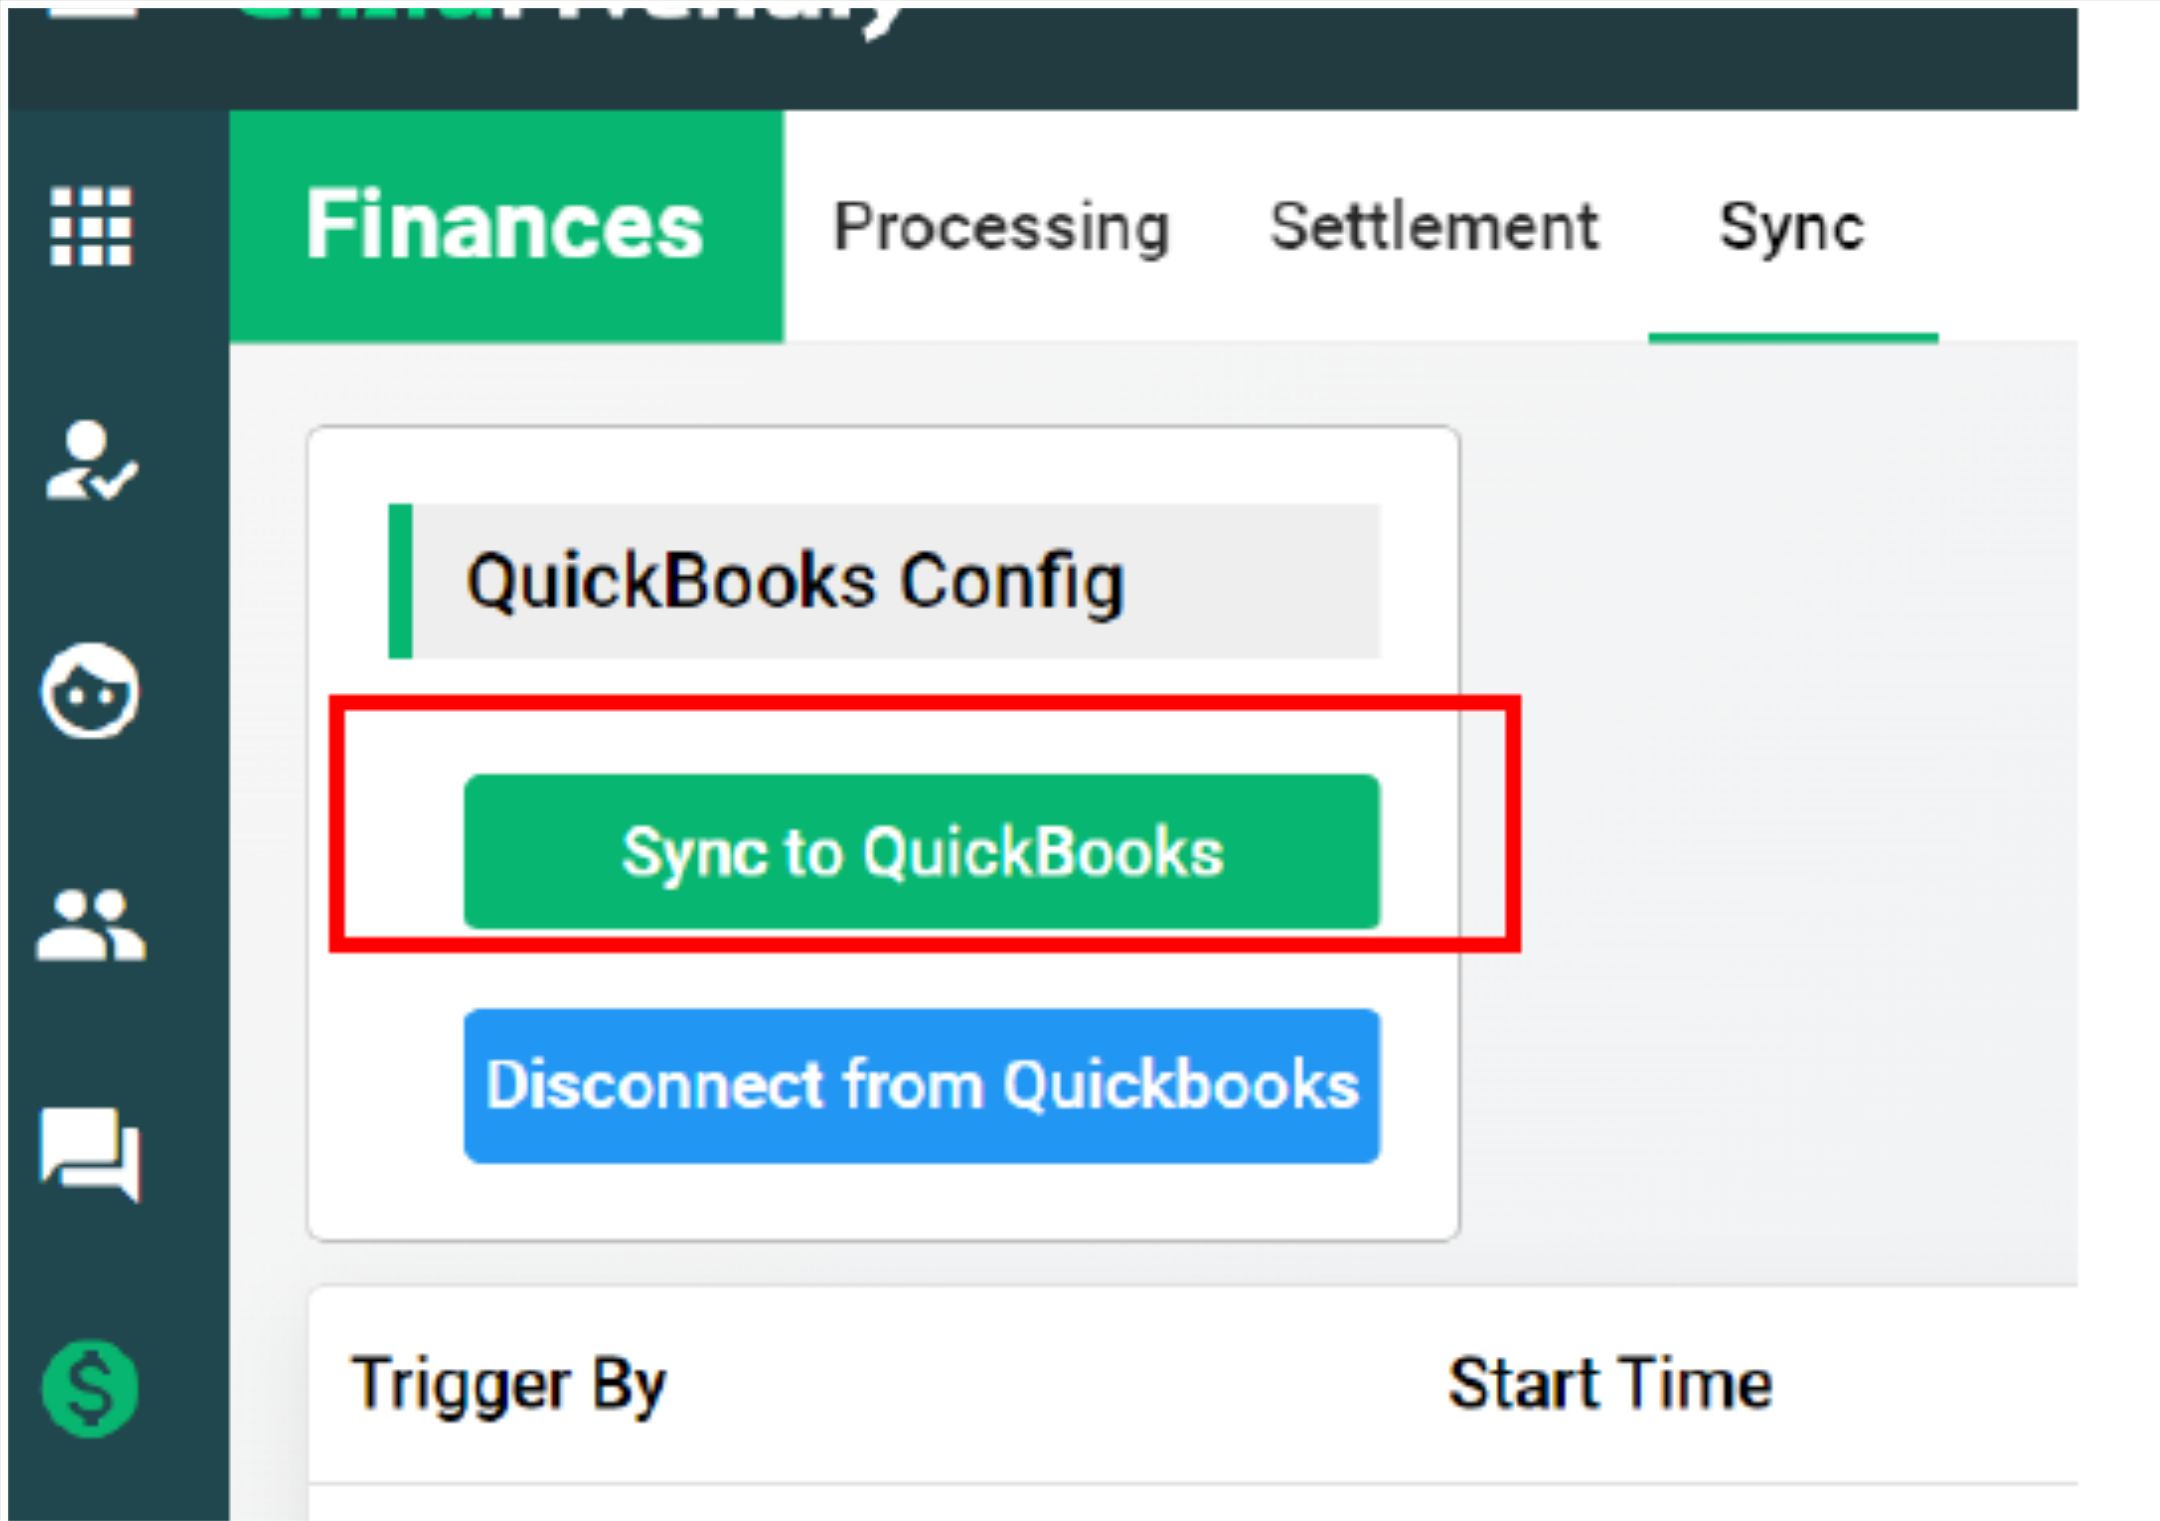
• After syncing all the catalog items in your ChildFriendly account, that have not synced before, they will sync over as new “Products & Services” in your QuickBooks account.
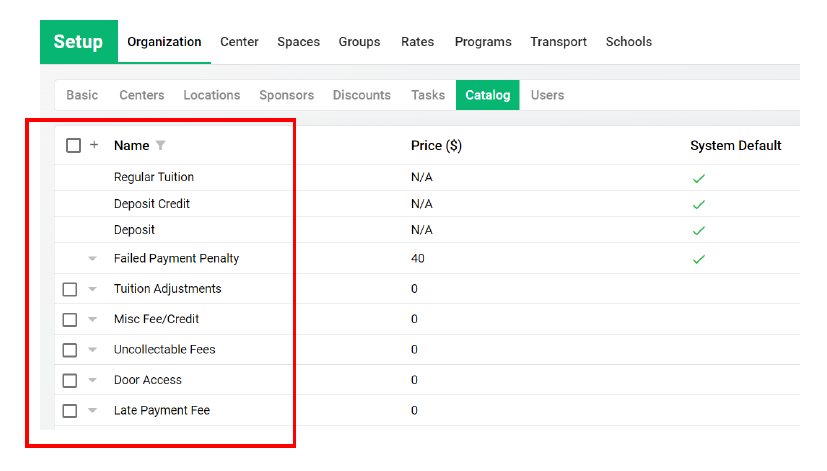
• Each item will have in brackets the alias (found in your Child Friendly Center settings) of the center that the Quickbooks product/service it is connected to.
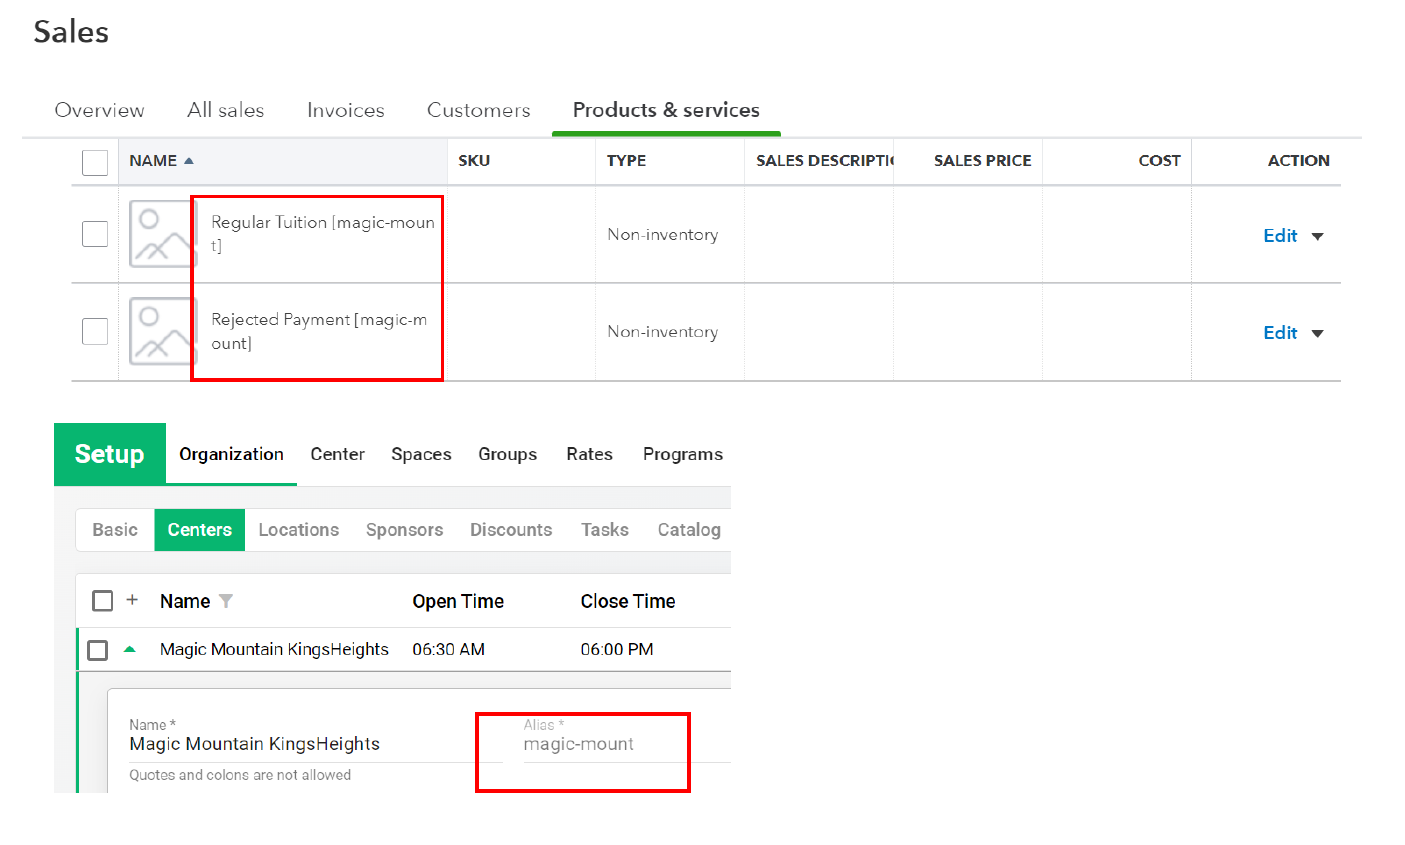
• Go to each newly created product/service in Quickbooks, select “Edit” and follow these steps.
a. Upon your first sync, the system automatically creates a default income account in your QuickBooks Chart of Accounts called “Center Name - Revenue Account [CF]” and connects each new product/service to this account. Your first step is to now switch the Income account to the income account that best fits your organization’s needed.
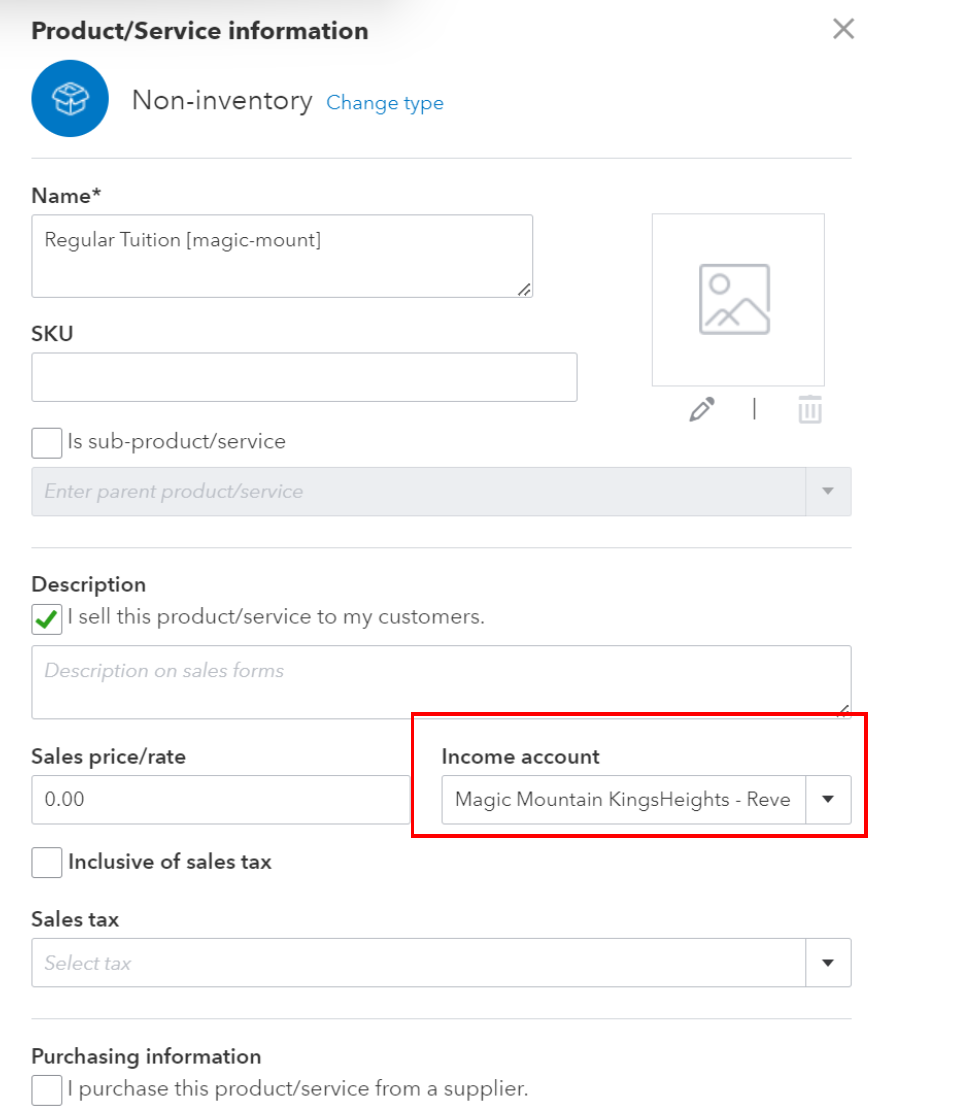
b. After adjusting the income account in step 1, it is very important to select the box “Also update this account in historical transactions” before pressing Save. This way, all the transactions you just synced will map to the correct Income Account.

c. There is one product/service that will sync over to Quickbooks from ChildFriendly, called “Chargeback Payment [Center Alias]”. This product/service is by default connected to your operating bank account that all returned payments will be debited from. When editing this product/service, it is important to leave it connected to the applicable bank account in your Chart of Accounts and not an actual income account.
Your one time set up should now be complete! To sync each month/period, review the next section included below "Syncing of Transactions [Ongoing].
Syncing of Transactions [Ongoing]
With your QuickBooks file now connected, you can sync your transactions with a single click each period (ie. monthly), by clicking “Sync to QuickBooks”. The syncing process may be very brief or may take a few minutes depending on how many transactions you are syncing over, but you do not need to stay in the window. You will see a progress bar and you can leave or close the screen and check back later.

Legend: Icons & Indicators used when Syncing
Status: A red ‘x’ indicates that although the sync is complete, there were some errors.
Messages: Click the message icon to view a listing of the errors that occurred during the syncing process. All transactions will have still synced, with the exception of the ones listed.
Progress Bar: The progress of the sync.

Was this helpful?
Still need help? Ask the team